PBX – Voice Library is a collection of pre-recorded audio messages, and IVR messages used by a Private Branch Exchange (PBX). It helps businesses create professional messages and use them for future use.
Also, user can update, enable/disable, delete these voice libraries.
Voice Library Setup
- Sign in to AgentFront CRM.
- From the top menu, choose PBX.
- The PBX – Dashboard opens by default.

- In the left-side panel, select Voice Library.
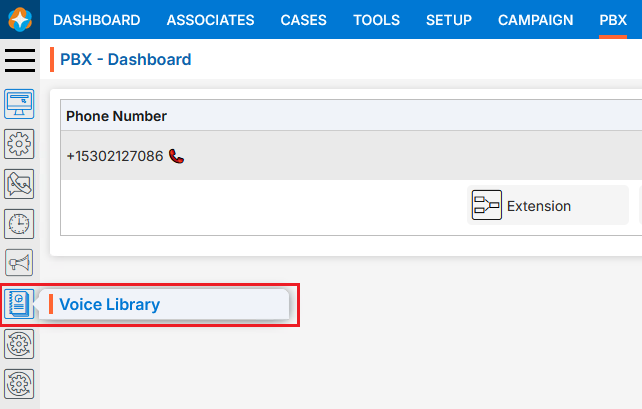
- The Voice Library page will open.
- There will be following two tabs:
- Voice Library
- System/Default Messages
- Voice Library
- The Voice Library page opens with a list of existing Voice Libraries.
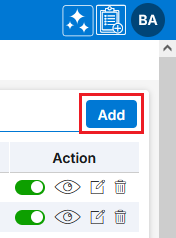
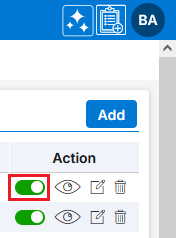
- There is an Add button above the Action Column on the right panel to add new Voice Library.
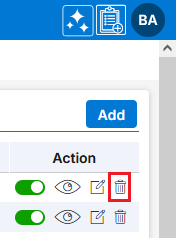
- There are options to Enable/Disable (
 /
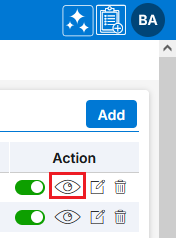
/ ), View (
  ), Edit (
 ) and Delete (
 ) the existing Voice Library under the Action column.
- Add New Voice Library:
- Click on Add button to add new Voice Library.
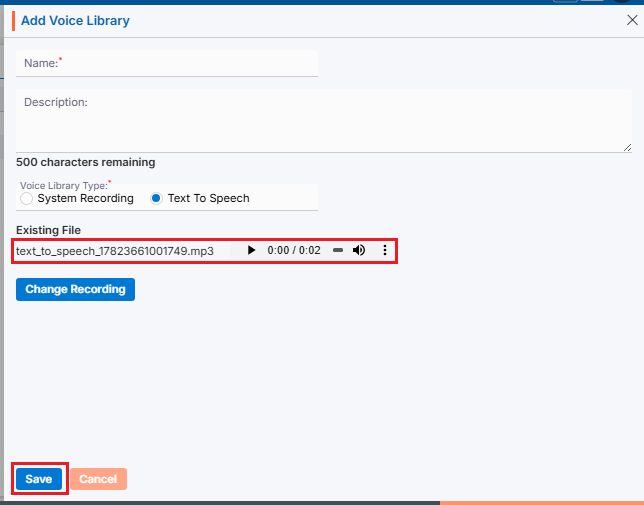
- The Add Voice Library window will open, allowing the user to enter the required details to create a new Voice Library.
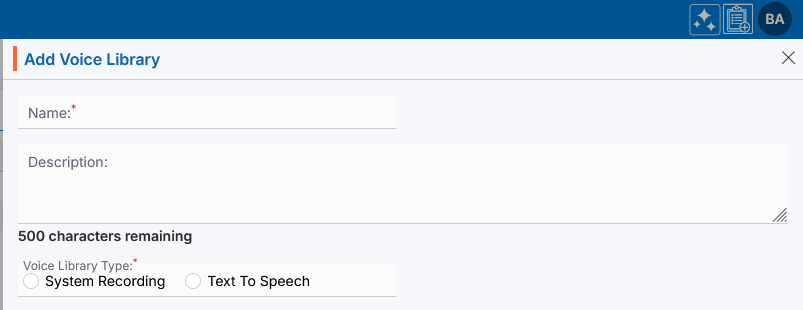
- Name: Enter the clear, descriptive name.
- Description: Optional explanation of the Voice Library’s description.
- Voice Library Type: Select the option- System Recording or Text To Speech.
- Steps to add System Recording file:
- While using the System Recording option, the user can select any previously recorded file.
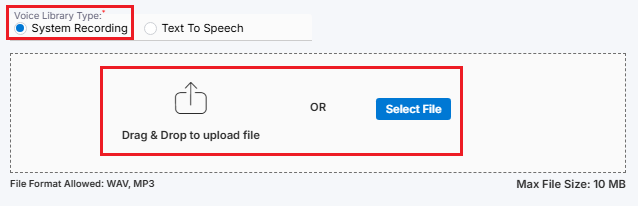
- Select the file and click on Save.
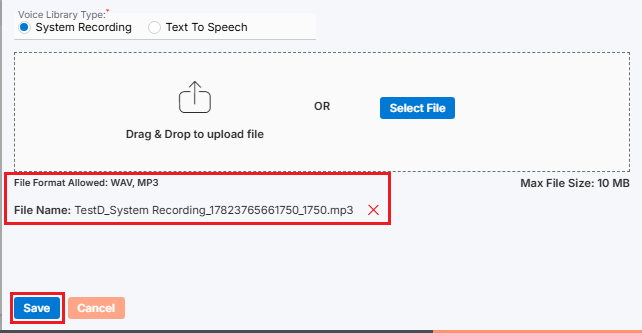
- The Voice Library is now listed and ready to use and displayed with its Voice Library Type. New Voice Library will be enabled by default.

- While using the System Recording option, the user can select any previously recorded file.
- Steps to add Text To Speech file:
- While using the Text-to-Speech option, the Add Recording button will be enabled.
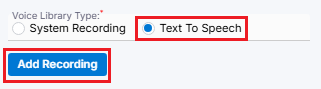
- After clicking the Add Recording button, a new window titled “Add Voice Library – Text-to-Speech” will open.
- Enter the following required fields:
- Text: Enter the message you would like to convert into speech. Ensure that the message is clear and descriptive.
- Voice: Select the desired name from the drop-down list.
- Click on Convert Text To Speech.
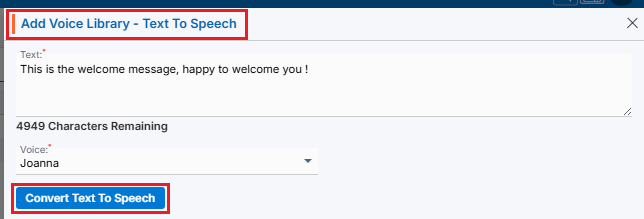
- The message entered will be converted into speech using the person selected from the drop-down menu.
- Once setup is completed for Text To Speech, click on OK button.
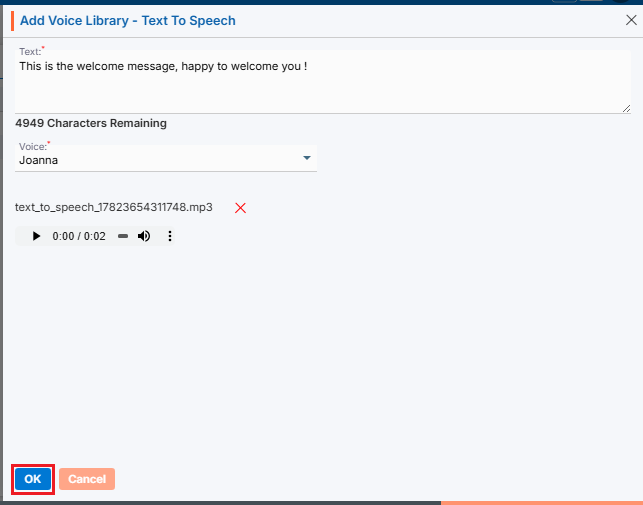
- The recording file will be available on the Add Voice Library page.
- Once all the details have been filled in and the selection is complete, click on Save button.
- While using the Text-to-Speech option, the Add Recording button will be enabled.
- Steps to add System Recording file:
- The Voice Libraries are now listed and ready to use and displayed with its Voice Library Type. New Voice Library will be enabled by default.

- Enable/Disable Voice Library:
- Click Enable ()icon from the Action Column for the Voice Library you want to Disable.
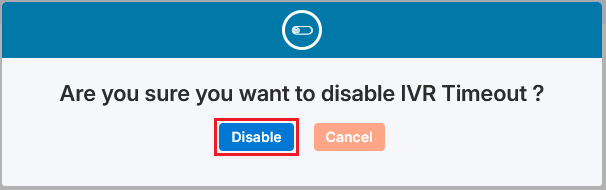
- It will ask for confirmation popup, click on Disable () button as per the requirement otherwise click on Close button.
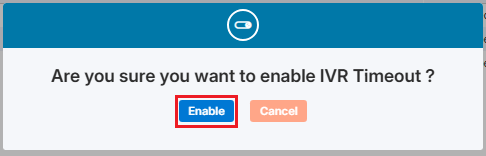
- Click Disable () icon from the Action Column for the Voice Library you want to Enable.

- It will ask for confirmation popup, click on Enable () button as per the requirement otherwise click on Close button.
- Click Enable (
- View Voice Library:
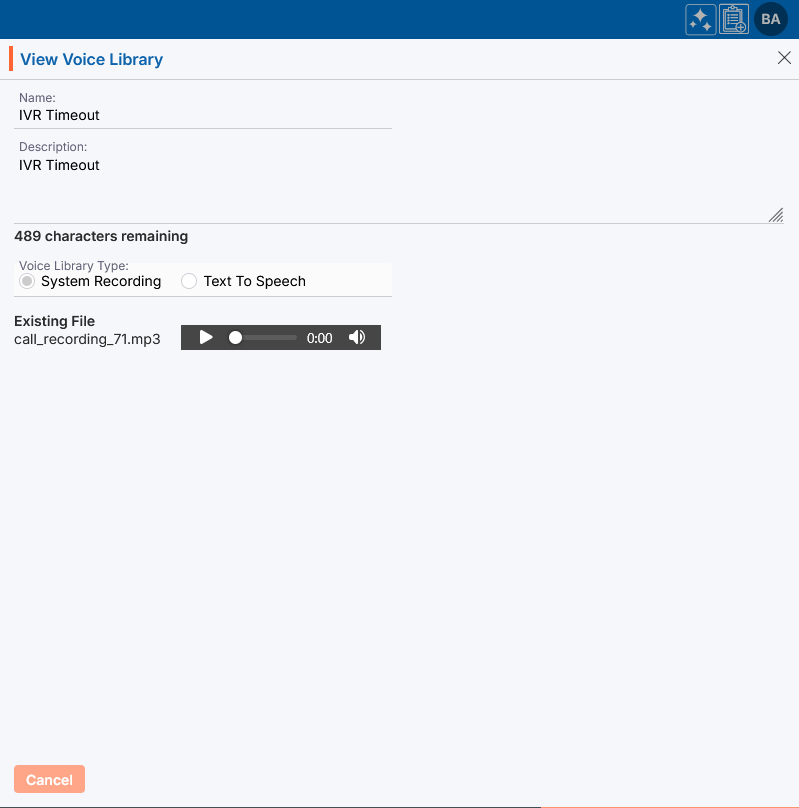
- Click View () icon from the Action Column for the Voice Library you want to view details of Voice Library, new page will open with all details of Voice Library.
- A new pop-up window will open, displaying all the Voice Library details in view only mode.
- Click View (
- Edit/Update Voice Library:
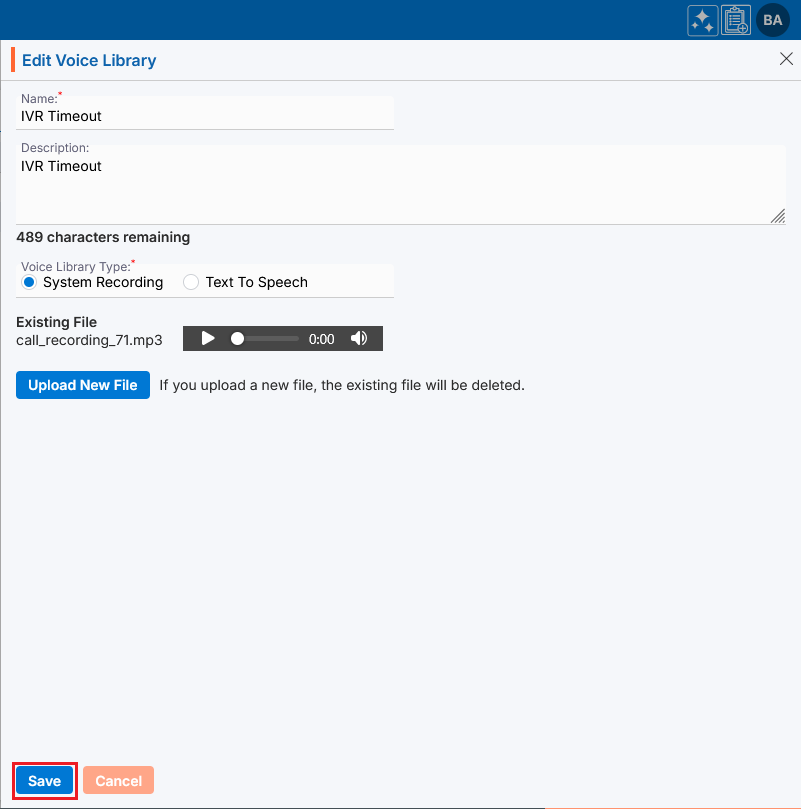
- To update the existing Voice Library from the available list, Click on Edit () icon from Action Column for the Voice Library you want to edit/update.
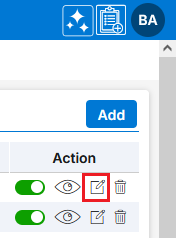
- Clicking Edit () icon will open the selected Voice Library in edit mode with title Edit Voice Library. Update the required field and click Save.
- To update the existing Voice Library from the available list, Click on Edit (
- Delete Voice Library:
- To delete the existing Voice Library from the available list, click on Delete () icon from the Action Column for the Voice Library you want to delete.
- It will ask for confirmation popup, click on Deleted button to delete Voice Library otherwise click on Close button.
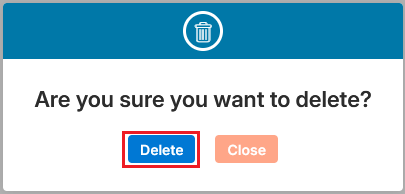
- To delete the existing Voice Library from the available list, click on Delete (
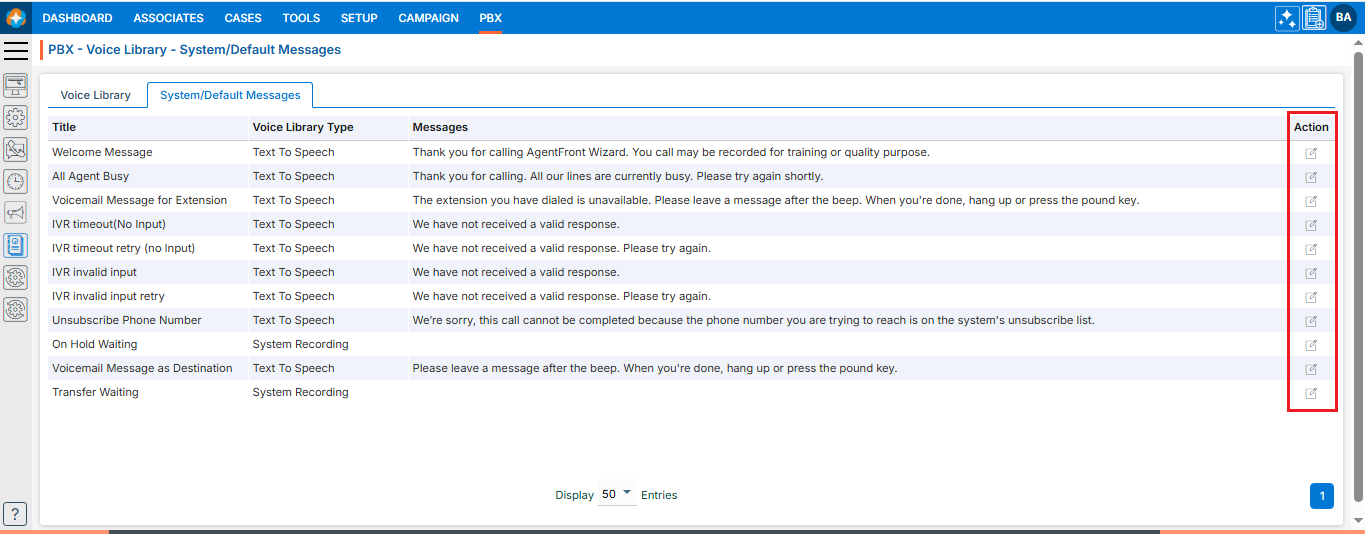
- System/Default Messages
- On the same page, a separate tab named “System/Default Messages” is available next to the “Voice Library” tab. Click on the “System/Default Messages” tab to proceed.
- This tab will display the available System generated default messages list.
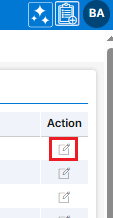
- There is only Edit () option available for the existing System/Default Messages under the Action column.
- To update the any existing System/Default Message from the available list, Click on Edit () icon from Action Column for the System/Default Messages you want to edit/update.
- Clicking Edit () icon will open the selected Message in edit mode with title Edit System/Default Messages. It allows users to update the Voice Library Type only from System Recording to Text To Speech and Text to Speech to System Recording as required.
For example, here we are updating Voice Library Type from “Text To Speech” to System Recording and click Save.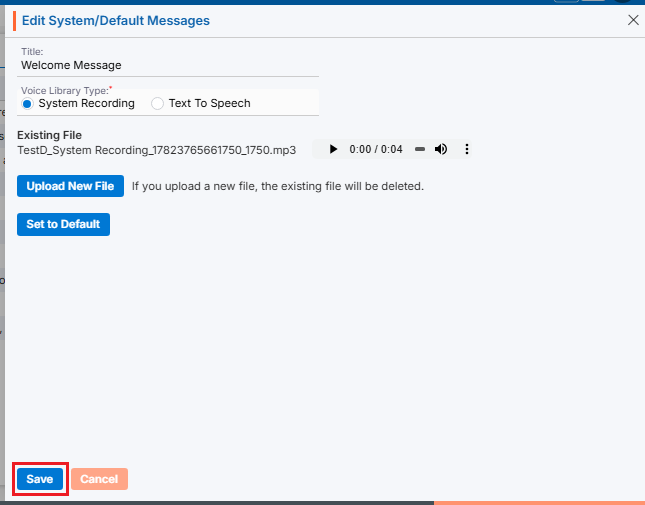
- The updated Voice Library Type will be displayed in the listing.

- Click on Add button to add new Voice Library.