Form Creator is a feature that allows users to design and build custom forms. These forms are typically used by the sales or support teams to enter information into the CRM system manually.
Setup Form Creator
- Sign in to AgentFront CRM.
- From the top menu, choose SETUP.
- In the left-side panel, select System Setup.
- Under System Setup, click Form Creator.
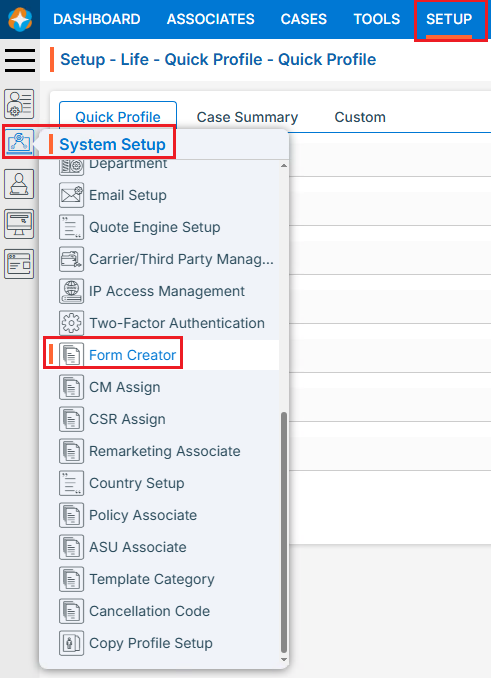
- The Form Creator page will open, displaying existing Forms.
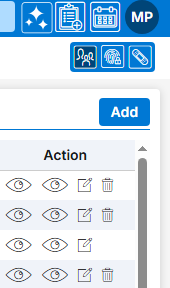
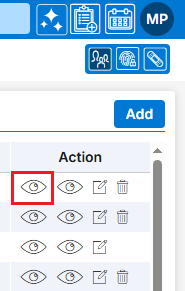
- There is an Add button above the Action Column on the right panel to add new Form.
- There are options to Preview (
 ), View (), Edit () and Delete (
 ) the existing Forms under the Action column.
- Note: If any Form is used or implemented, the Delete option will not be available for that Form, meaning it cannot be deleted.

- Note: If any Form is used or implemented, the Delete option will not be available for that Form, meaning it cannot be deleted.
Add new Form
- Click on Add button to add new Form.
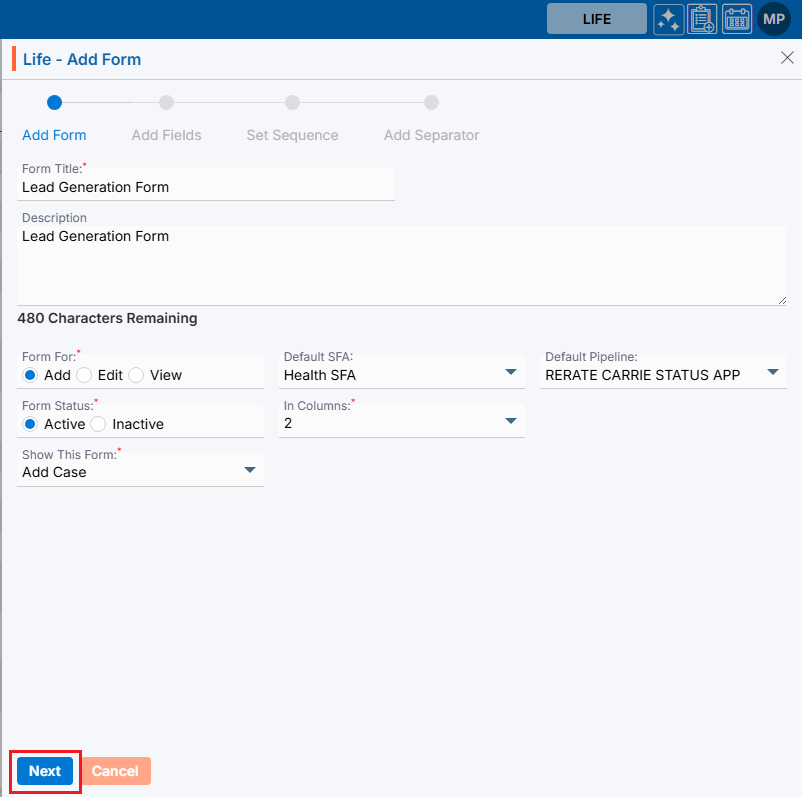
- The Add Form window will open, allowing the user to enter the required details to create a new Form.
- Form Title: Enter the clear, descriptive Title. This is what users will see on the form. This is a mandatory field. Maximum length of this field is 35 characters.
- Description: Optional explanation of the Form’s description. This is not a mandatory field. Maximum length of this field is 500 characters.
- Form For: This field has three options—Add, Edit, and View—each functioning separately, with Add selected by default. Forms created using Add, Edit, or View will have Form Numbers starting with CF, UF, or VF respectively, and will be placed based on the ‘Show This Form’ drop-down selection. This is a mandatory field.
- Default SFA: This field is enabled only when the ‘Add’ option is selected in the ‘Form For’ field; select the SFA name from the dropdown, and profiles created via ‘Add Case’ or ‘Web Form’ will be moved to the chosen SFA folder. This is not a mandatory field.
- Default Pipeline: This field is enabled only when the ‘Add’ option is selected in the ‘Form For’ field; select the Pipeline name from the dropdown, and profiles created via ‘Add Case’ or ‘Web Form’ will be moved to the selected Pipeline. This is not a mandatory field.
- Form Status: This field lets you set the form as Active (available as per setup) or Inactive (not available anywhere); select the desired option. This is a mandatory field.
- In Columns: This field has three options: 1, 2, and 3. The form will be generated in the column corresponding to the selected option. Select the desired option. This is a mandatory field.
- Show This Form: If ‘Add’ is selected in ‘Form For’, the dropdown shows None, Add Case, and Web Form—where None makes the form unavailable, Add Case shows it under Cases > Add Case, and Web Form under Setup > Lead Generation > Web Forms.
- If ‘Edit’ or ‘View’ is selected, the dropdown shows None, Quick Profile Tabs, Top Right Sub Header, and Information Tab—where Edit allows modifications and View is read-only, with placement based on the selected option. This is a mandatory field.
- Click Next button.
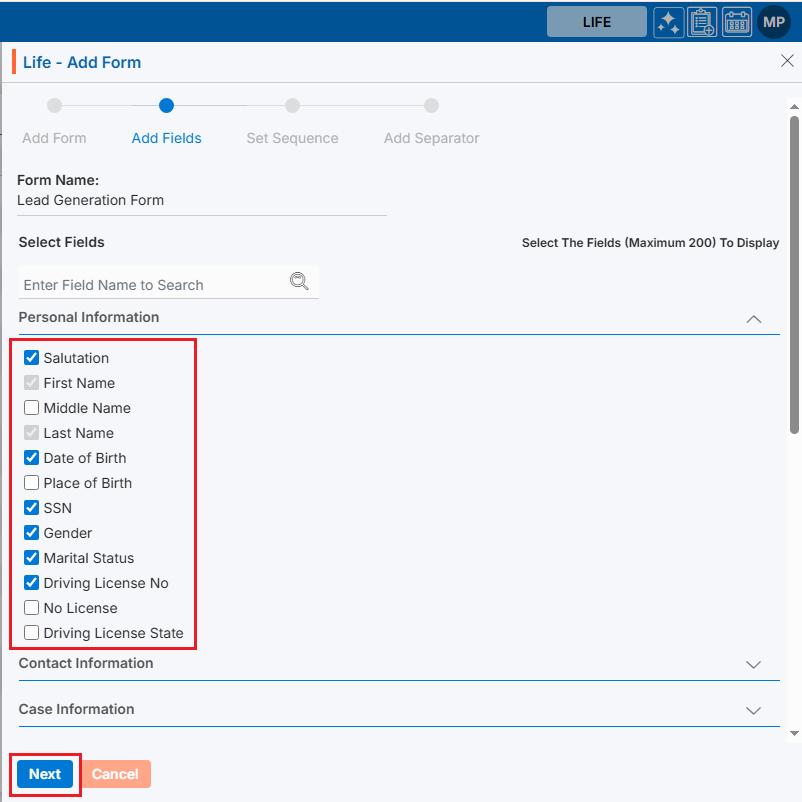
- On the same page next step-Add Fields will display, the fields groups that can be added to the form.
- Select fields and click Next.
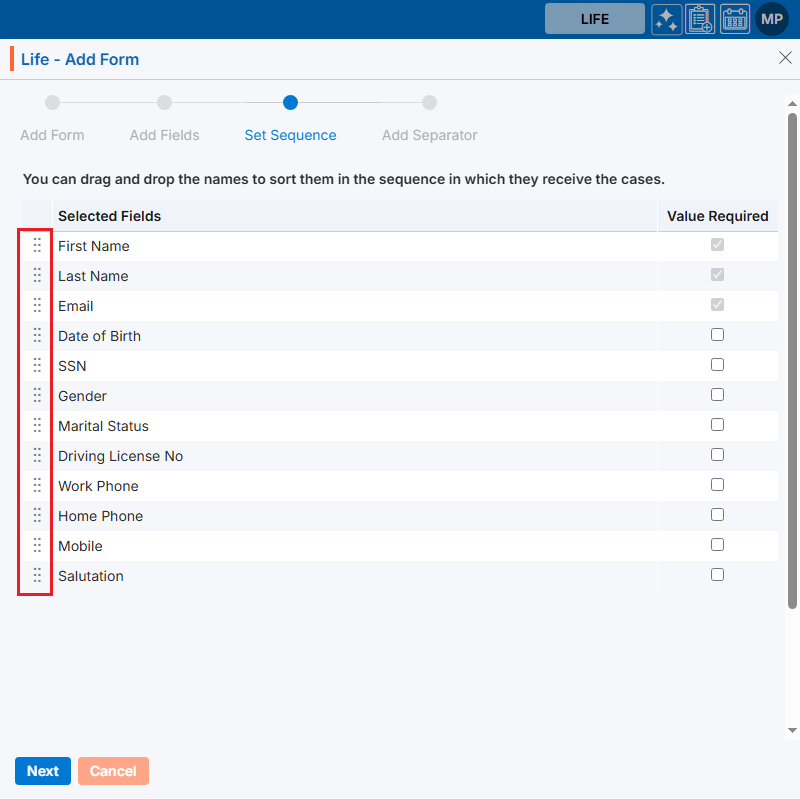
- On the same page next step-Set Sequence will open from where sequence of the fields can be updated.
- Update the sequence of fields as per the need and click on Next.
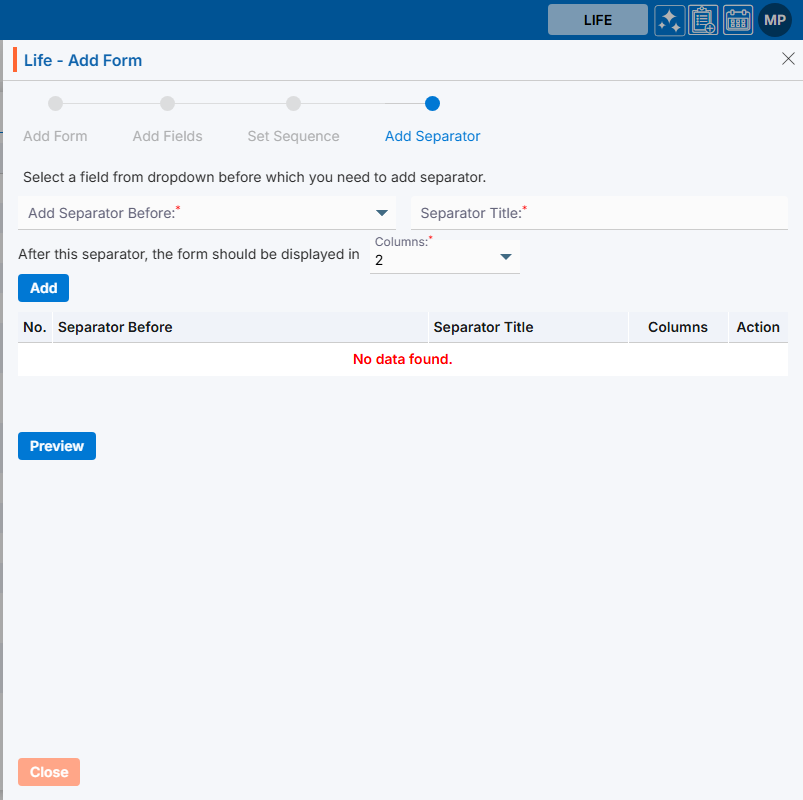
- On the same page next step-Add Separator will be open, from here separator can be added.
- Maximum 3 separators can be added.
- Click on Close.
- The Form is now listed and ready for use.

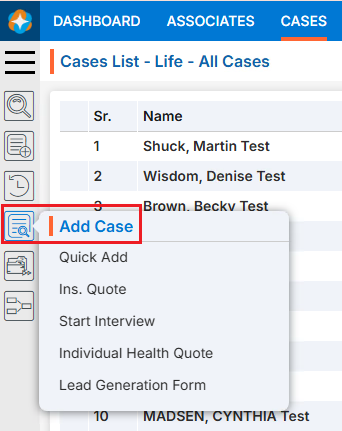
View Form in Cases Tab
- Go to Cases Tab.
- Click on Add Cases where you will find the newly created form.
Preview Form
- Click the Preview () icon from the Action column for the form you want to preview.
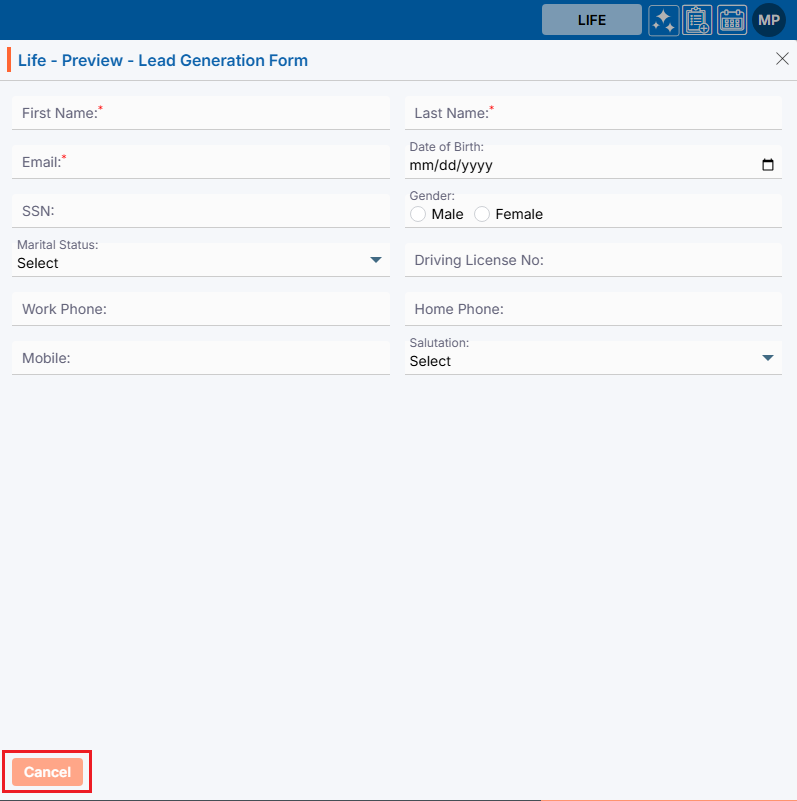
- Clicking on preview ()Icon, New page will open with all fields available in the form.
- Click on Cancel button.
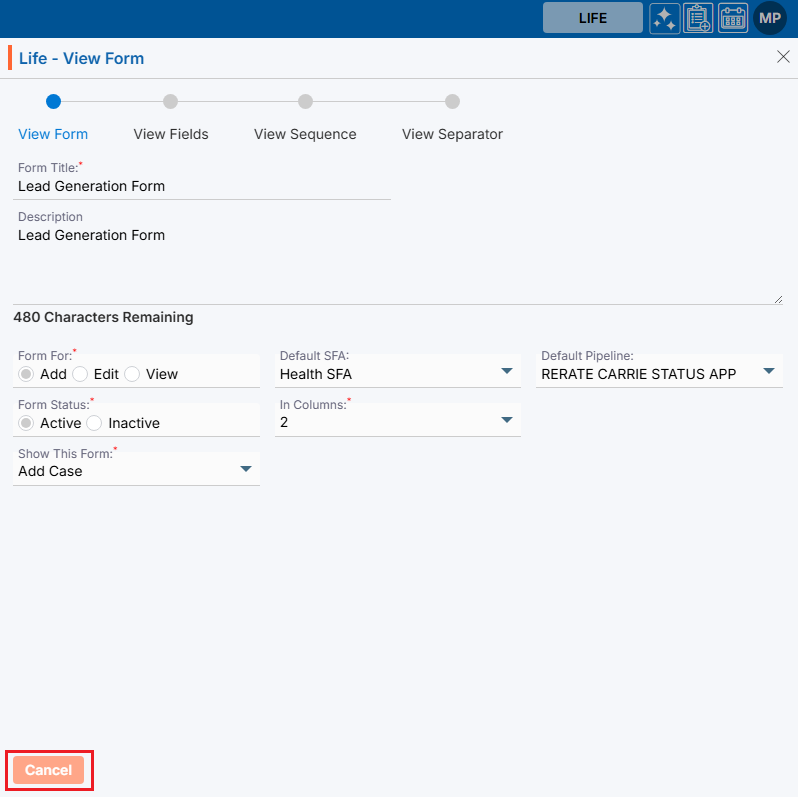
View Form
- Click View Contacts ()icon from the Action Column for the form you want to view details of form.
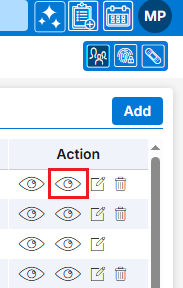
- Clicking on View ()Icon, New page will open with all details of Form.
Update Form
- To update the existing Form from the available list, Click on Edit () icon from Action Column for the Form you want to edit/change.
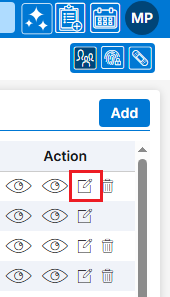
- Clicking Edit ( ) icon will open the selected Form in edit mode with title Edit Form.
- Update the required details and click Save.
Delete Form
- To delete the existing Form from the available list, click on Delete (
 ) icon from the Action Column for the Form you want to delete.
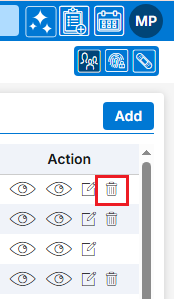
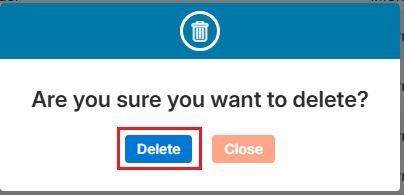
- It will ask for confirmation popup, click on Deleted button to delete Form otherwise click on Close button.
- If the Form is referenced elsewhere deletion is restricted until those referenced are removed.