 - Knowledge Base
 Dashboard Setup refers to the process of creating and organizing a dashboard, which is a visual interface used to display key information, data, or metrics in a clear and easily digestible format.
Setup Dashboard
- Sign in to AgentFront CRM.
- From the top menu, choose Setup.
- Select Dashboard Setup from left side panel.
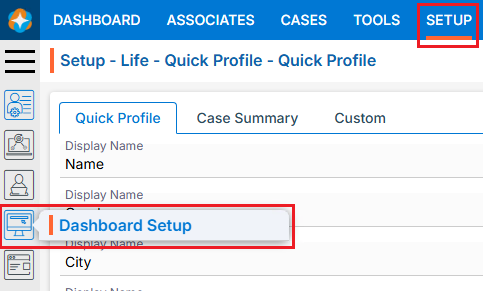
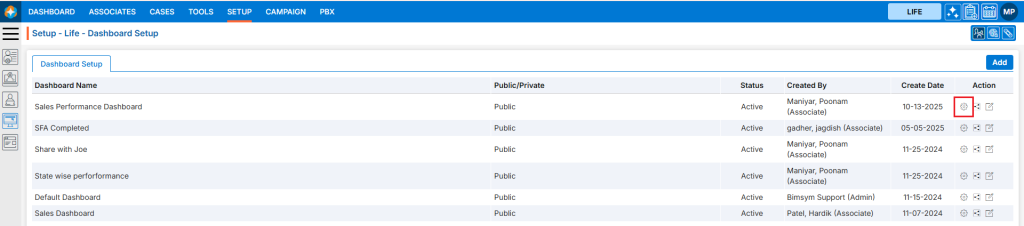
- The Dashboard Setup page will open, displaying existing Dashboards.
- There is an Add button above the Action Column on the right side of the page to add new Dashboard.
- There are options to Manage (
 ), Assign/Share (
 ) and Edit (
 ) the available Dashboard under the Action column.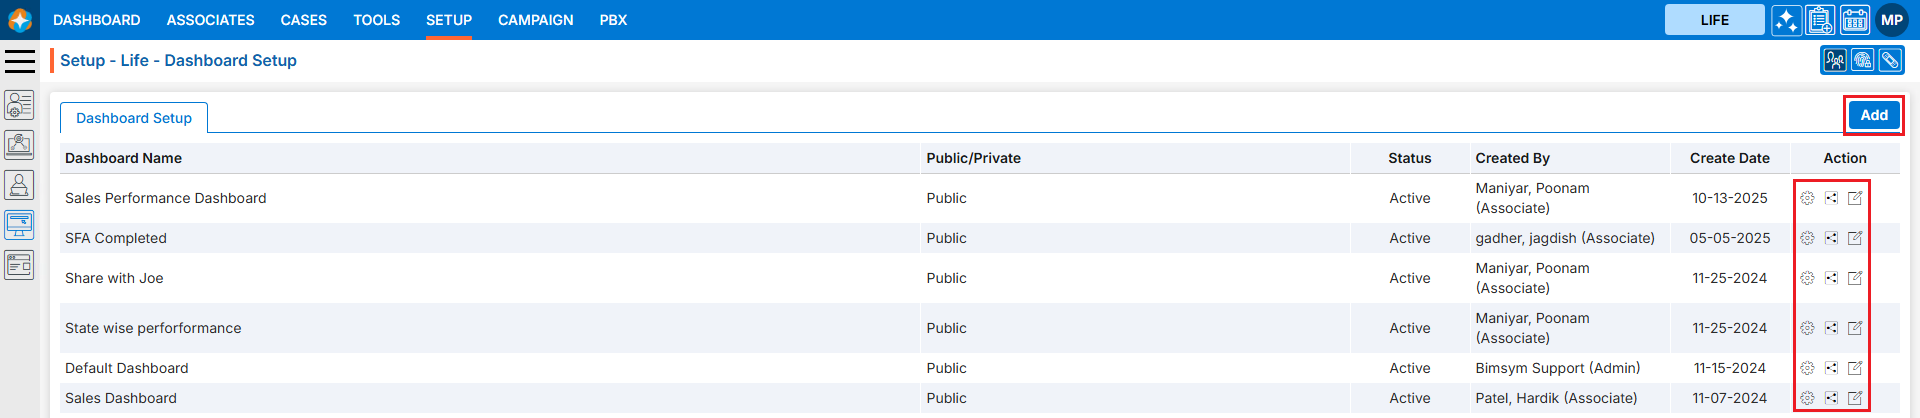
Add new Dashboard:
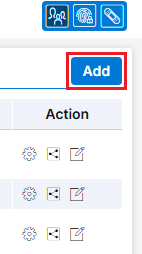
- Click on Add button to add new Dashboard.
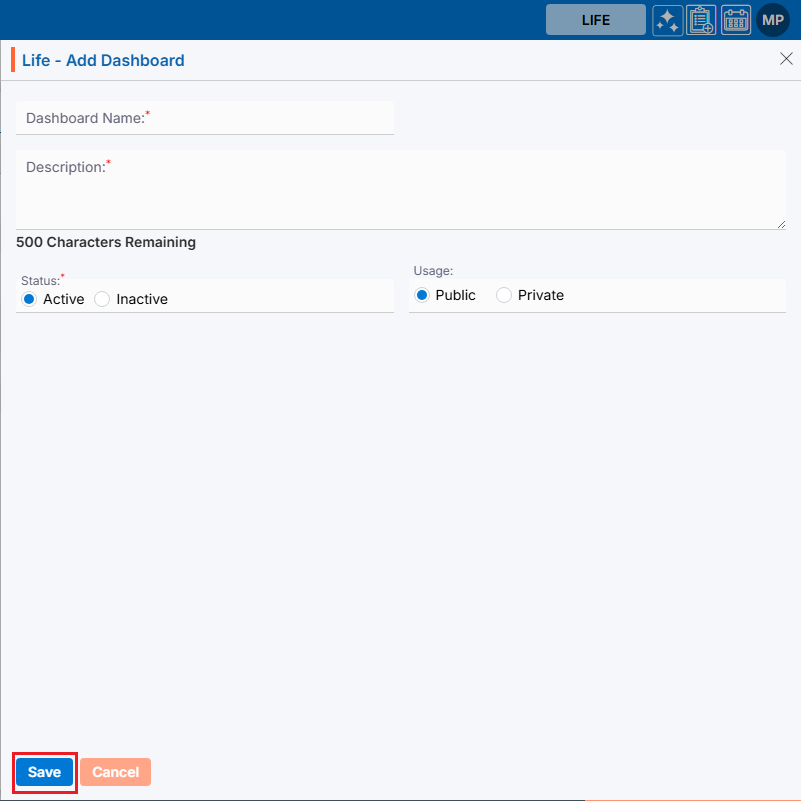
- The Add Dashboard window will open, allowing the user to enter the required details to create a new Dashboard.
- Dashboard Name: Enter the clear, descriptive name. This is what users will see under the Dashboard tab.
- Description: Optional explanation of the Dashboard’s description.
- Status: Select status from Active or Inactive options.
- Usage: Select usage from Public or Private options.
- Once the required fields are filled, click the Save button.
- The dashboard is now listed and ready to use.
- Using the Manage option, the user can set a customized dashboard.
View Dashboard under Dashboard Tab:
- Navigate to Dashboard tab to view newly added Dashboard.
- Click Dashboard in the top menu and select the newly created dashboard from the drop-down menu. As no widgets or charts have been created yet, the dashboard displays a message asking you to add them.

Steps to Setup Customize Dashboard
Manage Dashboard Setup:
- Navigate to SETUP > Dashboard Setup again.
- Click Manage () icon from the Action Column for the newly added Dashboard to Manage details of Dashboard.
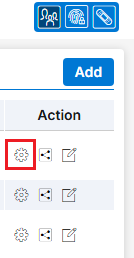
- A new page will open with all details of Dashboard.
- There are two options to add in dashboard:
- Widgets and
- Chart
- The Widgets tab opens by default. Users can create Widgets and Chart from this tab as required.
- There are Back (
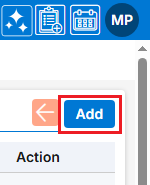
 ) and Add buttons above the Action Column on the right side of the page.
Below are the steps to add Widget.
- Add Widget:
- Click on Add button to add new Widget.
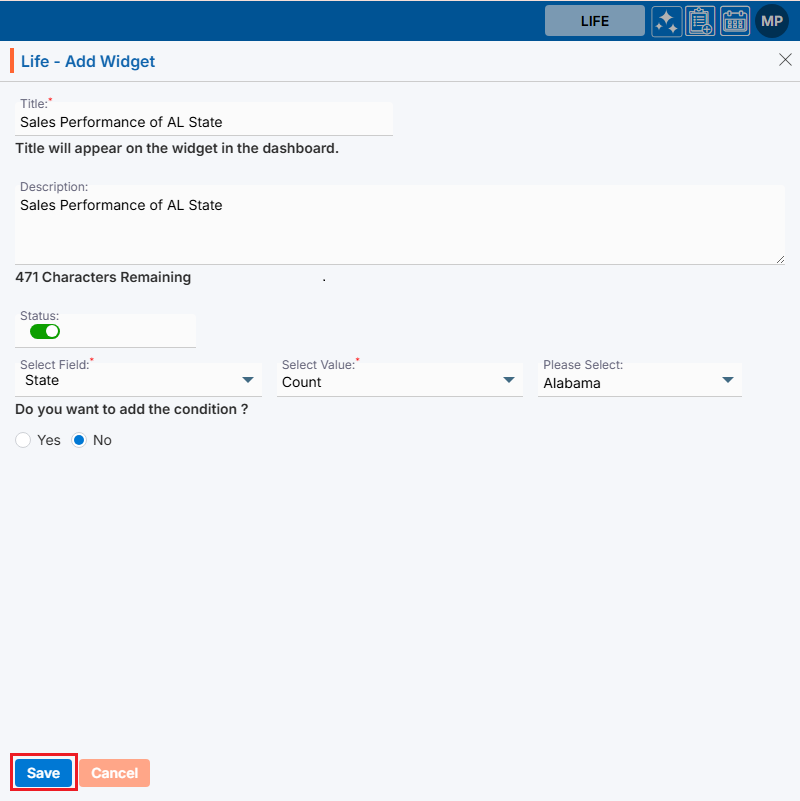
- The Add Widget window will open, allowing the user to enter the required details to create a new Widget.
- Widget Name: Enter the clear, descriptive name.
- Description: Optional explanation of the Dashboard’s description.
- Status: Select status from Active or Inactive options.
- Select Field: Select field from the given fields.
- Select Value: Select value for the selected field.
- Once required fields are filled, click Save button.
- The widget is now listed and ready to use.

- There are options to View (
 ), Edit () and Delete (
 ) the existing Widget under the Action column.
 - Also, users can Rearrange (
 ) Widgets according to their requirements.
- Click on Add button to add new Widget.
- View Widget:
- Click View () icon from the Action Column for the Widget you want to view details of widget.
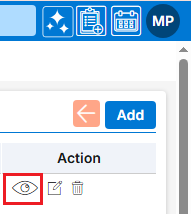
- A new page will open, displaying all the widget details in view only mode.
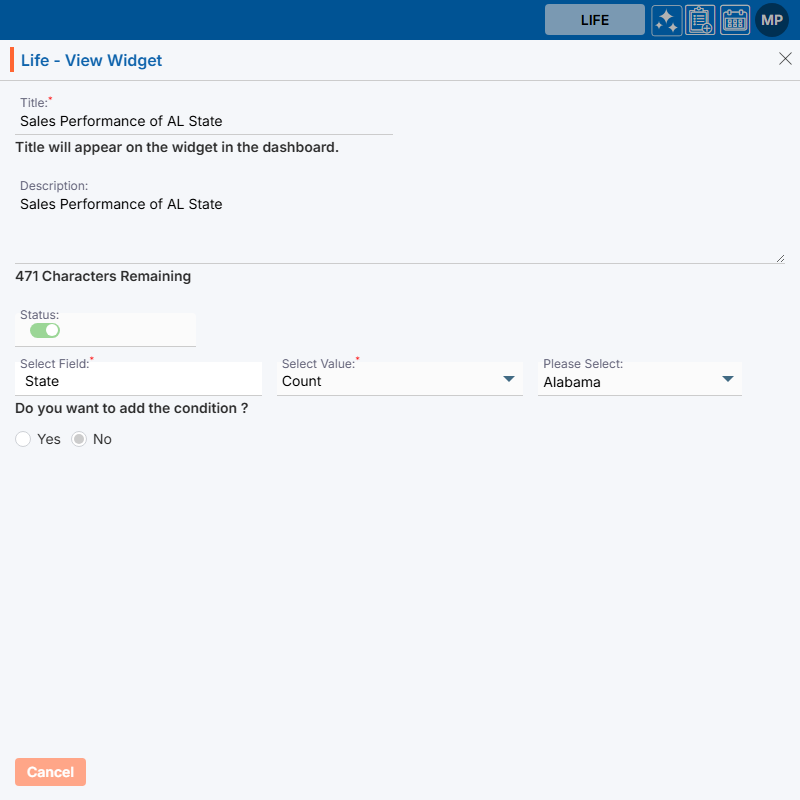
- Click View (
- Edit/Update Widget:
- To update the existing Widget from the available list, Click on Edit ( ) icon from Action Column for the Widget you want to edit/update.
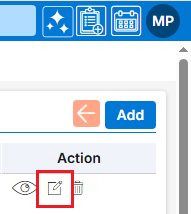
- Clicking Edit () icon will open the selected widget in edit mode with title Edit widget.
Update the required details and click Save.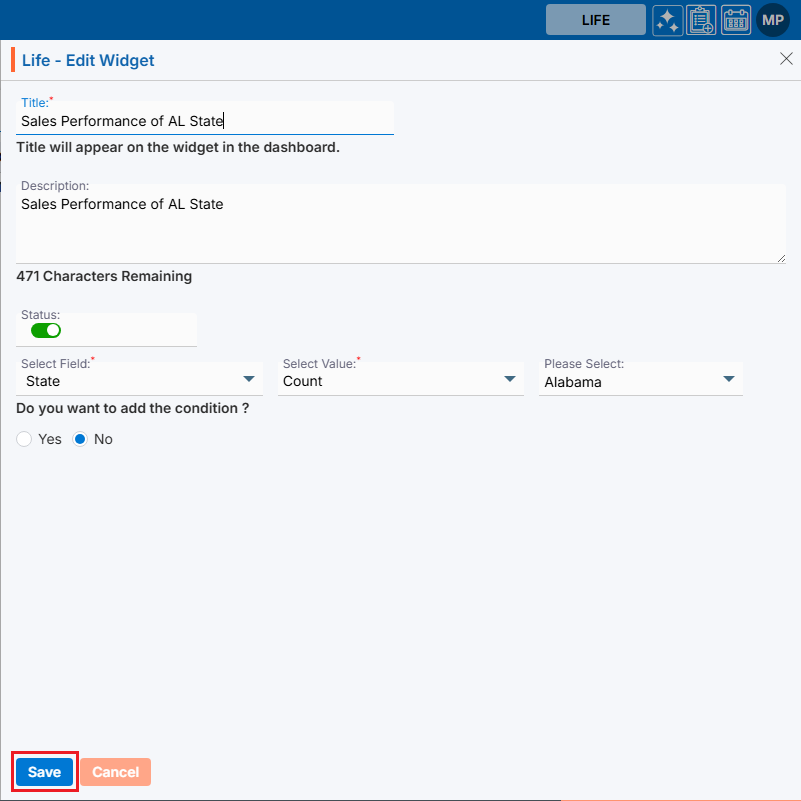
- To update the existing Widget from the available list, Click on Edit (
- Delete Widget:
- To delete the unwanted existing Widget from the available list, click on Delete () icon from the Action Column for the Widget you want to delete.
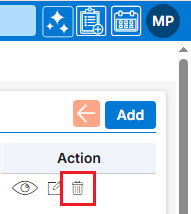
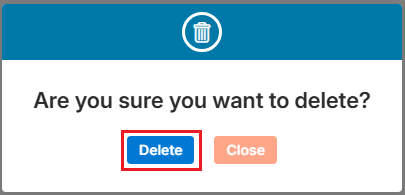
- It will ask for confirmation popup, click on Deleted button to delete the Widget otherwise click on Close button.
- To delete the unwanted existing Widget from the available list, click on Delete (
Just like with widgets, users can create charts for the same dashboard.
Below are the steps to add Charts
2. Charts:
- Click Charts next to Widgets.

- There are Back () and Add buttons above the Action Column on the right side of the page.

- Add Chart
- Click on Add button to add new Chart.
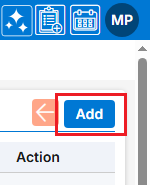
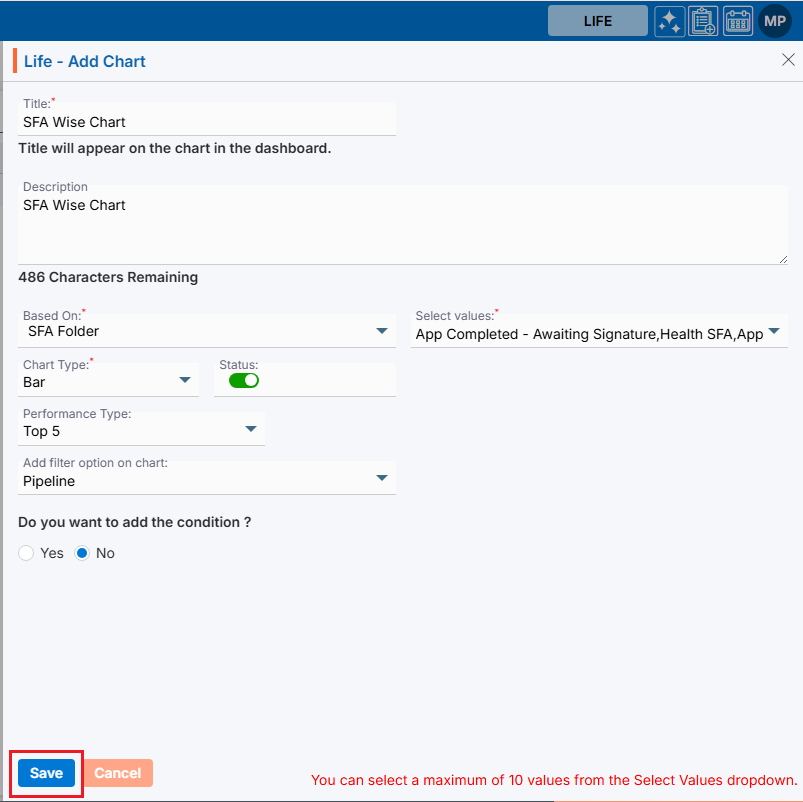
- The Add Chart window will open, allowing the user to enter the required details to create a new Chart.
- Title: Enter the clear, descriptive title of the Chart.
- Description: Optional explanation of the Chart’s description.
- Based On: This field is the main section of the chart. Chart is based on this field.
- Select Values: Select values for the bases on.
- Chart Type: Select chart type from the given options.
- Status: Select option from action of inactive.
- Performance Type: Select performance type for the given options.
- Add filter option on chart: Add filter option if needed.
- Do you want to add the condition?: add condition if required.
- Once required fields are filled, click Save button.
- The chart is now listed and ready to use.

- There are options to View (
 ), Edit () and Delete (
 ) the existing Chart under the Action column.
 - Also, users can Rearrange (
 ) Chart according to their requirements.
- Click on Add button to add new Chart.
- View Chart
- Click View (
 ) icon from the Action Column for the Chart you want to view details of chart.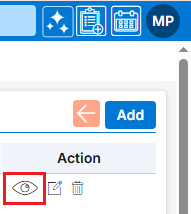
- A new page will open, displaying all the chart details in view only mode.
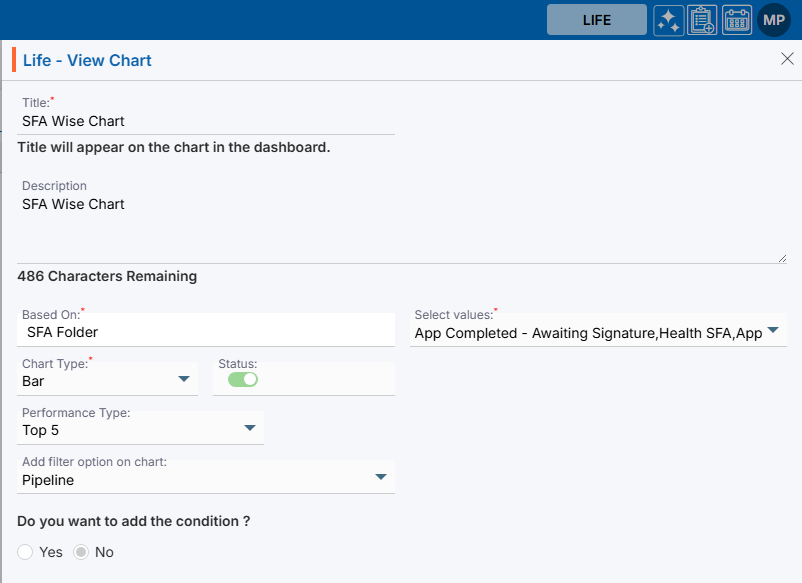
- Click View (
- Edit/Update Chart:
- To update the existing Chart from the available list, Click on Edit () icon from Action Column for the Chart you want to edit/update.
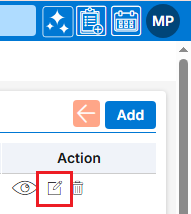
- Clicking Edit () icon will open the selected chart in edit mode with title Edit Chart. Update the required details and click Save.
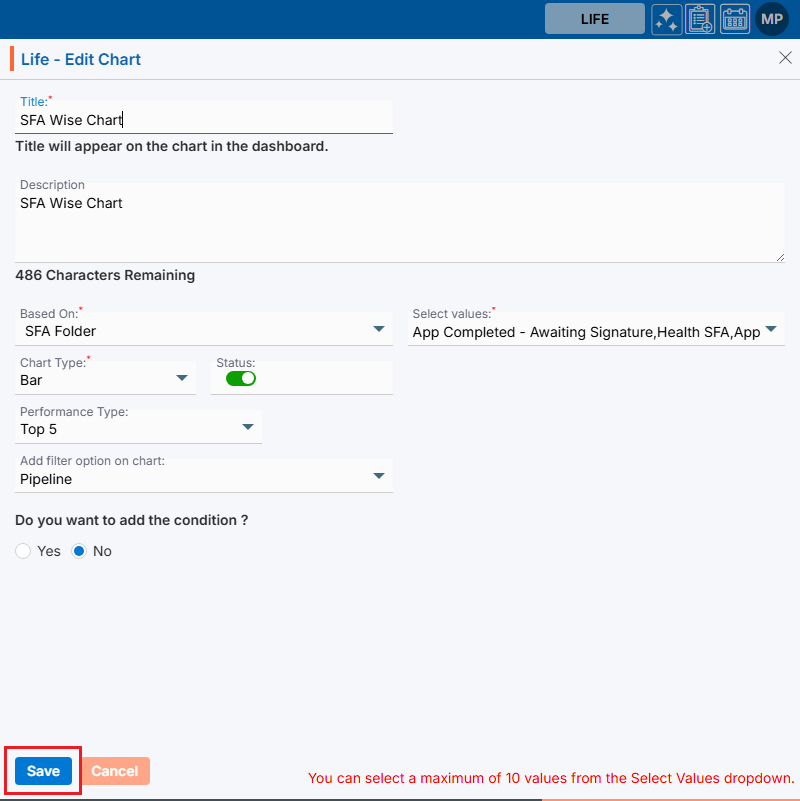
- To update the existing Chart from the available list, Click on Edit (
- Delete Chart:
- To delete the existing Chart from the available list, click on Delete () icon from the Action Column for the Chart you want to delete.
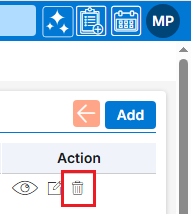
- It will ask for confirmation popup, click on Deleted button to delete the Chart otherwise click on Close button.
- To delete the existing Chart from the available list, click on Delete (
Back to Dashboard Setup:
- After completing the setup of Widget and Chart click on Back () button to complete the Dashboard setup.

Assign/Share Dashboard:
- Click on the Assign/Share () icon from the Action column to share the Dashboard with another user.
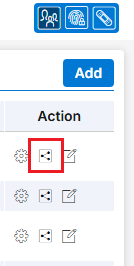
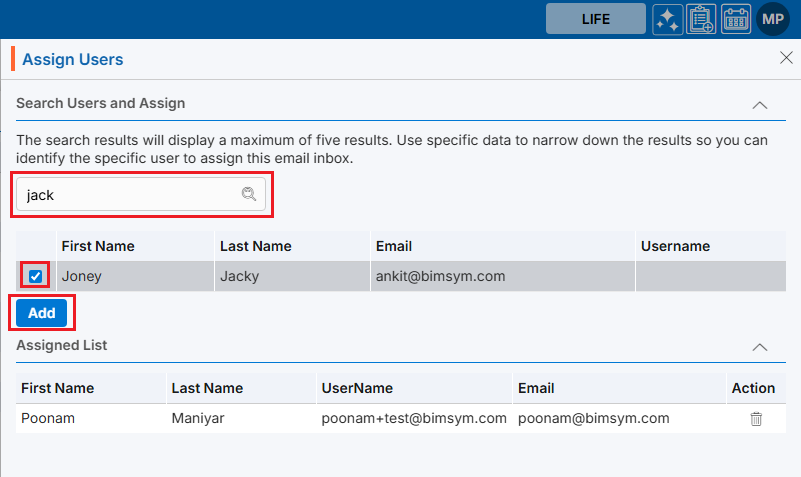
- A new pop-up will appear named – Assign Users.
- Search for the user with whom the dashboard needs to share with.
- Select the user from the drop down.
- Click on add button to add the user.
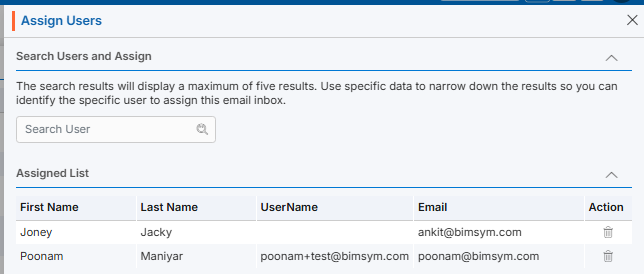
- System will generate confirmation message and widget shared with the person will look like below.
View Widget and Chart in Dashboard menu:
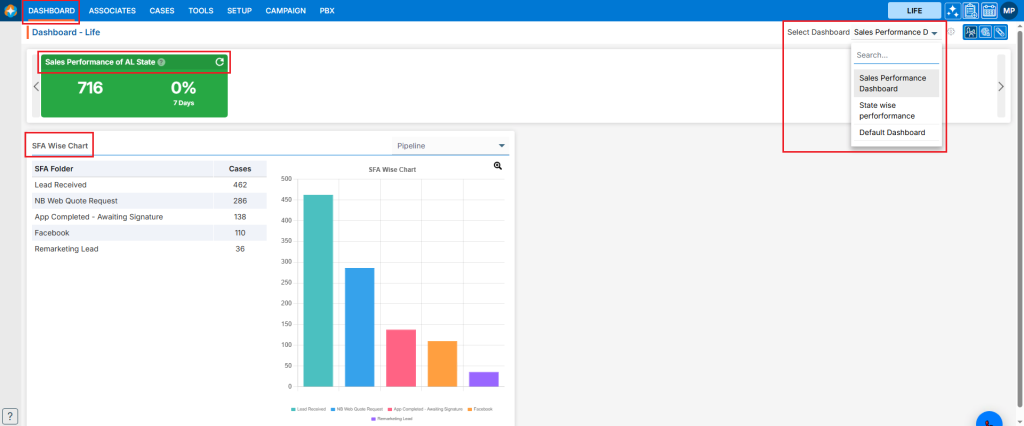
- Select Dashboard from the top menu.
- Select the newly created Dashboard from the right side Select Dashboard drop-down option.
Edit Dashboard Setup:
- To update the existing Dashboard from the available list, Click on Edit () icon from Action Column for the Dashboard you want to edit/change.
- Clicking Edit () icon will open the selected Dashboard in edit mode with title Edit Dashboard.
Update the required details and click Save.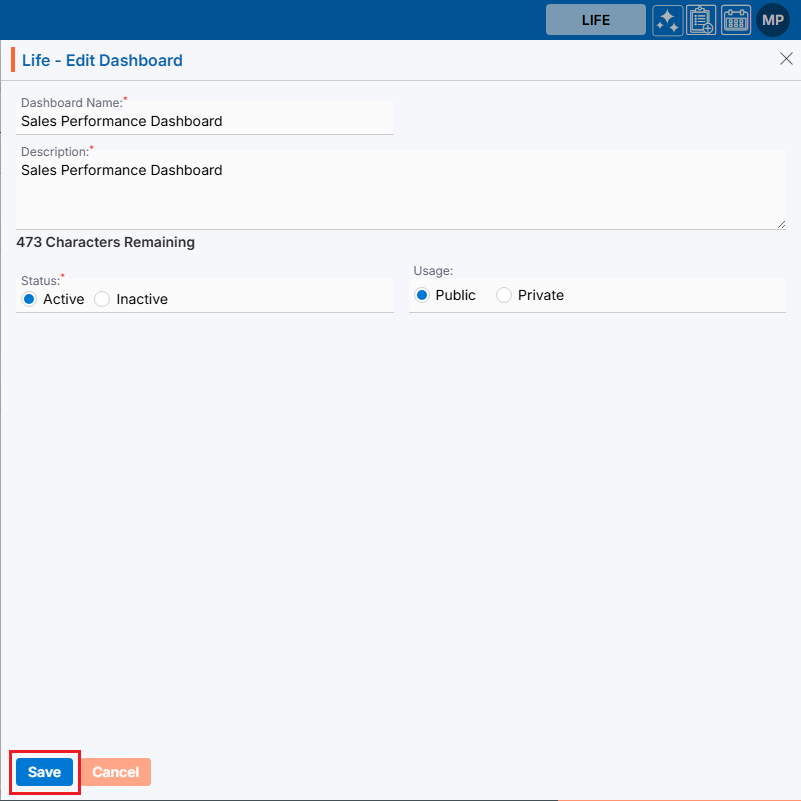
 0
0
 0
0