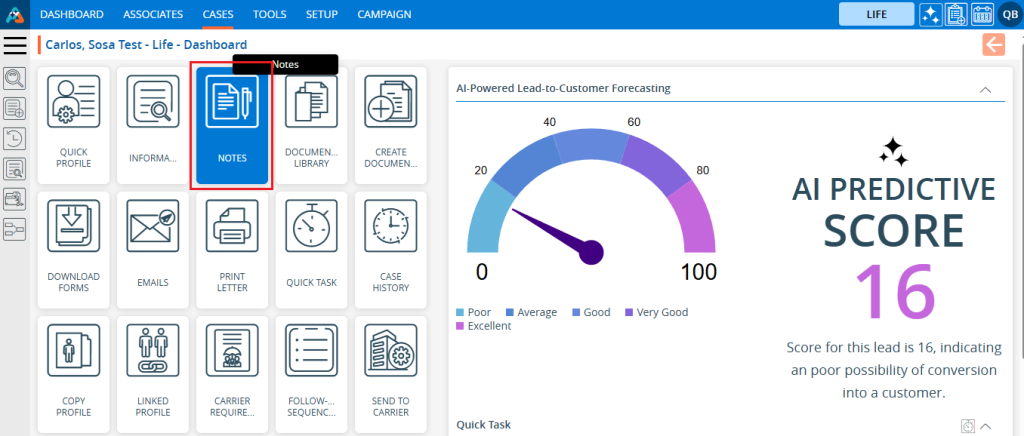
Information – The Information feature is utilized for adding and updating information related to cases within the system.
The following are the steps to add and update information for a case using the Information feature:
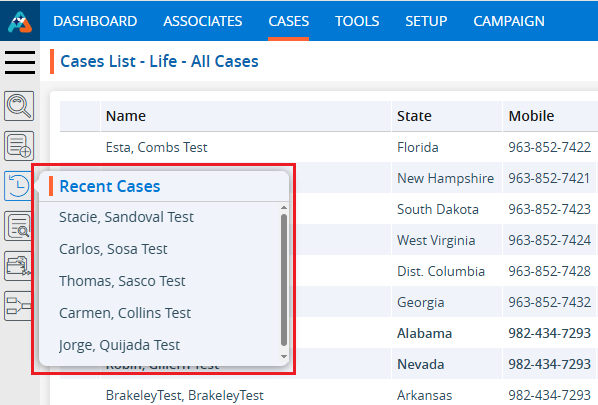
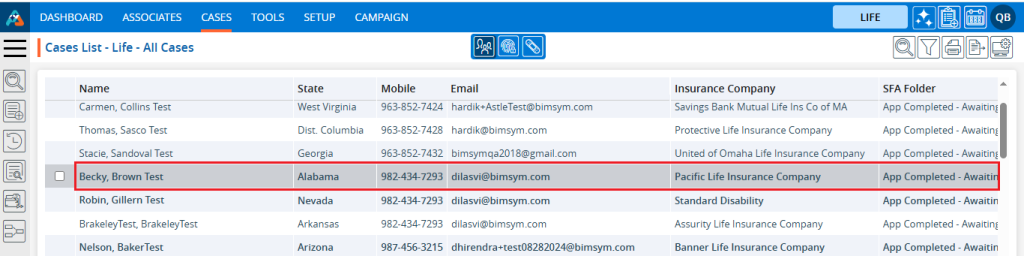
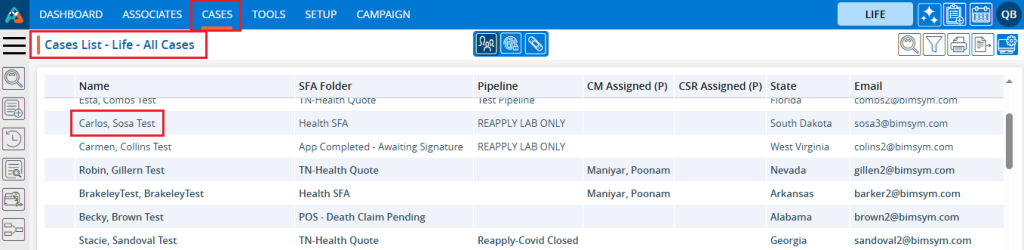
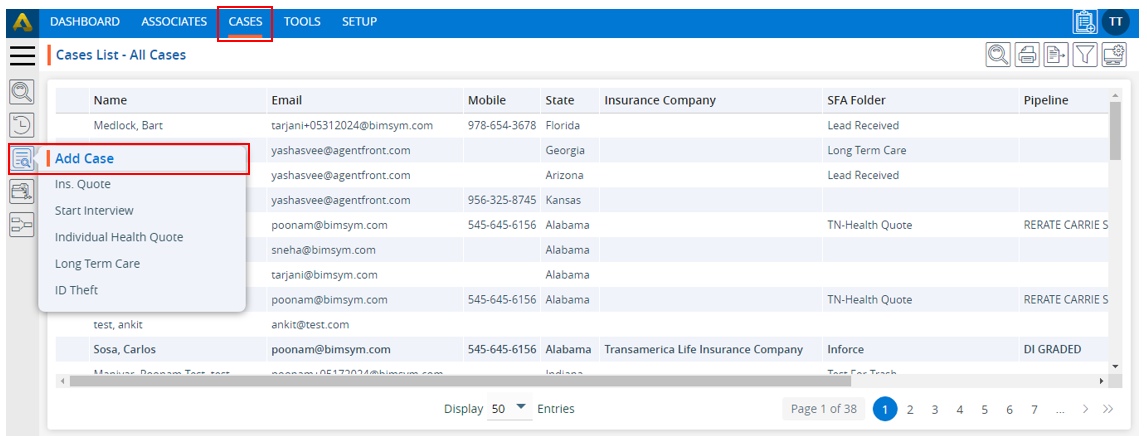
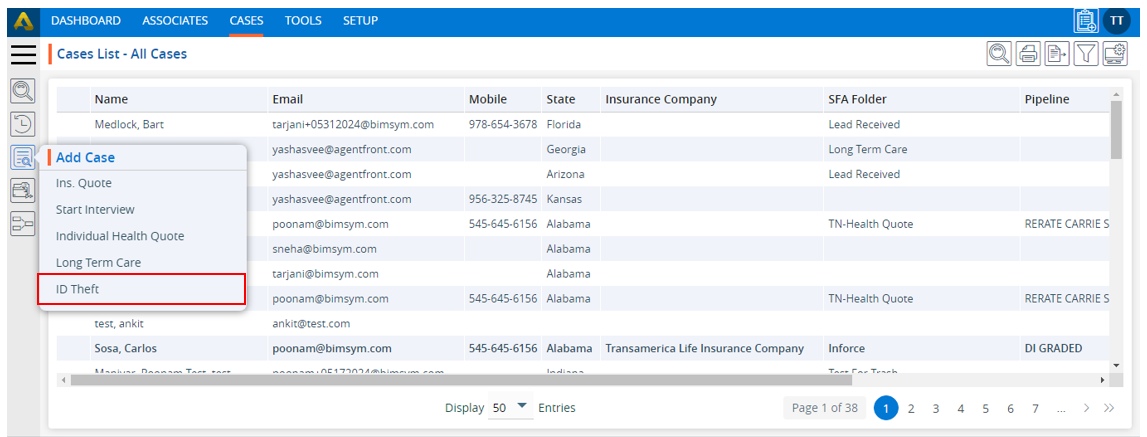
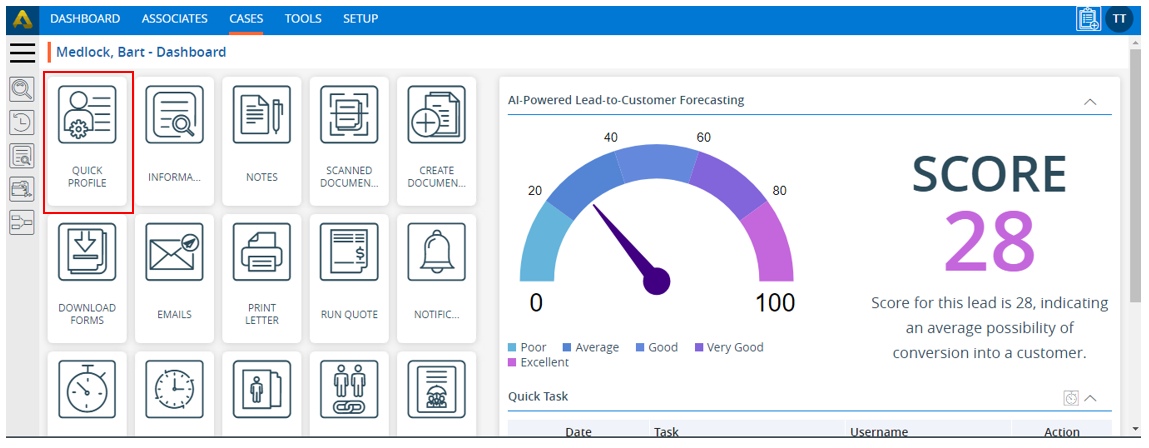
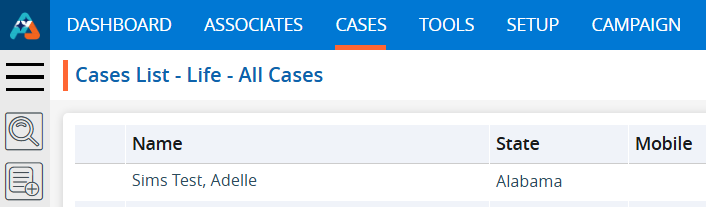
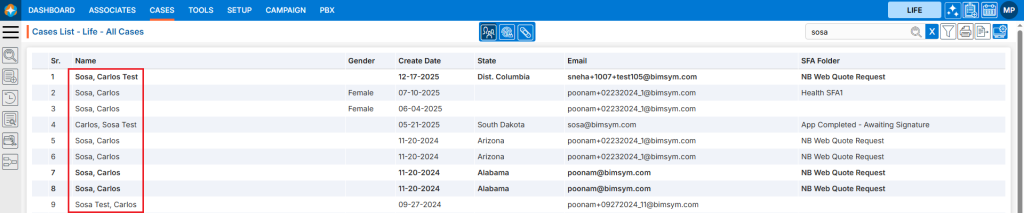
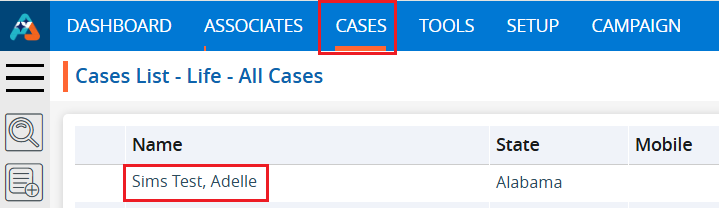
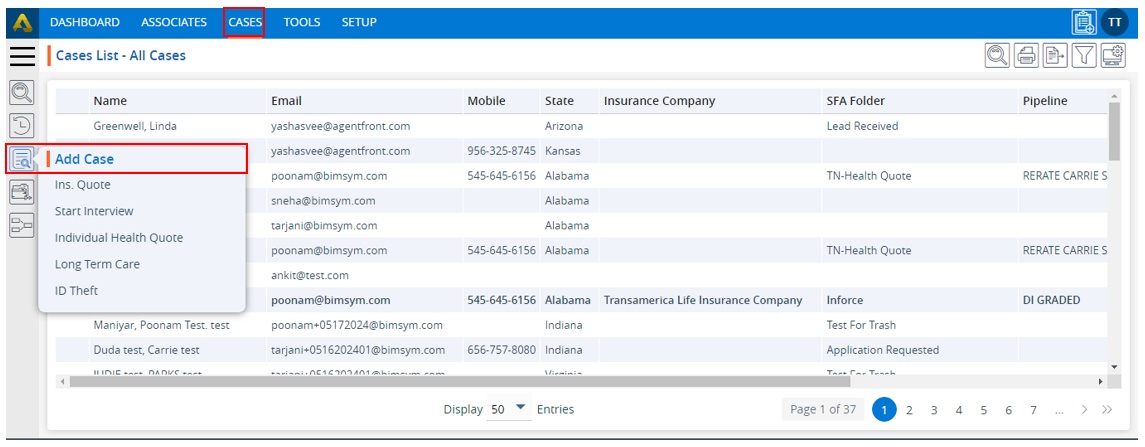
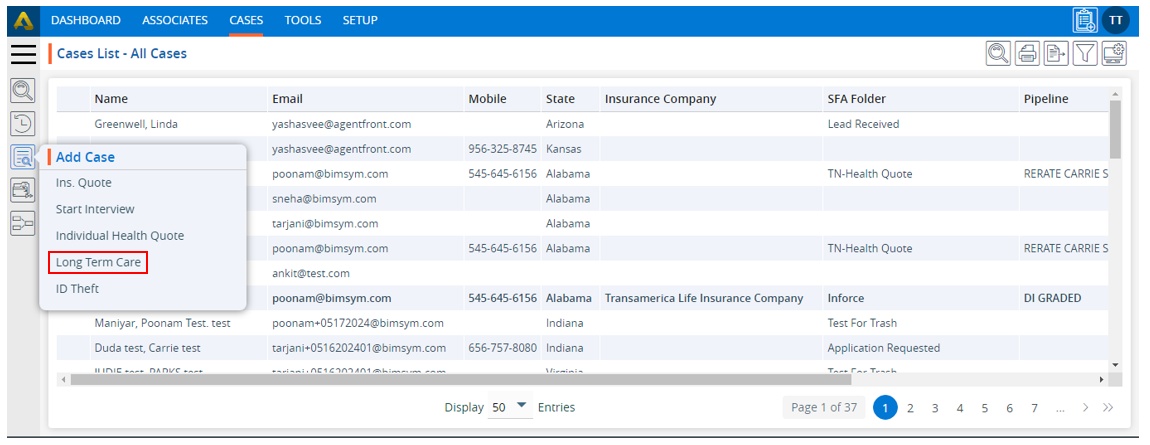
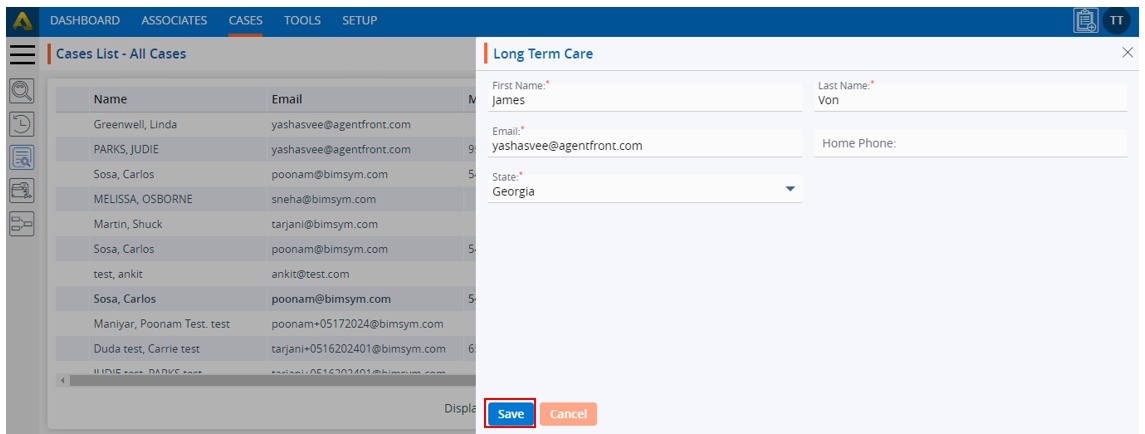
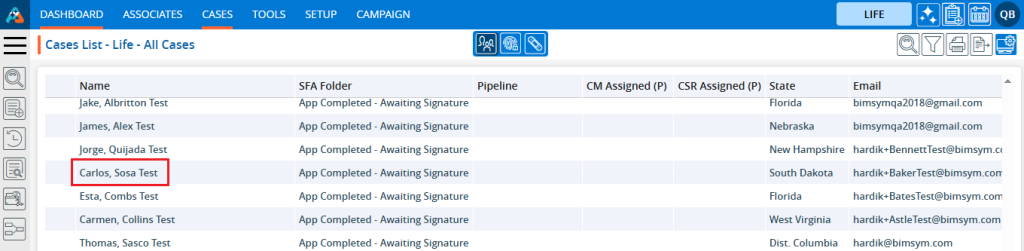
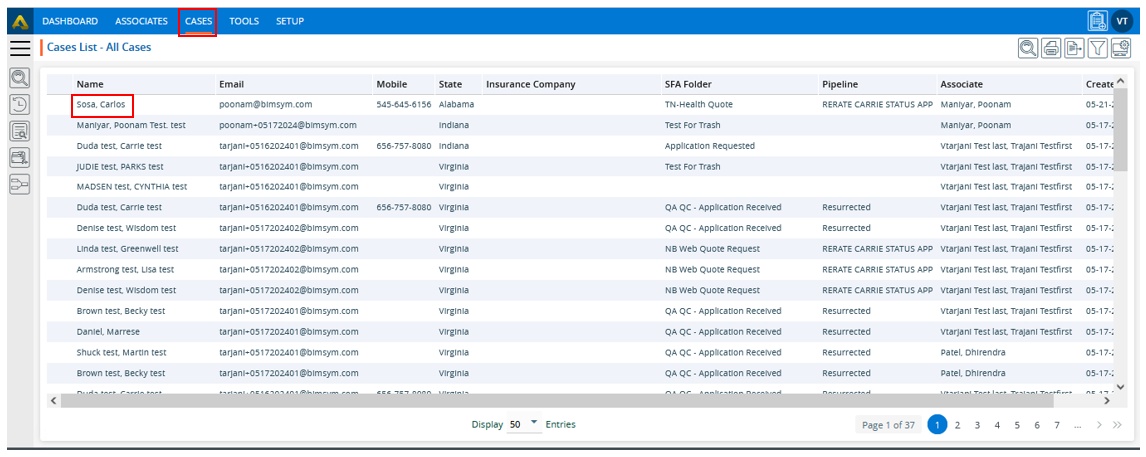
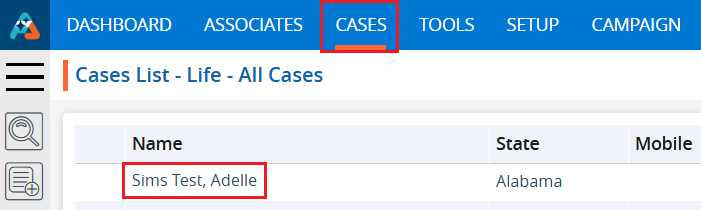
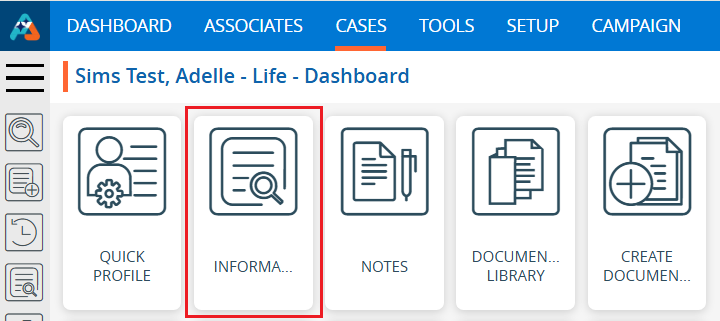
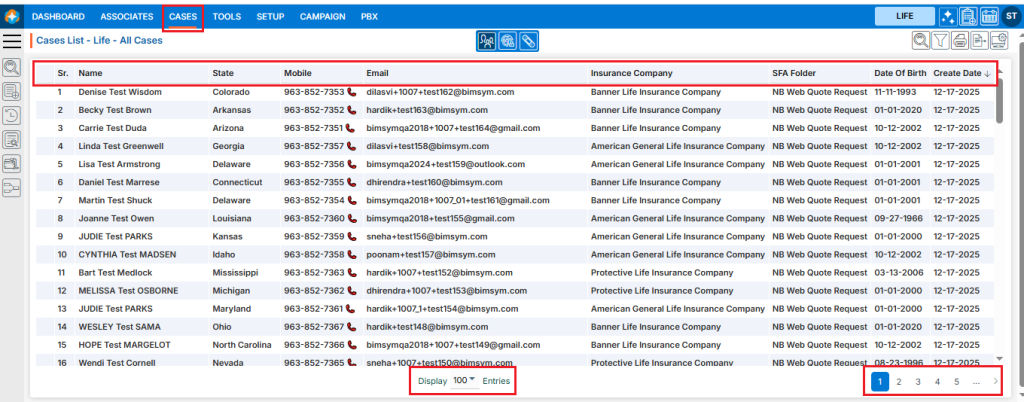
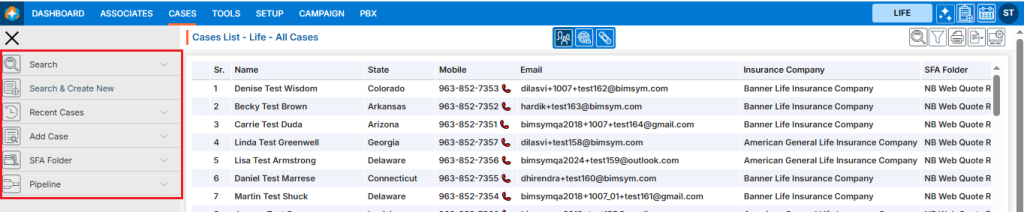
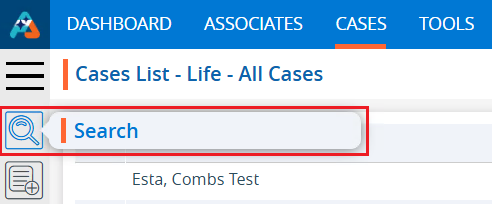
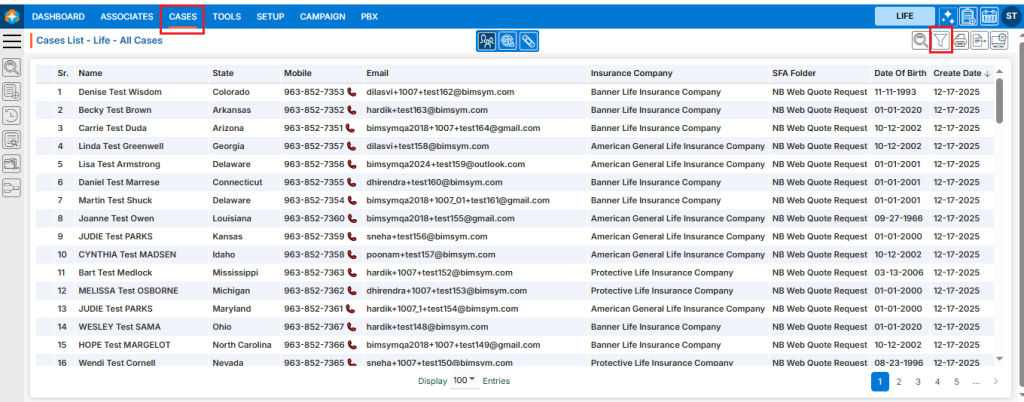
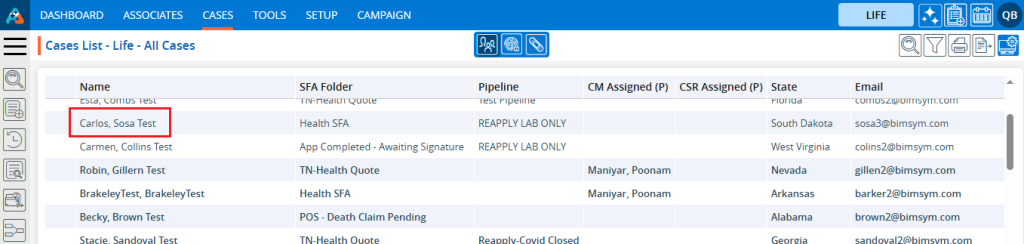
1. Navigate to the ‘CASES’ tab, where you’ll find the Cases List – All Cases.

2. Click on a case to proceed.
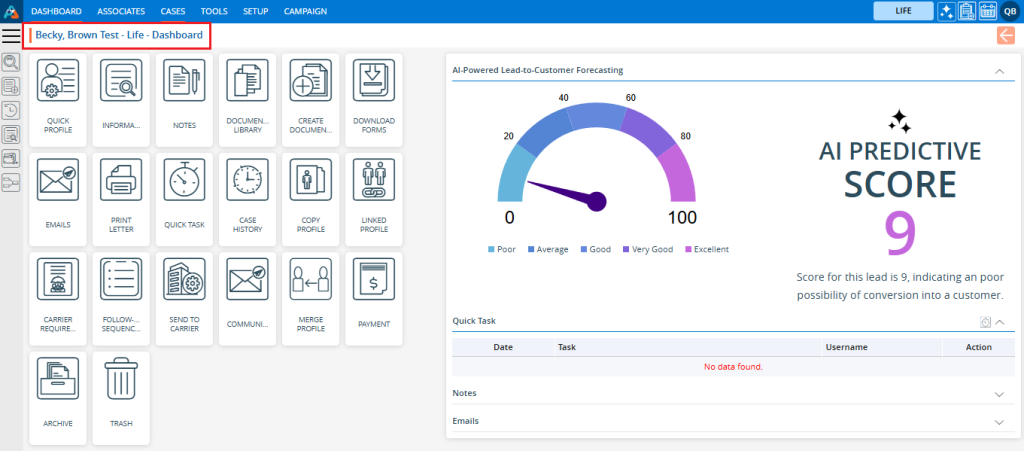
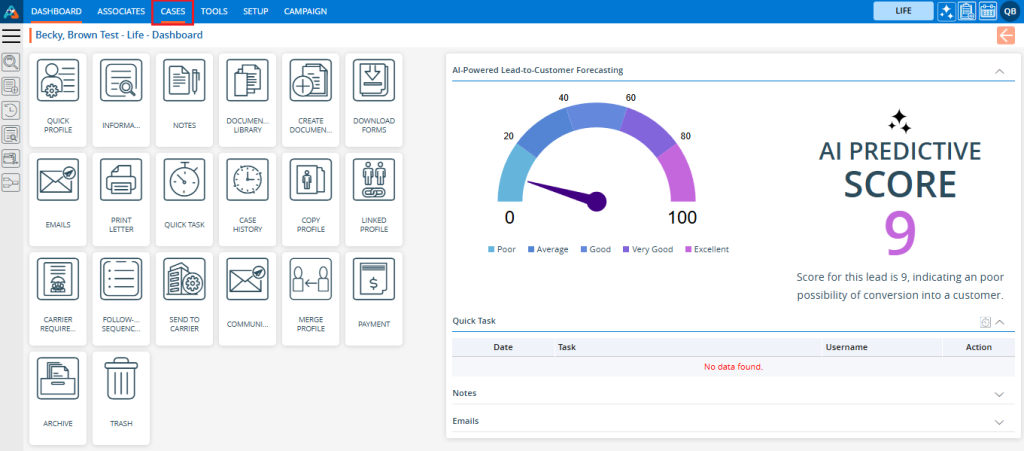
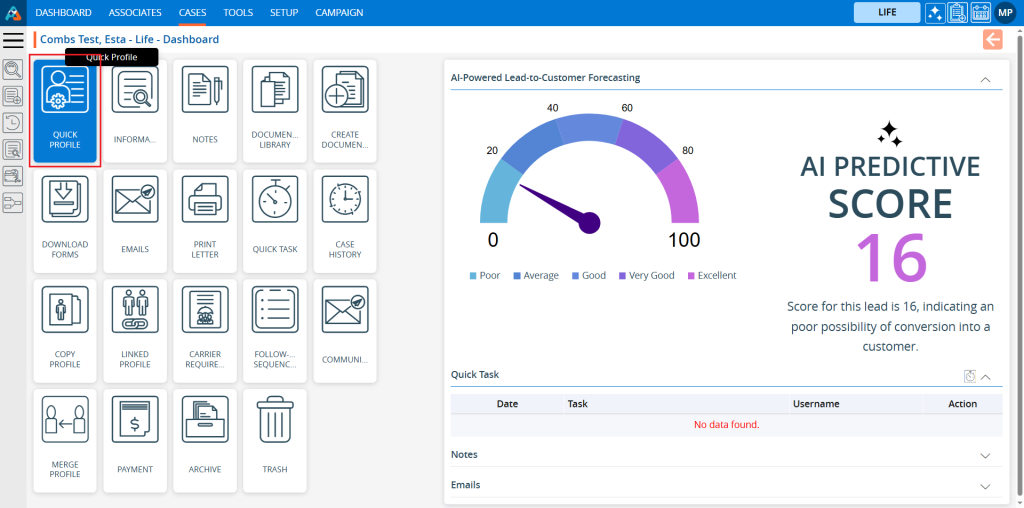
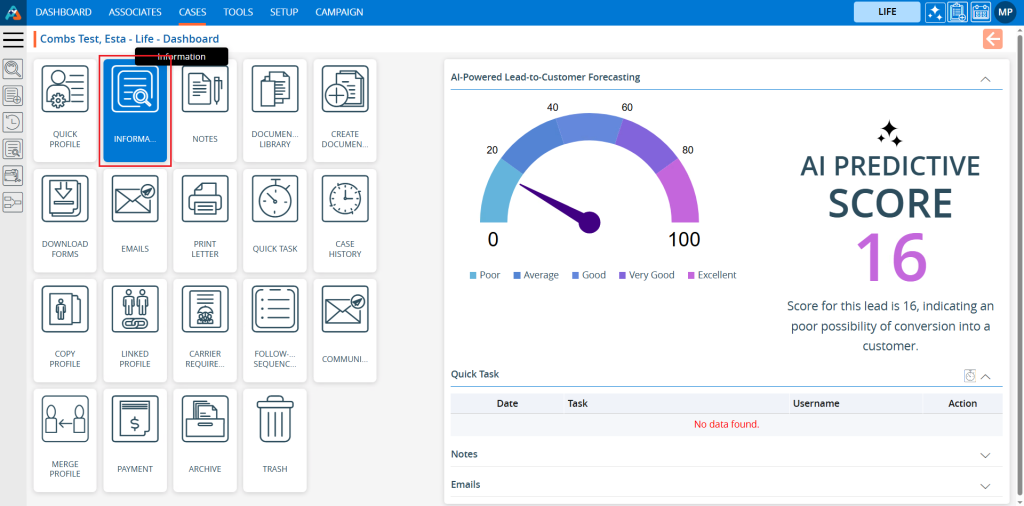
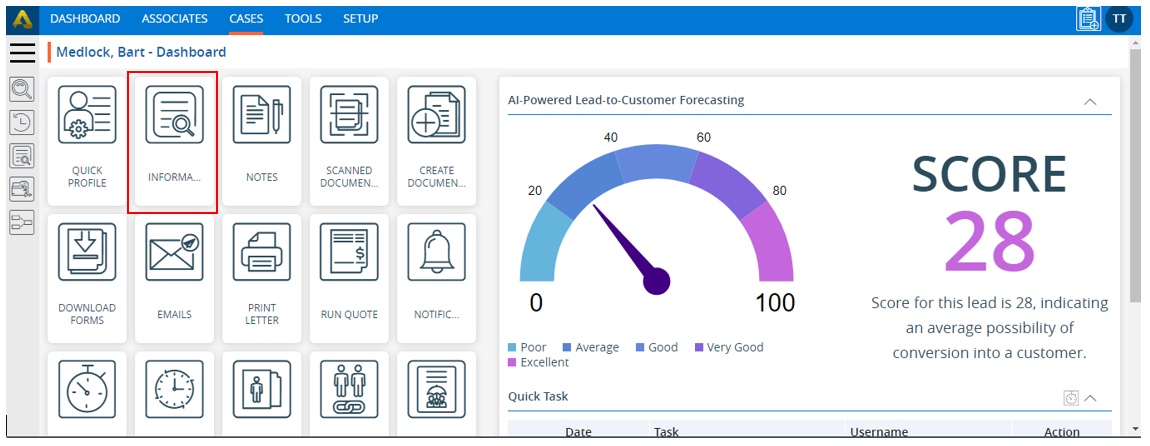
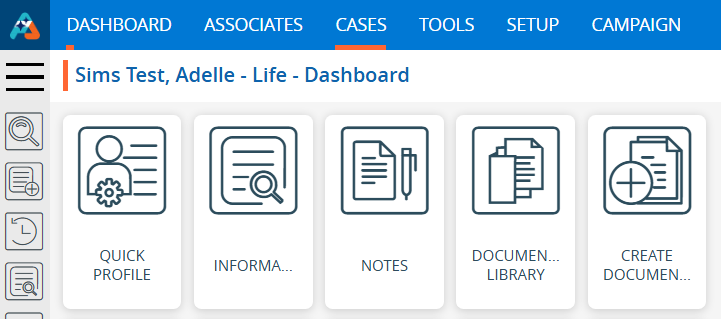
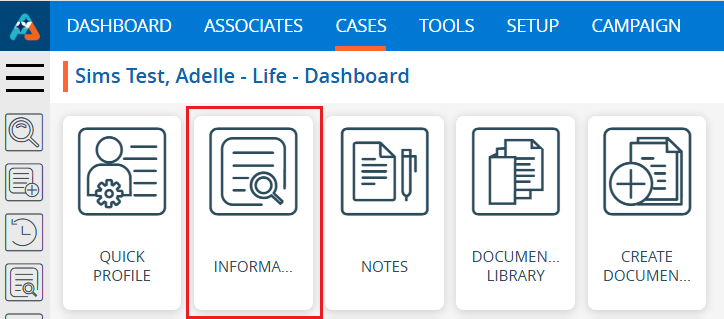
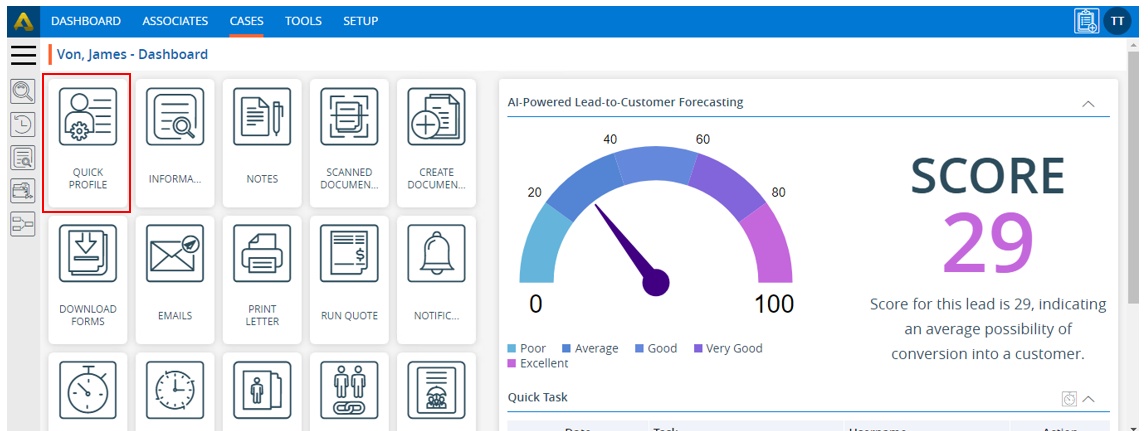
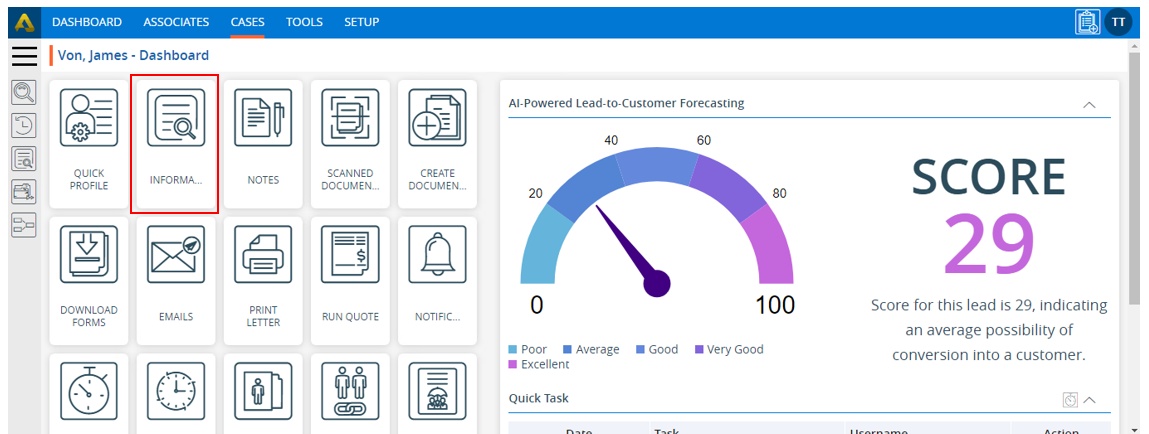
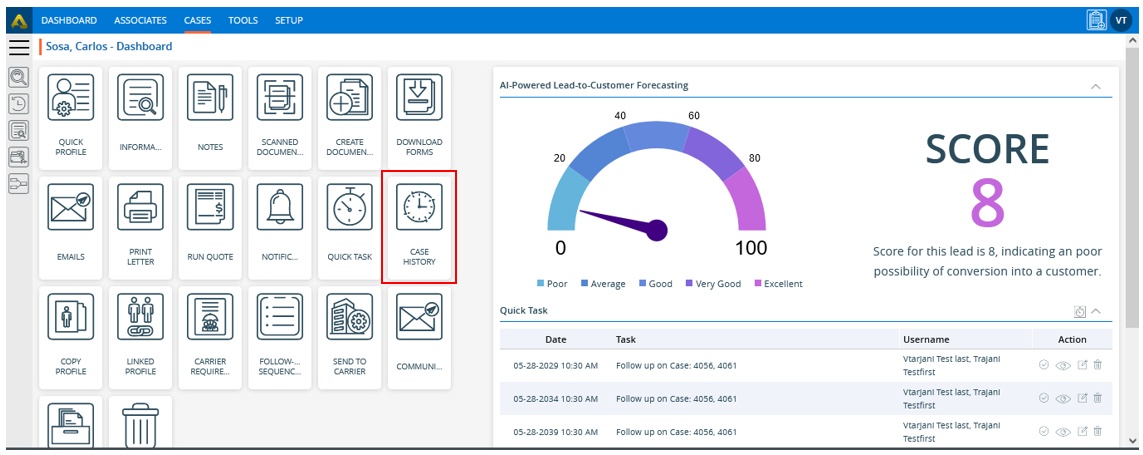
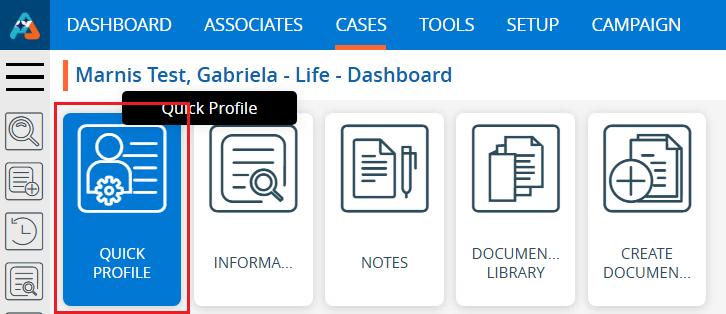
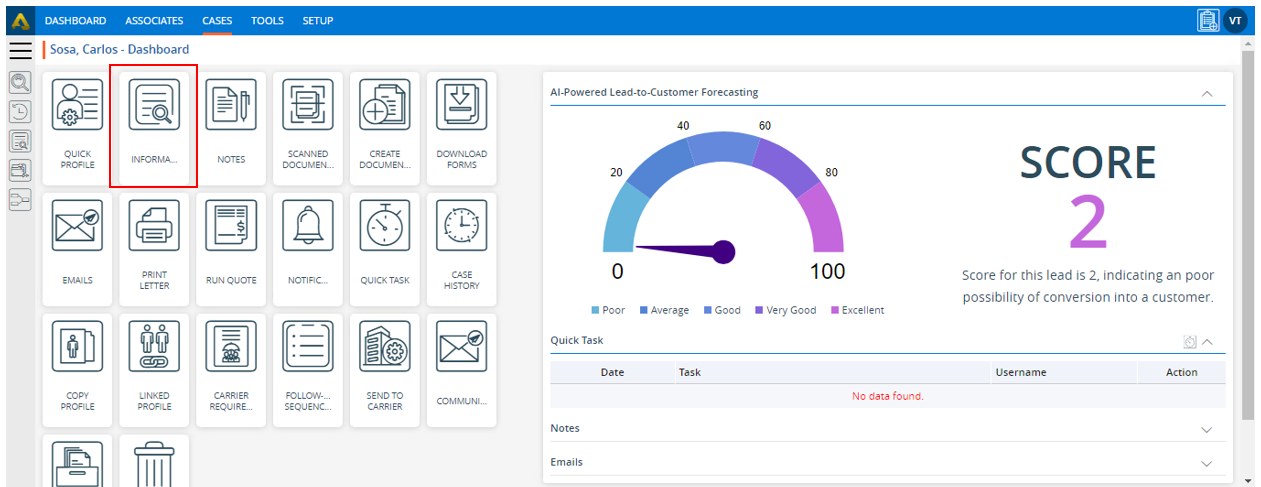
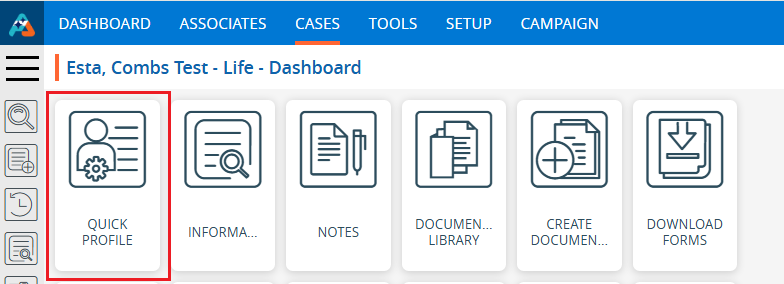
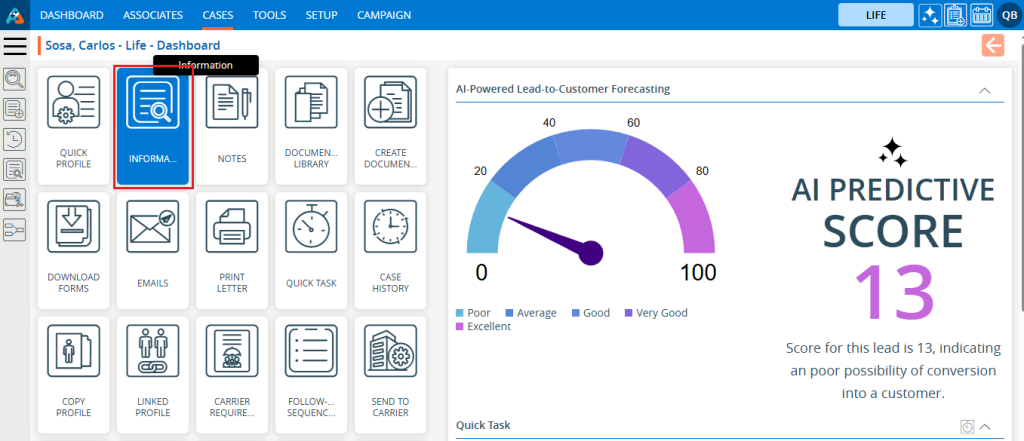
3. After clicking on the contact, the profile’s ‘Dashboard’ will open.
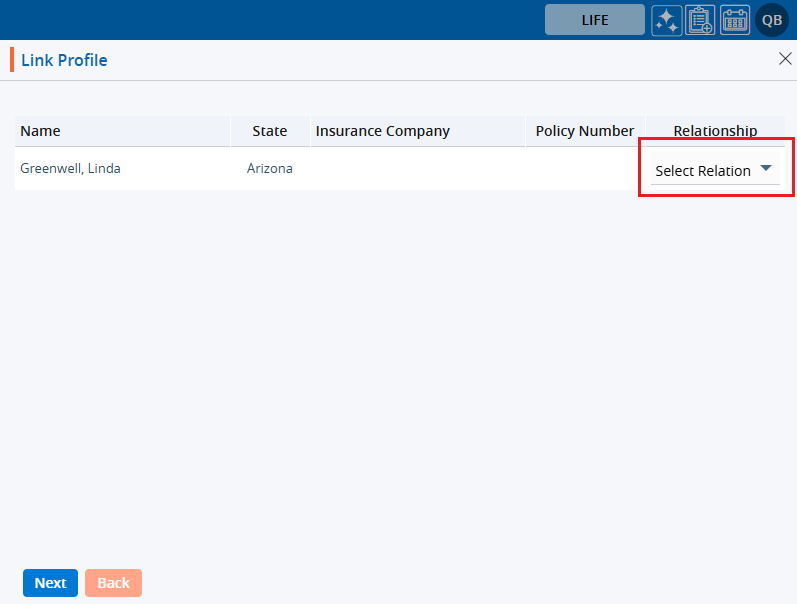
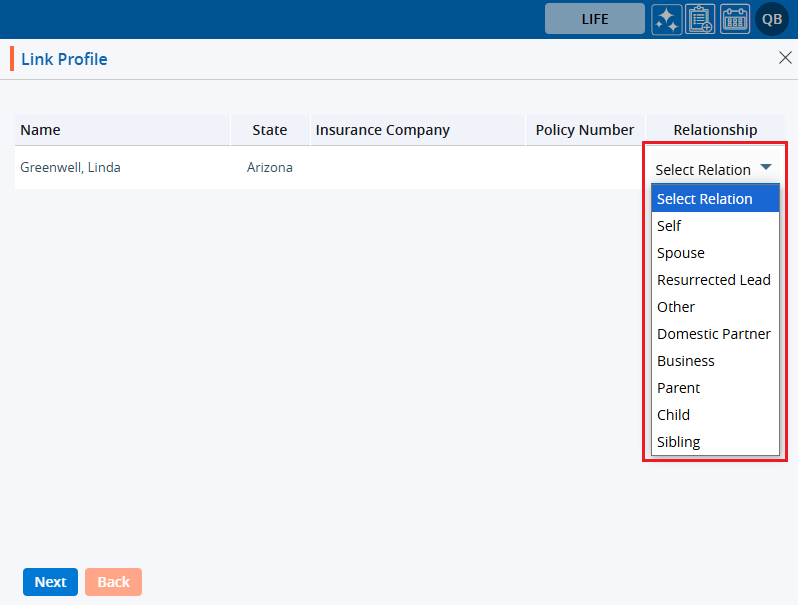
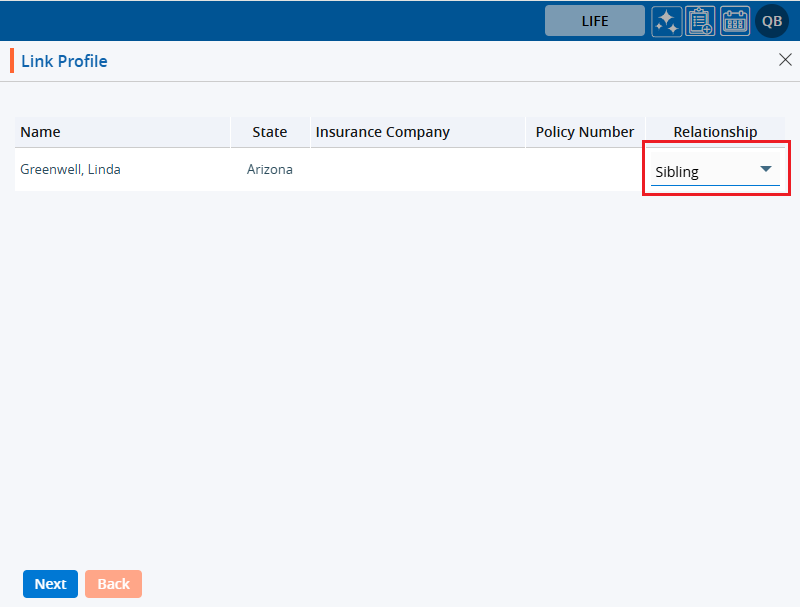
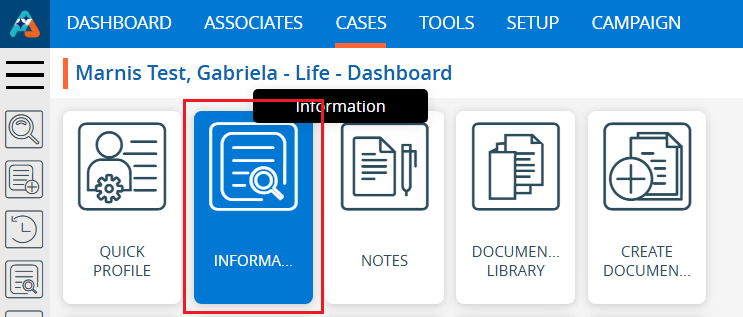
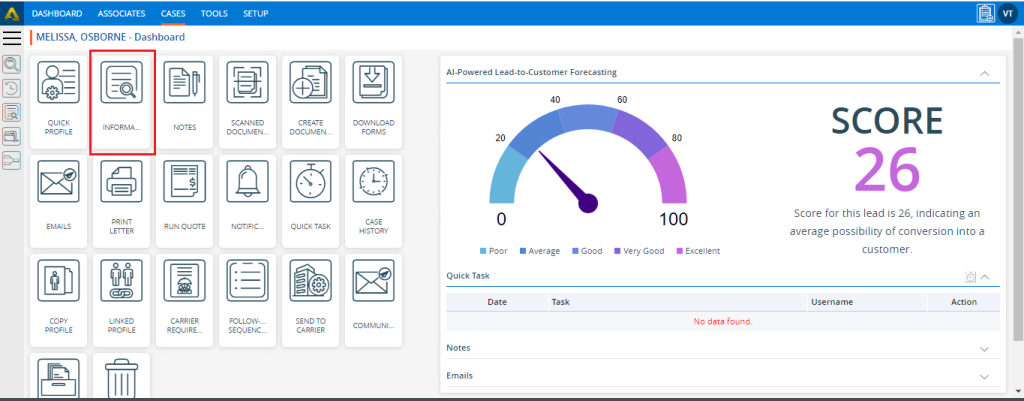
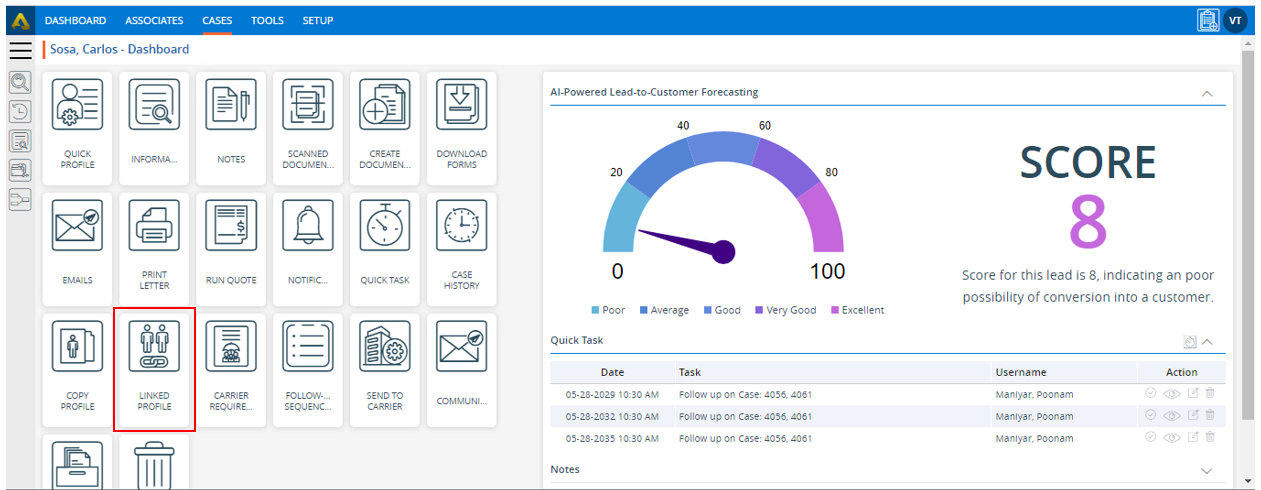
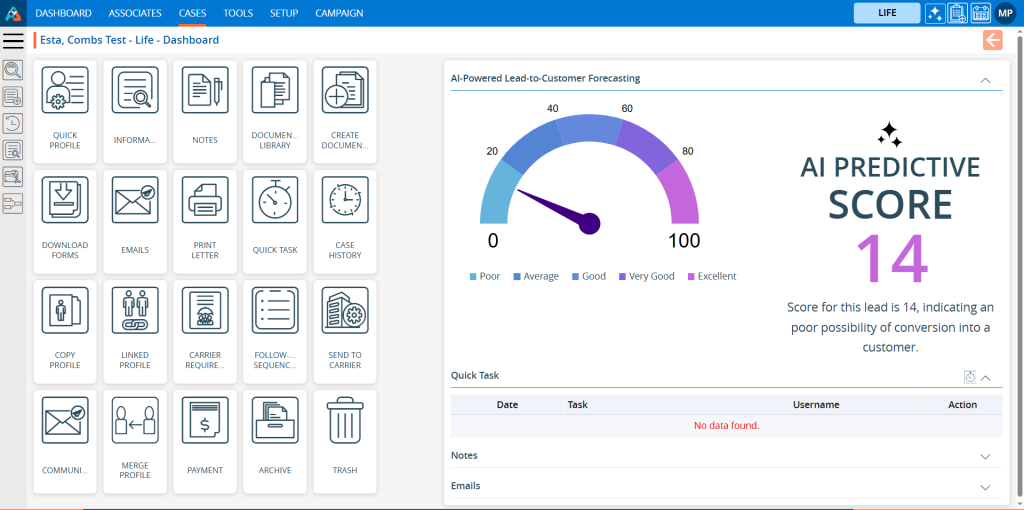
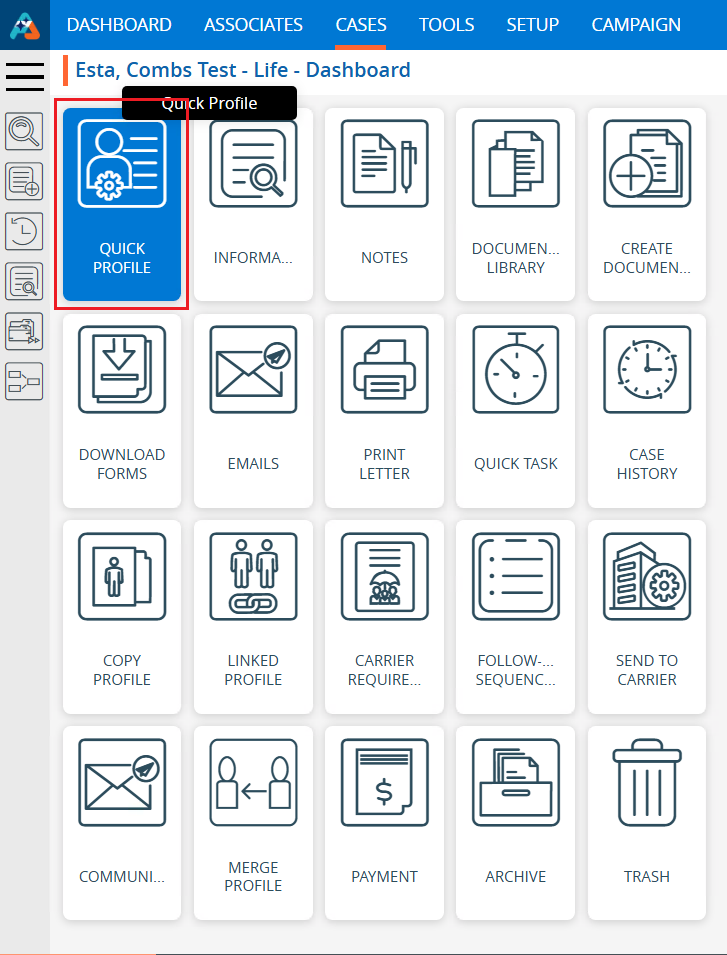
4. Click on the ‘INFORMATION’ option.
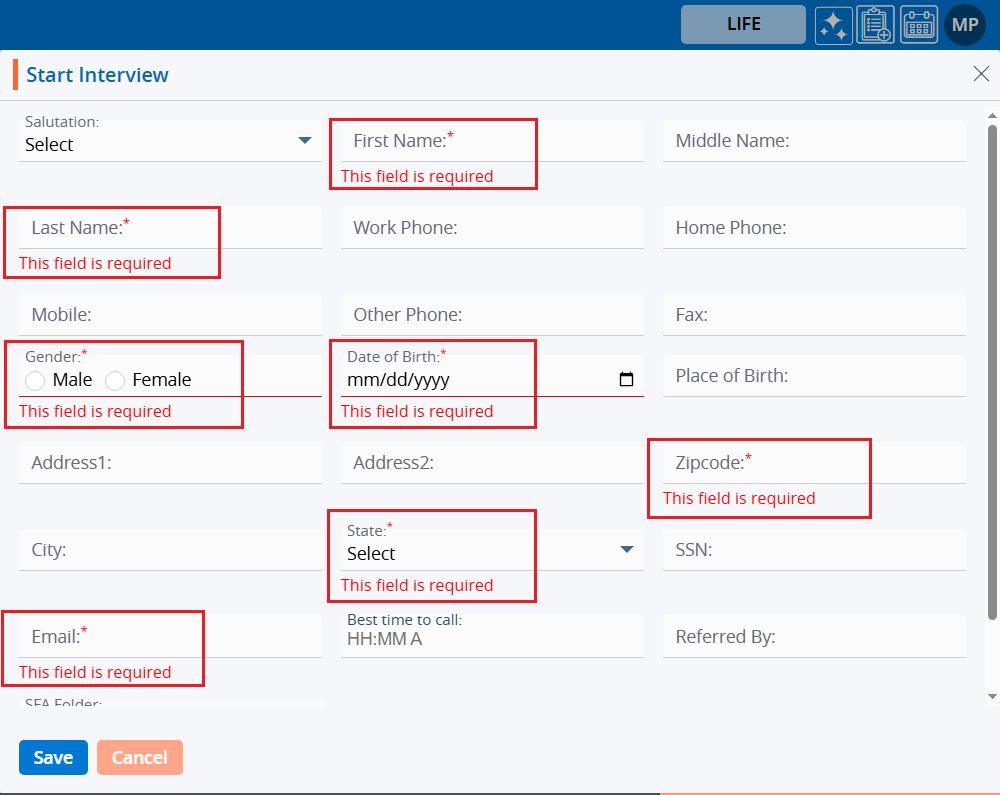
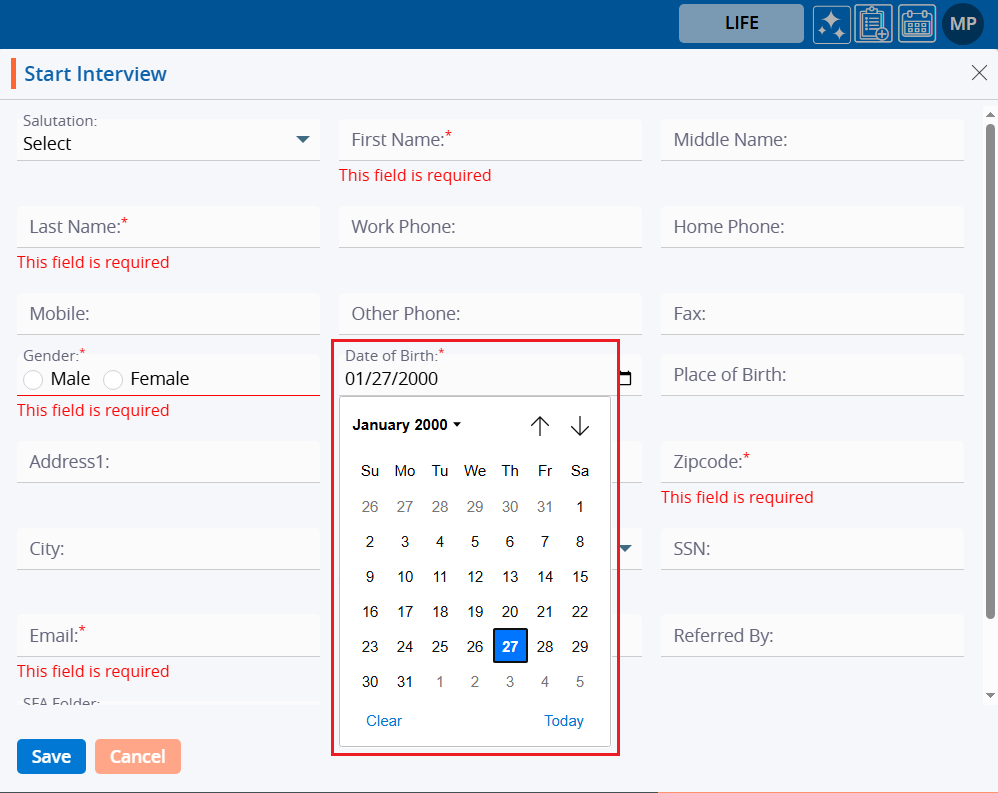
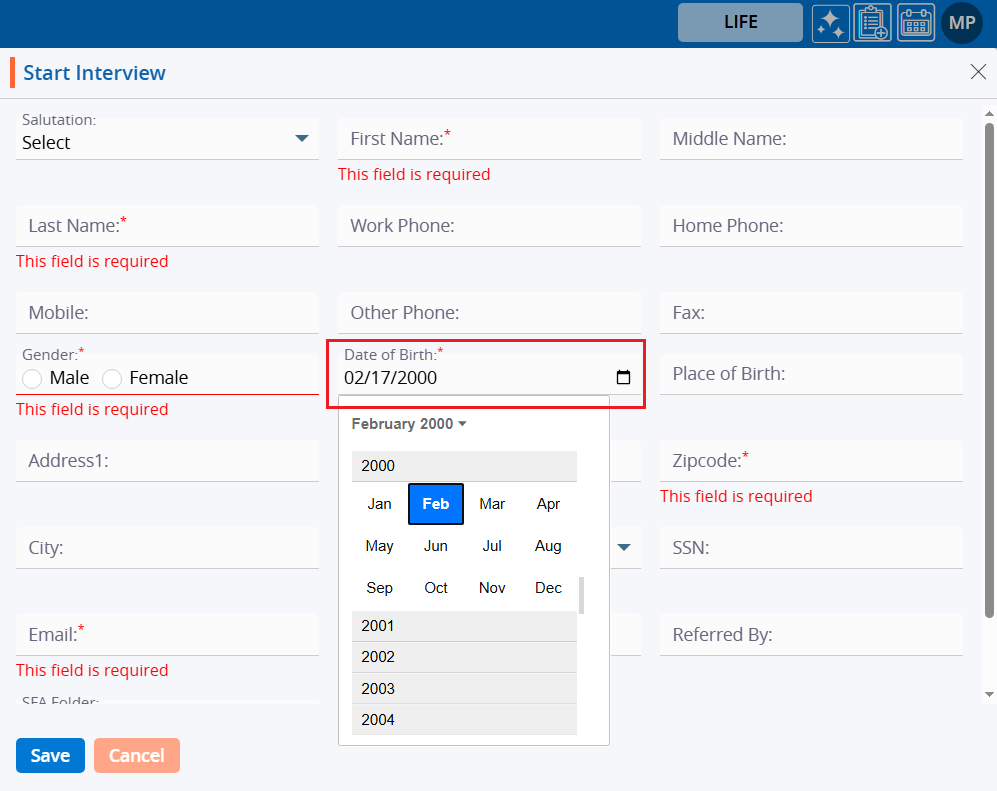
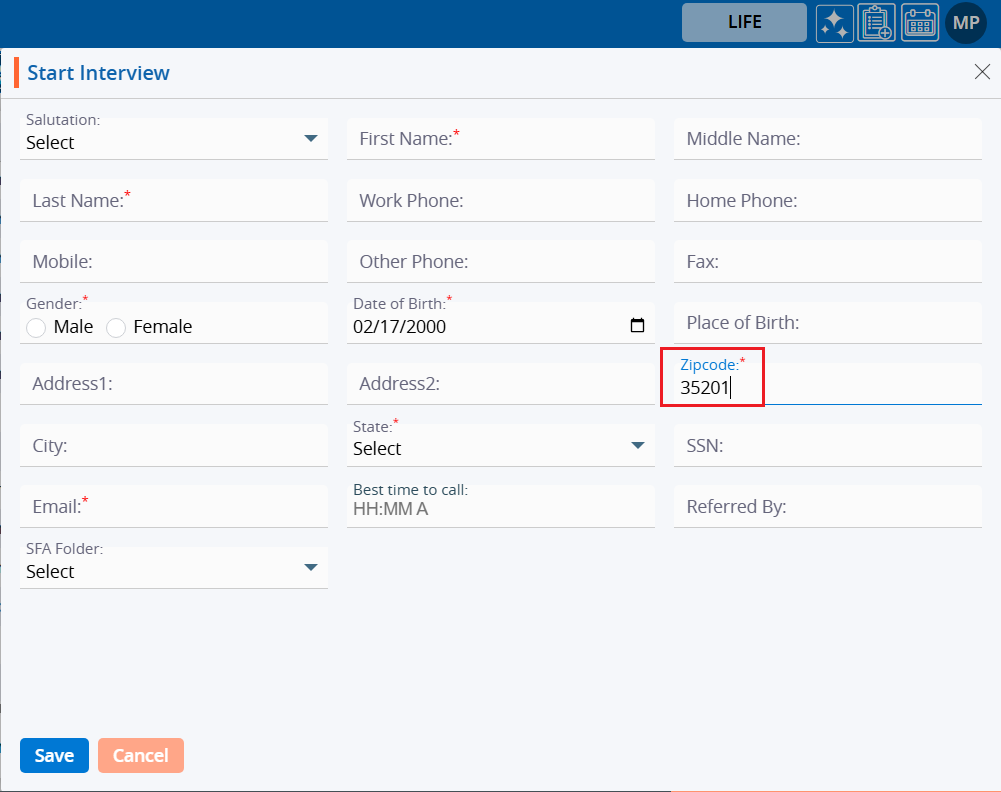
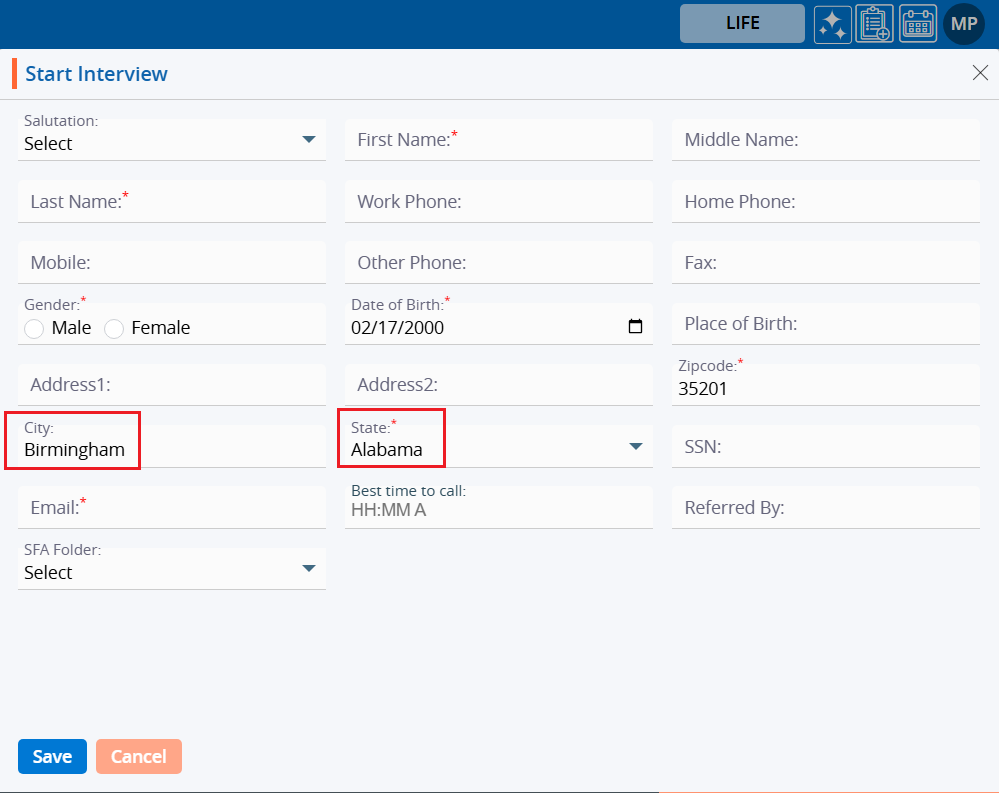
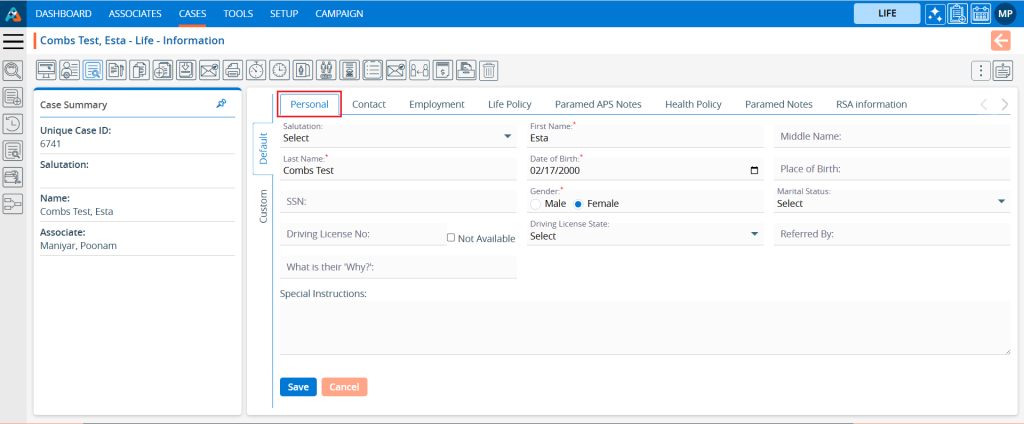
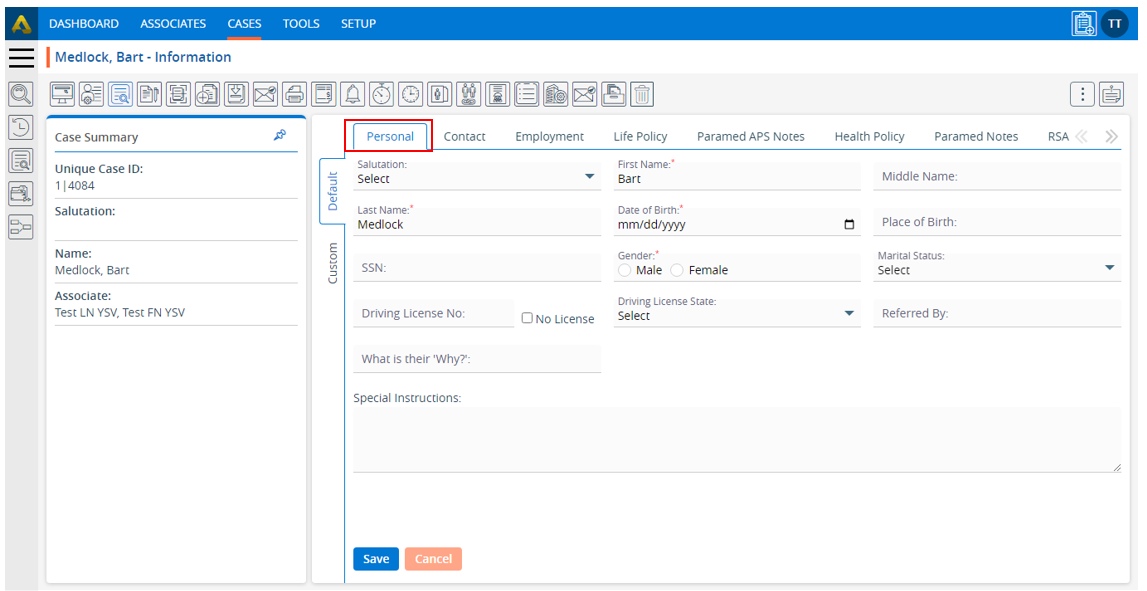
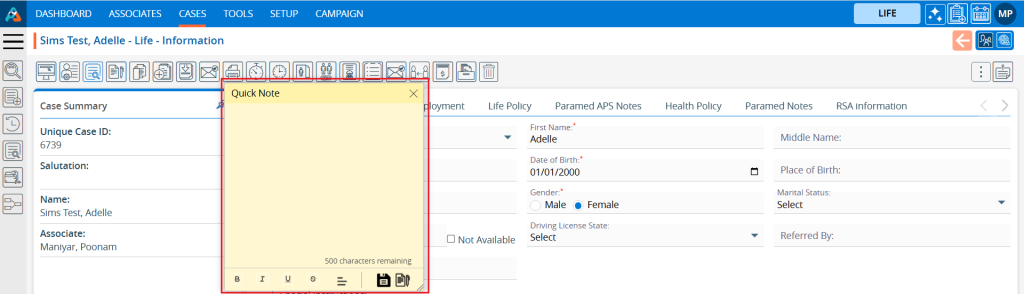
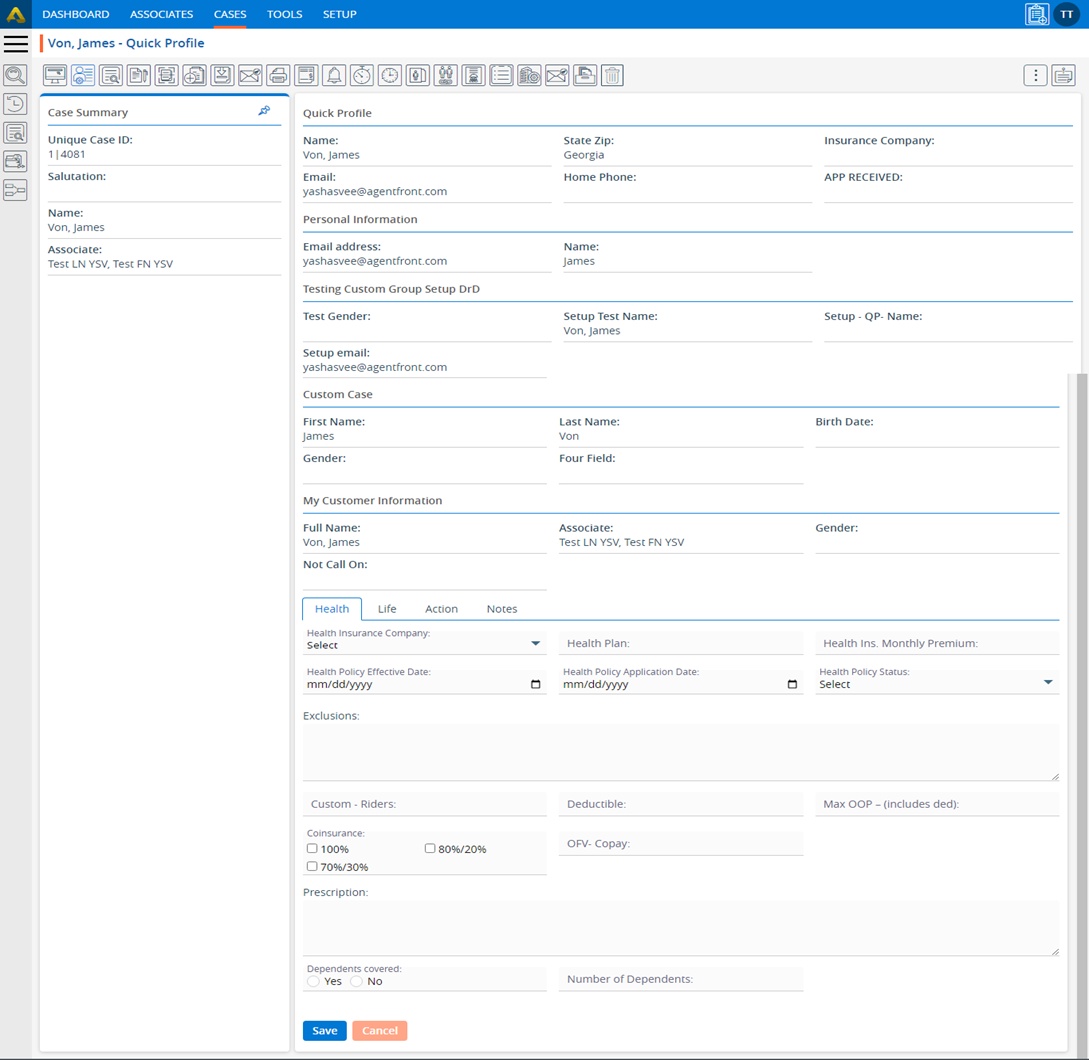
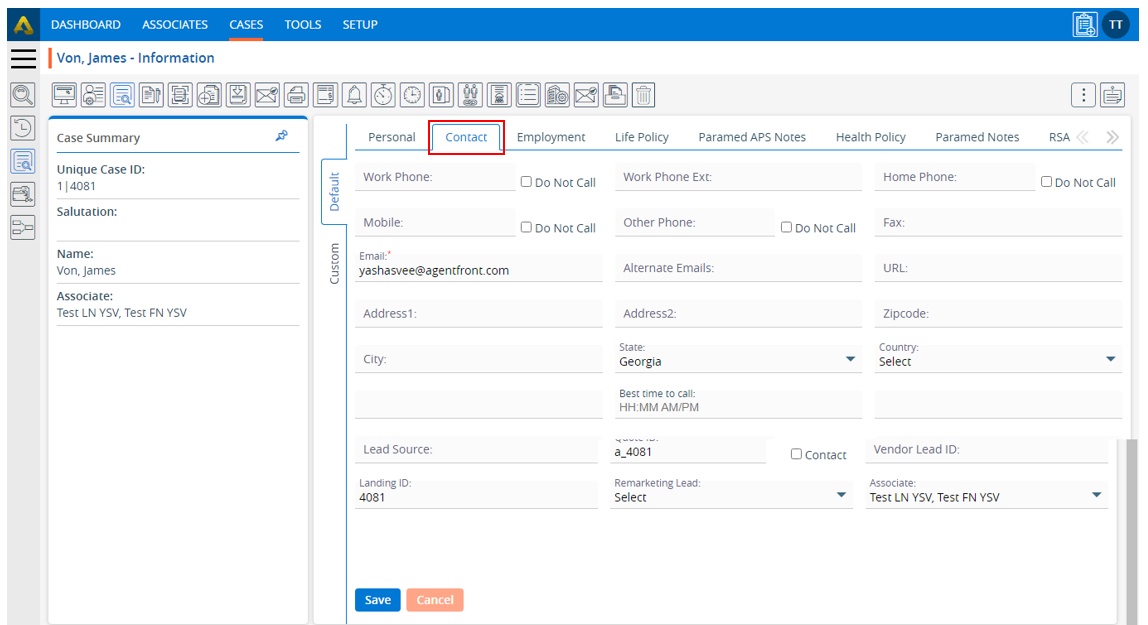
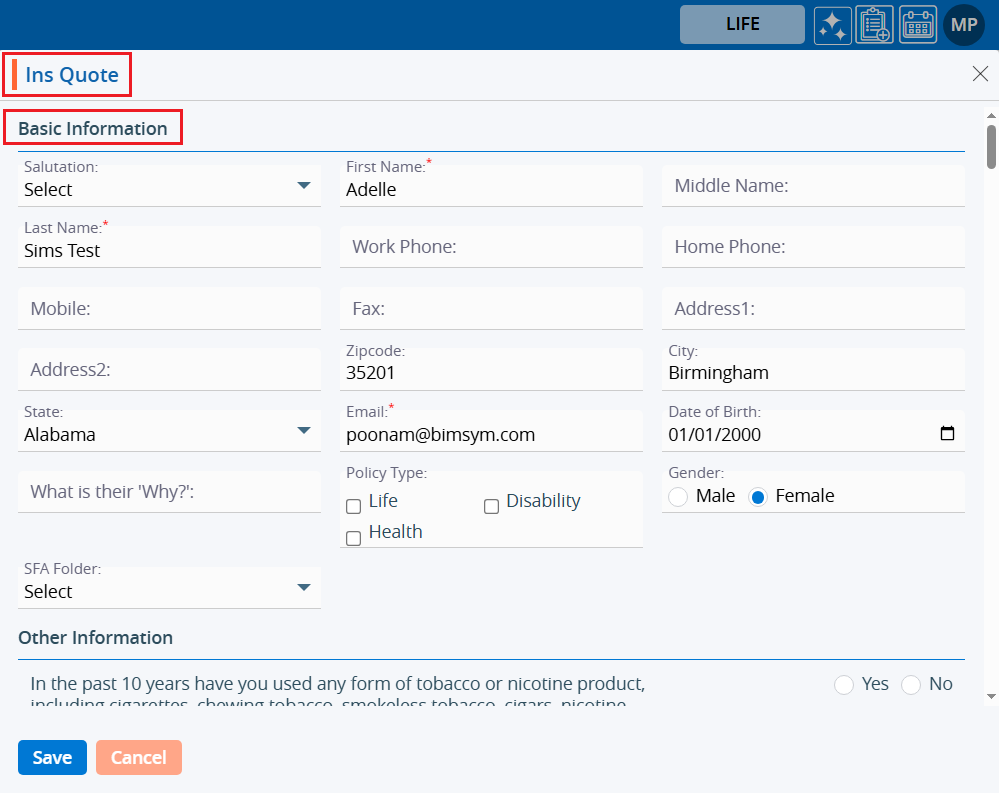
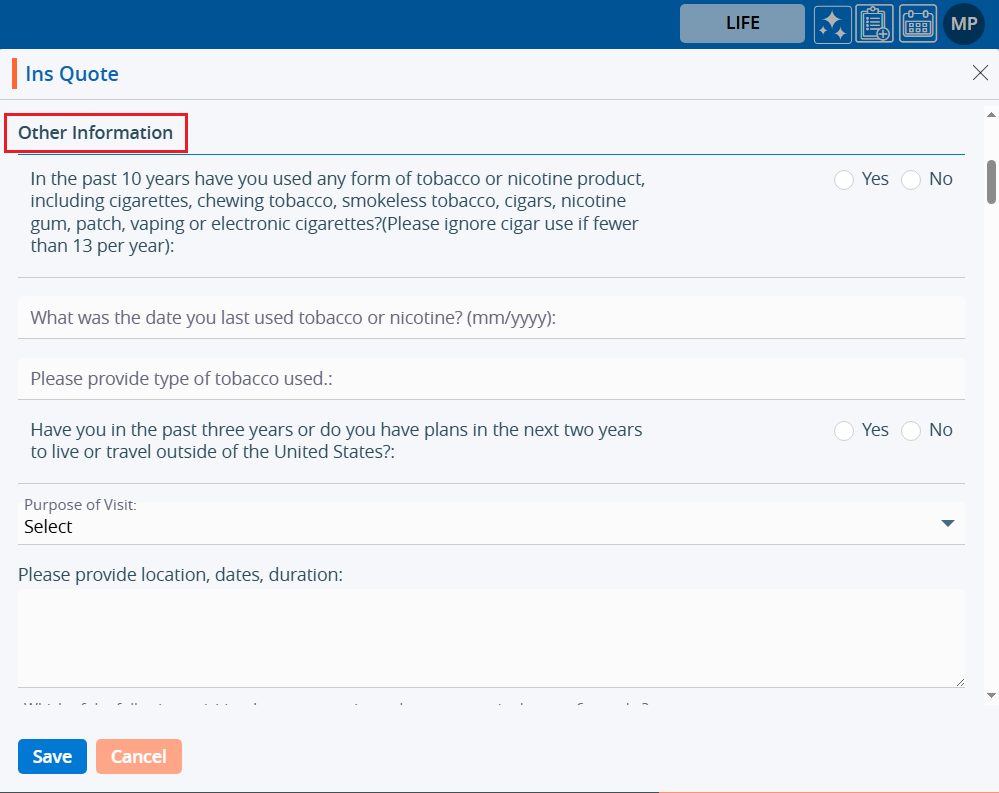
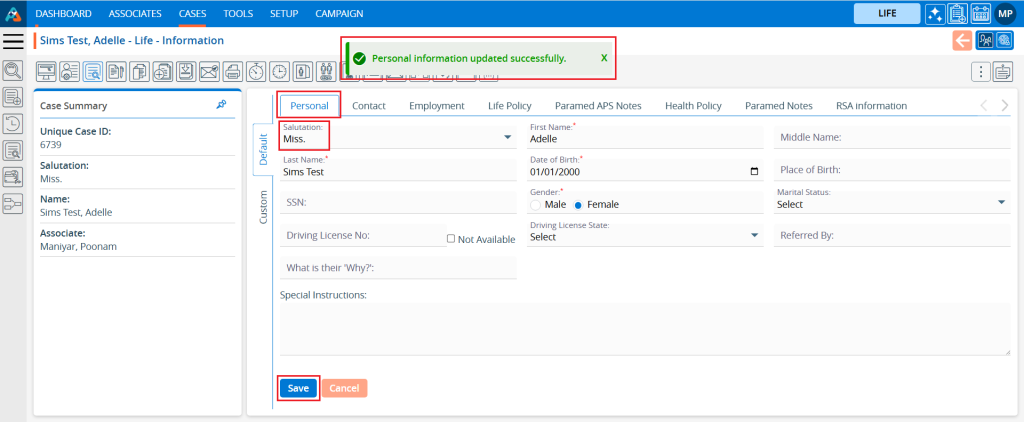
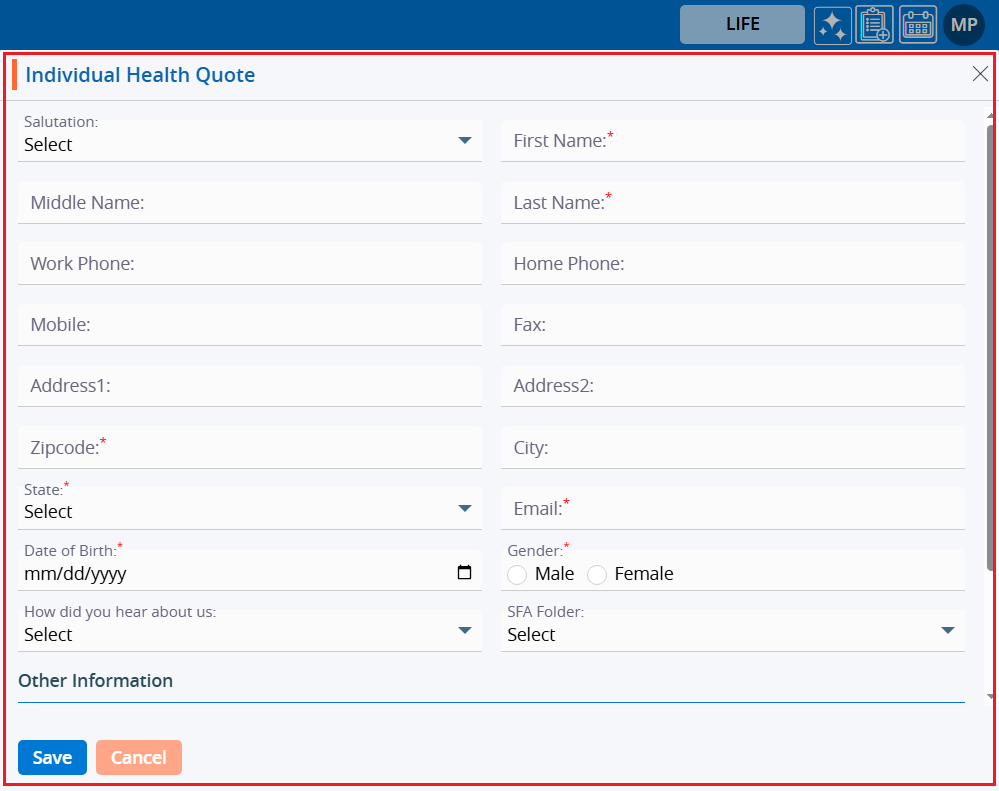
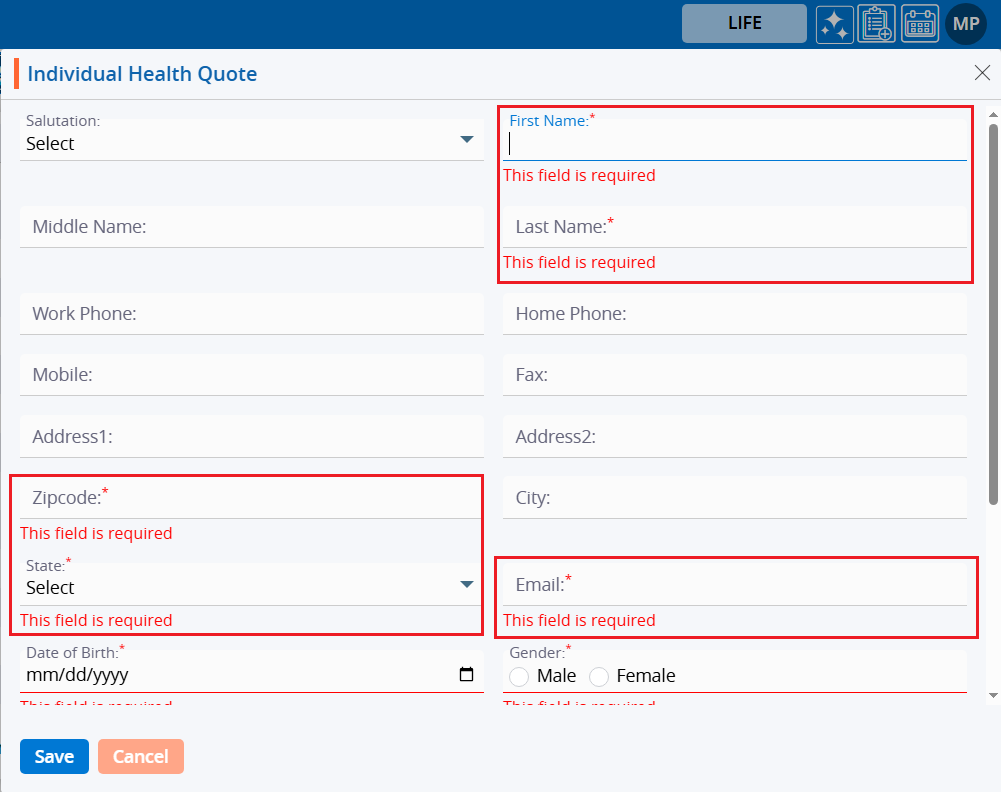
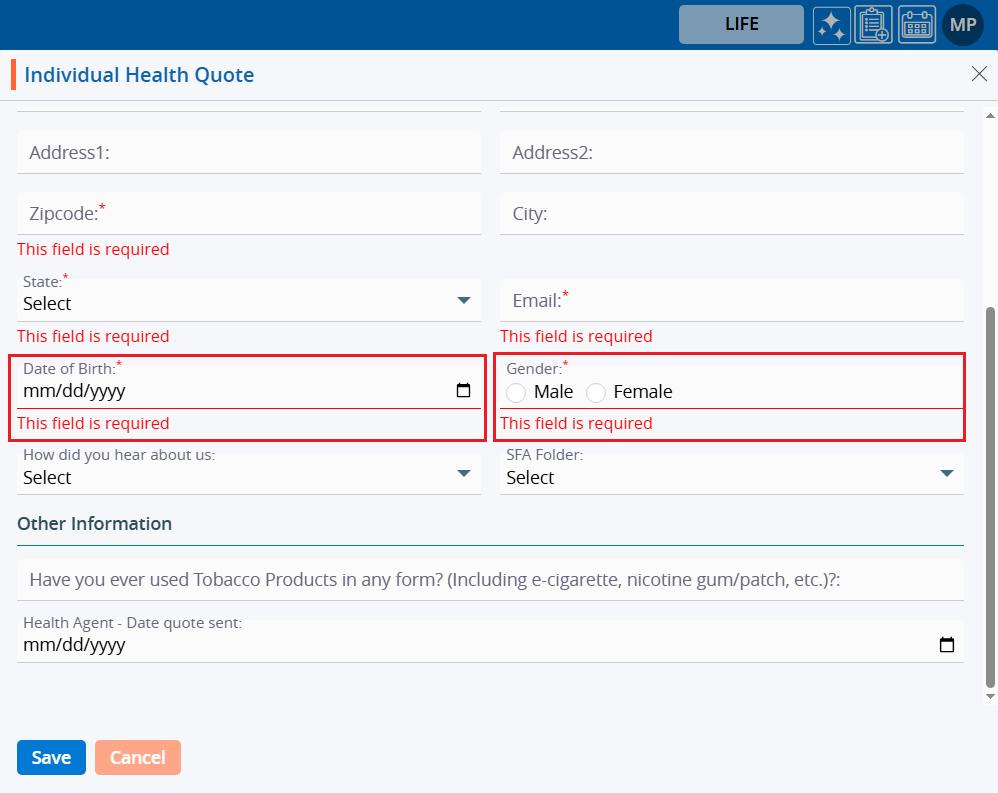
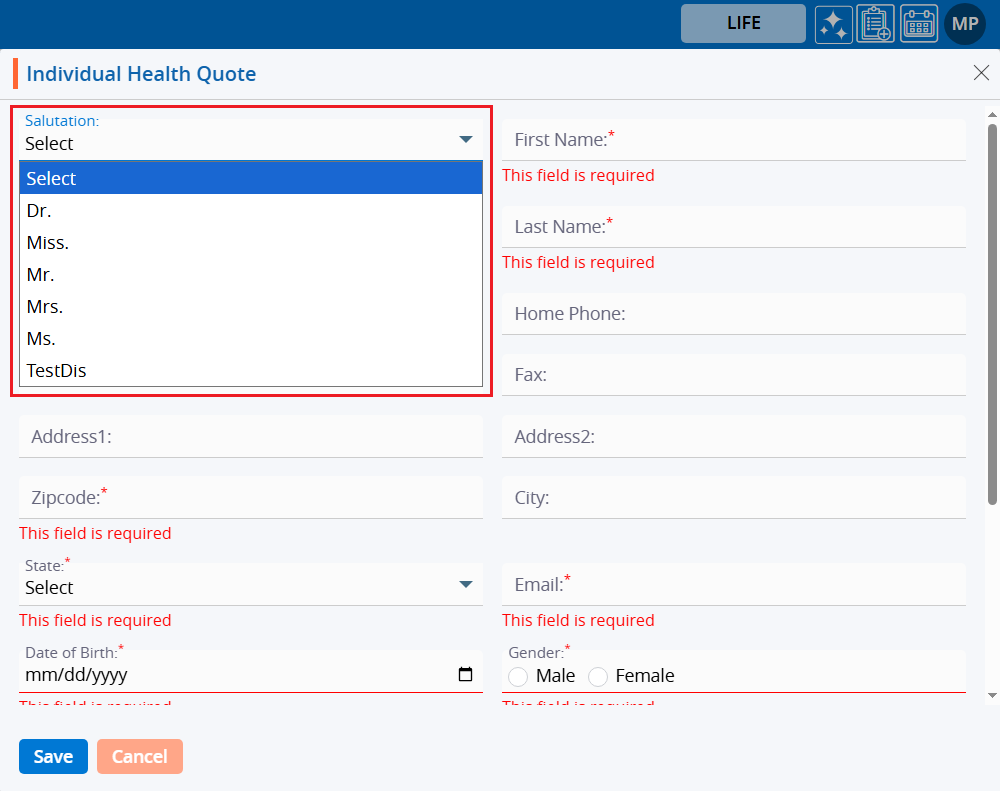
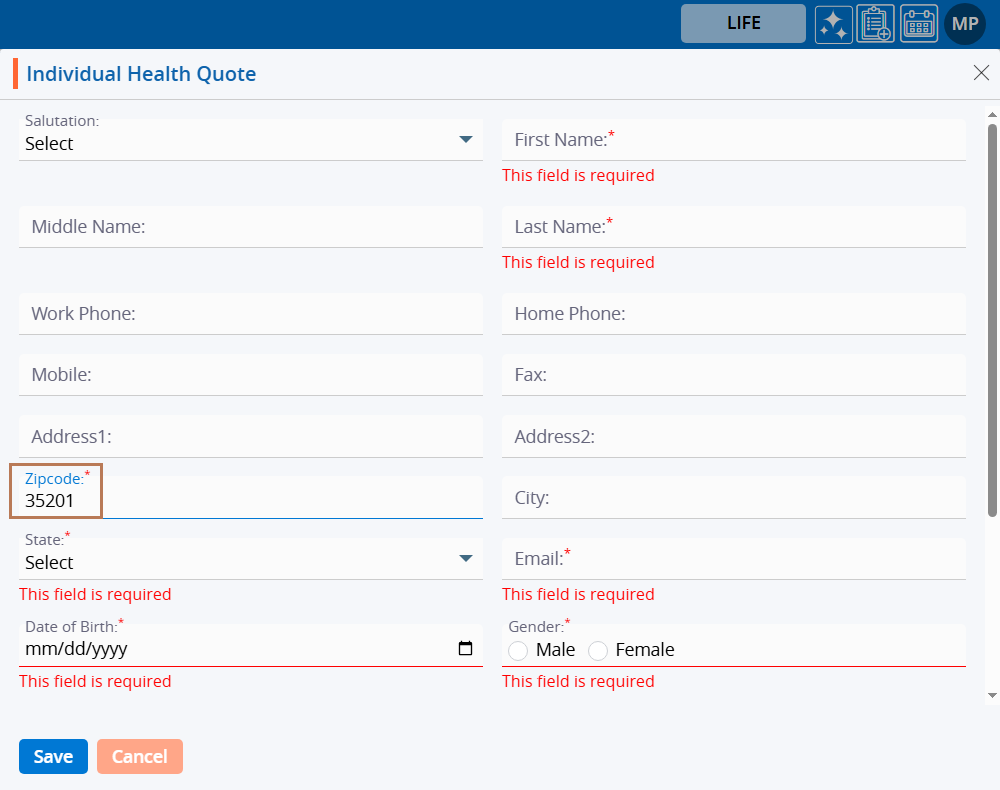
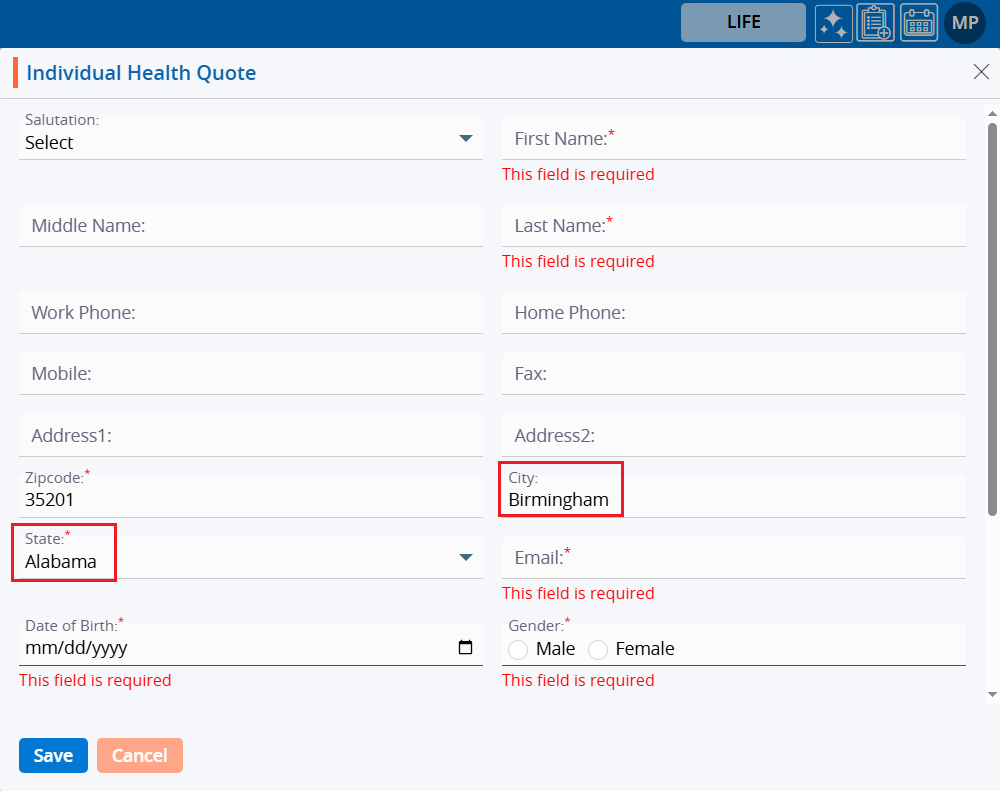
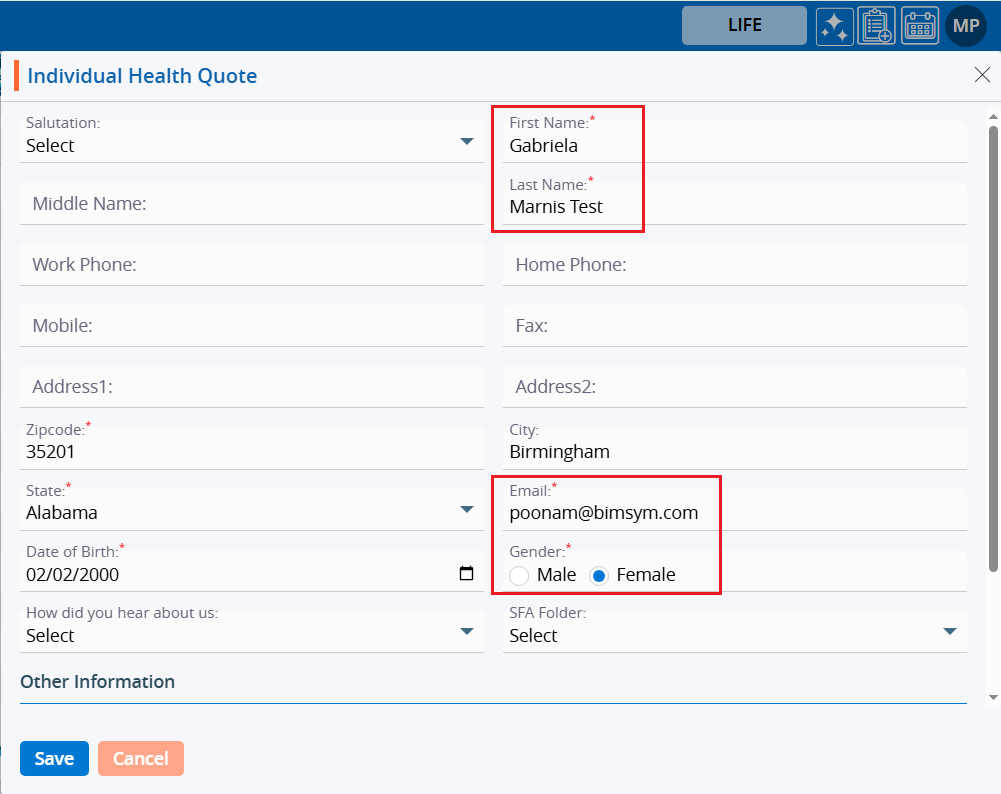
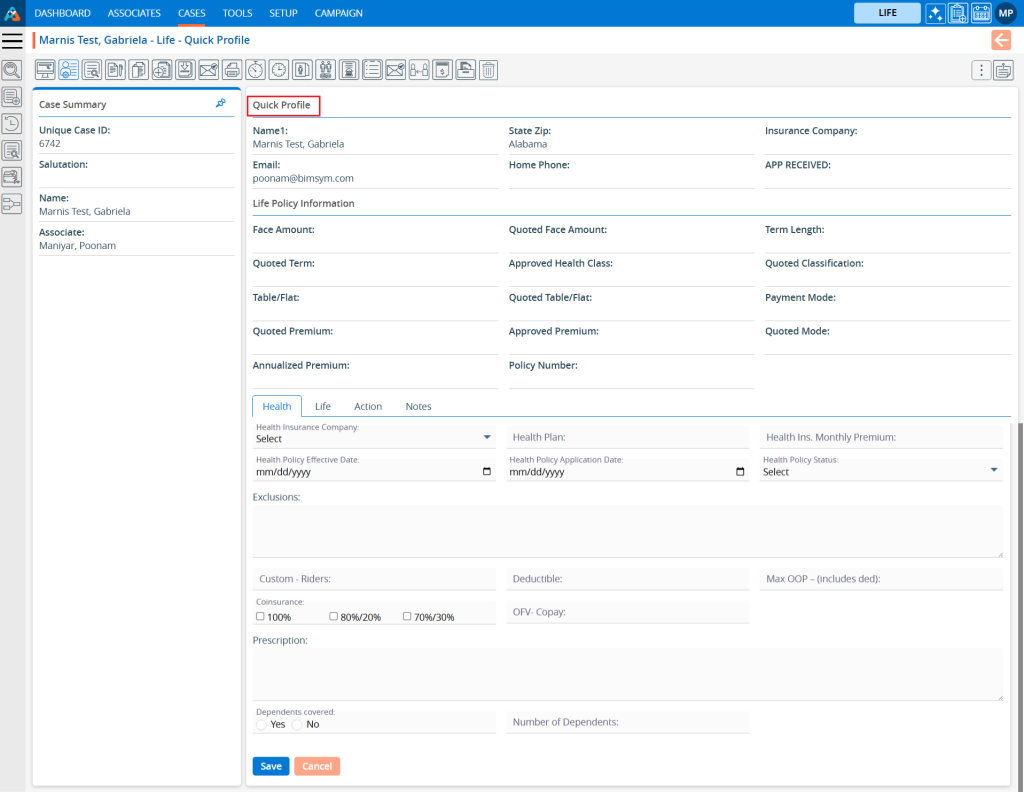
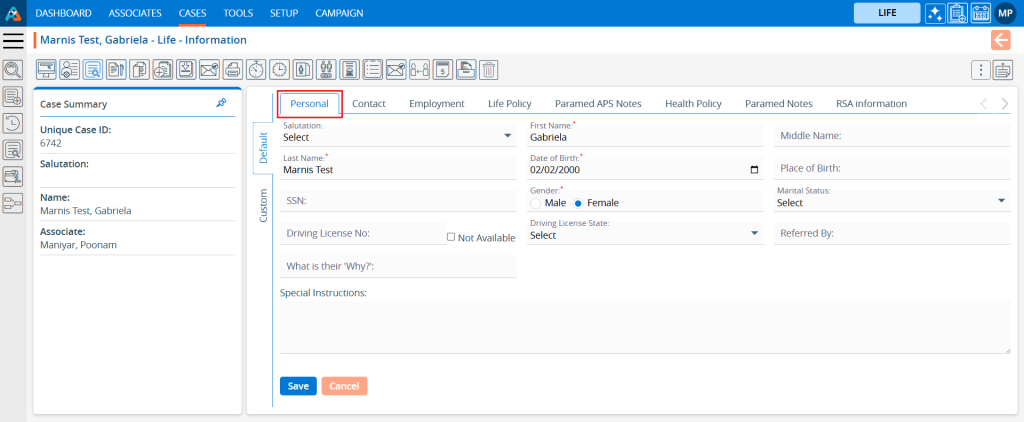
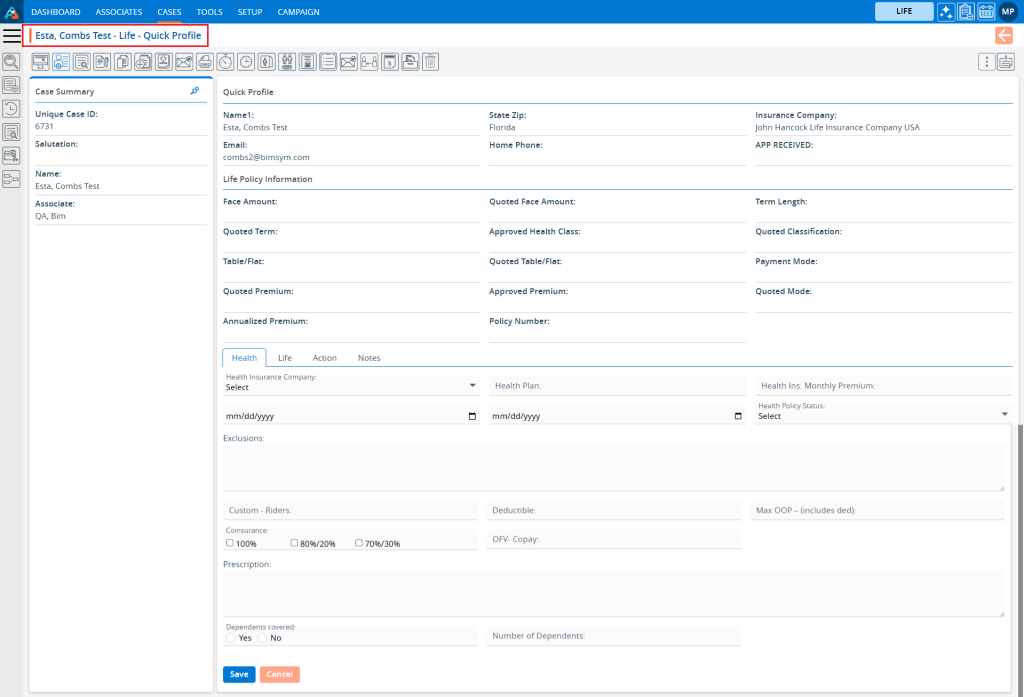
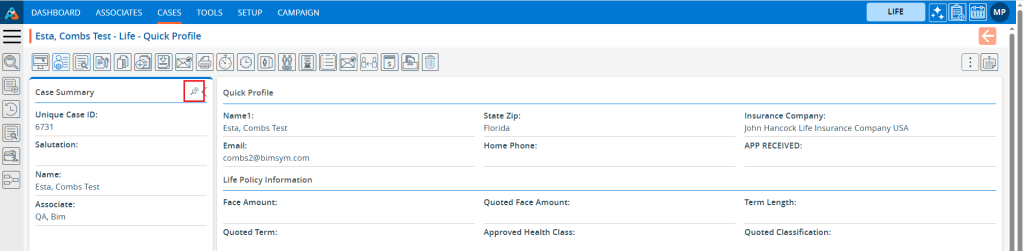
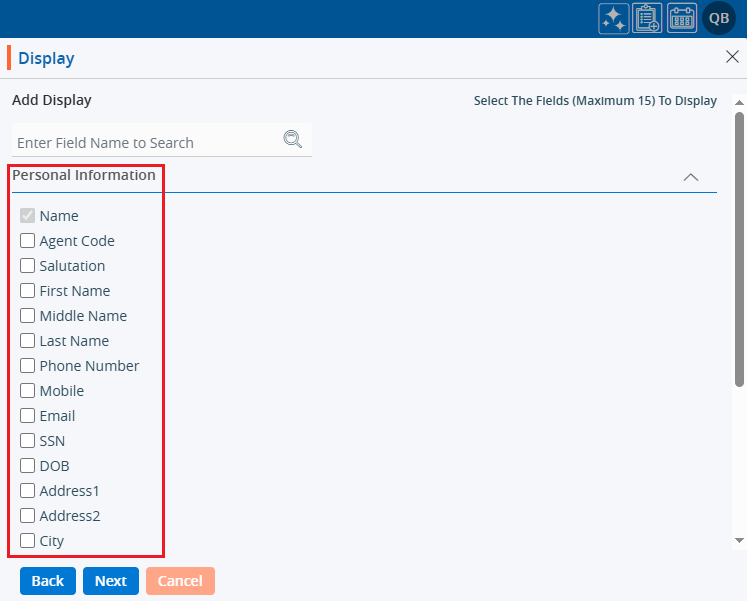
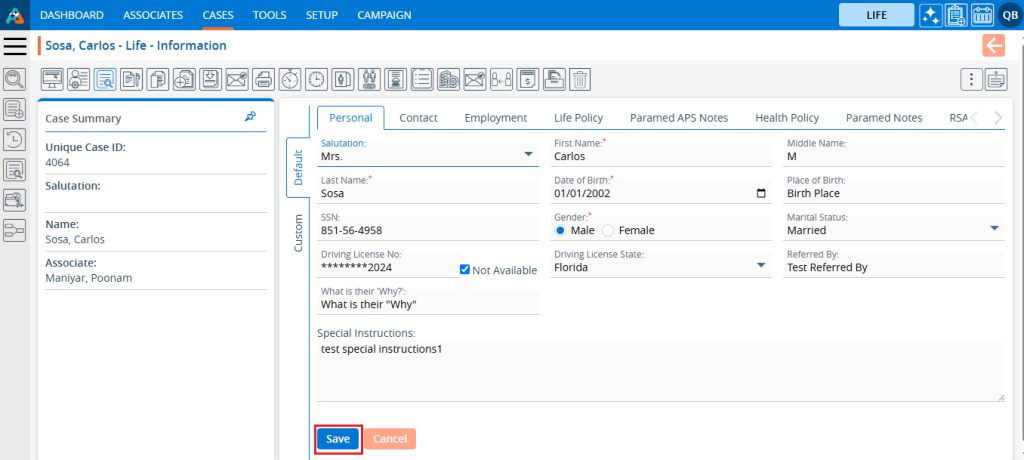
5. The INFORMATION page will open, displaying personal information on the ‘Personal’ page. Users can add or update personal information from this page.
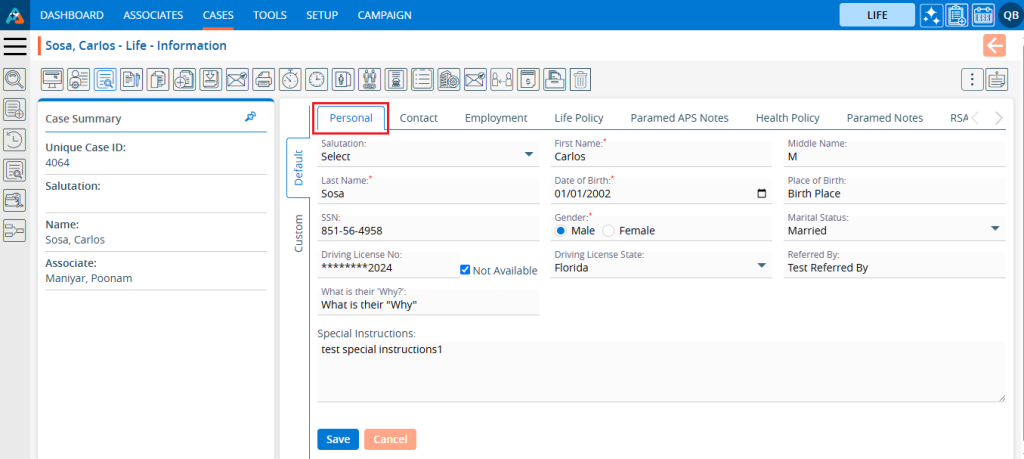
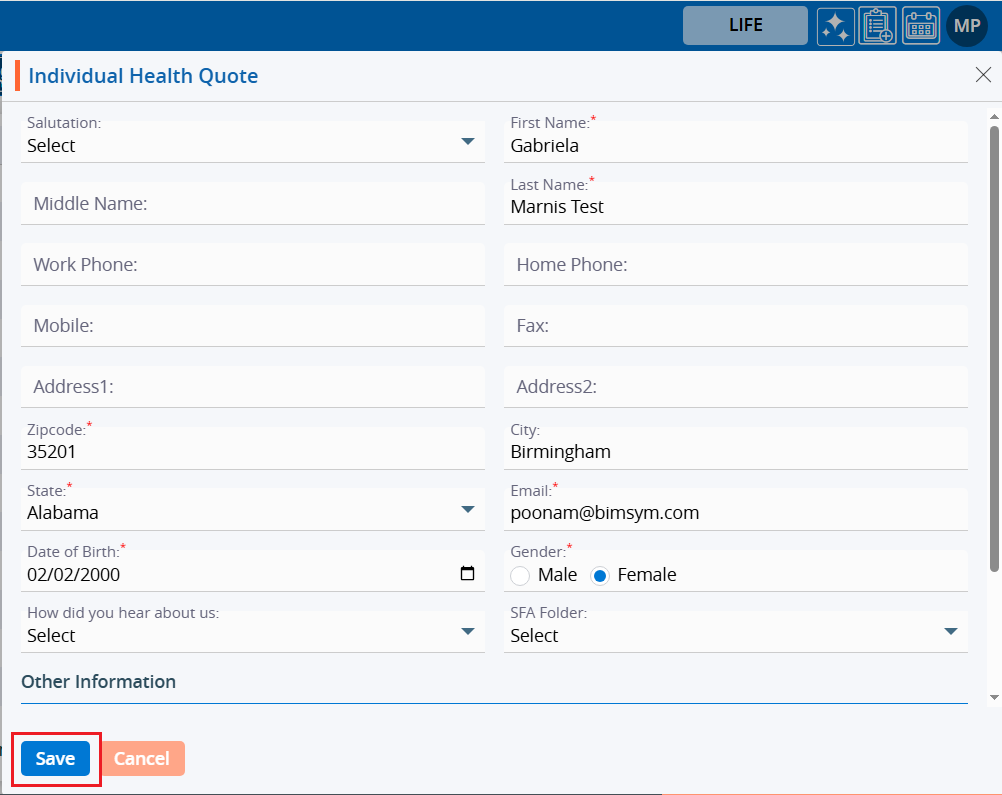
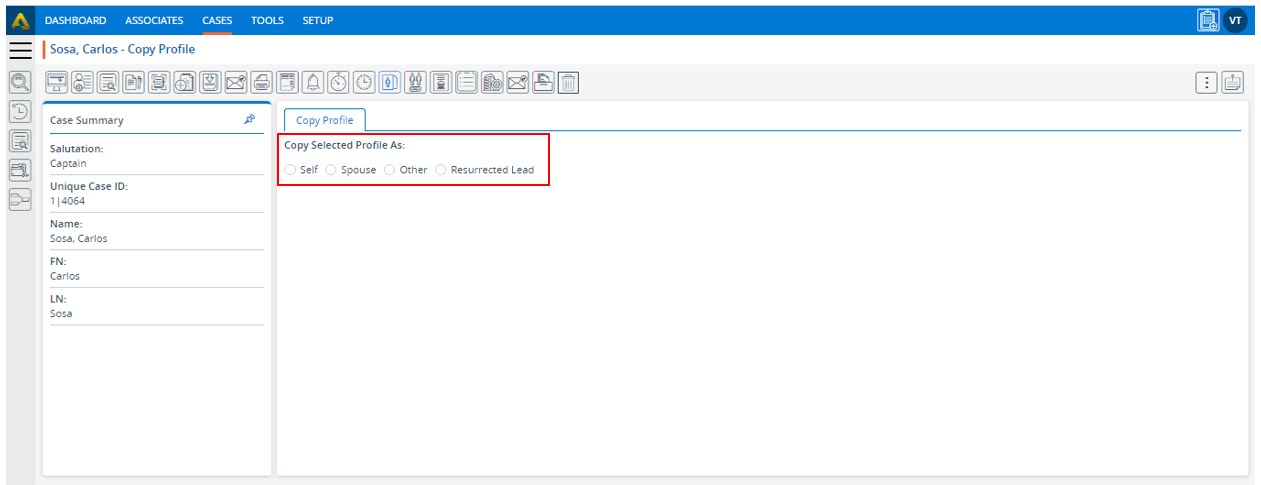
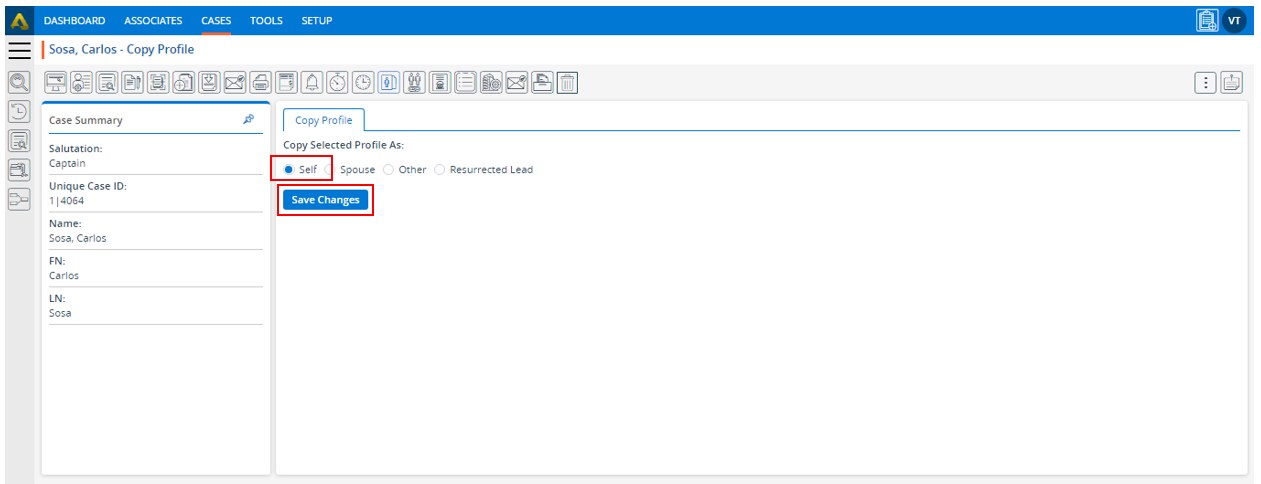
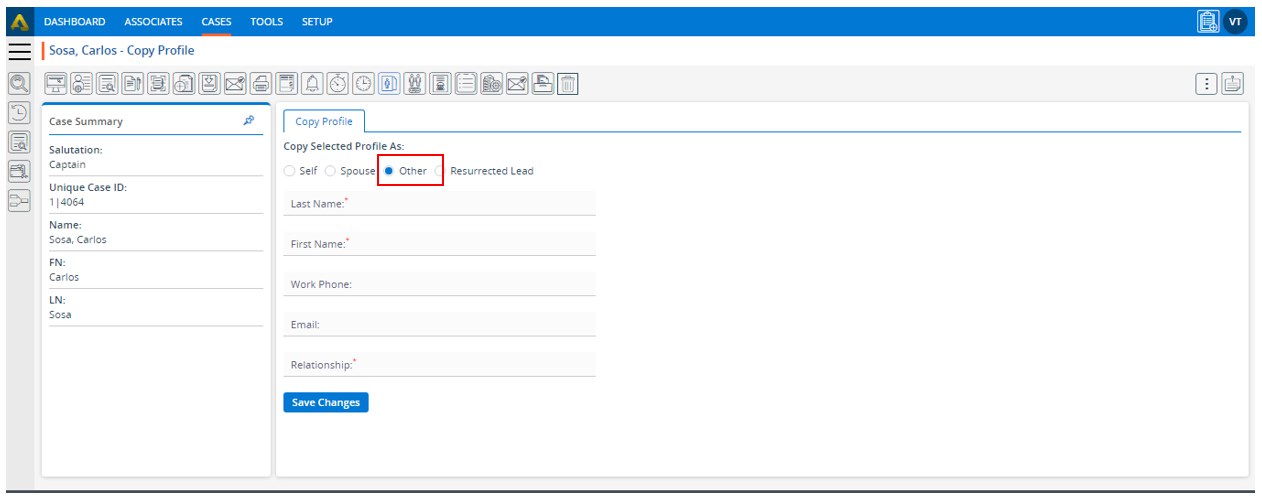
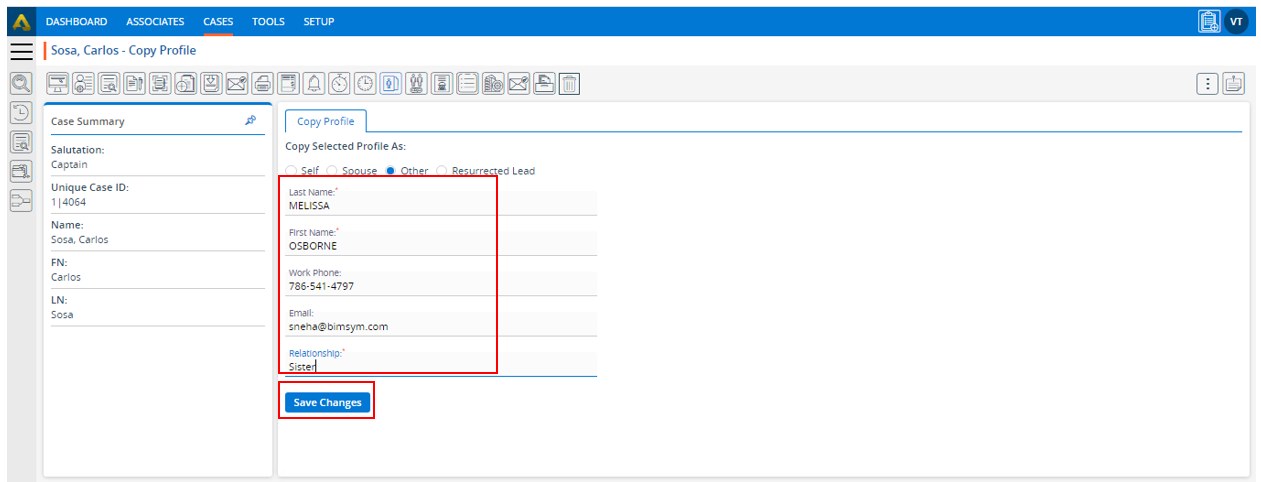
6. There will be two options available on the ‘Personal’ page.
- Save
- Cancel
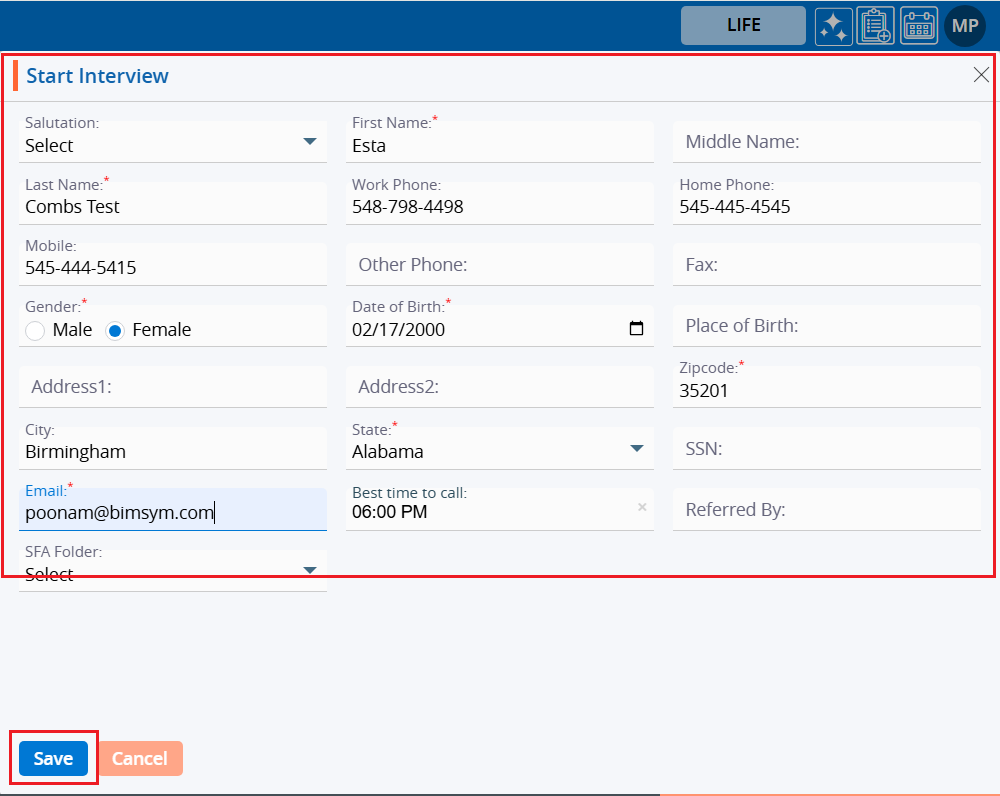
7. After personal information is added or updated, click on the “Save” button.
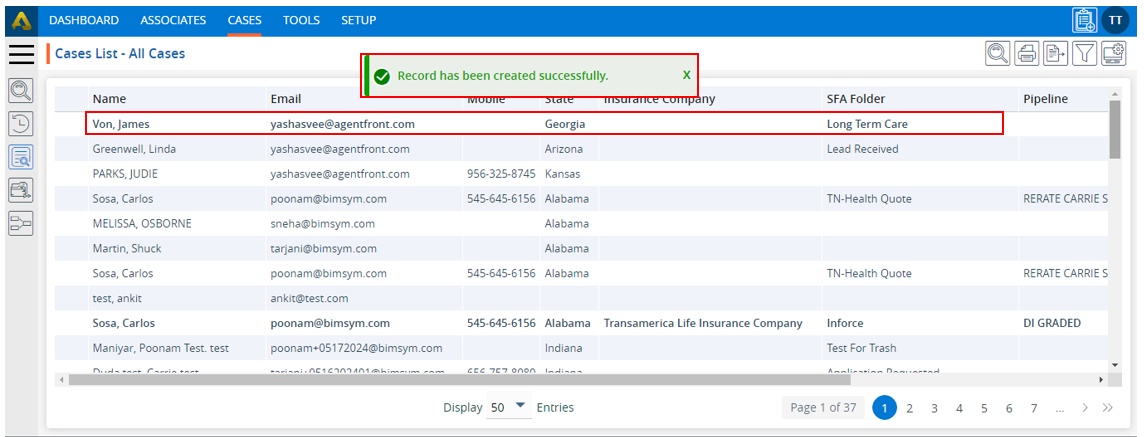
8. The system will generate a confirmation message that the Personal Information has been updated successfully, and the updated information will be displayed.

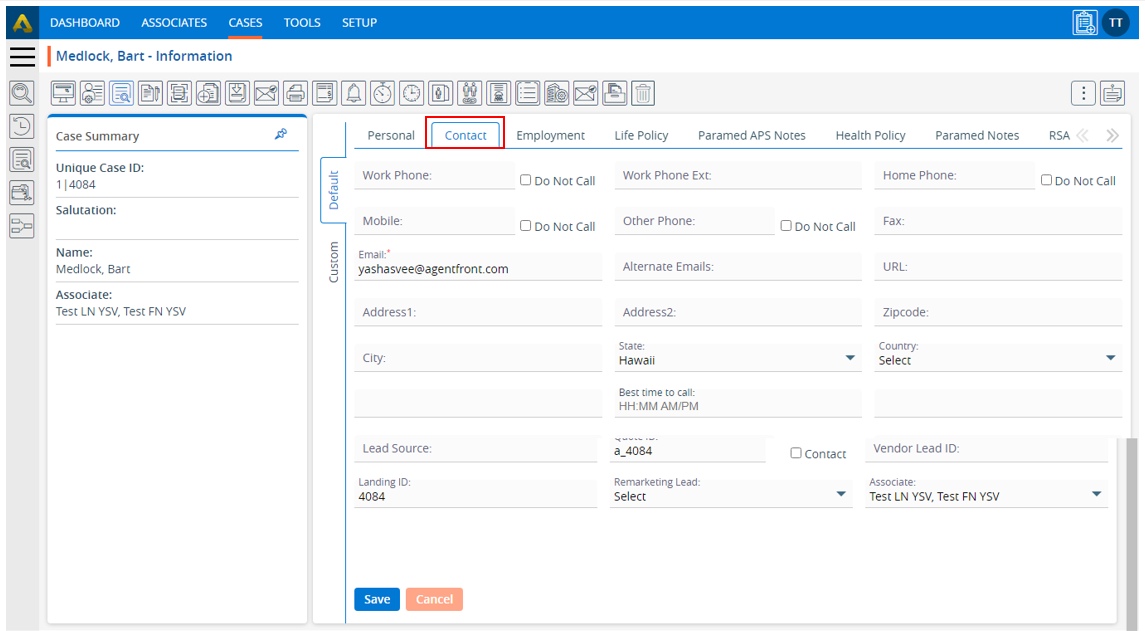
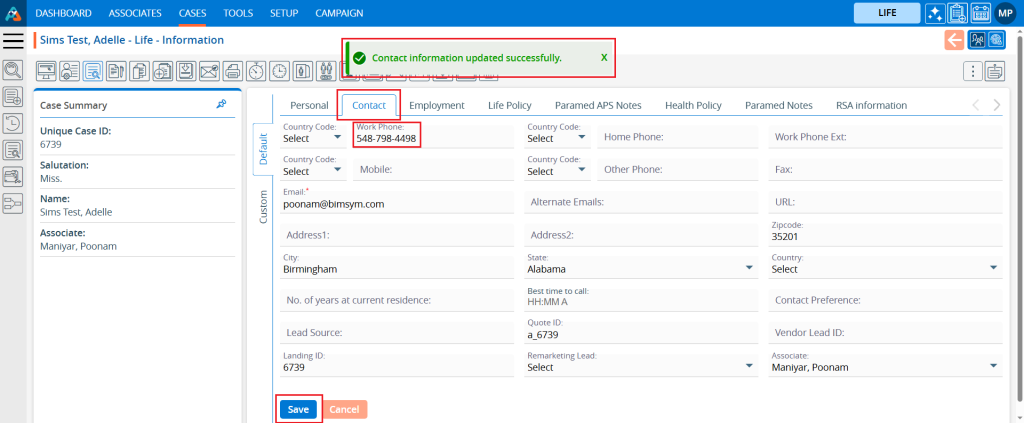
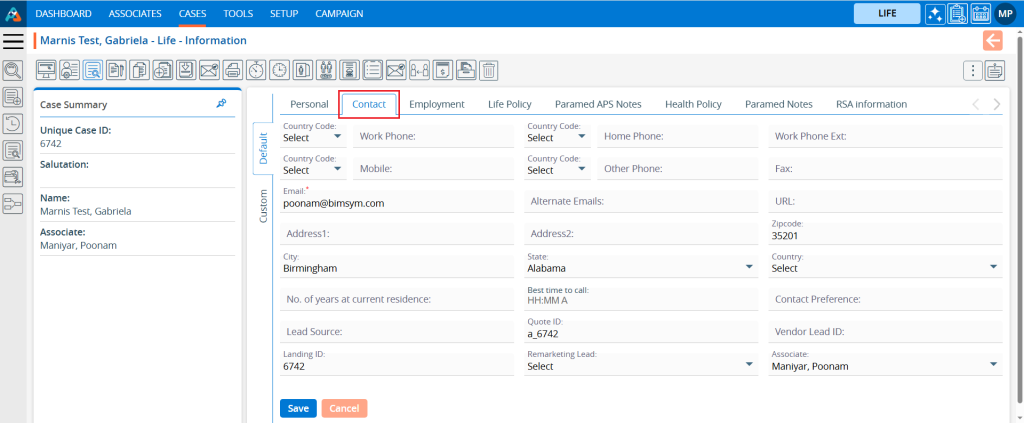
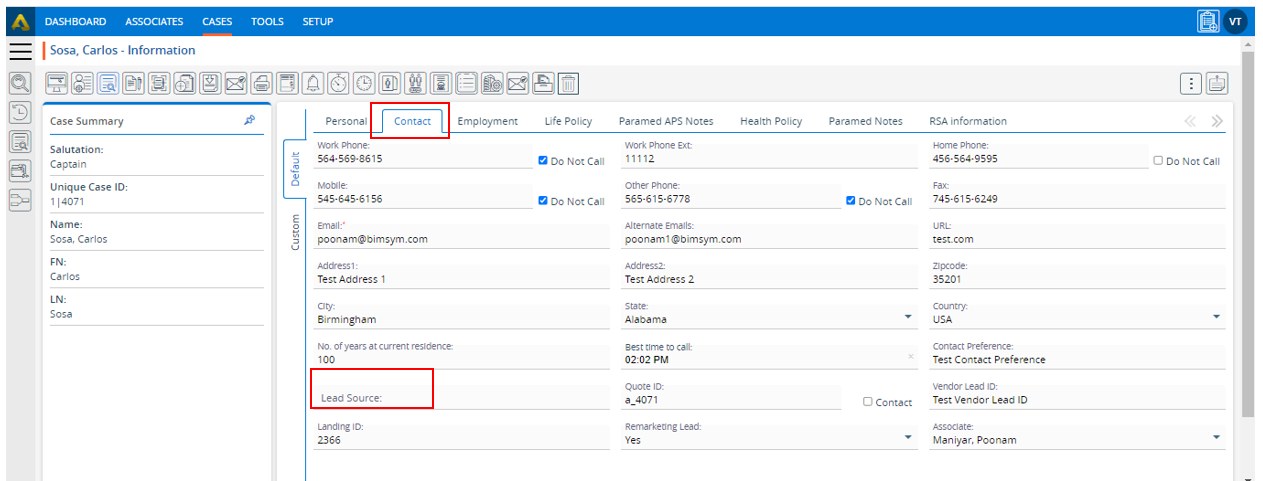
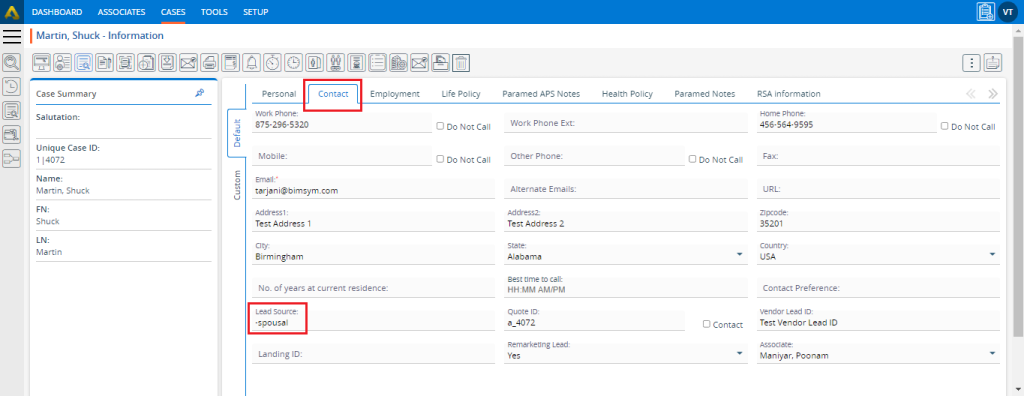
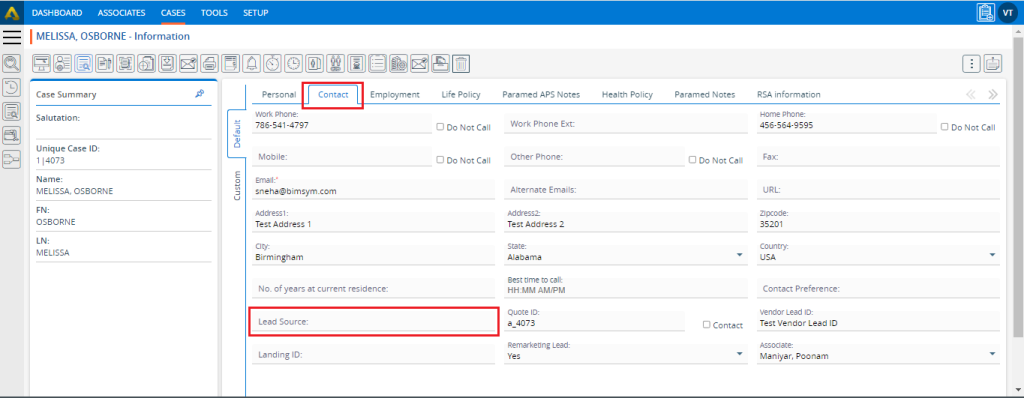
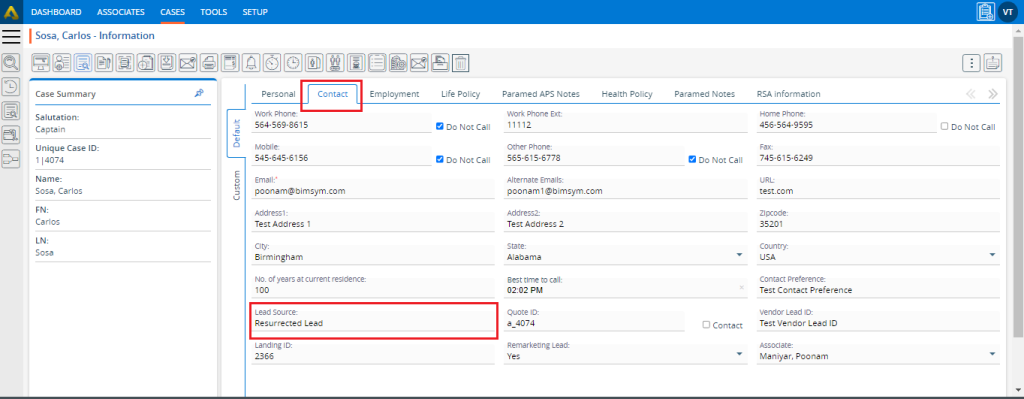
9. Click on ‘Contact’, and the contact page will open. The system will display contact information on this page. From here, users can add and update contact information.
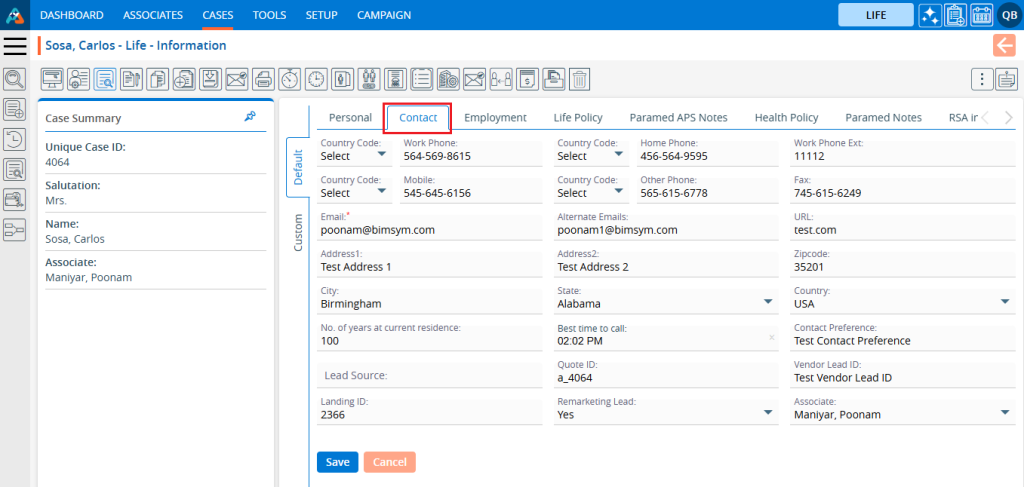
10. There will be two options available on the Contact page.
- Save
- Cancel
11. After contact information is added or updated, click on the “Save” button.
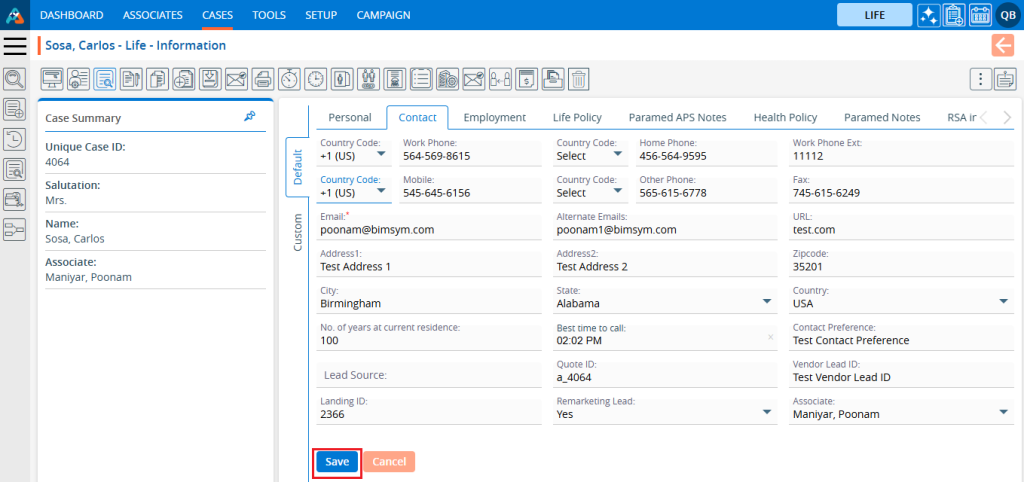
12. The system will generate a confirmation message that the Contact Information has been updated successfully, and the updated information will be displayed.

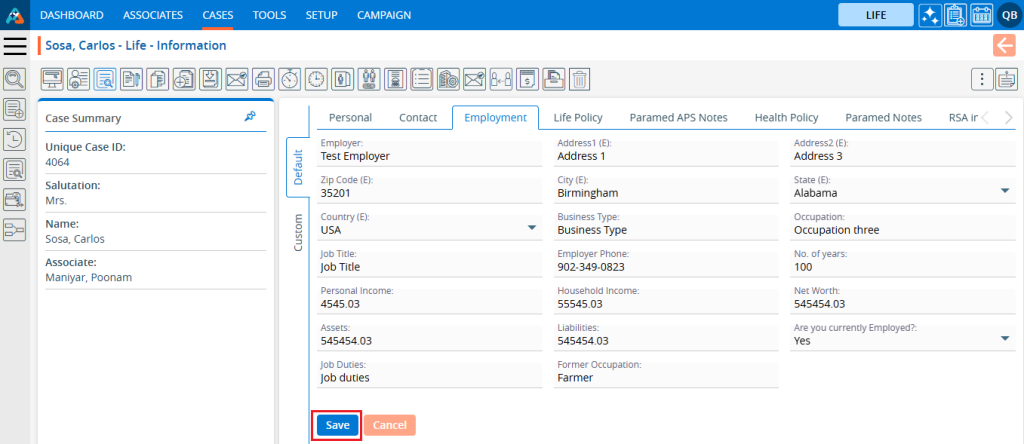
13. Click on the ‘Employment’ page, and ‘Employment’ page will open. The system will display employment-related information on this page. From here, users can add and update their employment-related information.
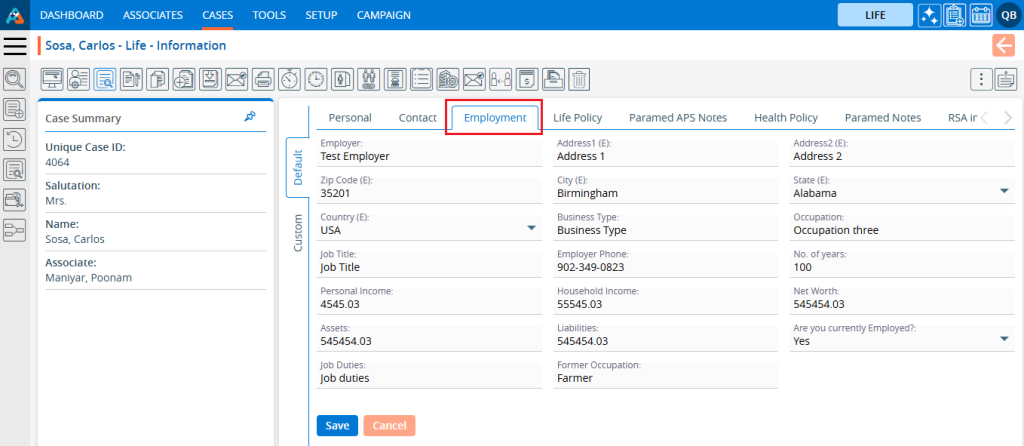
14. There will be two options available on the Employment page.
- Save
- Cancel
15. After employment-related information is added or updated, click on the “Save” button.
16. The system will generate a confirmation message that the Employment Information has been updated successfully, and the updated information will be displayed.

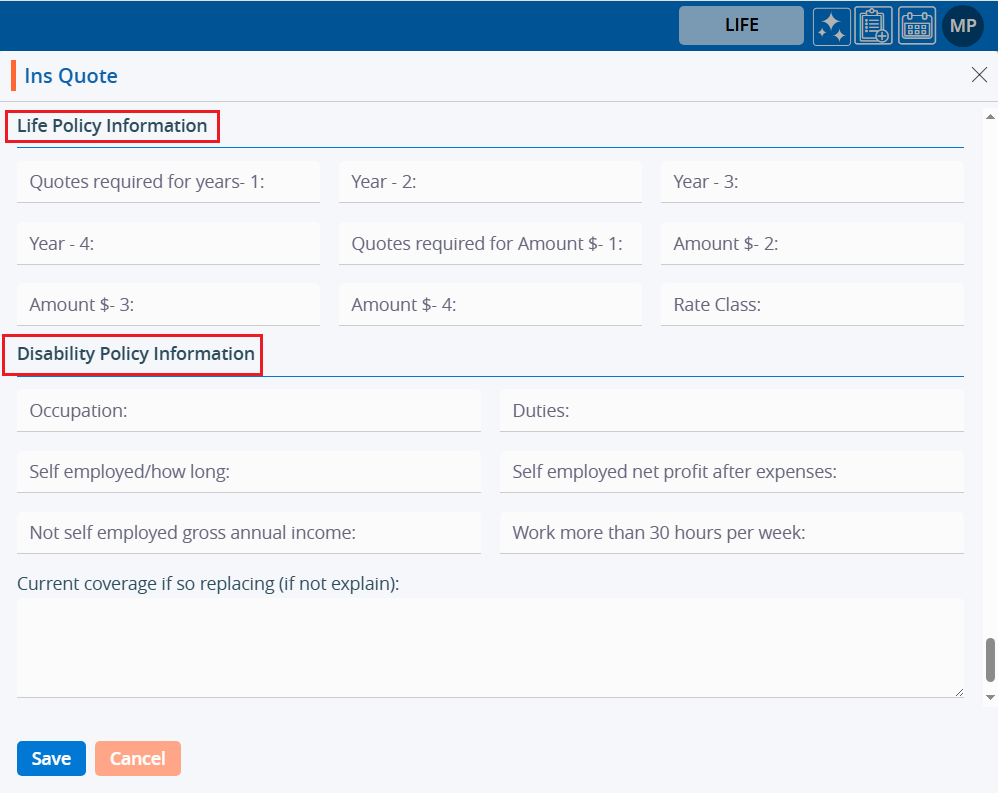
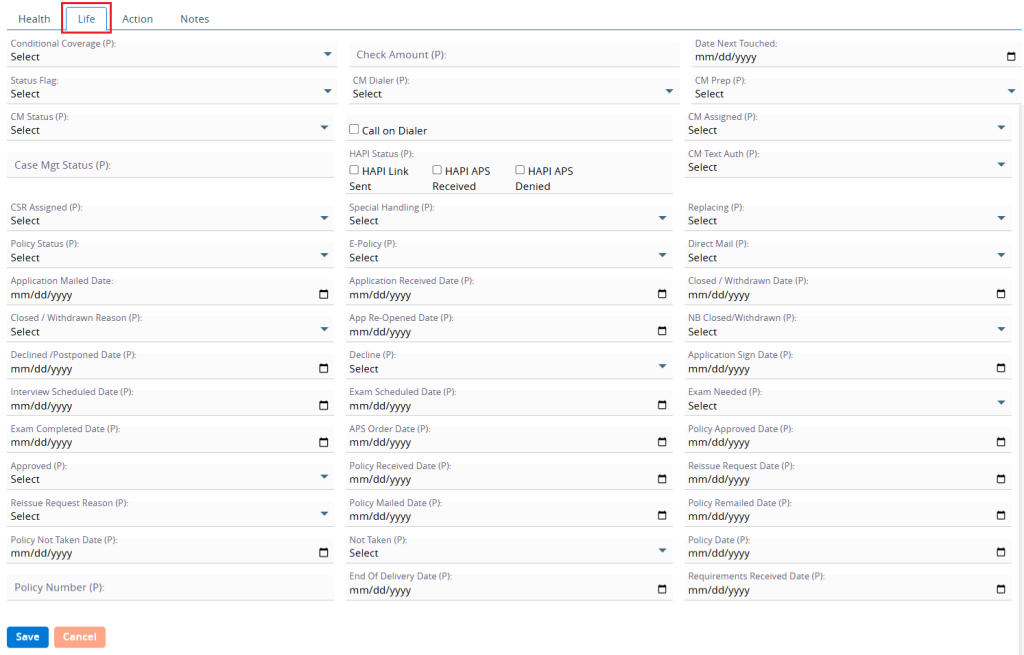
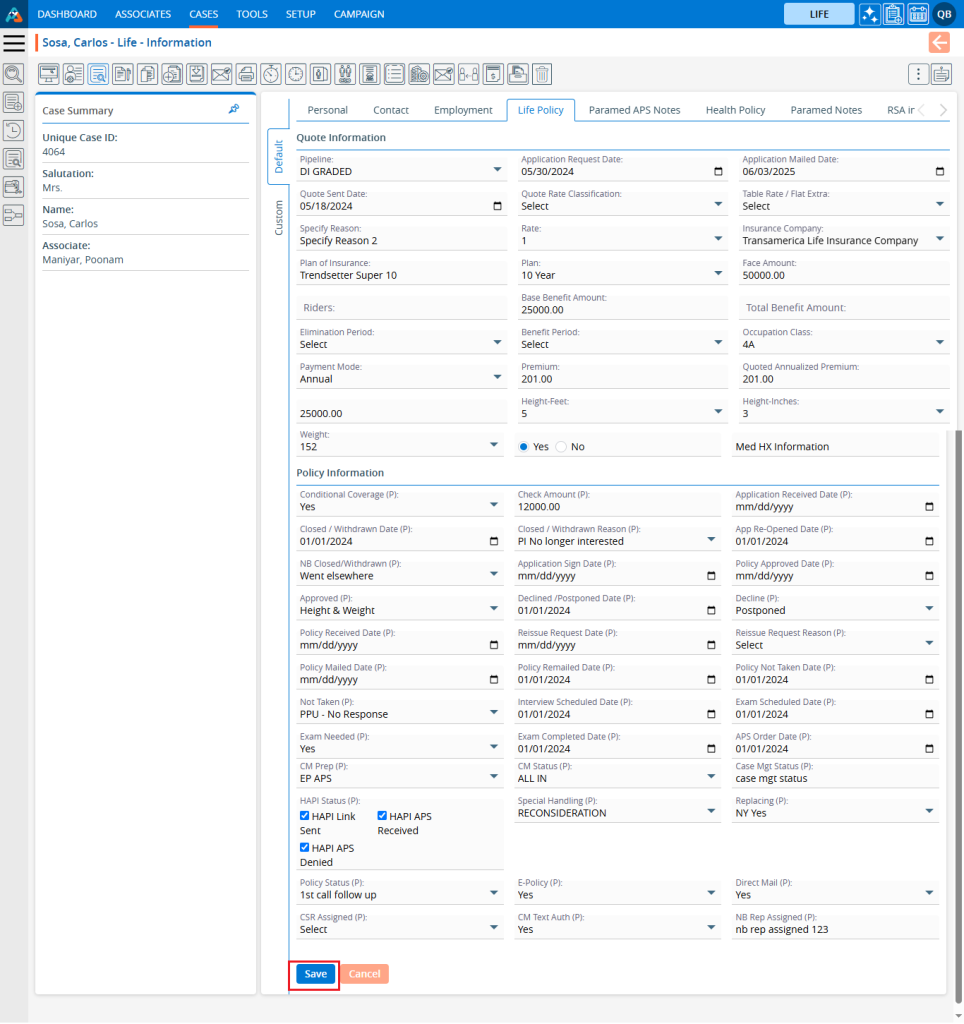
17. Click on the ‘Life Policy’ tab, and the ‘Life Policy’ page will open. The system will display life policy information of the case on this page. From here, users can add and update life policy information.
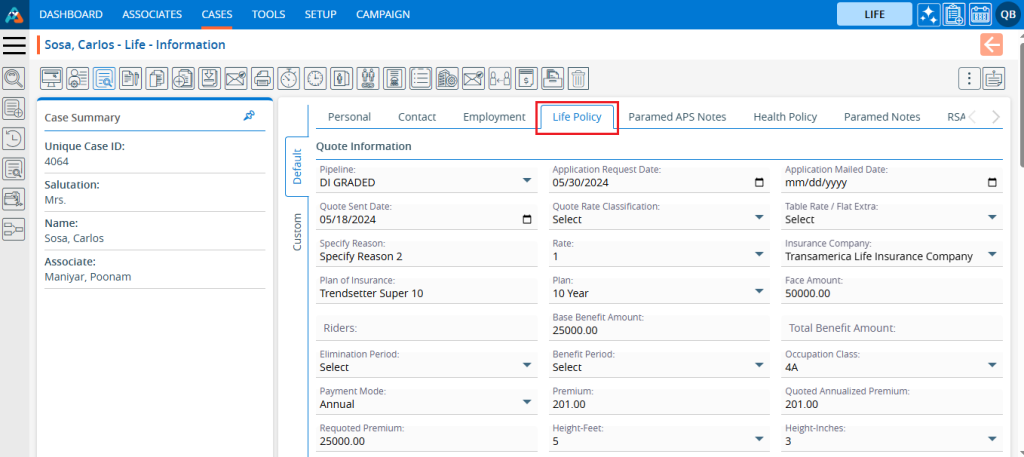
18. There will be two options available on the Life Policy page.
- Save
- Cancel
19. After Life Policy information is added or updated, click on the “Save” button.
20. The system will generate a confirmation message that the Life Policy Information has been updated successfully, and the updated information will be displayed.

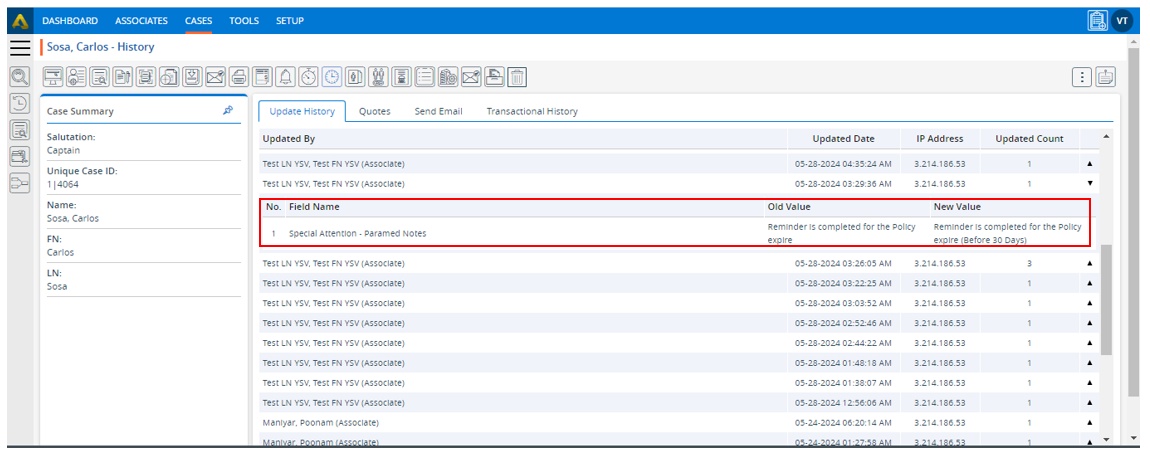
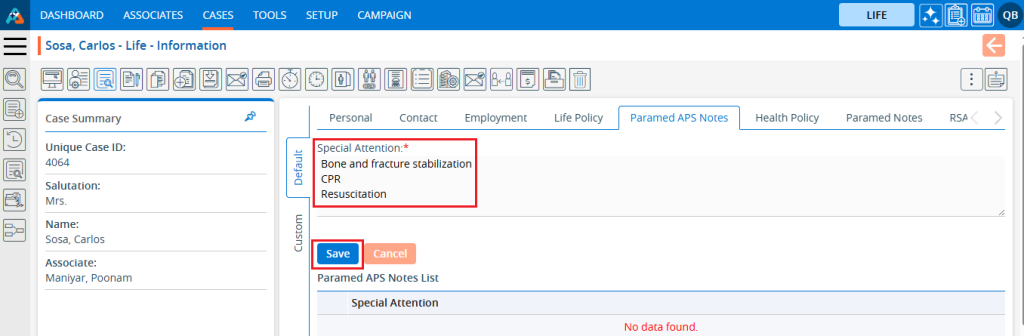
21. Click on the ‘Paramed APS Notes’ tab, and the Paramed APS Notes page will open. The system will display APS notes of the case on this page. From here, users can add and update ‘Paramed APS Notes’.
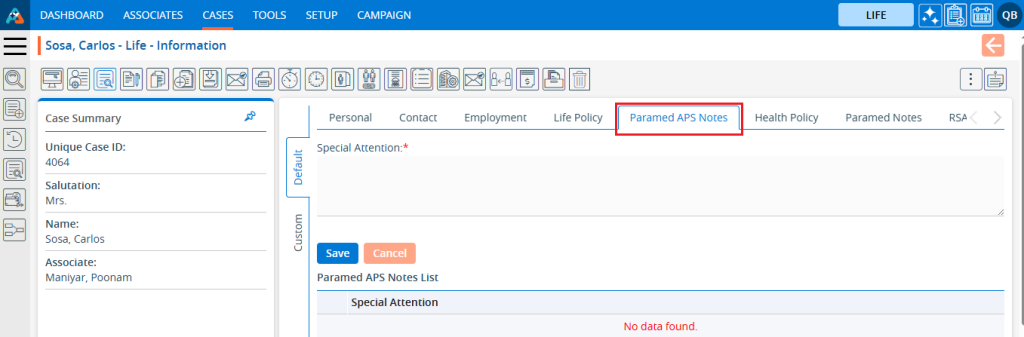
22. There are two options available on the Paramed APS Note tab.
- Save
- Cancel
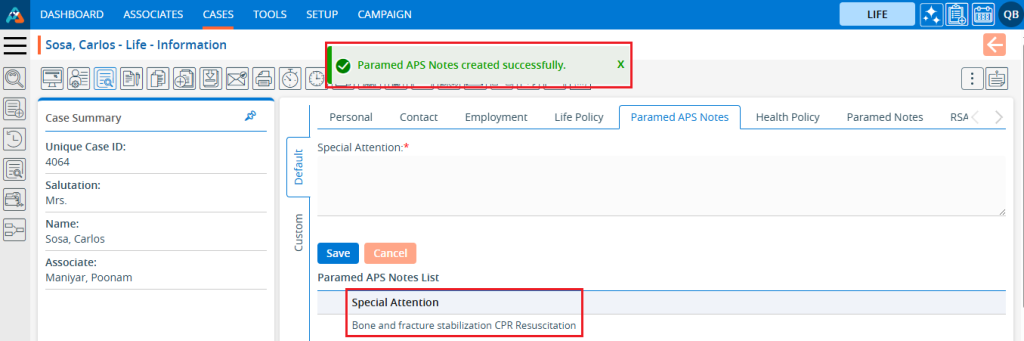
23. Add a note in the Special Attention section and click on the ‘Save’ button.
24. A message will appear confirming that the Paramed APS Note has been added successfully, and the note will be displayed in the Paramed APS Notes List.
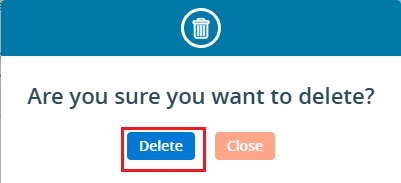
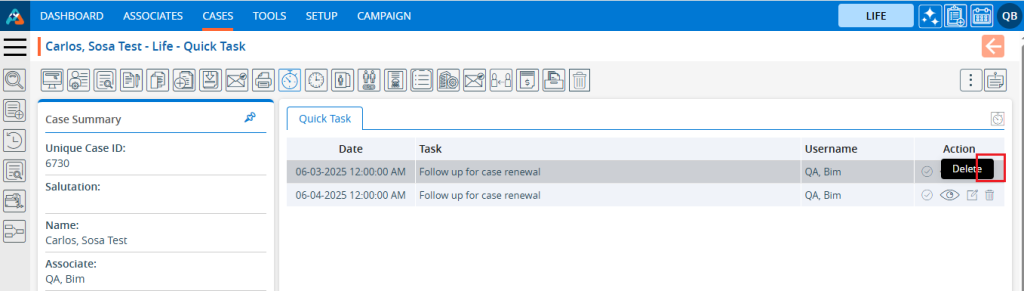
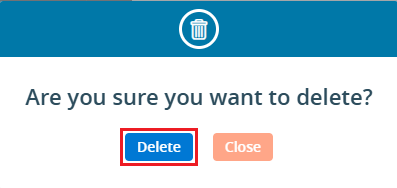
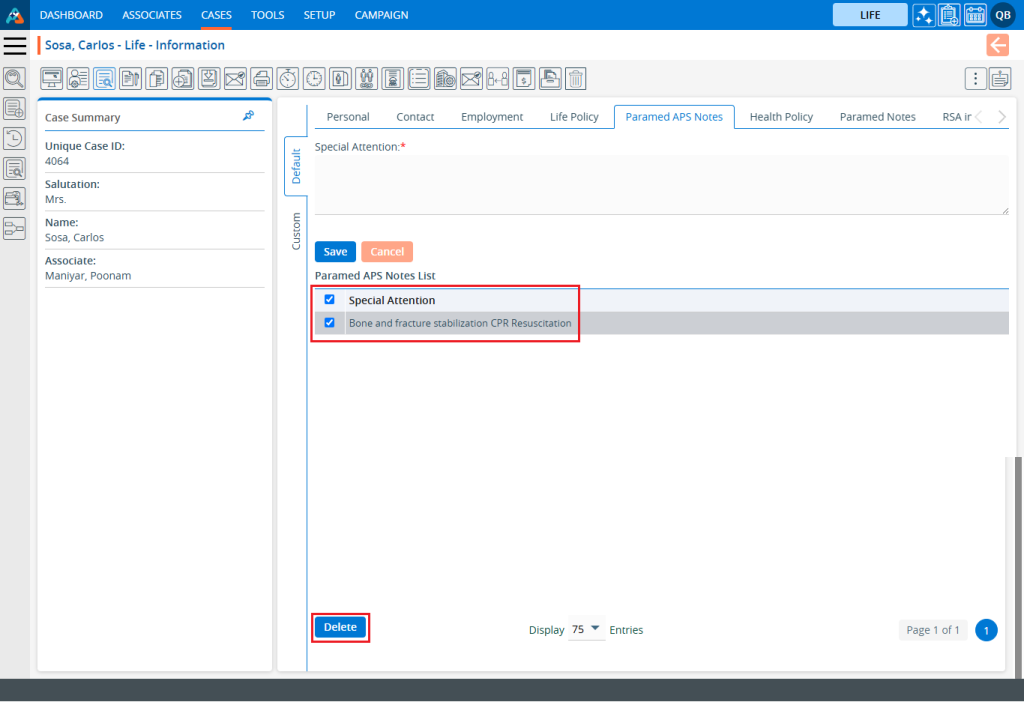
25. Users can also delete existing notes. Select the checkbox next to the desired note in the ‘Paramed APS Notes List’ and click on the ‘Delete’ option.
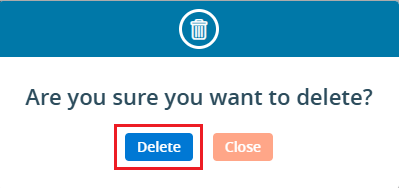
26. The system will ask for confirmation. Click on ‘Delete’ to proceed.
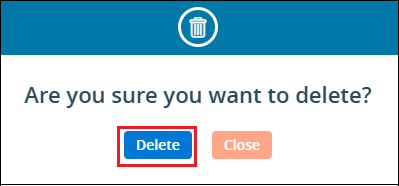
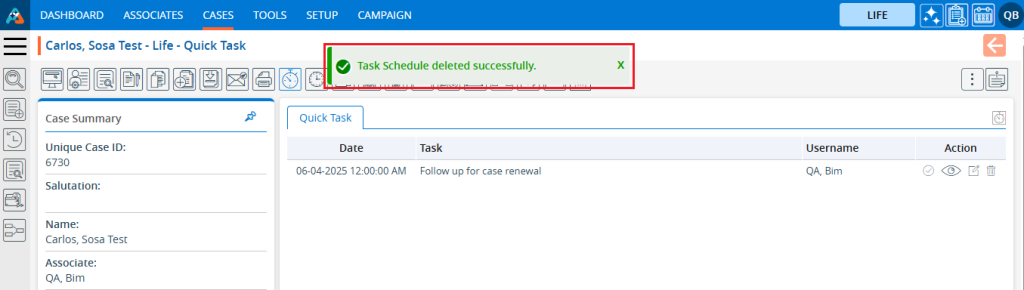
27. The system will generate a confirmation message for the successful deletion of the Paramed APS Note, and the note will be removed from the ‘Paramed APS Notes List’.

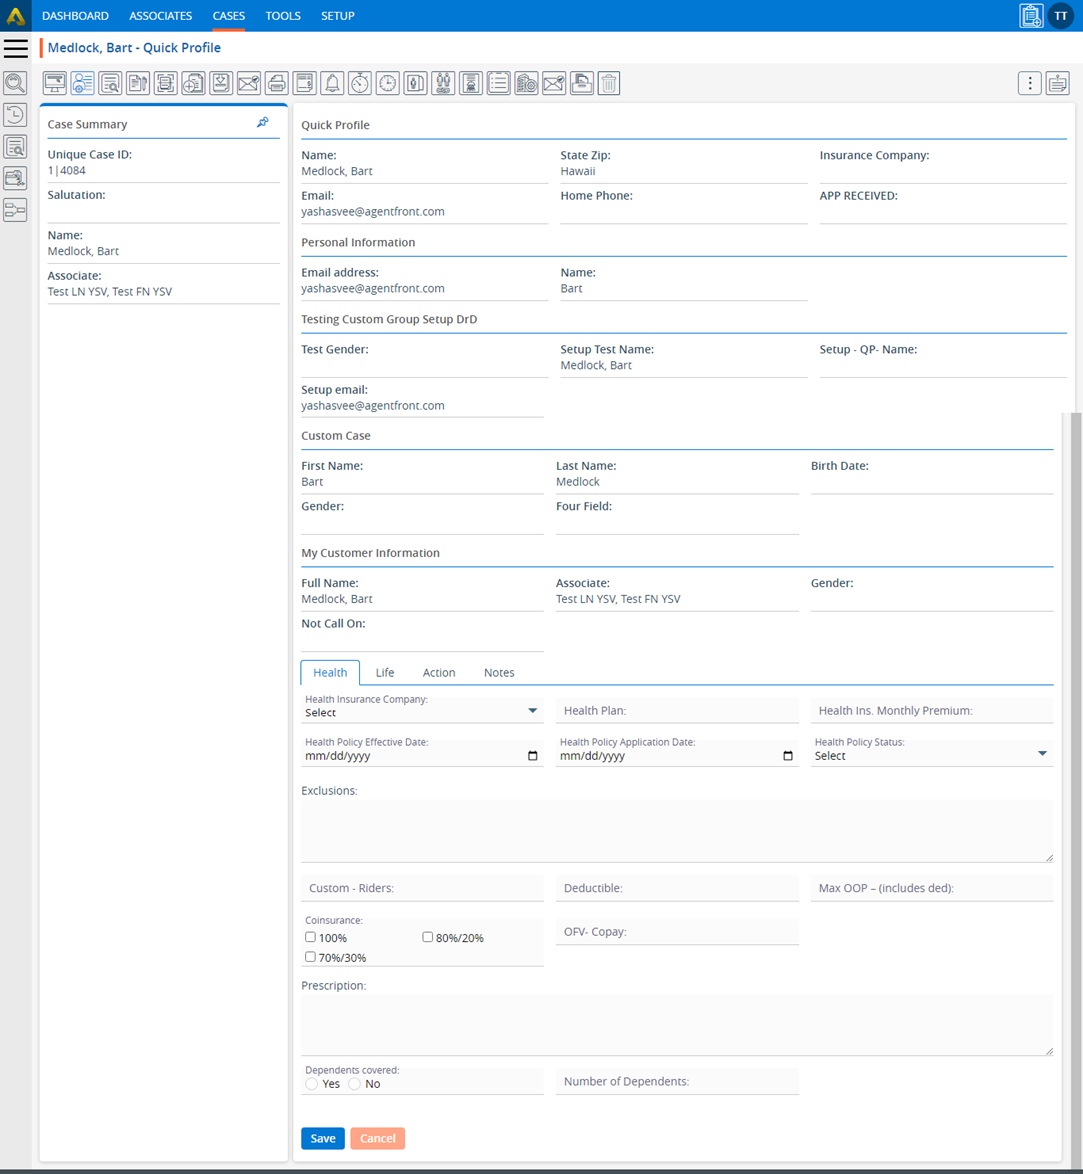
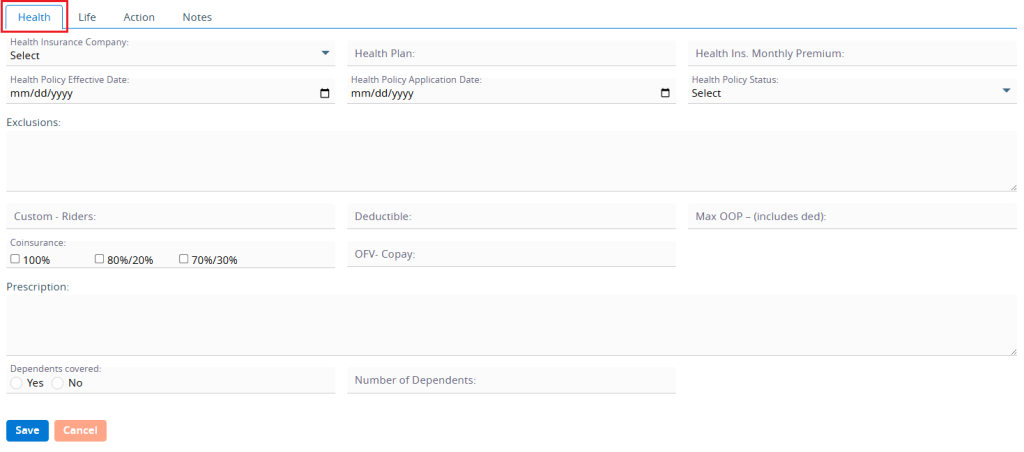
28. Click on the ‘Health Policy’ tab, and the page will open. The system will display health policy-related information of the case on this page. Users can add and update ‘Health Policy’ information from this page.
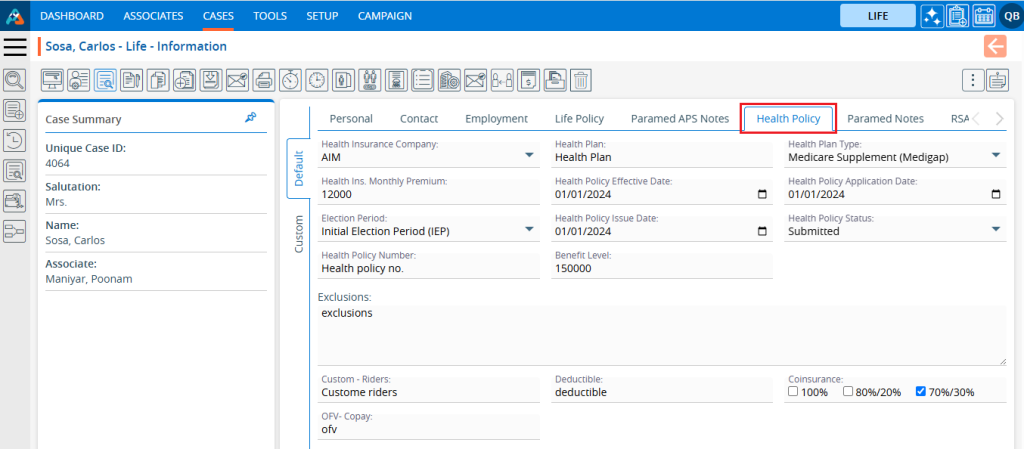
29. There will be two options available on the Health Policy page.
- Save
- Cancel
30. After adding or updating Health Policy information, click on the ‘Save’ button.
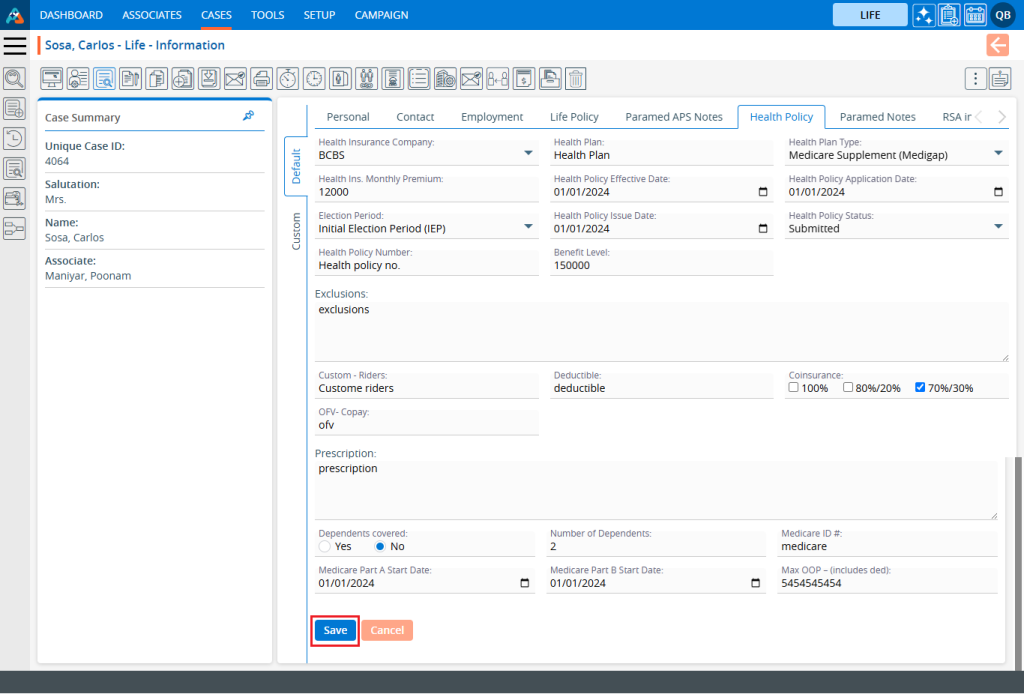
31. The system will generate a confirmation message that the health policy information has been updated successfully, and the updated information will be displayed.

32. Click on the ‘Paramed Notes’ tab, and the page will open. Users can add and update Paramed Notes on this page.
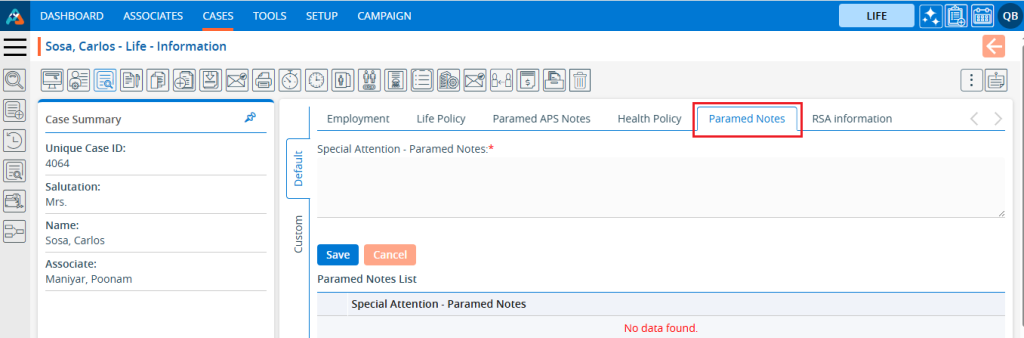
33. There are two options available in the ‘Paramed Notes’ tab.
- Save
- Cancel
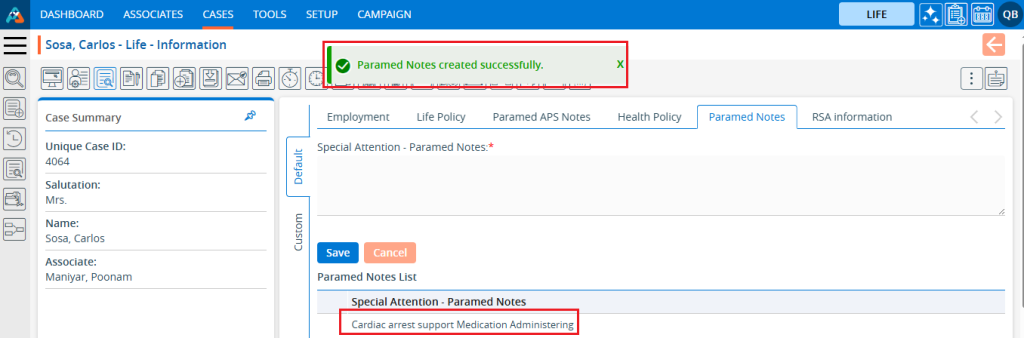
34. Add a note in the Special Attention section and click on the ‘Save’ button.
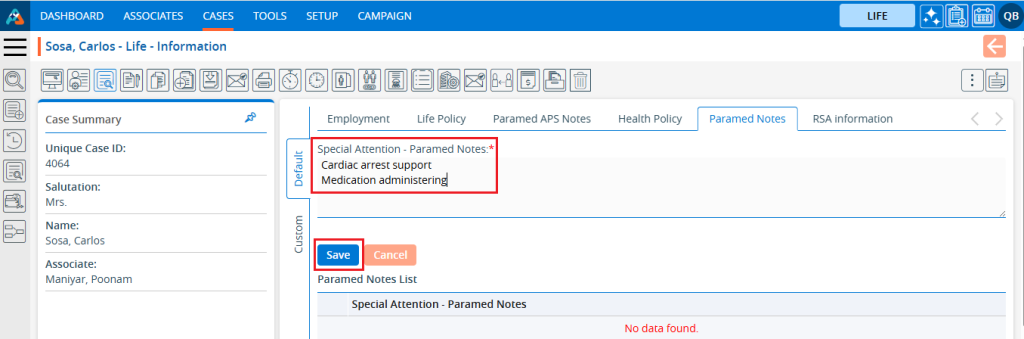
35. The system will generate a confirmation message that the Paramed Notes were created successfully, and the added ‘Paramed Notes’ will be displayed in the Paramed Notes list.
36. Users can also delete existing ‘Paramed Notes’. Select the note from the Paramed Notes List, check the checkbox next to it, and click on the delete button.
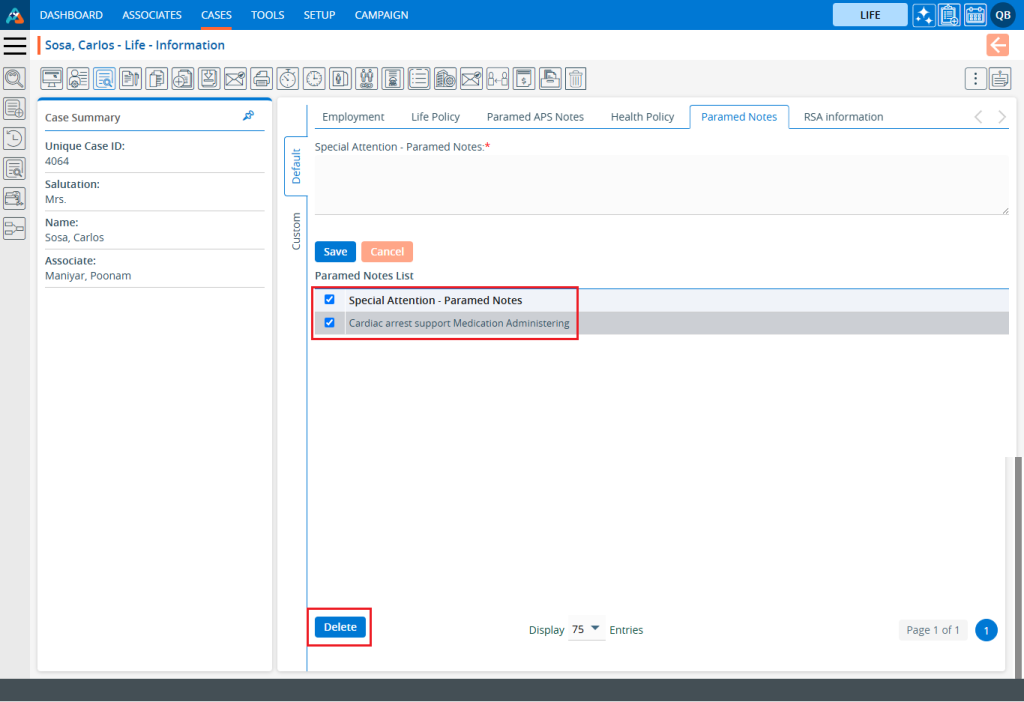
37. The system will ask for confirmation. Click on the ‘Delete’ option.

38. The system will generate a confirmation message that the ‘Paramed Note’ has been deleted successfully, and the note will be removed from the ‘Paramed Notes List’.

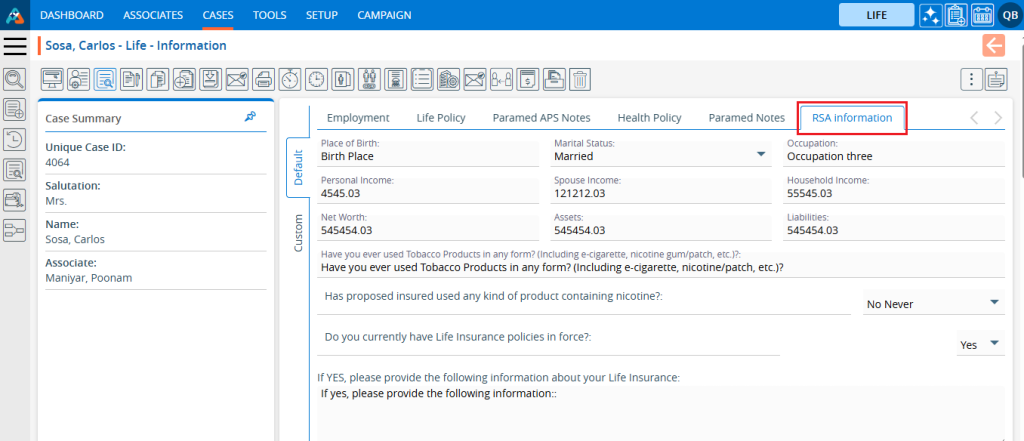
39. Click on the ‘RSA Information’ tab, and the page will open. The system will display RSA information for the cases on this page. Users can add and update ‘RSA information’ from this page.
40. There are two options available on the ‘RSA Information’ tab.
- Save
- Cancel
41. After adding or updating ‘RSA information’, click on the ‘Save’ button to save the information.
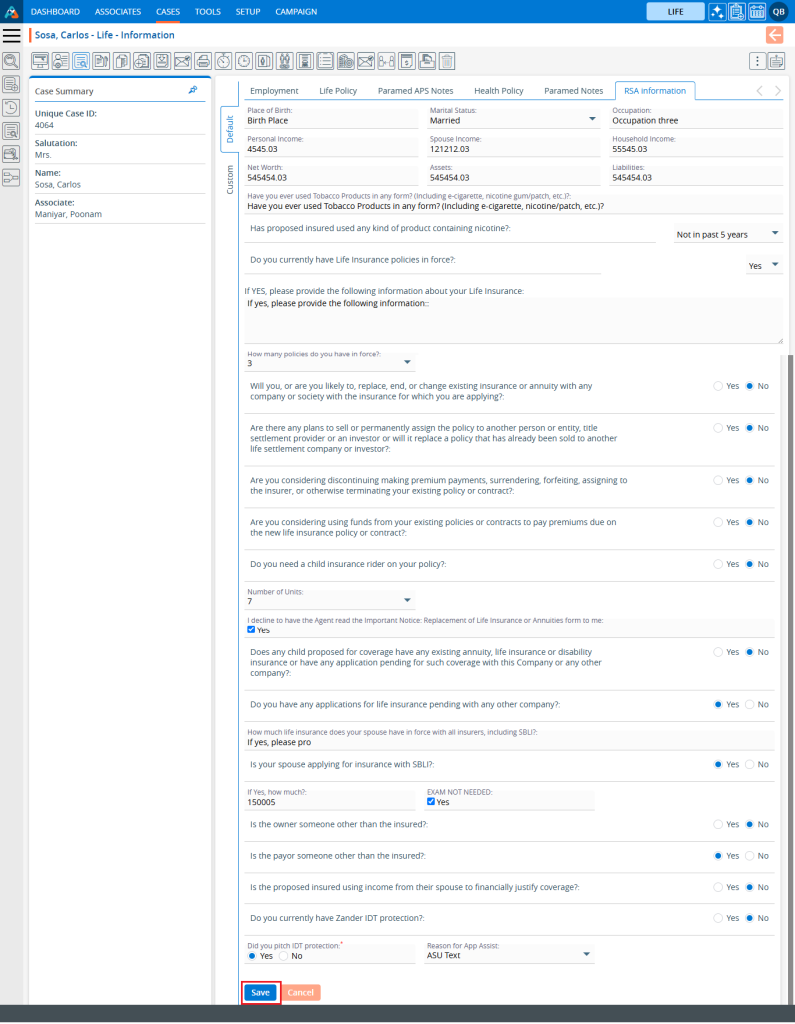
42. The system will generate a confirmation message that the RSA Information has been updated successfully, and the updated information will be displayed.