The Web Resource feature allows users to create a comprehensive list of web resources and save important URLs in the system.
The following are the steps to manage Web Resources:
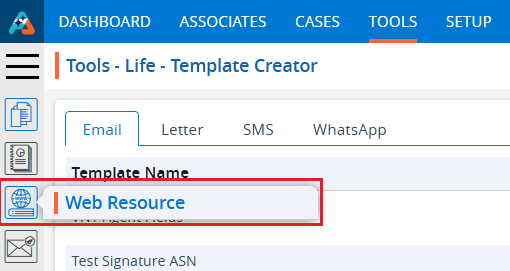
1. Navigate to the ‘Tools’ tab.

2. Click on ‘Web Resource’ in the left-side menu.
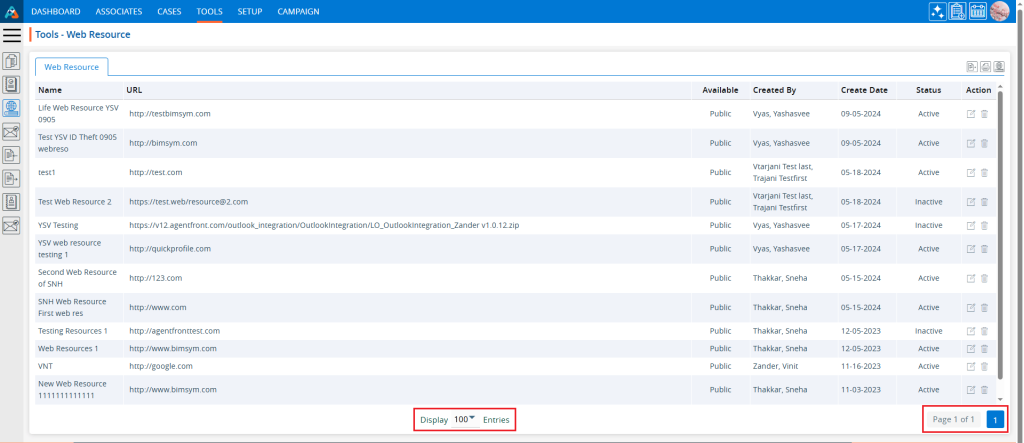
3. The ‘Tools – Web Resource’ page will open, displaying existing web resources with details such as Name, URL, Available, Created By, Create Date, Status and Action.

4. Click the ‘Add Web Resource’ icon to add a new web resource.

5. After clicking on the ‘Add Web Resource’ icon, a pop-up window ‘Add Web Resource’ will open.
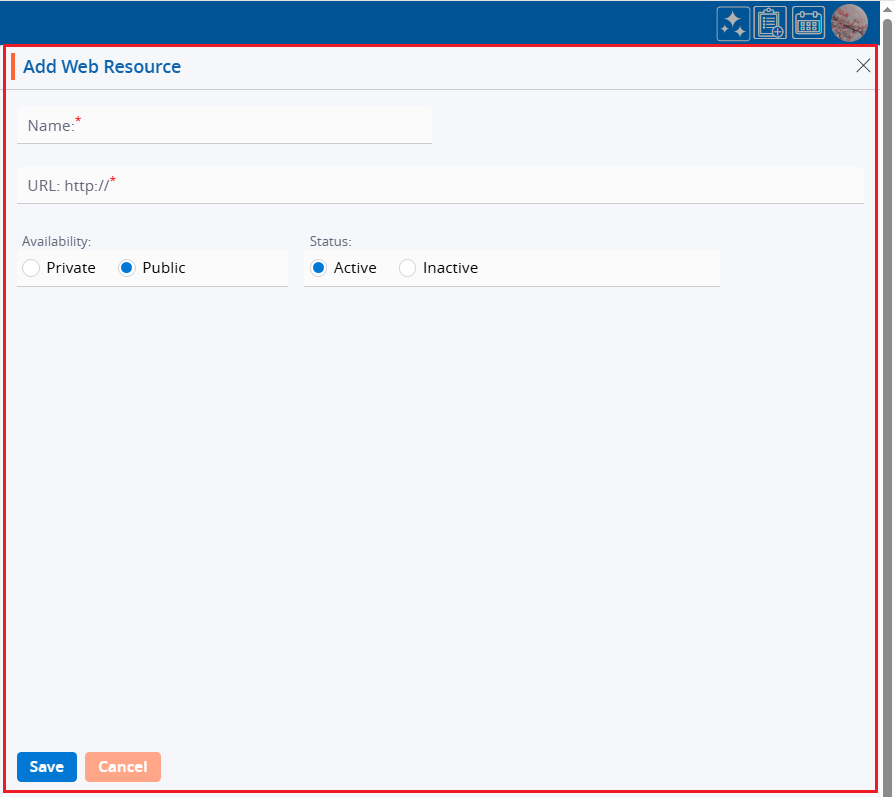
6. Fill in the details for the Web Resource, including Name, URL, Availability and Status, then click the ‘Save’ button.
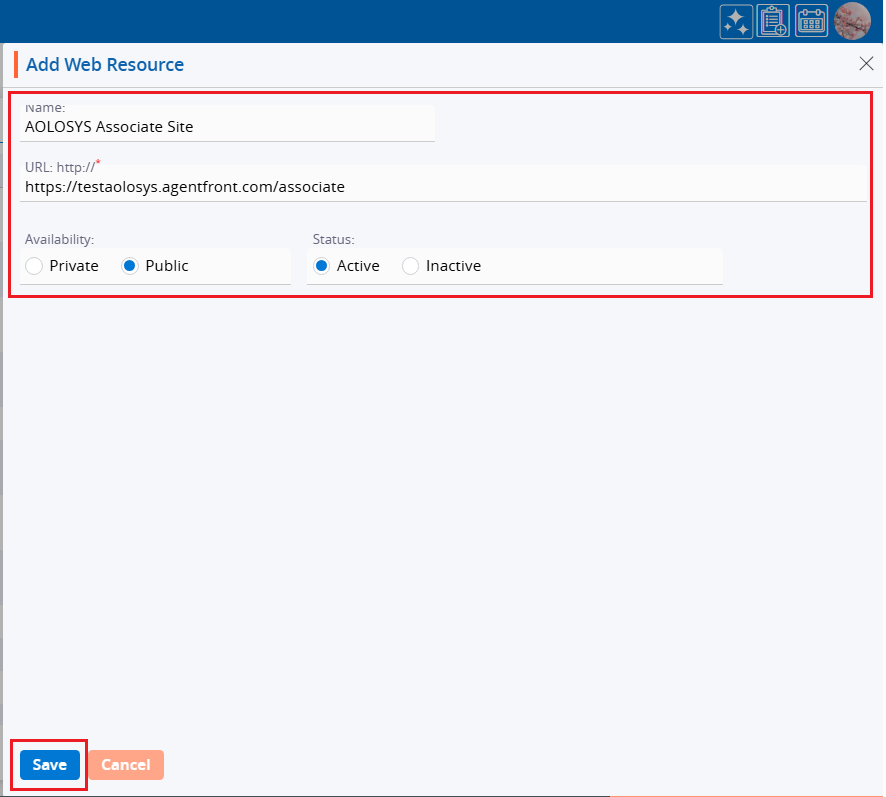
7. A confirmation message will be generated, and a new web resource will appear in the list.

8. Click on the URL of the newly created web resource to check if it is working properly. For example, click on the URL for the ‘AOLOSYS Associate Site’.

9. After clicking on the URL, the system will redirect the user to the URL of the selected web resource.

10. Navigate to the ‘Tools’ tab again and click on the ‘Web Resource’ option to go back to the web resources page.

11. Click on the ‘Print’ icon to print the web resources.

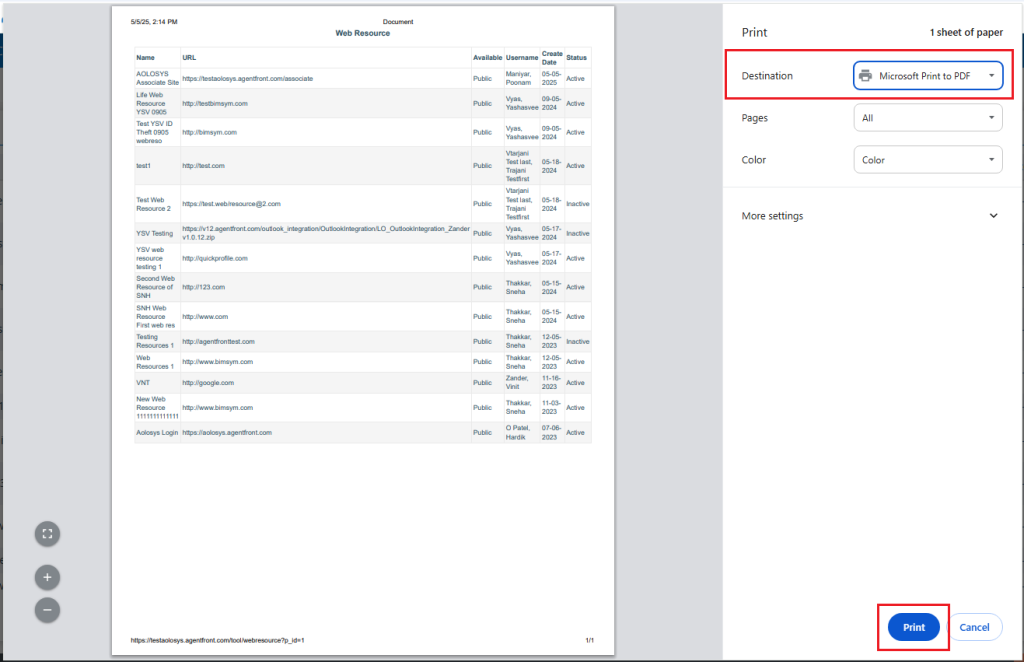
12. After clicking on Print, a popup page will open displaying the current page data and various print options.
a. Select the print option from the ‘Destination’ field and click on the ‘Print’ button.
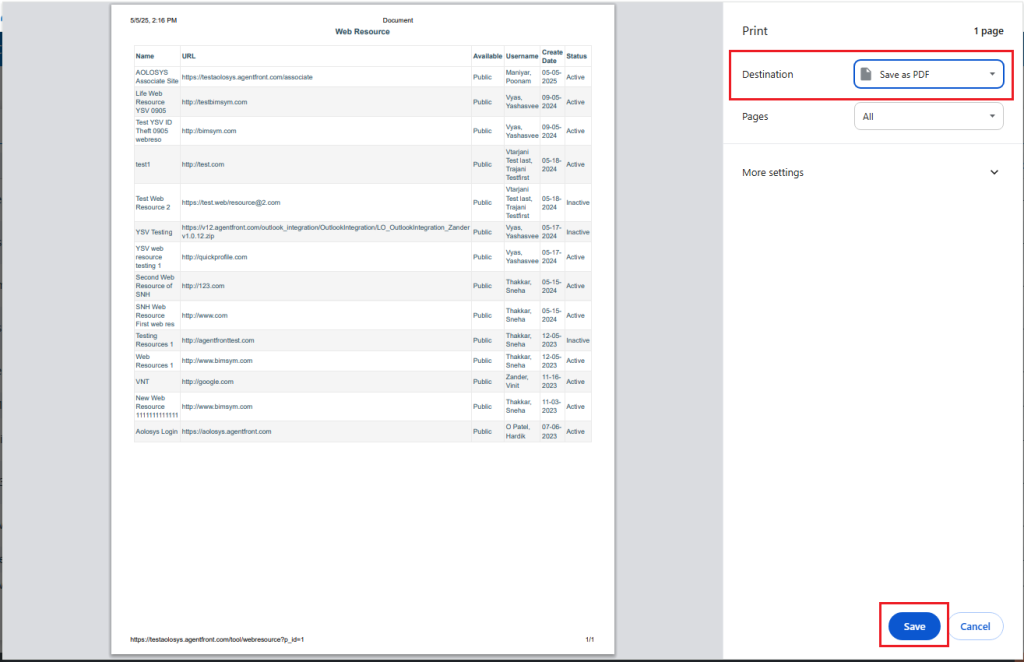
b. Select the ‘Save as PDF’ option from the ‘Destination’ field and click on the ‘Save’ button to save the file to the required location. The file will be saved at a temporary location.
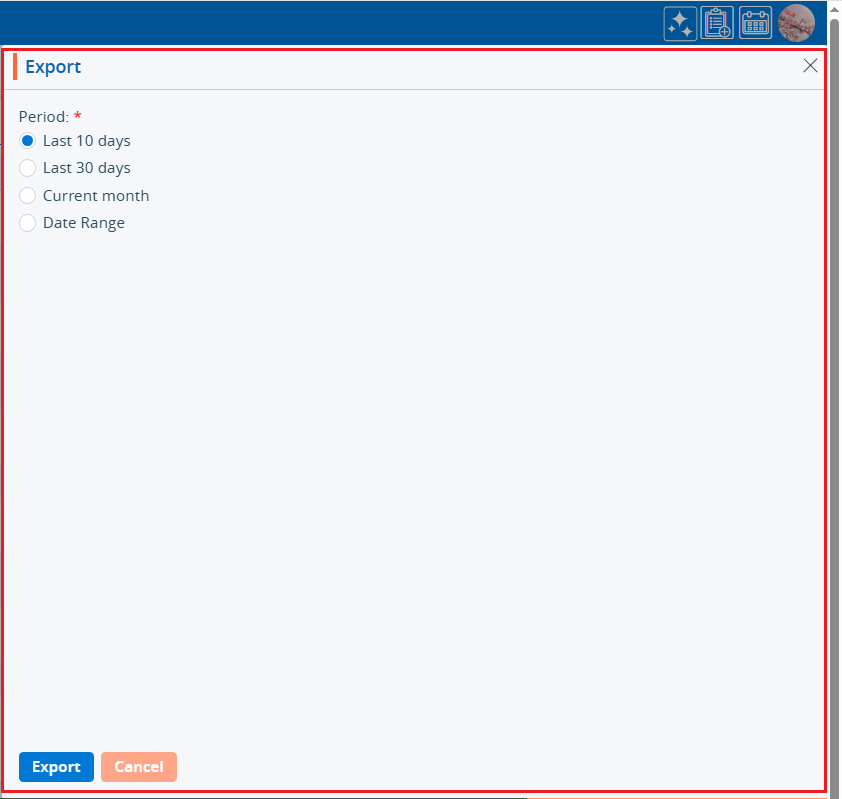
13. Click on the ‘Export’ icon to export web resources.

14. Upon licking Export, export’s pop-up window will open, and you can select the ‘Period’ to export data from.
There are four options available:
a. Last 10 days – This option is used to export data from the last 10 days.
b. Last 30 days – This option is used to export records from the past 30 days.
c. Current month – This option is used to export records for the Current Month.
d. Date Range – This option is used to export records for the selected date range within 90 days.
15. Select a period as per the requirement and click on ‘Export’ button.
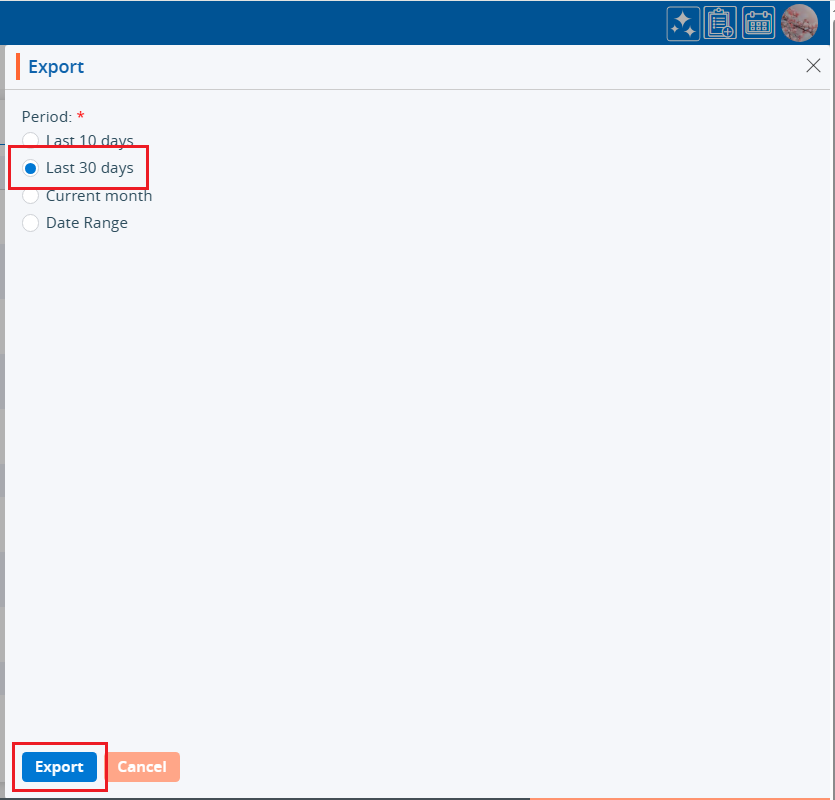
16. Records will be exported according to the selected option, and the CSV file will be saved in the designated location.

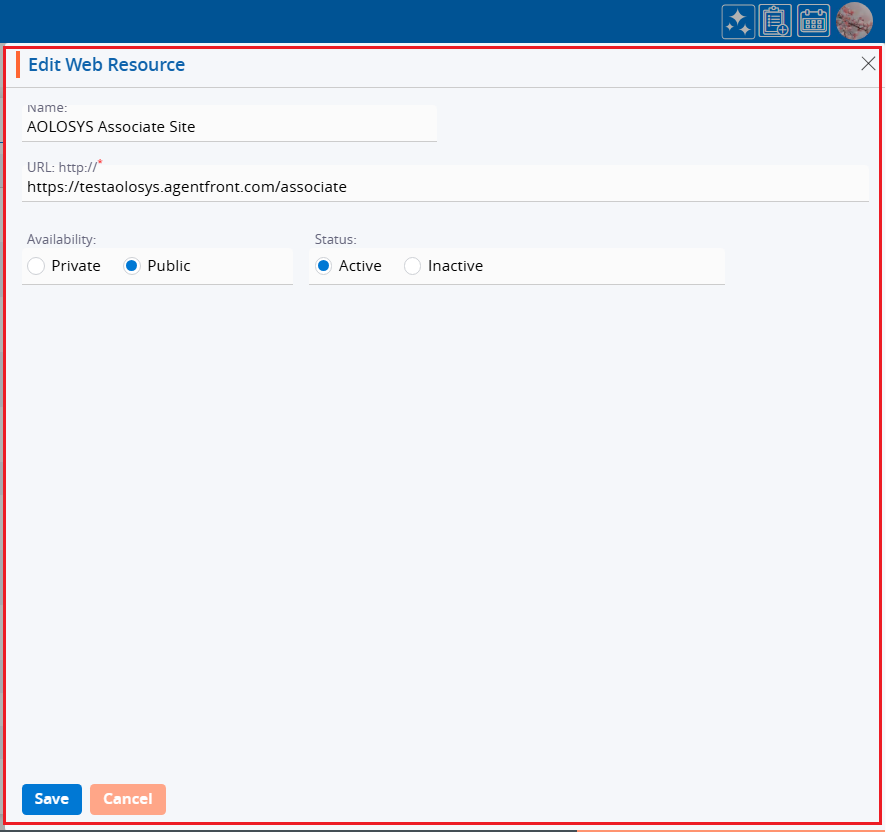
17. To update the details of the web resources, click on the ‘Edit’ icon.

18. ‘Edit Web Resource’ pop-up window will open. Make the changes and click on the save button.
19. A confirmation message will appear indicating ‘Web Resource updated successfully.’

20. By using the ‘Delete’ icon, the user can remove the web resource. Select the ‘Delete’ button to remove them.

21. Select the ‘Delete’ option from the confirmation message asking to delete the web resources.

22. A confirmation message will appear confirming that the web resource has been deleted successfully, and it will be removed from the list.

23. Select the option from the Display settings to specify the number of records per page based on the total number of records available. After selecting the Display option, the system will present web resources and pagination based on the chosen setting. For example, if the user selects 10 web resources per page, the system will display 10 web resources per page, with the data distributed accordingly.