Transactional History is a list of users’ tasks filtered by date and task type.
The following are the steps to generate the report for Transactional History:
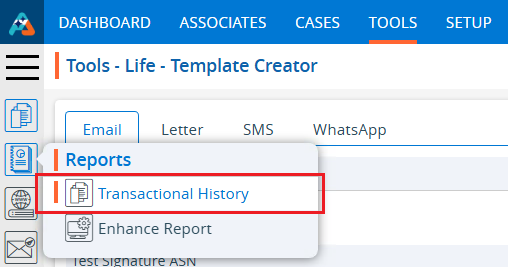
1. Navigate to the ‘TOOLS’ tab..

2. Click on ‘Reports’ in the left-side menu, then select the ‘Transactional History’ option from the list of reports.
3. By clicking on Transactional History a new page titled ‘Tools – Life – Reports – Transactional History’ will open. This page will provide dropdown menus to select users and tasks by date.

4. Select a user from the dropdown menu to generate and view their ‘Transactional History’ details.

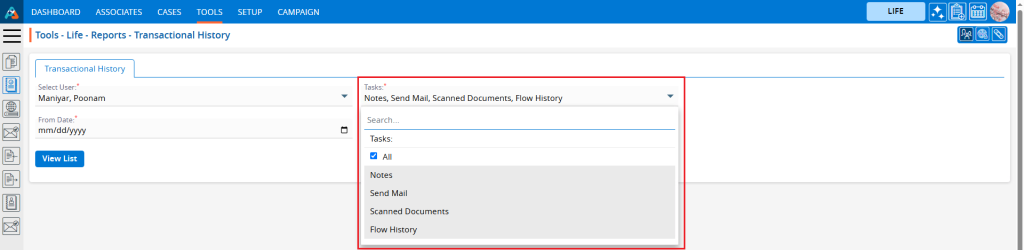
5. The ‘Tasks’ dropdown includes options such as Notes, Send Mail, Scanned Documents, and Flow History. Select the desired option from the dropdown menu. Users can choose either a single option to view or select ‘All’ to view the history for all categories together. For example, the ‘All’ option is selected from the dropdown menu.
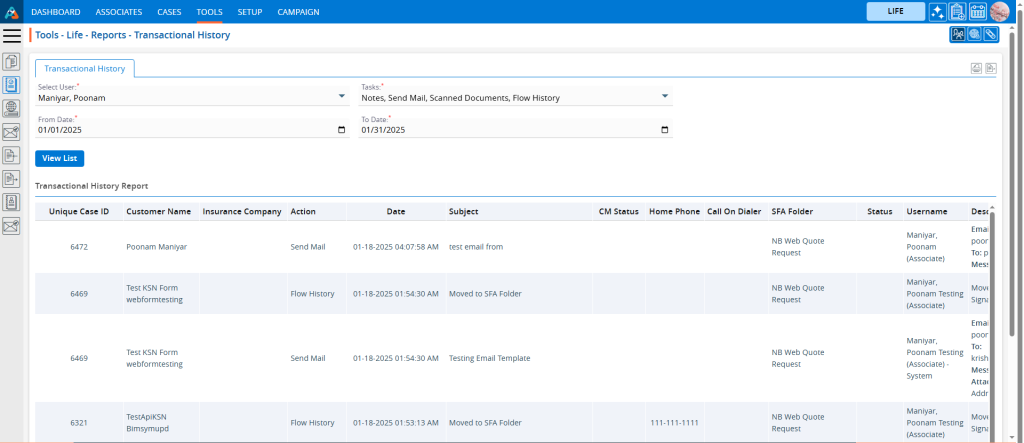
6. Select the desired date range for the data to be listed, and then click on ‘View List’ to proceed.

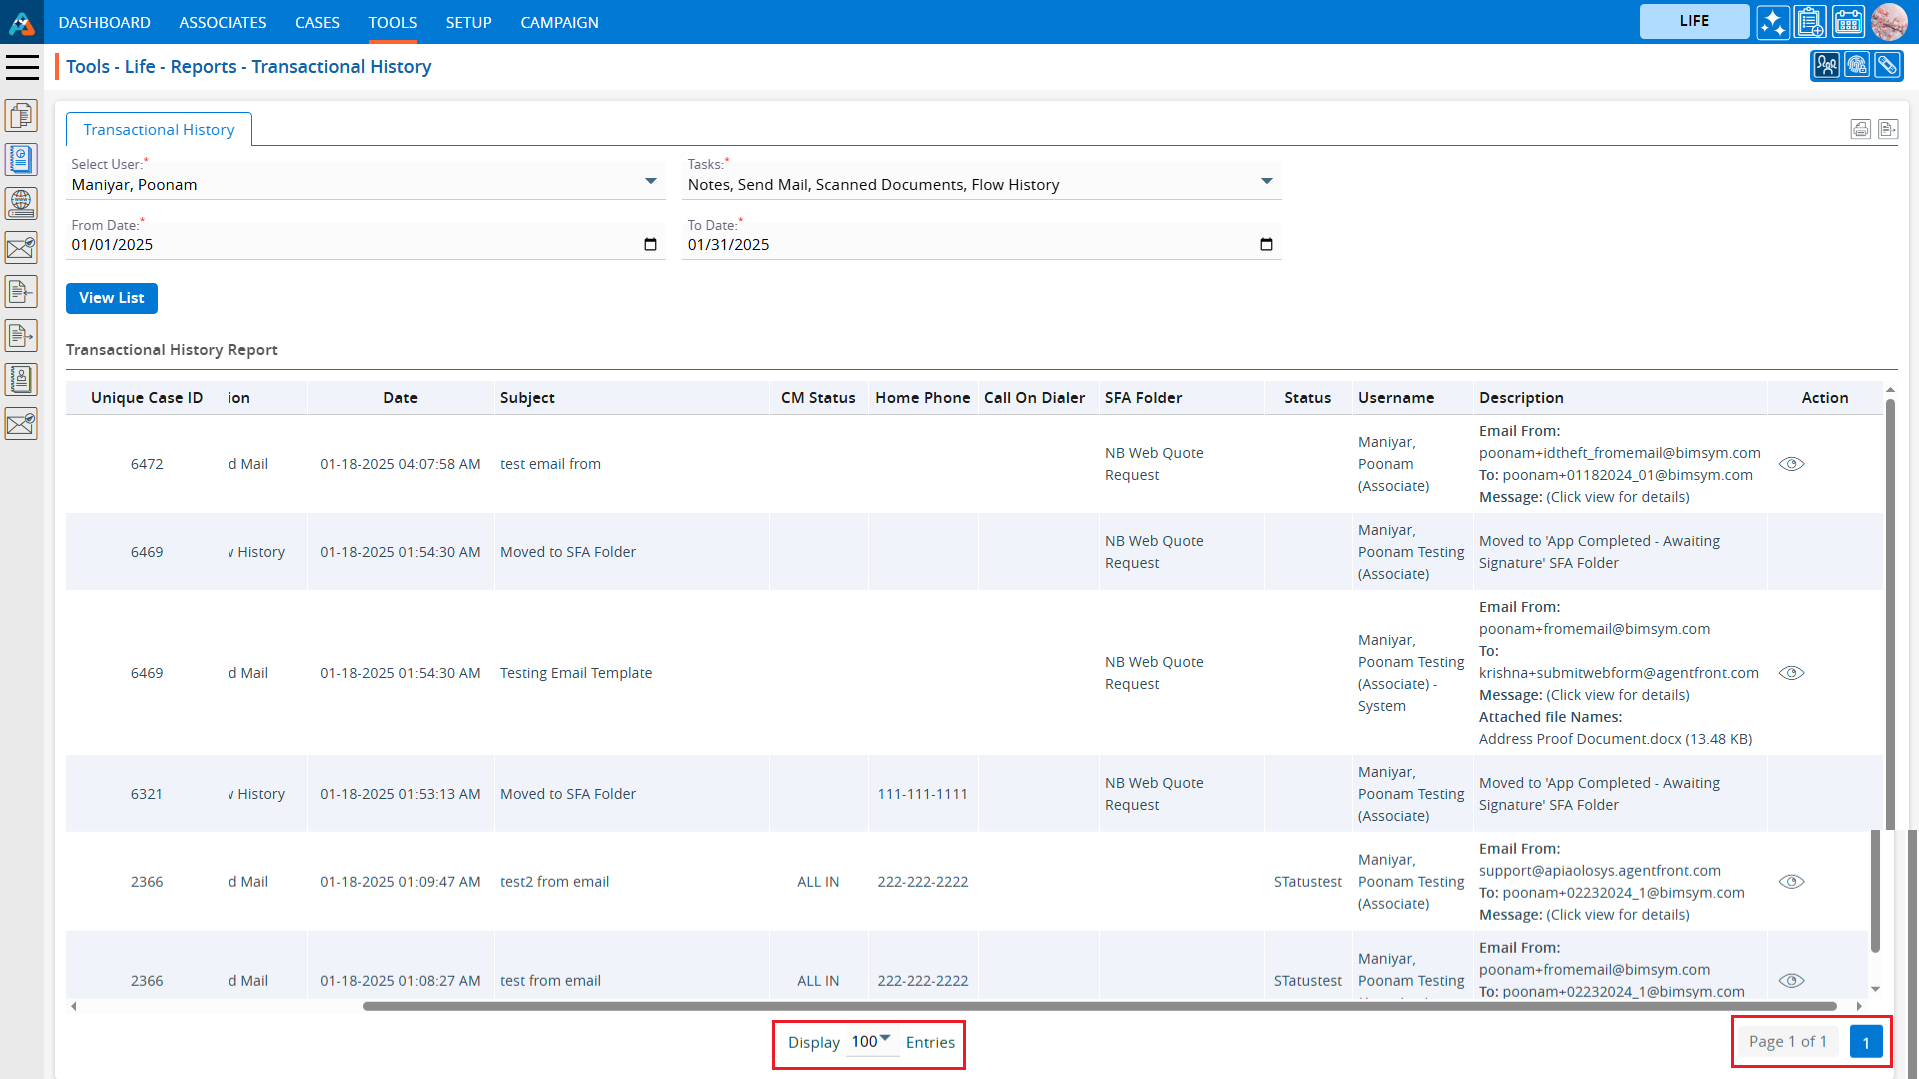
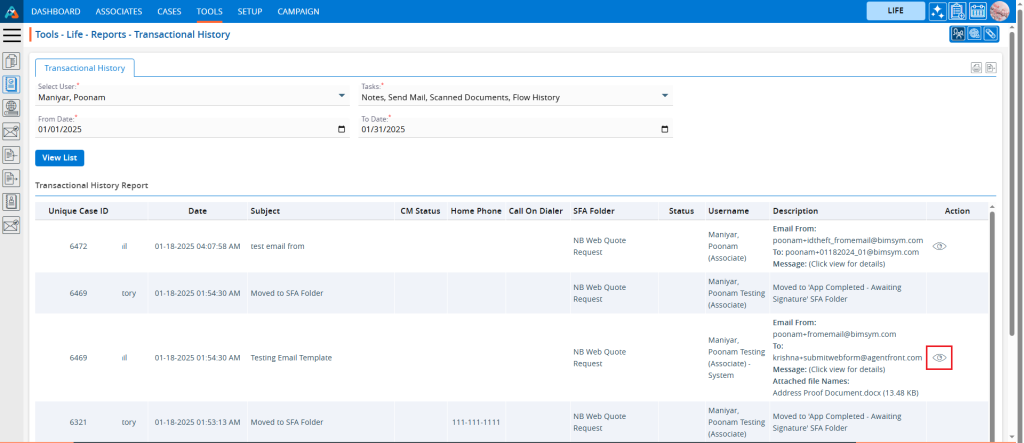
7. It will display the transactional history details for the selected task(s) within the specified date range for the chosen user.
8. Click on the ‘View’ option next to the task for which the user wants to see details.
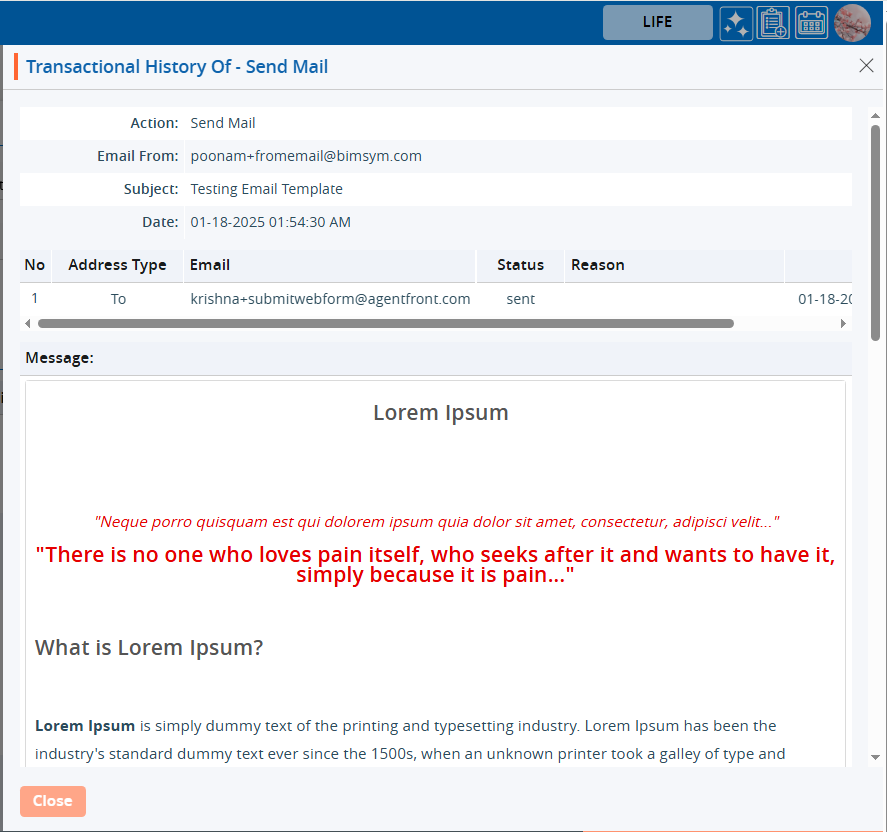
9. A new pop-up window will open to display the details of that selected transactional history. Click the ‘Close’ button to exit.
10. Choose an option from the display settings at the bottom to specify the number of records to show per page, based on the total number of available records. After selecting the Display option, the system will present the records and pagination based on the chosen setting. For example, if the user selects 50 cases per page, the system will display 50 web resources per page, with the data distributed accordingly.