Import – Import files containing specific data in CSV format with delimiters, which will then be displayed in the CASES list.
The following are the steps to use the Import feature:
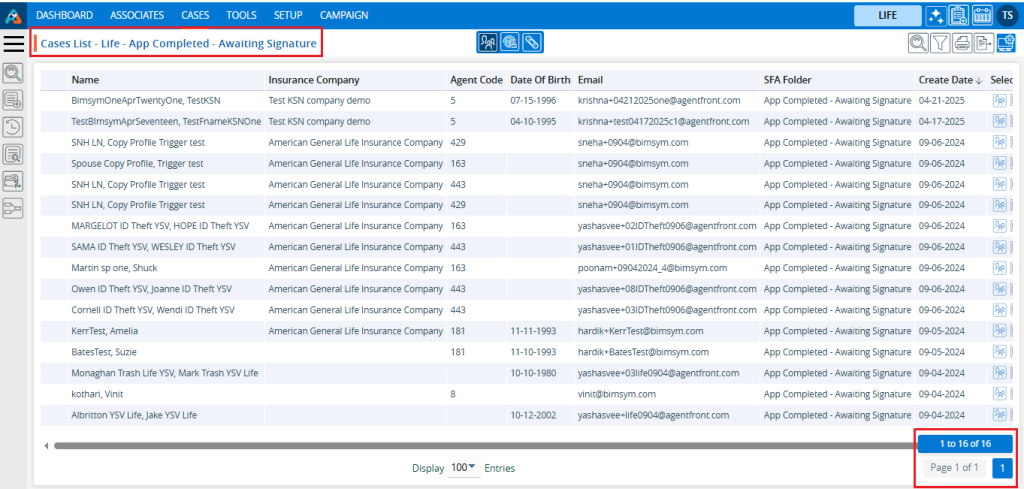
1. Check the total number of cases before importing the data in the ‘Specific SFA – Cases List’.
For example, here we are importing data into “App Completed – Awaiting Signature” SFA.
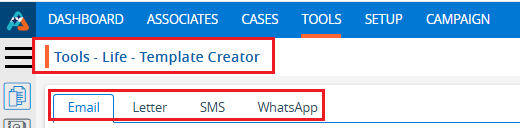
2. Navigate to the ‘TOOLS’ tab.

3. The Tools tab will open, displaying the ‘Tools – Life – Template Creator’ with four tabs: Email, Letter, SMS, and WhatsApp.
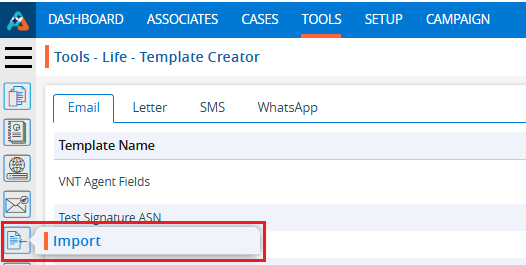
4. Click on ‘Import’ in the left-side panel.
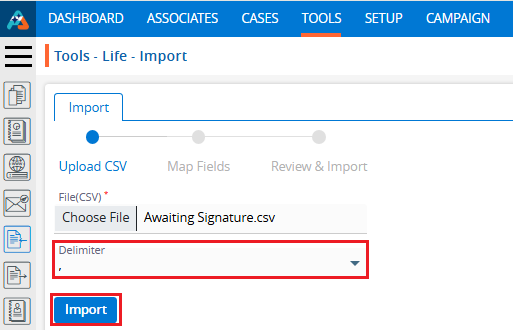
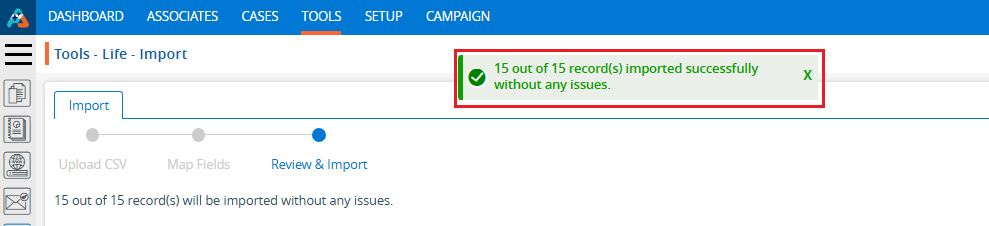
5. A new page titled ‘Tools – Life – Import’ will open, featuring the ‘Import’ tab with three steps to complete the process: Upload CSV, Map Fields, and Review & Import.
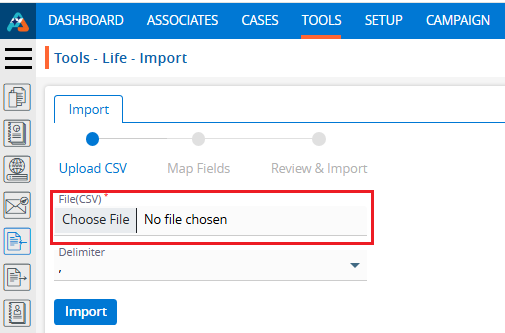
6. Fields marked with an asterisk (*) are mandatory to import data.
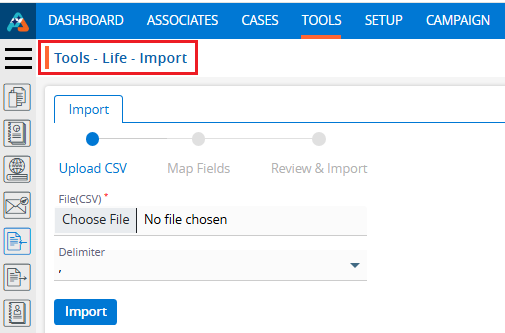
7. Click the ‘Choose File’ option to select and import the new file.
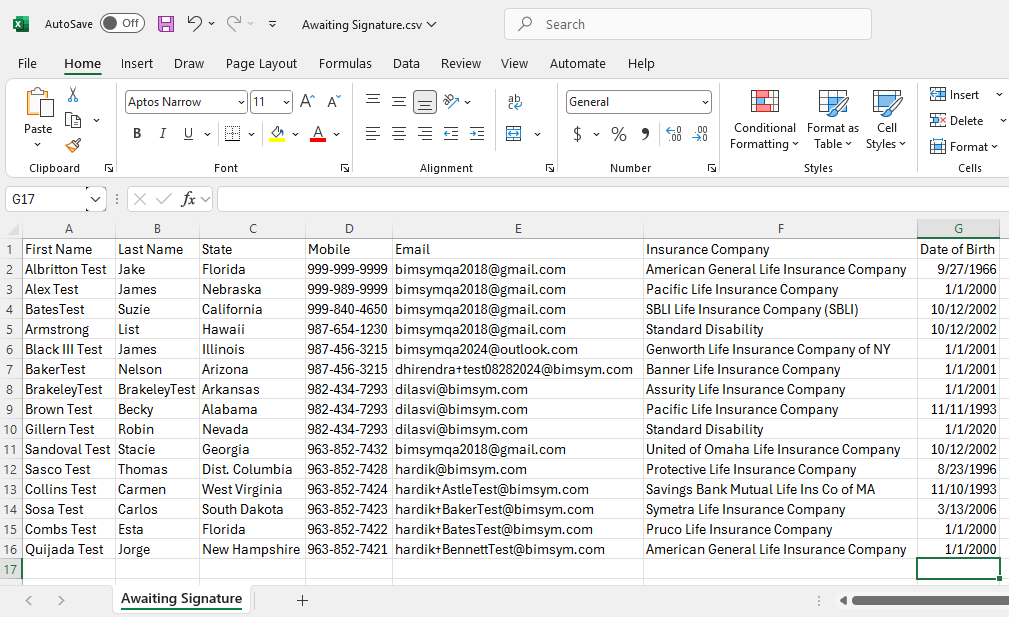
8. Import the file. For example, the import file named Awaiting Signature, which contains data for fifteen customers up for signature.
9. There will be a dropdown menu to select the delimiter used in the file format fields.
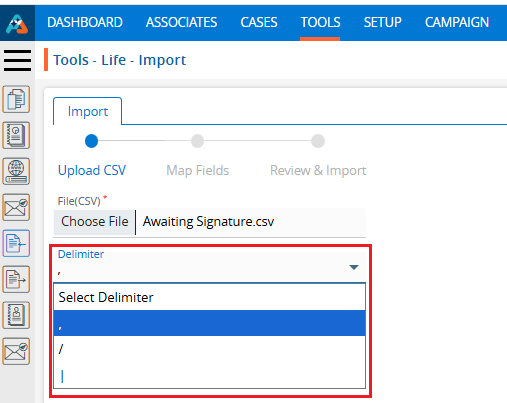
10. Select a delimiter. For example, select a comma (‘,’), which will use a comma delimiter between fields.
11. After that click the ‘Import’ button to proceed to the next step: ‘Map Field’.
12. The ‘Map Fields’ page will open, featuring fields to configure including Import Type, SFA Folder, Header Row, Trigger, and Field Mapping.
13. Fields marked with an asterisk (*) are mandatory to select.
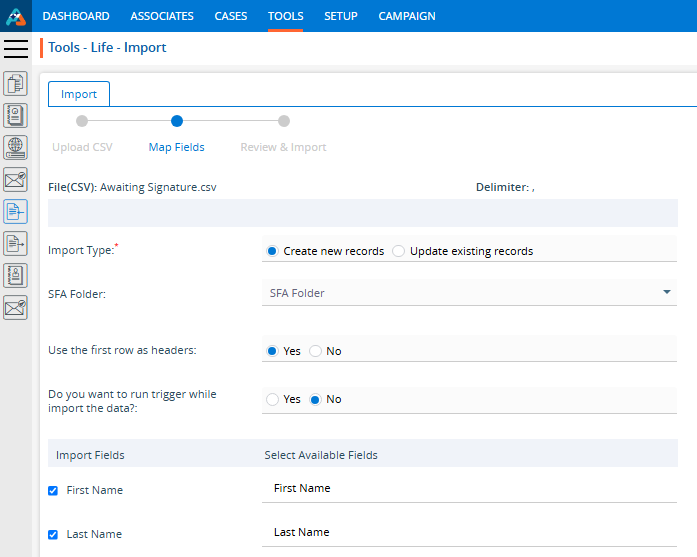
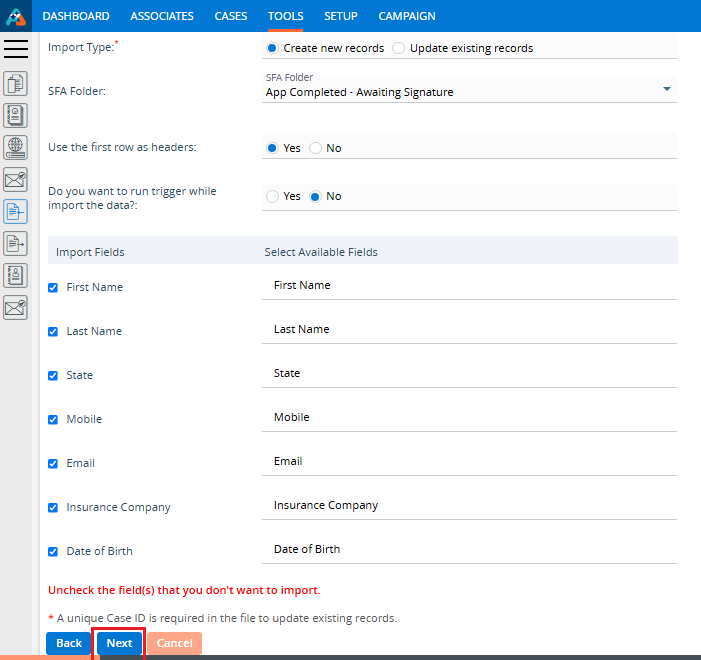
14. Enter the details to map the fields.
15. Click Next to proceed to ‘Review & Import’. Click ‘Back’ if the user needs to update details from the previous step.
16. Users can uncheck the specific field(s) if they don’t want to import.
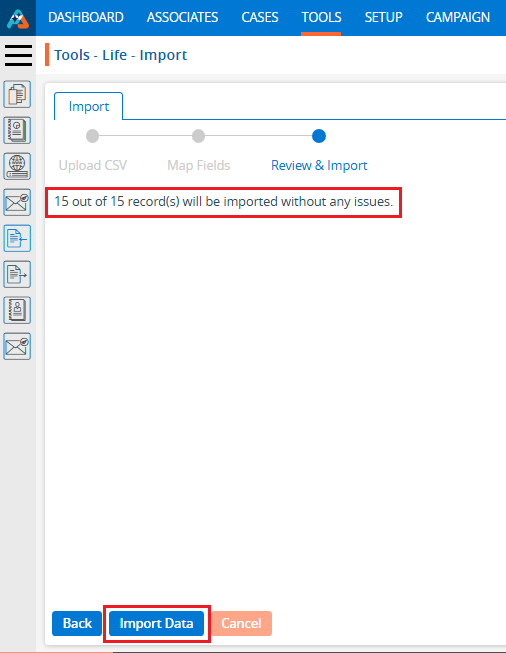
17. The ‘Review & Import’ page will open, displaying a message indicating how many records will be imported and how many records have issues if any. For example, if there are no issues with the selected file’s field mapping or format, this will be noted.
18. Click ‘Import Data’ to proceed. Click ‘Back’ if users need to update details from the previous steps.
19. A confirmation message will appear, indicating that the records have been imported. Users can view them in the ‘CASES’ tab.
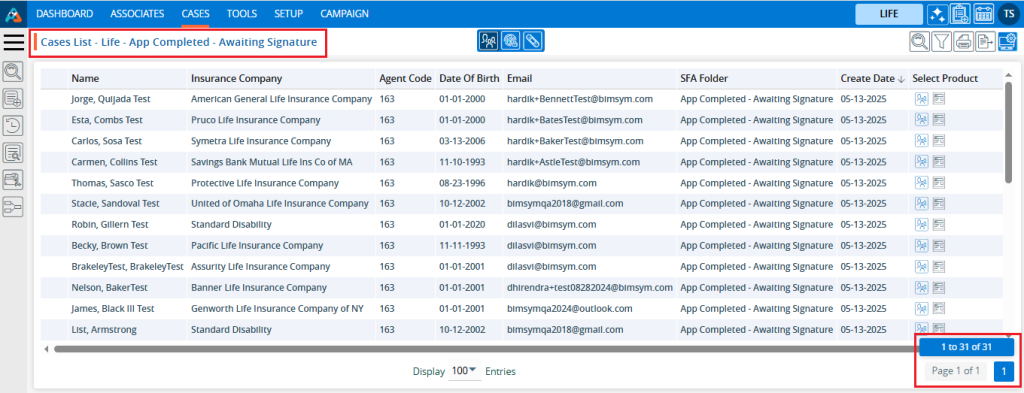
20. Check the total number of cases in the ‘Cases List – App Completed – Awaiting Signature’, it should have increased by 45, totaling 31.