A Custom Group on a Quick Profile typically refers to a set of fields or data elements that you can group together and display on a user’s quick profile page within an application or system. It’s a way to organize specific information that can be customized according to user’s needs or business requirements.
Custom Group Setup
- Sign in to AgentFront CRM
- From the top menu, choose SETUP
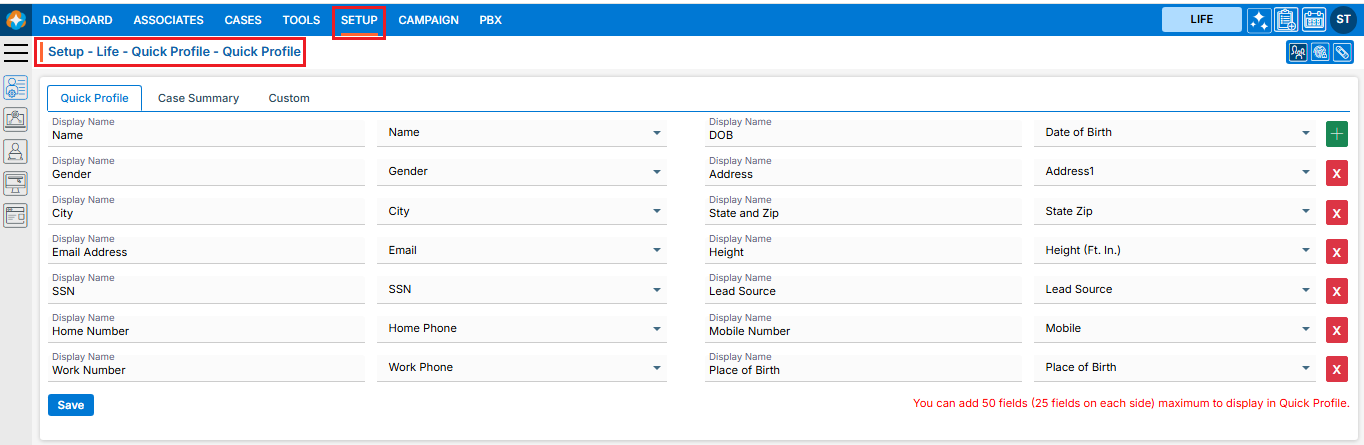
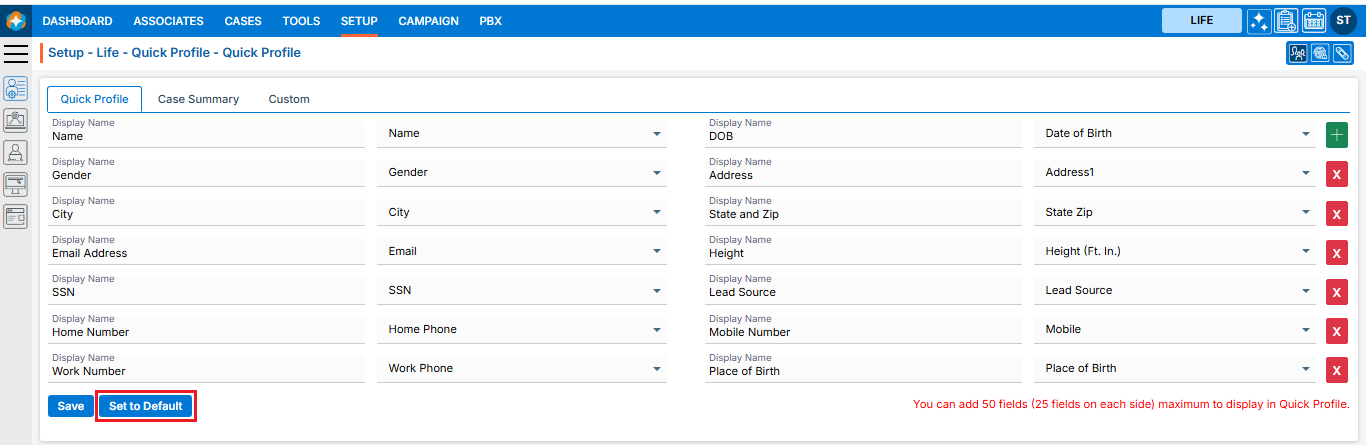
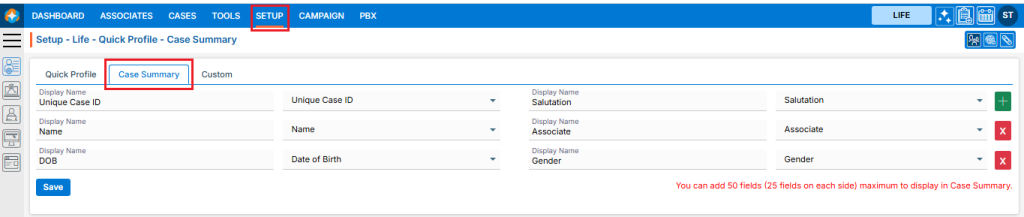
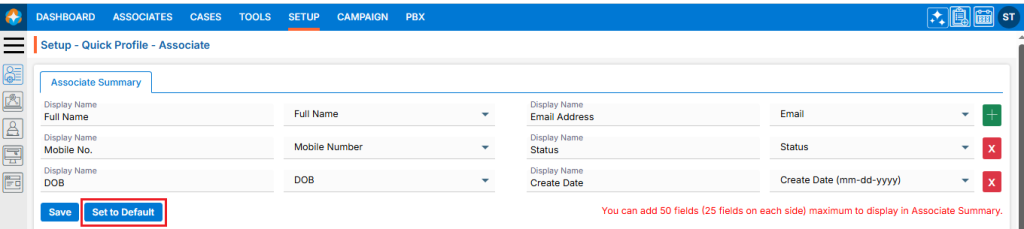
- Setup > Quick Profile > Cases Quick Profile setup page will open by default
- Click on Custom
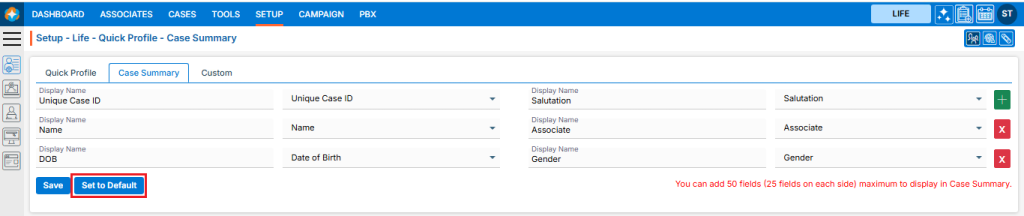
- This page will display the default Case’s Custom setup, and this setup cannot be edited
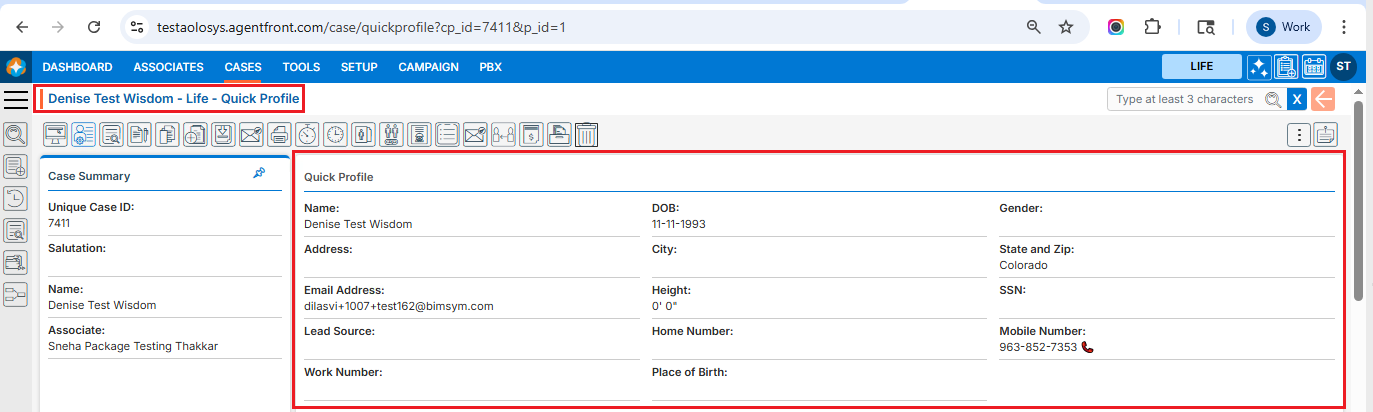
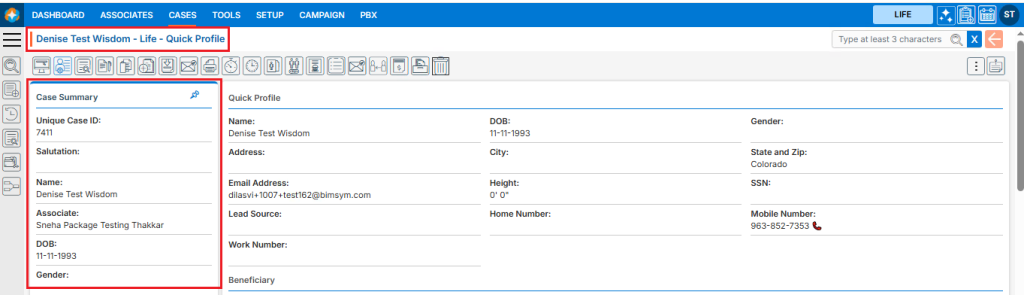
- This custom setup will be reflected on the CASES > Individual Case > Quick Profile page, immediately below the quick profile fields and after the existing custom group
- There is an ‘Add’ button on the top right corner

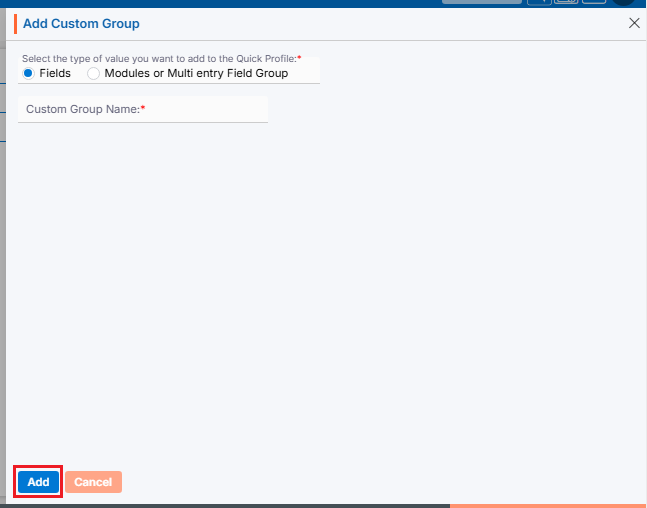
Add Custom Group on Quick Profile page
- Click the ‘Add’ button at the top right of the page to add new Custom Group
- It will open page to add new Custom Group
- To add new Custom Group, enter the following details:
- Select the type of value you want to add to the Quick Profile: select Fields/Modules or Multi entry Field Group
- Custom Group Name: Enter the clear, descriptive name. This is what users will see as the custom group head title on the quick profile page
- Click Add button
- Group is created now and listed. (Multiple groups can be added)
- The options to Edit (
 ) and Delete (
 ) are enabled next to the group name
 - Clicking on the group name will enable the options to add fields to this group

Set Fields in Custom Group
- The fields will now be enabled. The user can select the required fields from the dropdown to set on the quick profile page
- Users can add the field by using the (+) sign to this group, which is displayed in green color
- Users can remove the field by using the (x) sign from this group, which is displayed in red color
- Once fields are set, click on Save
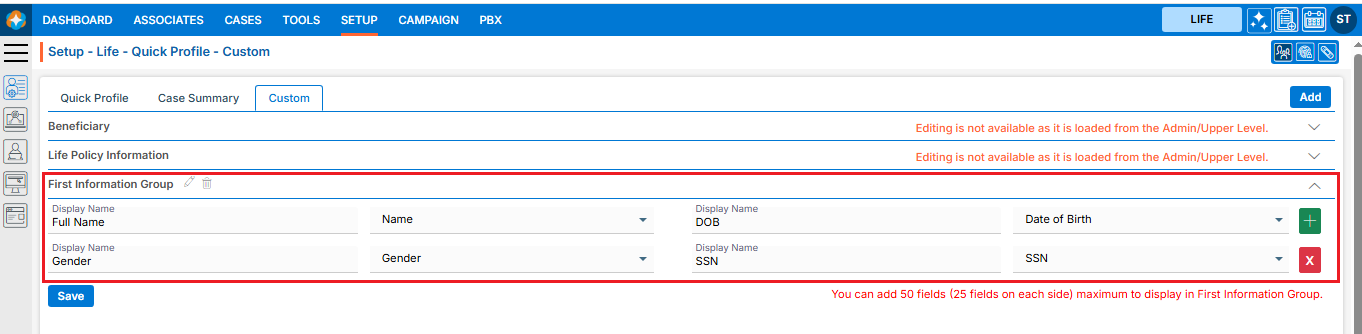
- This custom group and its field setup will be reflected on the CASES > Individual Case > Quick Profile page, immediately below the quick profile fields and after the existing custom group
Note: Until the fields are set for the group, the group will not be reflected anywhere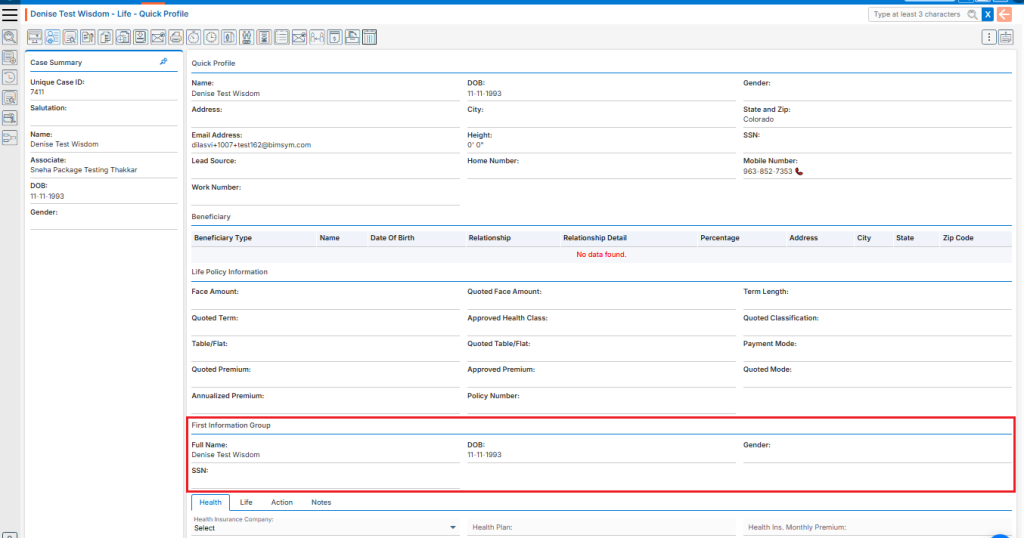
Edit Custom Group
- To update the details of an existing Custom Group, click the ‘Edit’ icon for the group whose details need to be updated
The first option, ‘Select the type of value you want to add to the Quick Profile,’ cannot be edited; only the custom group name can be edited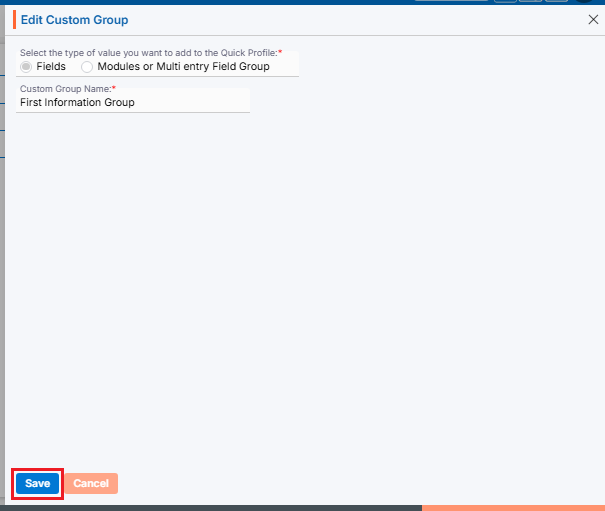
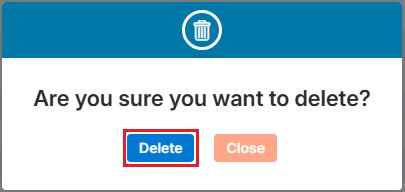
Delete Custom Group
- To update the details of an existing Custom Group, click the ‘Delete’ icon for the group whose details need to be updated

- The system will ask for confirmation. Click Delete to proceed