Using the Quick Action Menu the user can perform mass action on single or multiple profiles at a time. It enables the user to change the SFA Folder status or move single or multiple cases from one SFA Folder to another SFA Folder simultaneously.
- Sign in to AgentFront CRM
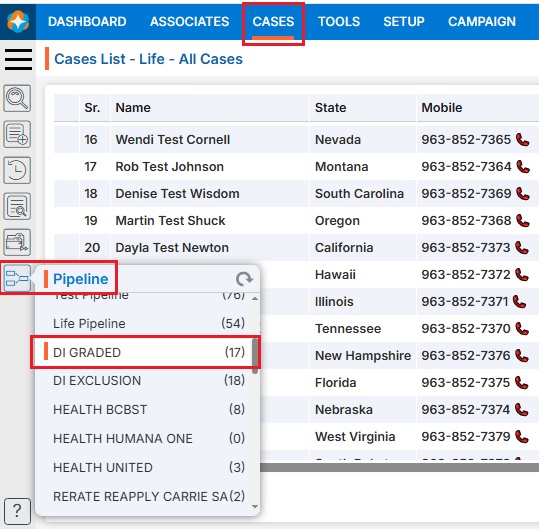
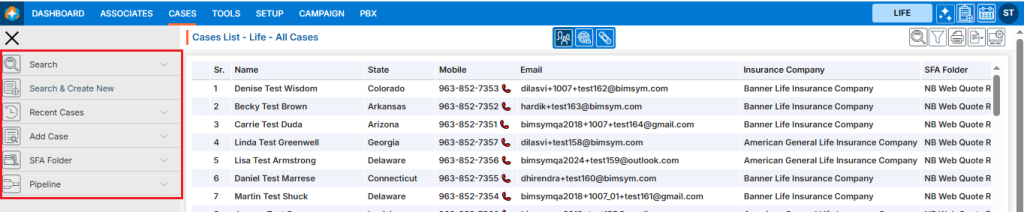
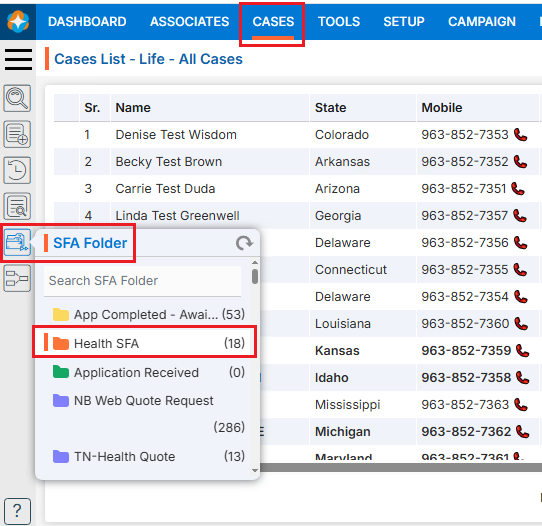
- From the top menu, choose Cases
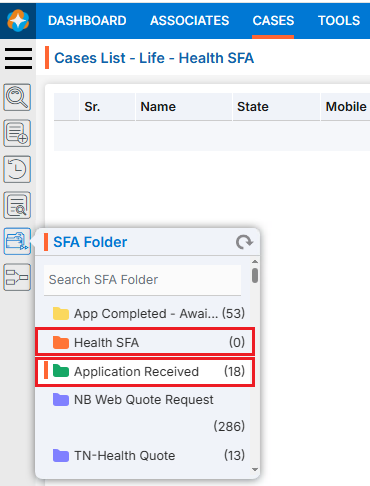
- In the left-side panel, select SFA Folder
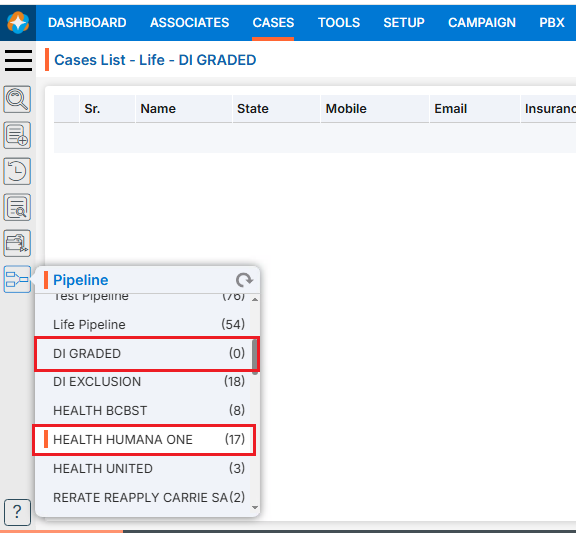
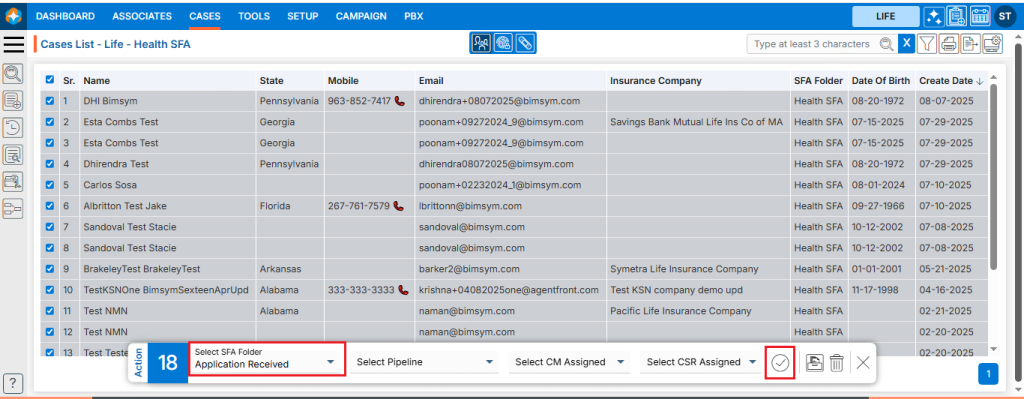
- Select the desired SFA Folder. For example, here we have selected ‘Health SFA’ SFA Folder and there are 18 cases available in this SFA Folder
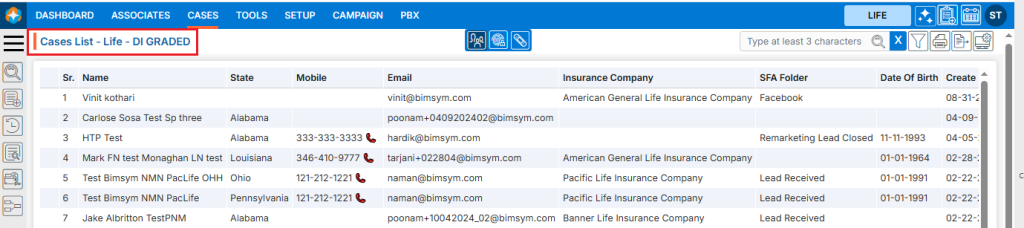
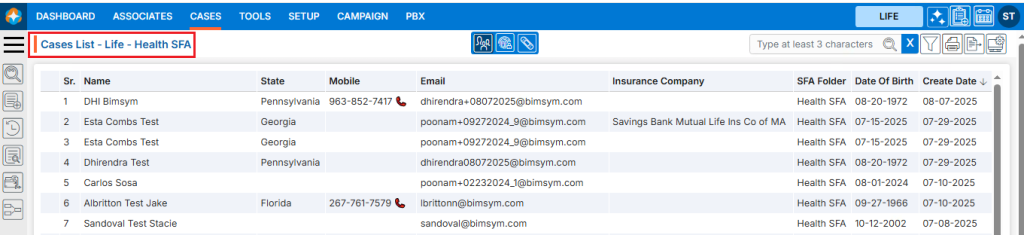
- A new page will open for the ‘Health SFA’ SFA Folder, displaying the available cases within it
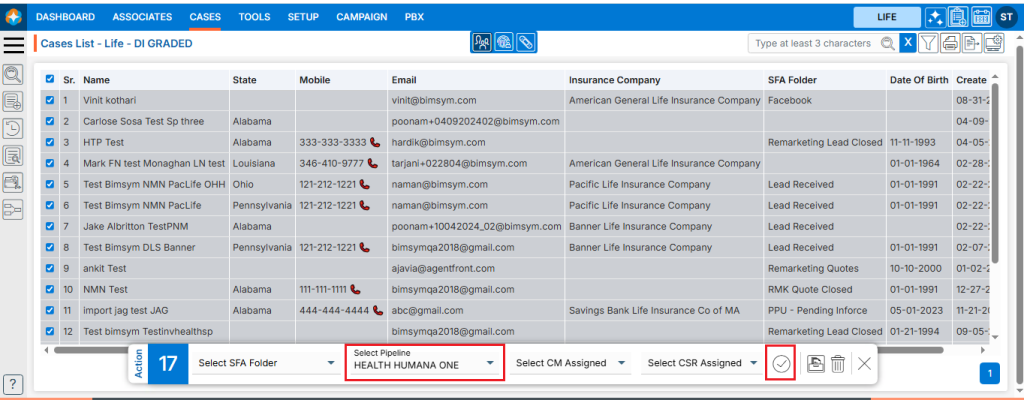
- Select the case(s)
- After selecting the case(s) action menu will be enabled
- Select the another SFA Folder from the drop-down menu. Here we have selected ‘Application Received’ SFA Folder from the drop-down menu
- Click on Submit (
 ) icon
 - The selected case(s) will be moved from the current SFA Folder to the selected SFA Folder from the dropdown menu
- User can see the number of cases will be updated in SFA Folder on cases tab.We have moved cases from the ‘Health SFA’ SFA Folder to the ‘Application Received’ SFA Folder. As a result, 18 cases were transferred to ‘Application Received’, updating its count from 0 to 18, while the count for the ‘Health SFA’ SFA Folder are updated from 18 to 0.