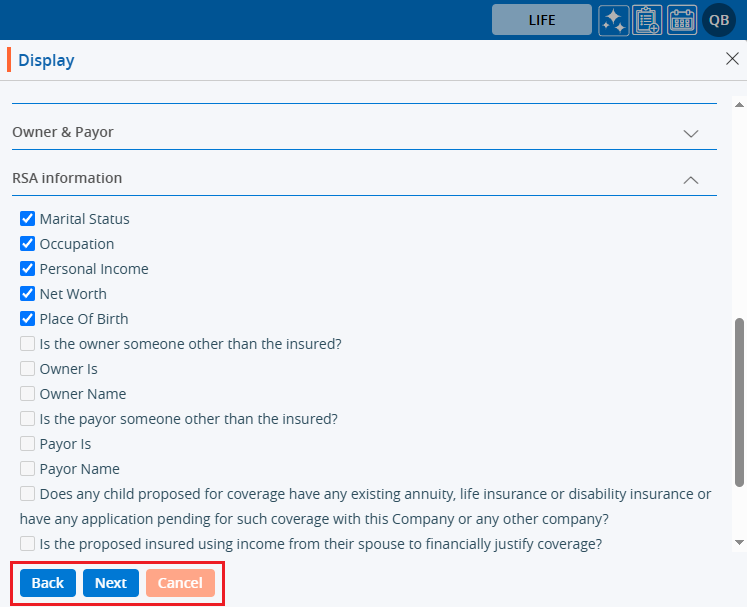
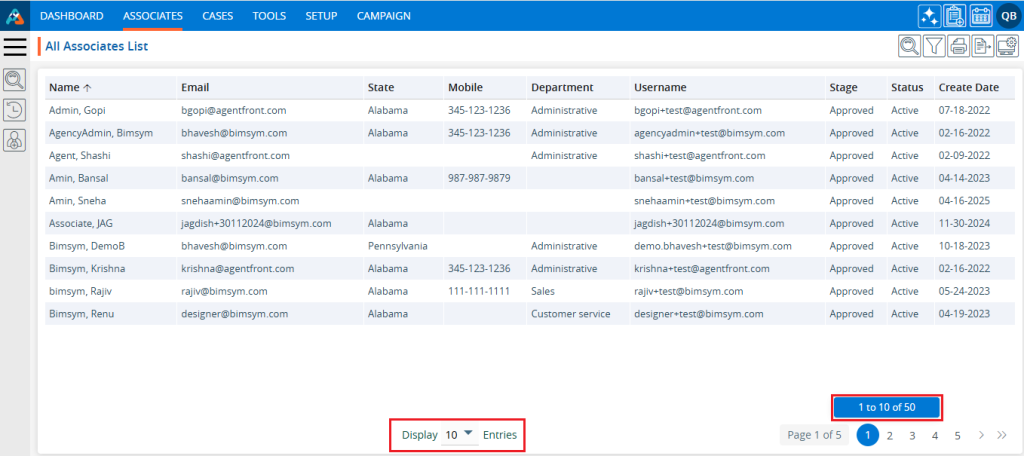
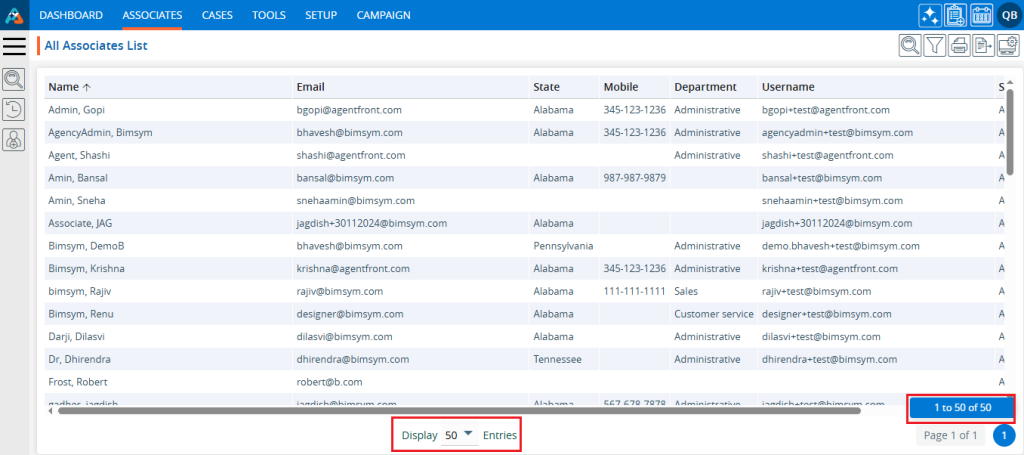
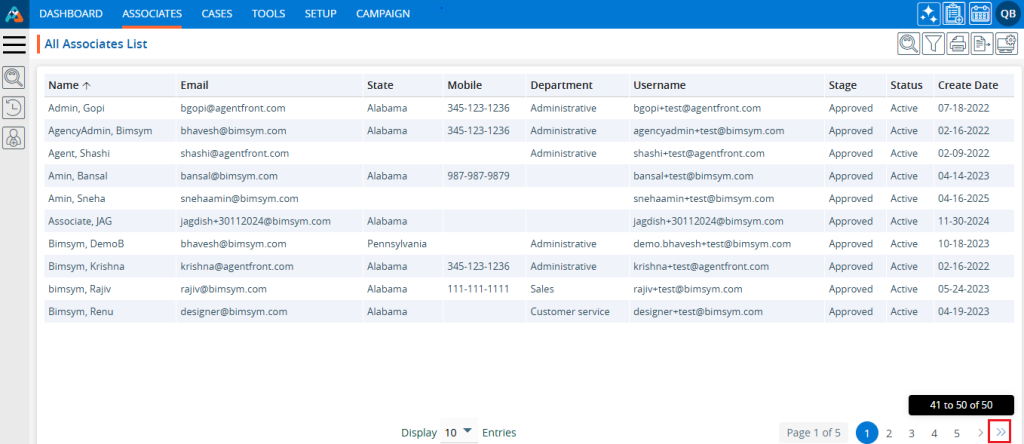
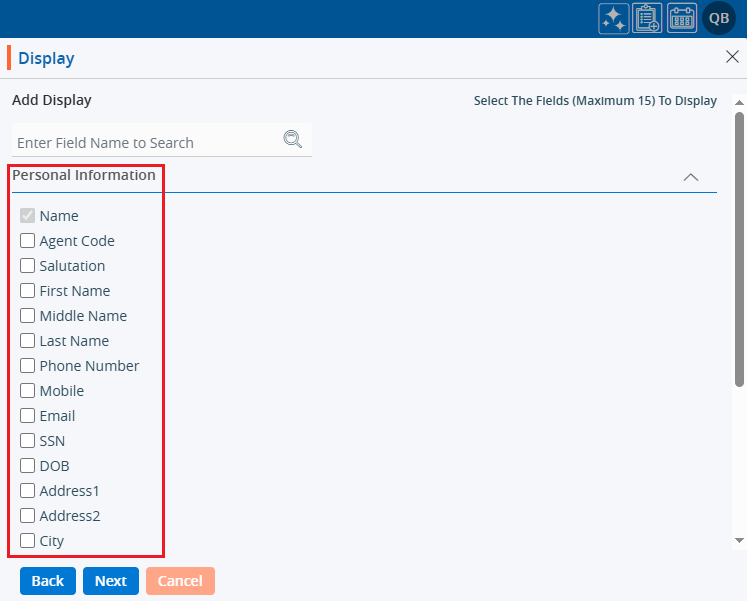
Filters are used to create a listing with specific data. Users can set a maximum of 10 filters, selecting from available fields, and apply them to the listing as needed.
Add Filter:
- Sign in to AgentFront CRM.
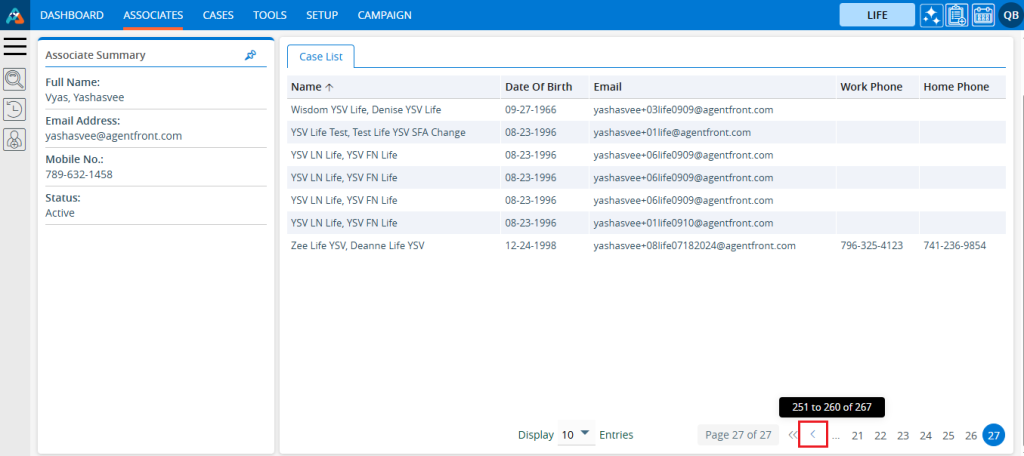
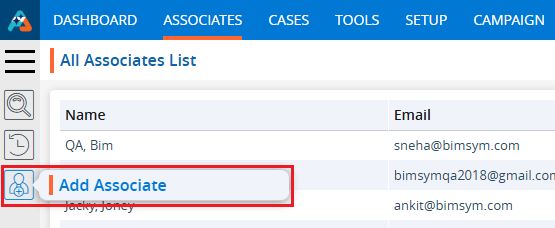
- From the top menu, choose Associates.
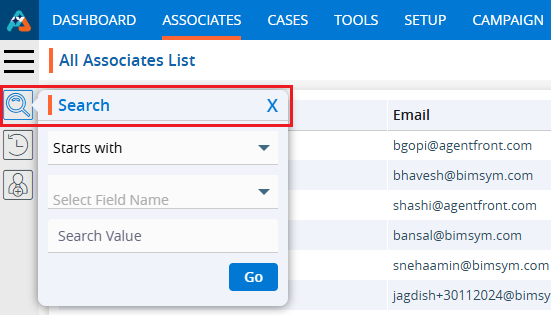
- Click the Filter icon in the top right corner.
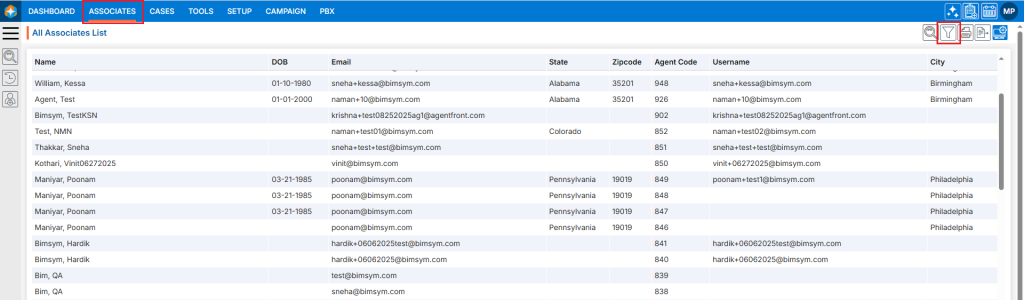
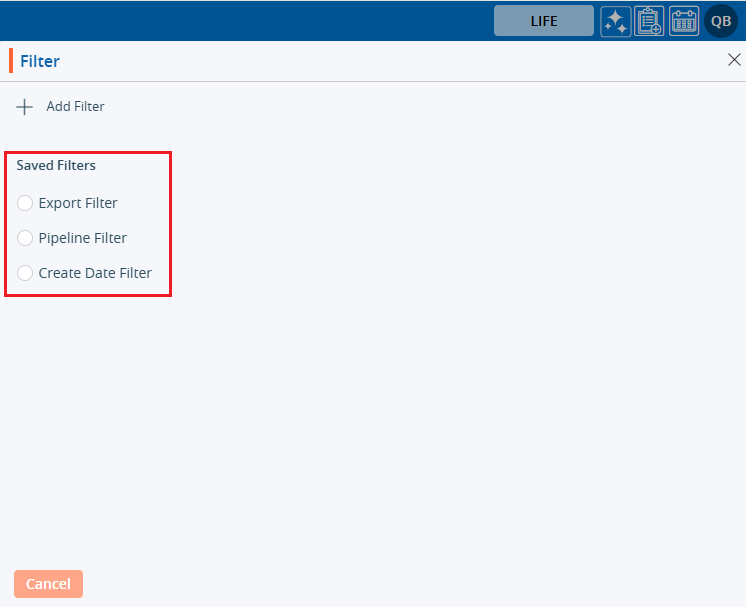
- A new pop-up window named ‘Filter’ will open.
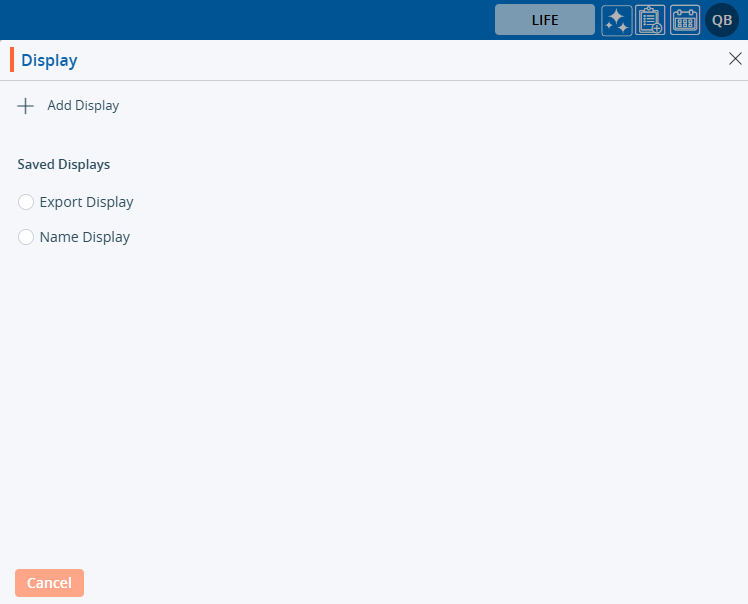
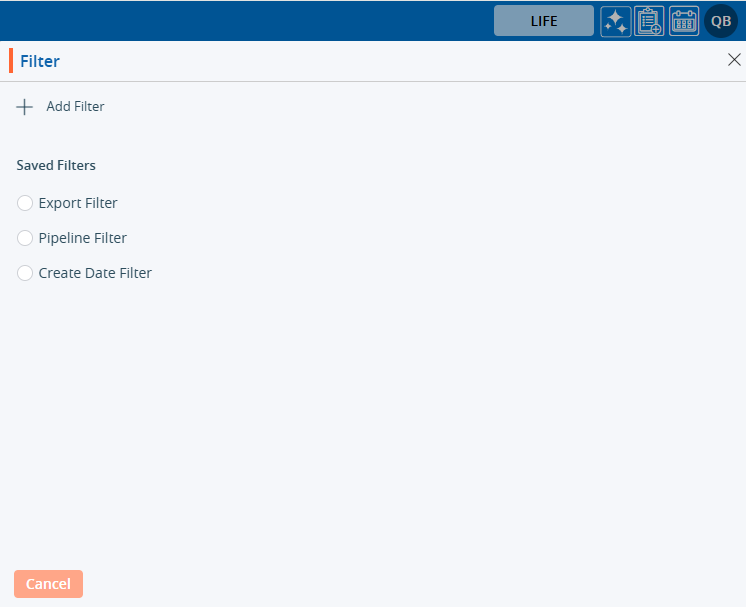
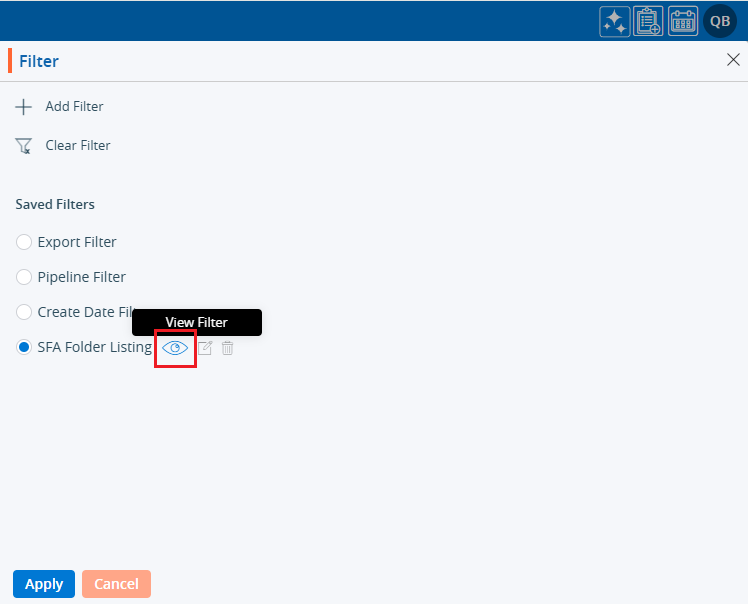
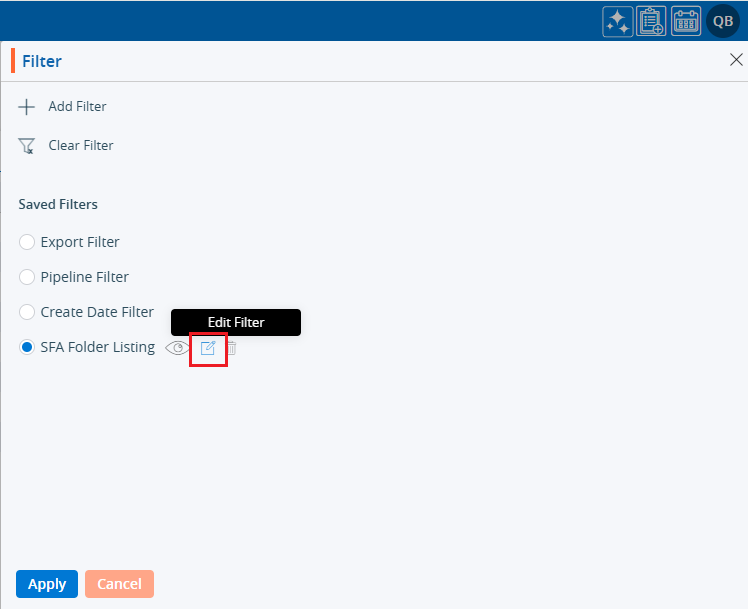
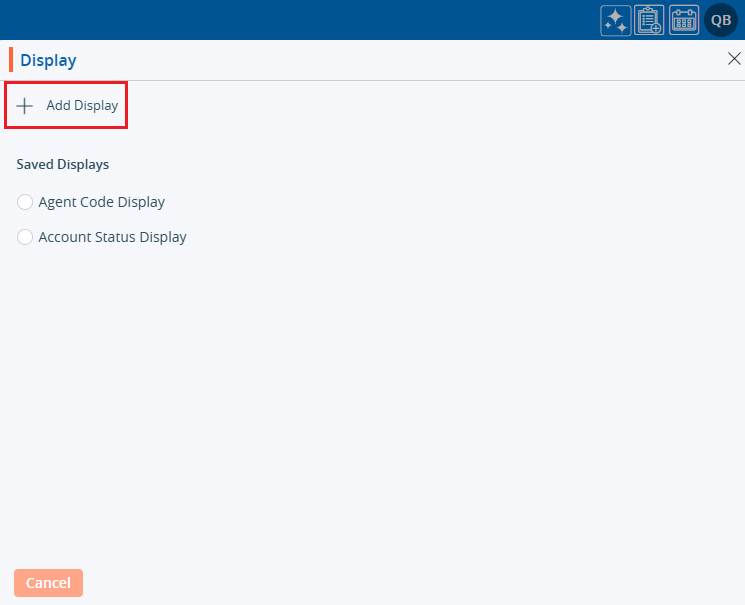
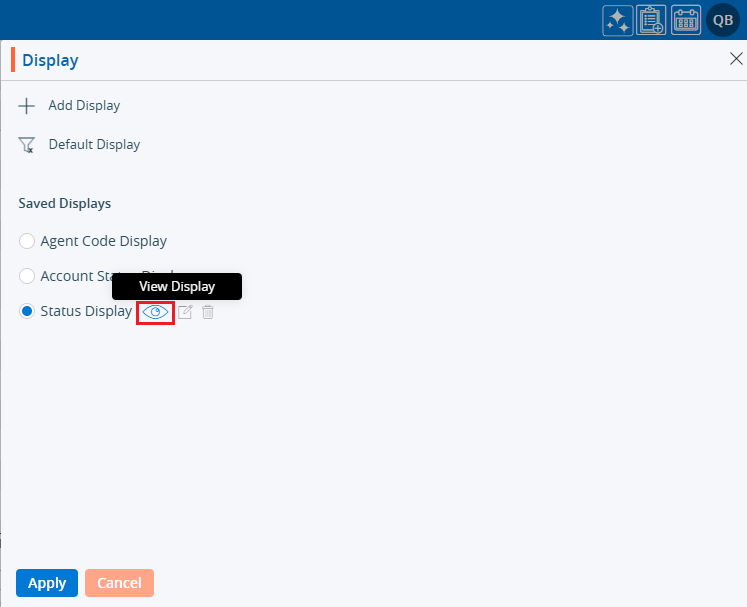
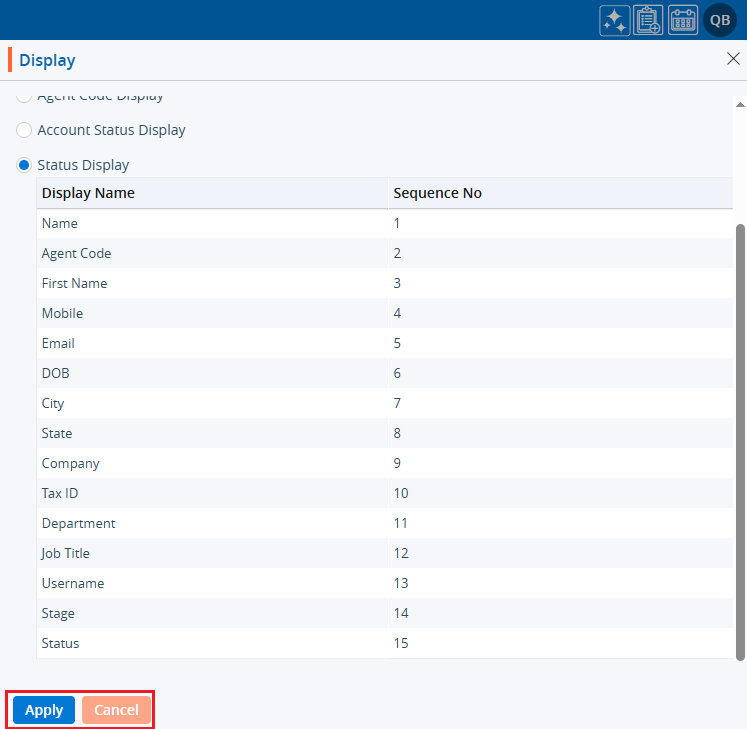
- Existing filters will be shown under Saved Filters.
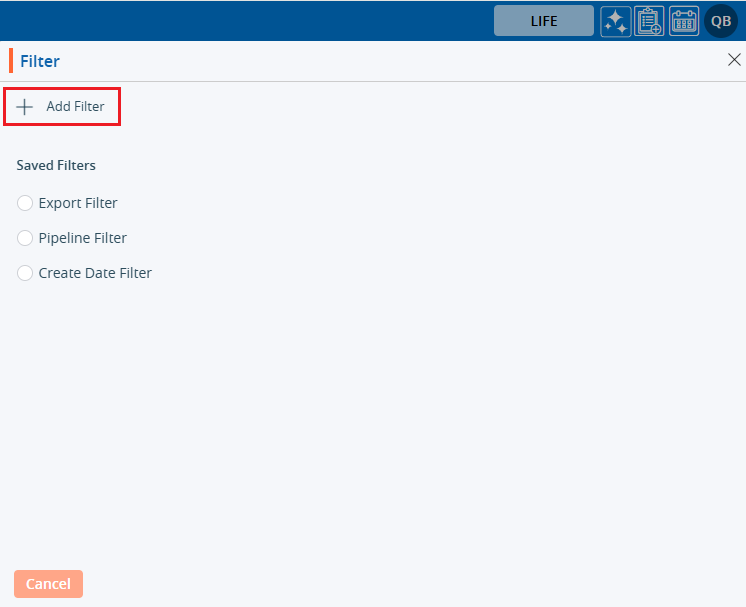
- There is an Add Filter link with (+) icon on top of the page.
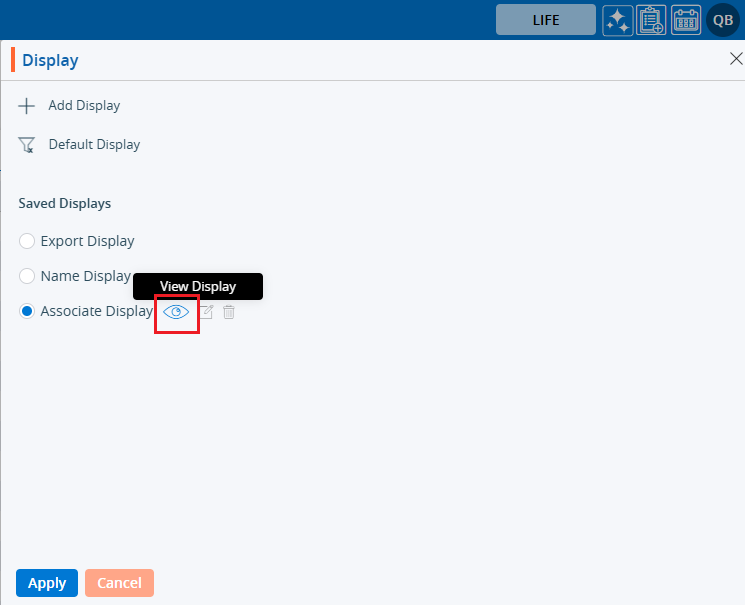
- Also, there are options to View (
 ), Edit (
 ) andDelete (
 ) the existing filters for each one, to view those options hover over the filter name; the system will display the View (), Edit () andDelete () options.
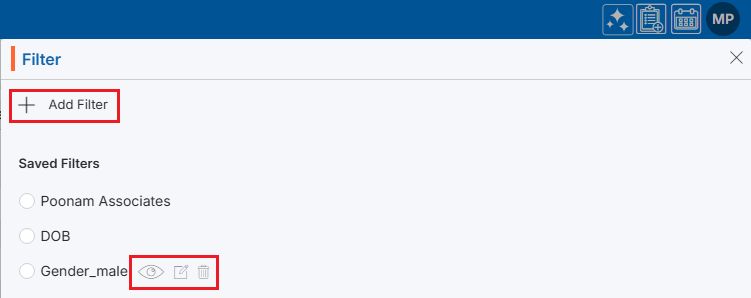
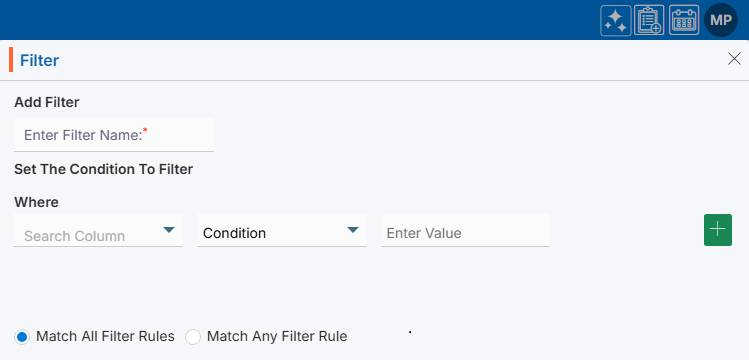
Add Filter
- Click on ‘Add Filter’ to add a new filter to the system. (Maximum 10 filters can be created.)
- Clicking ‘Add Filter’ will open a new page where the user can set the filter criteria according to the requirements.
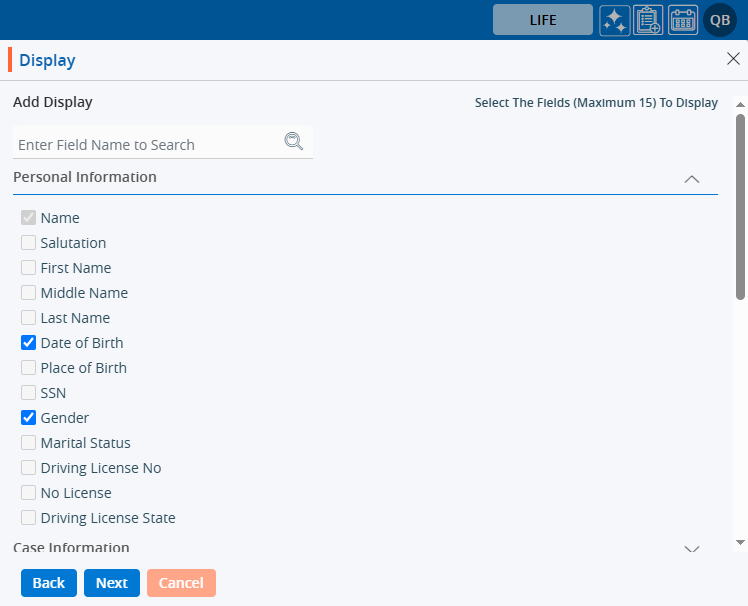
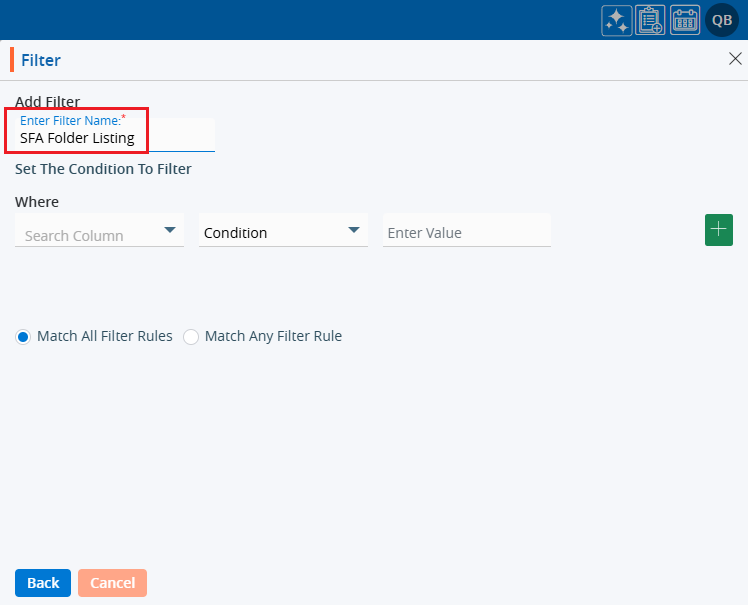
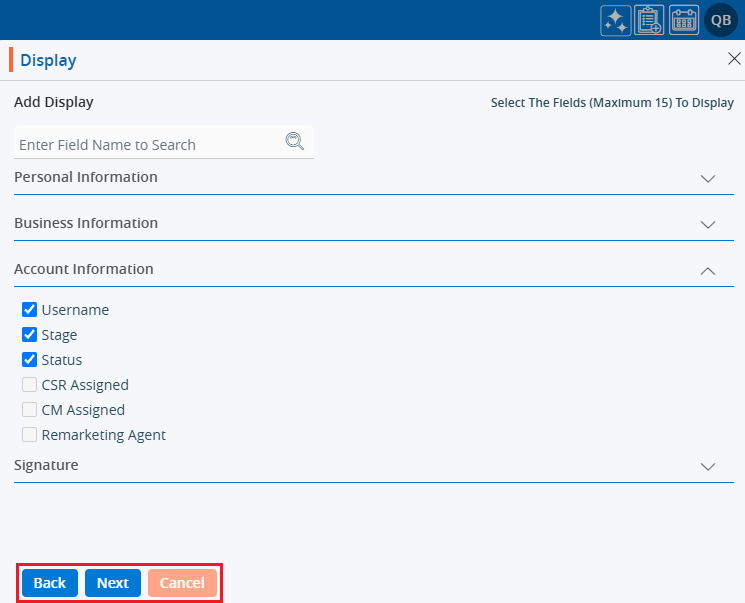
- To Add Filter, enter the following details:
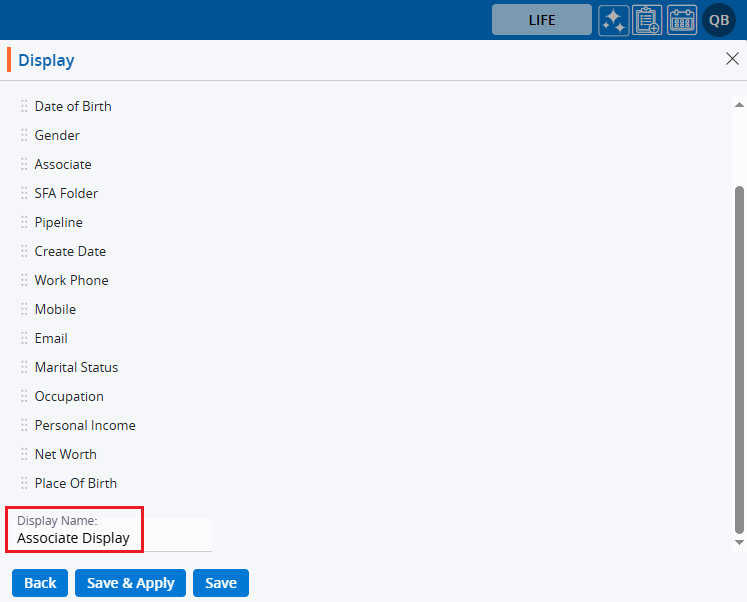
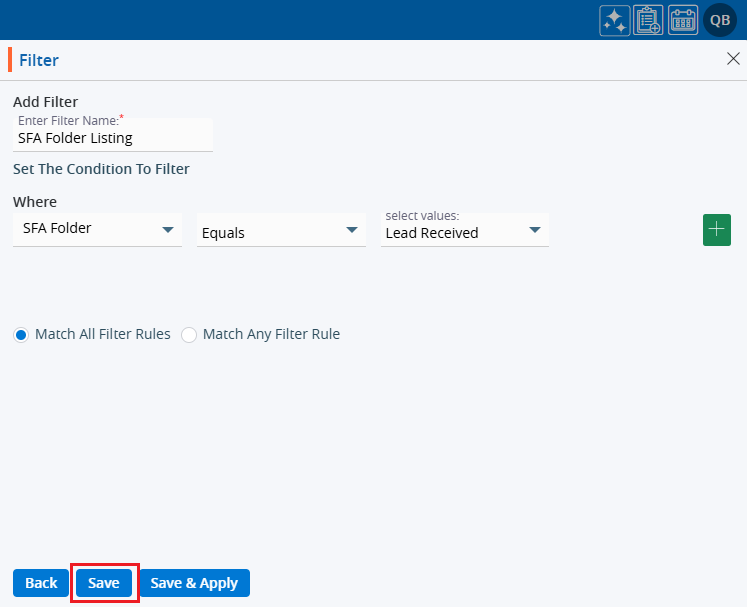
- Enter Filter Name: Enter the clear, descriptive name. This is what users can identify the purpose of the Filter
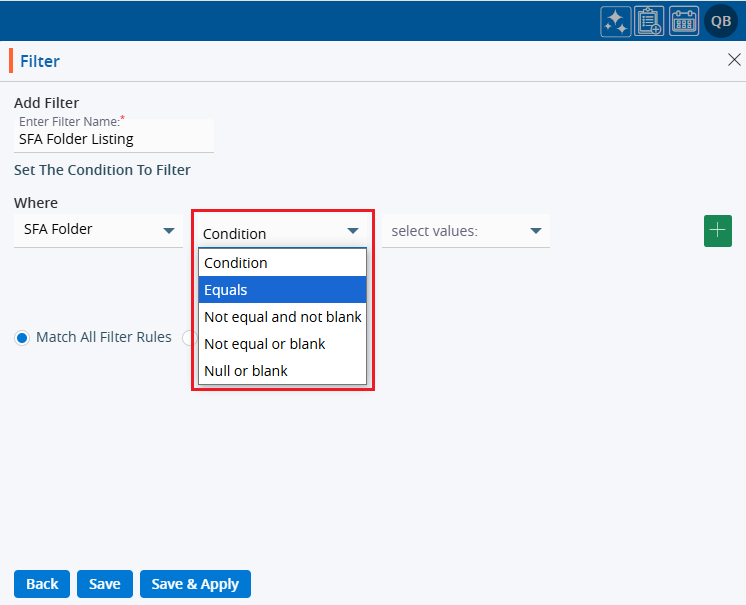
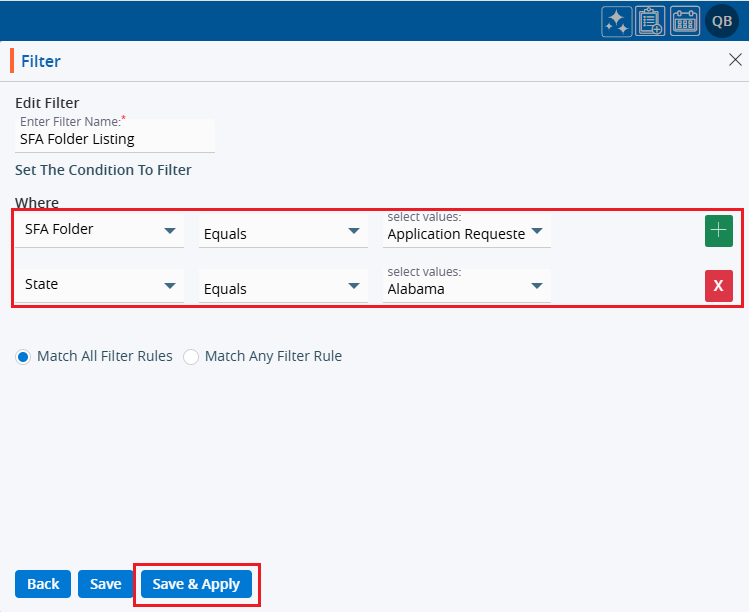
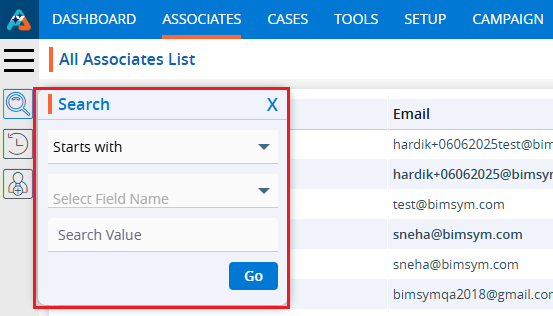
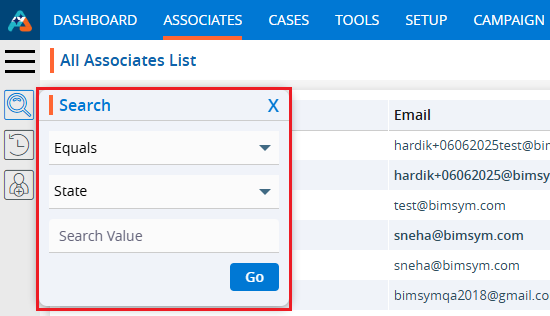
- Set The Condition To Filter: Set the condition by defining the specific criteria the data must meet using the following fields:
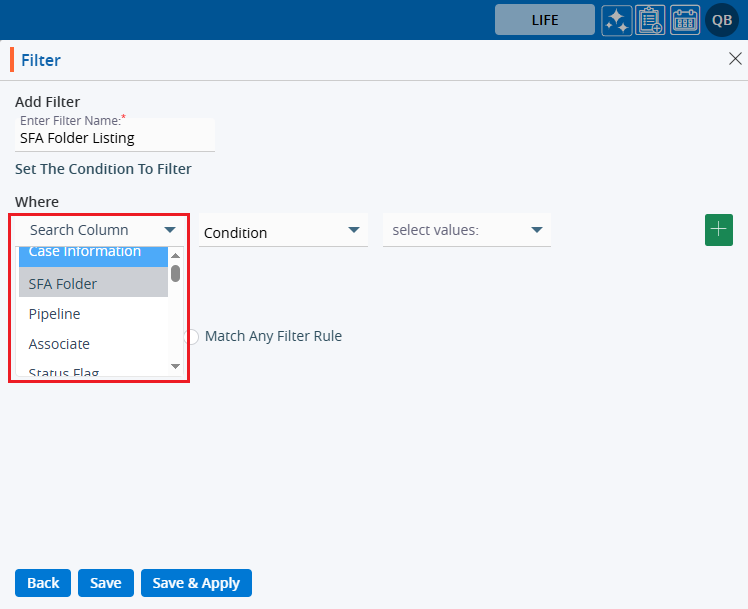
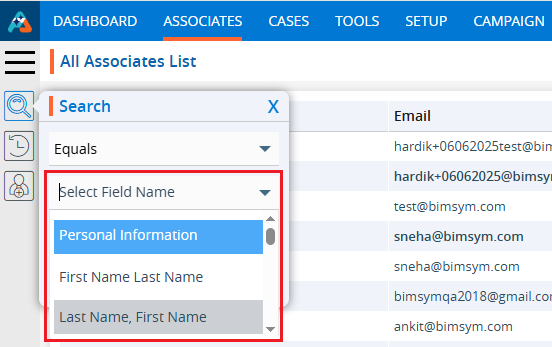
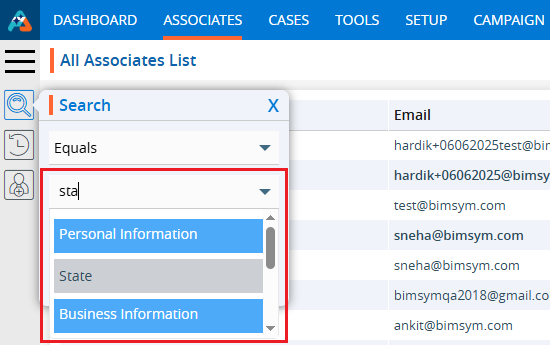
- Search Column: Select the field for which the filter needs to be applied
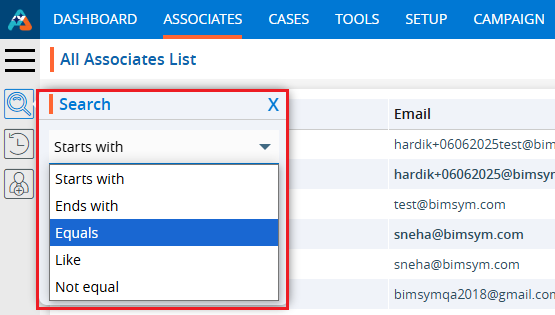
- Condition: Set the appropriate condition for the selected column field
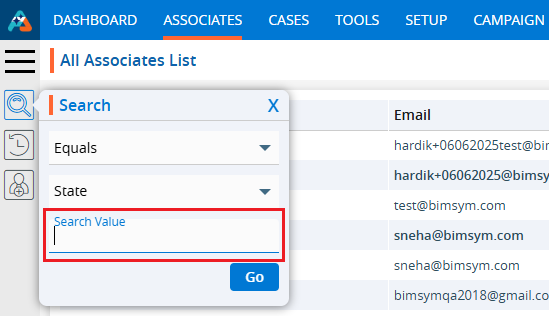
- Enter Value: Enter or select the value according to the selected condition
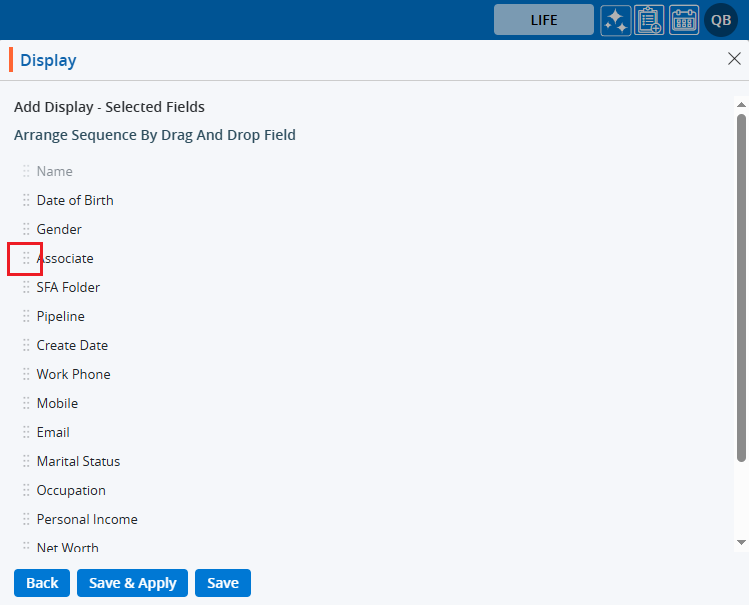
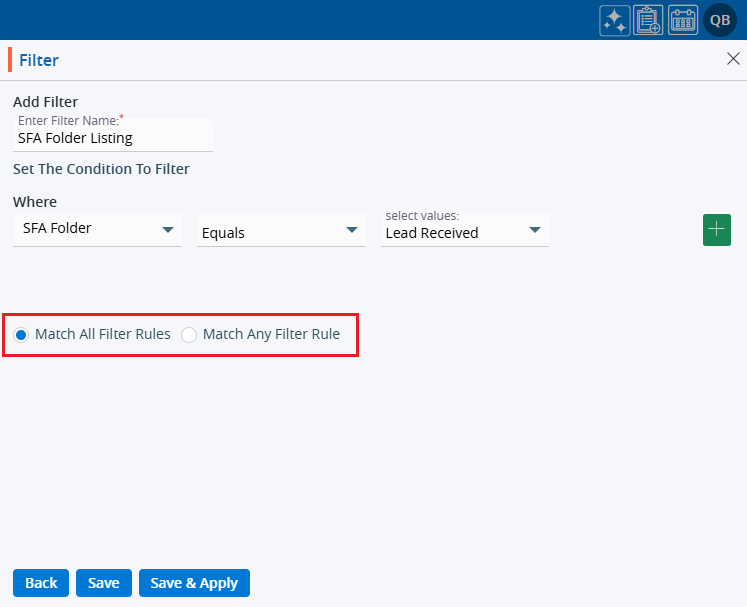
- Using plus sign (+) user can set multiple criteria simultaneously for a single filter
- Match All Filter Rules or Match Any Filter Rule: Select any one of the given options
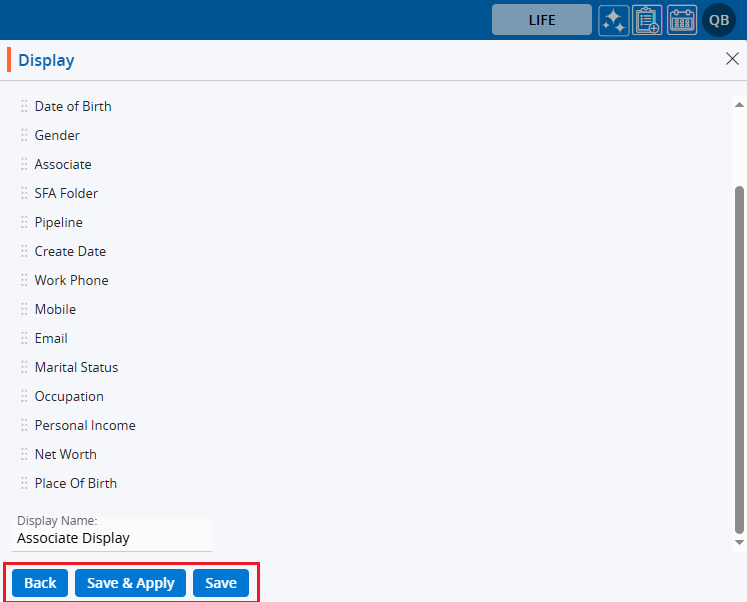
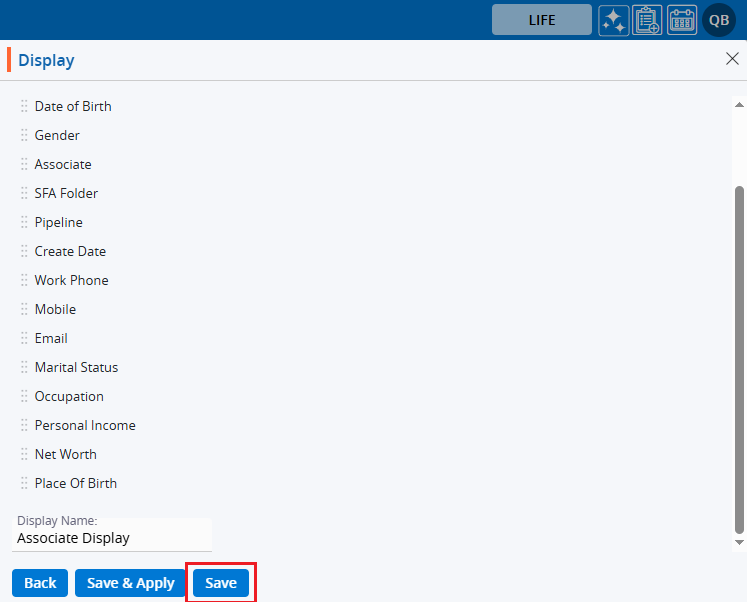
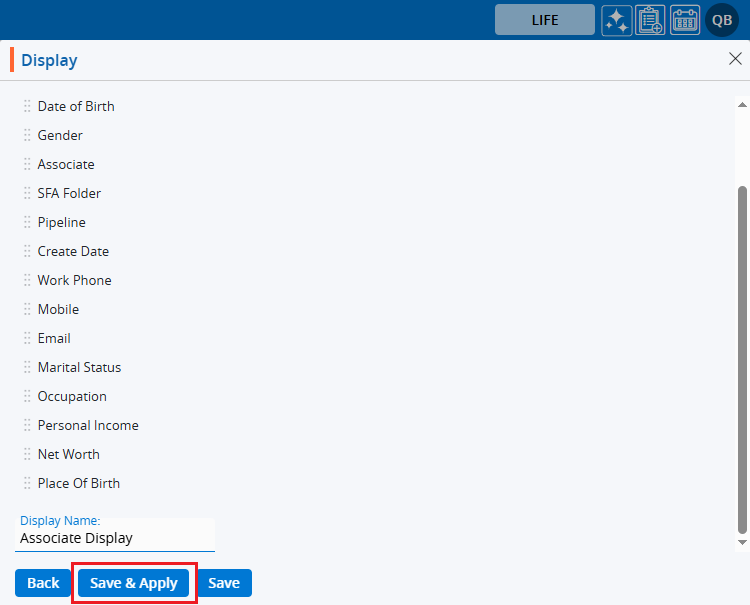
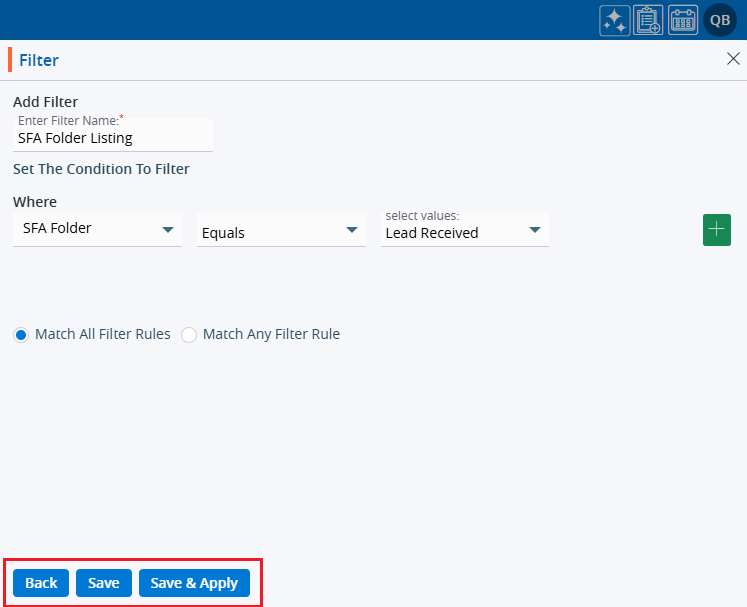
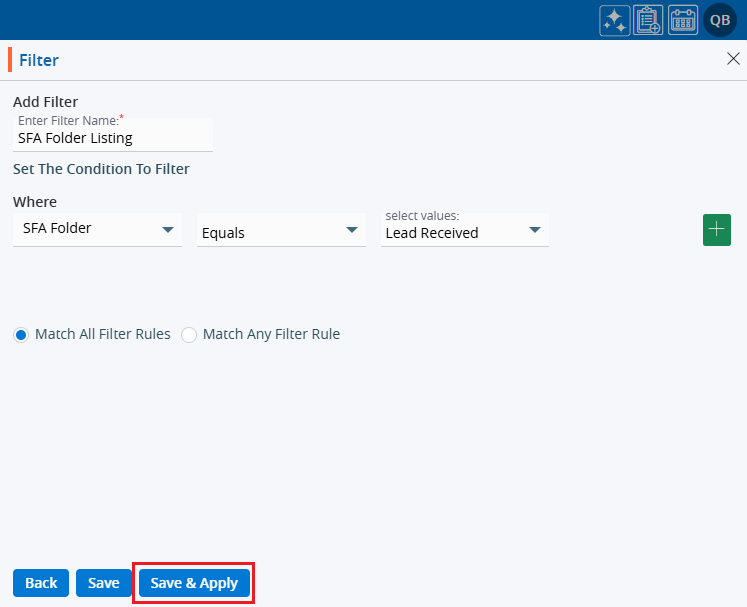
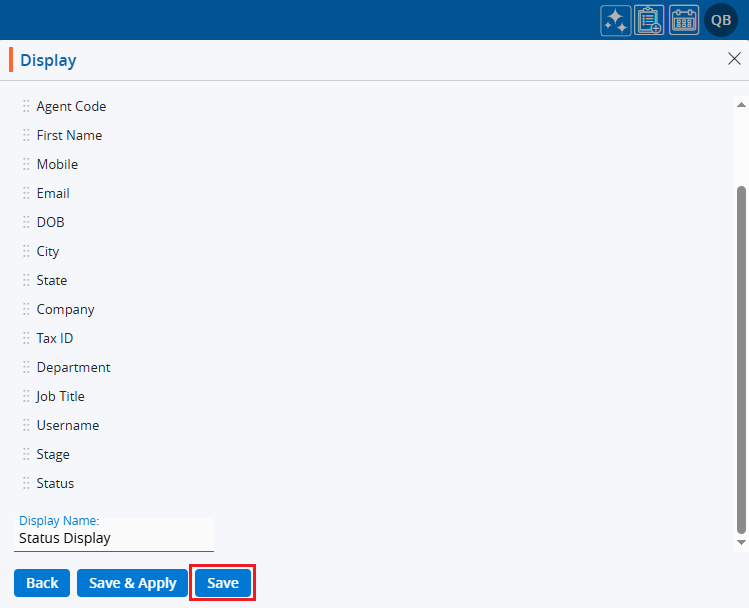
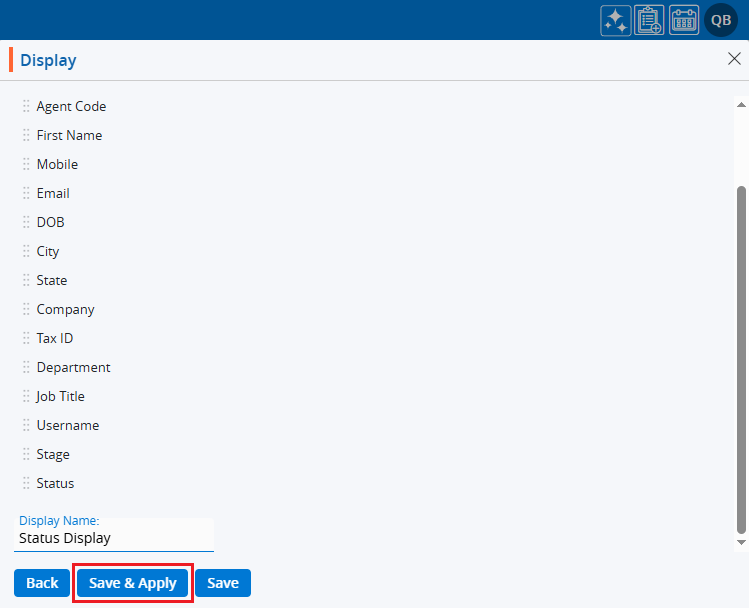
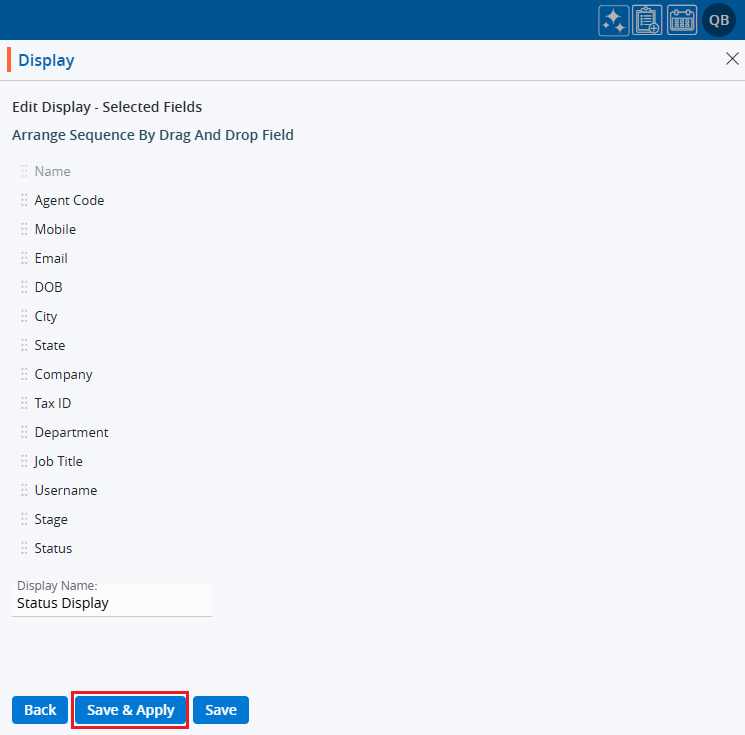
- Once all the fields are added, ‘Save’ and ‘Save & Apply’ options will appear. The Save option creates the filter only, while Save & Apply saves the filter and applies it to the list.
- After setting all the conditions, click the ‘Save & Apply’ button.
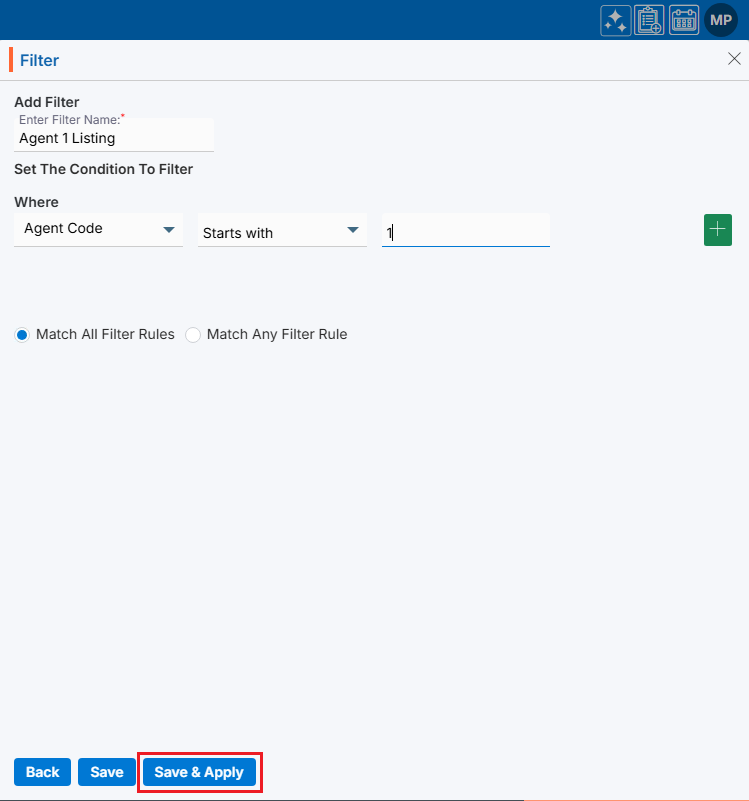
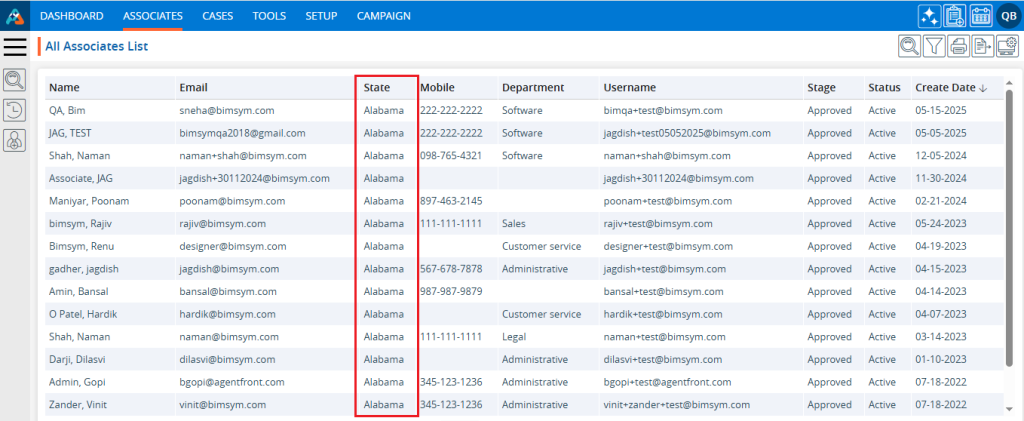
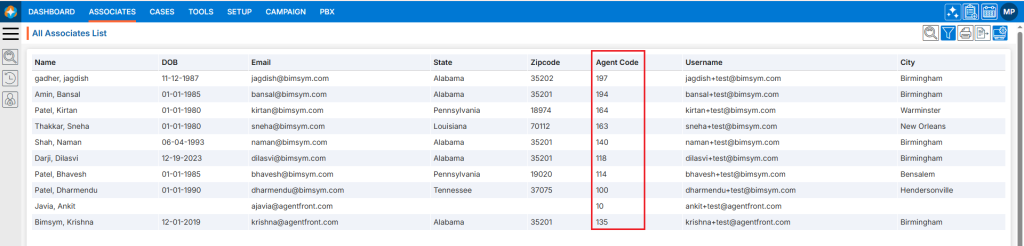
- The new Filter will be saved in the system and applied to the listing.
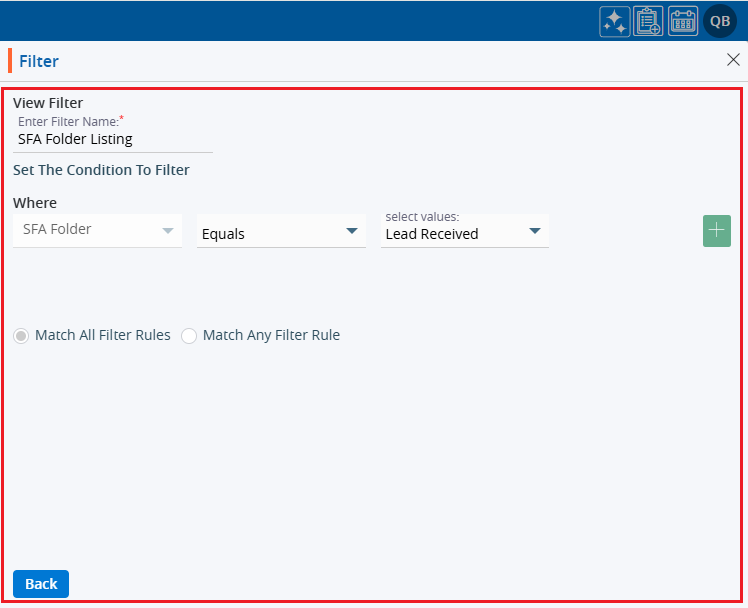
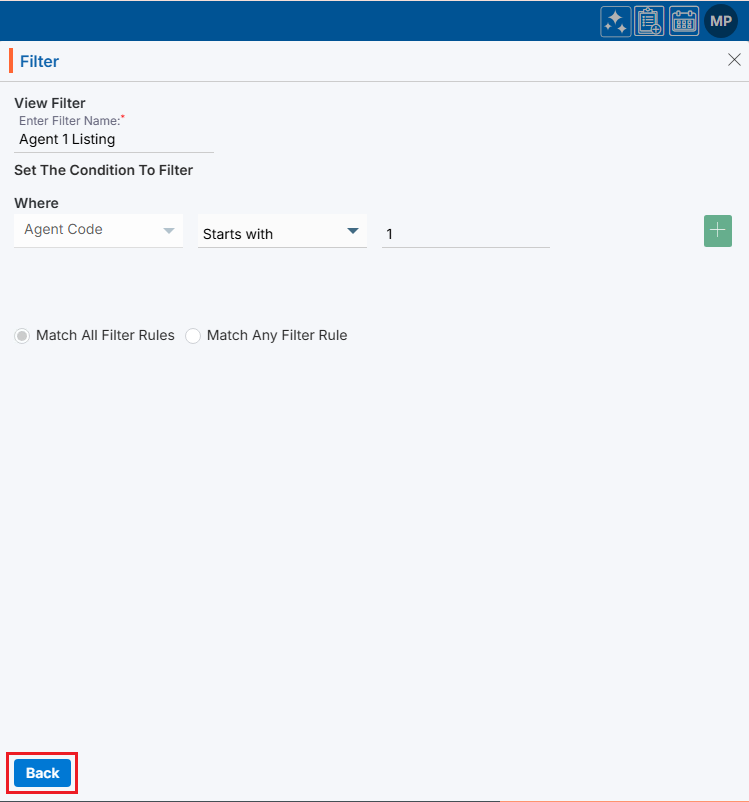
View Filter:
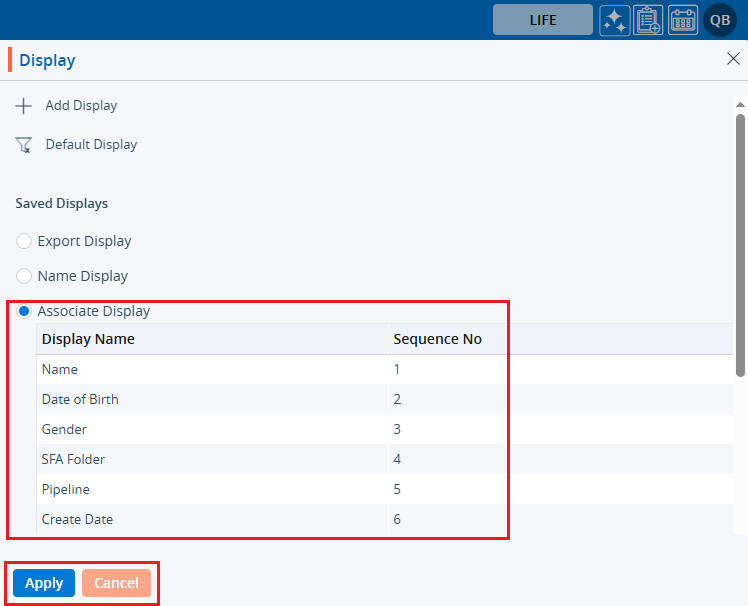
- To view the existing filter, select the filter and click ‘View Filter’ () from the available options.
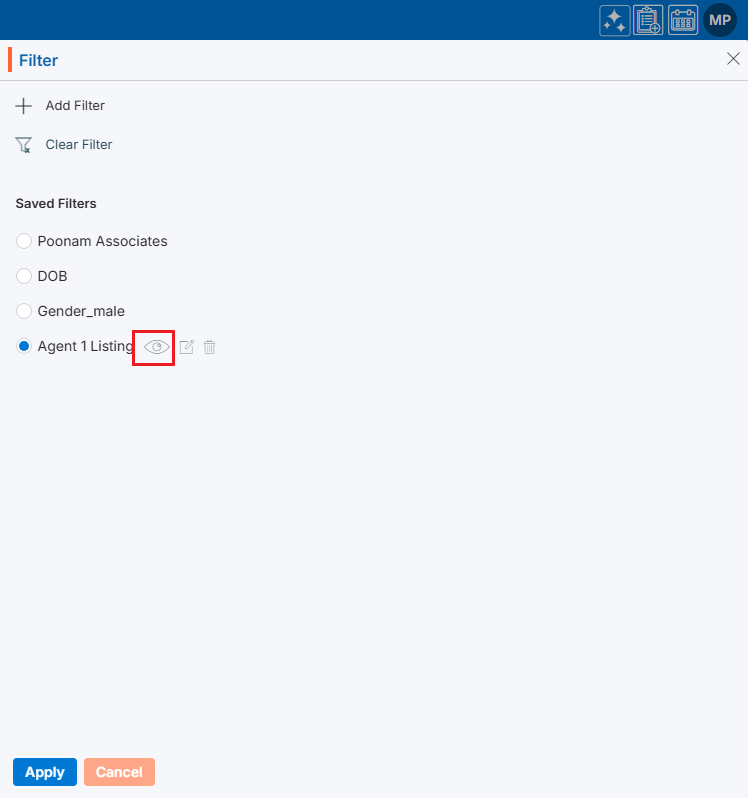
- The filter criteria will be displayed. Only the ‘Back’ button will be shown. The selected fields and criteria will be greyed out and cannot be edited.
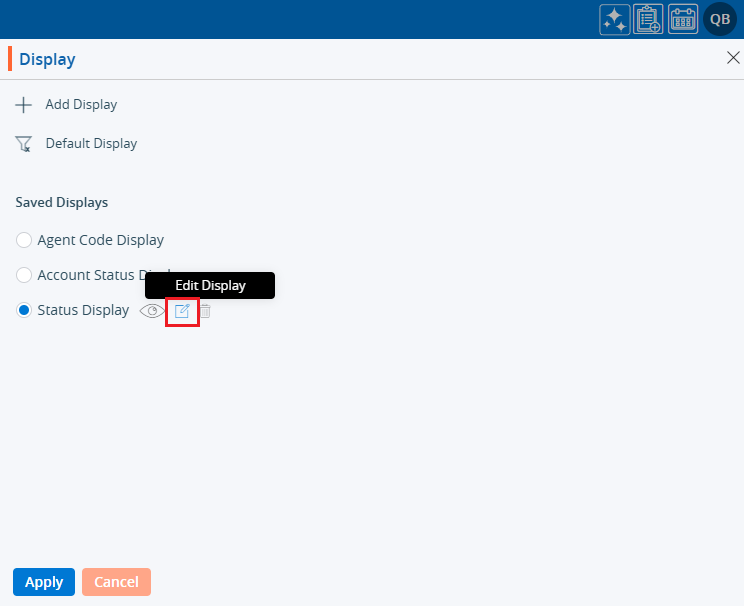
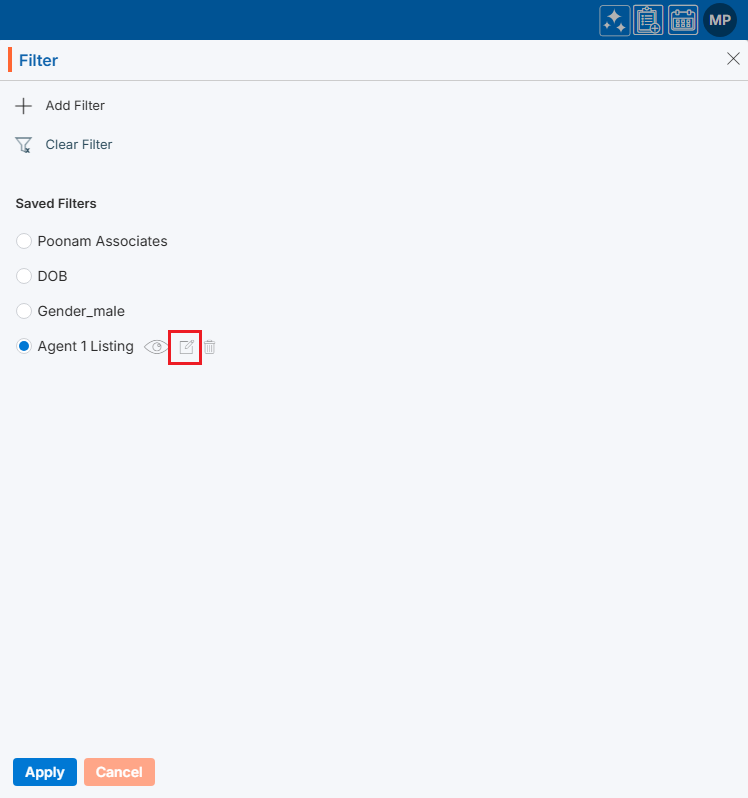
Edit Filter:
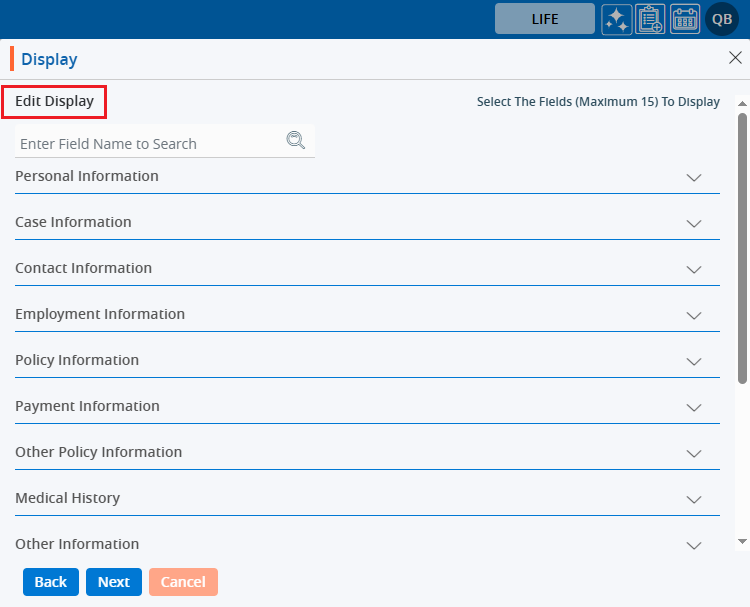
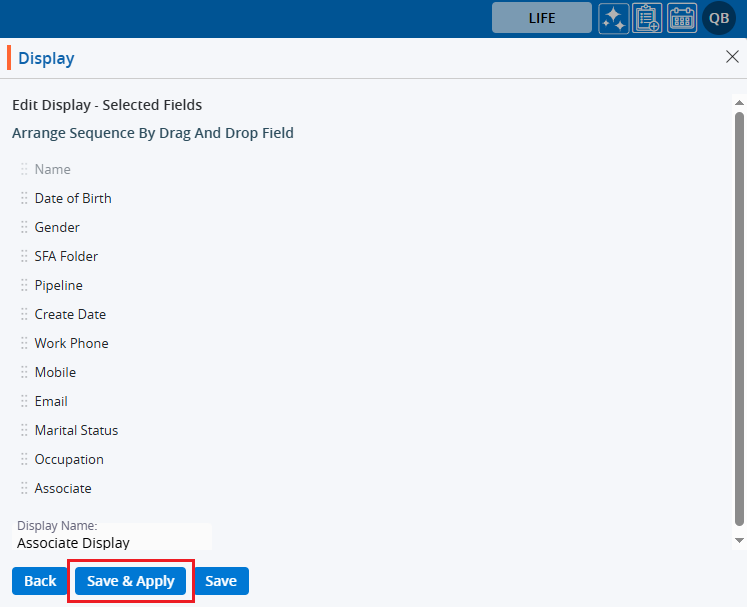
- To update the existing filter, select the filter click ‘Edit Filter’ () from the available options.
- The filter window will open with the existing criteria, allowing the user to modify the filter options.
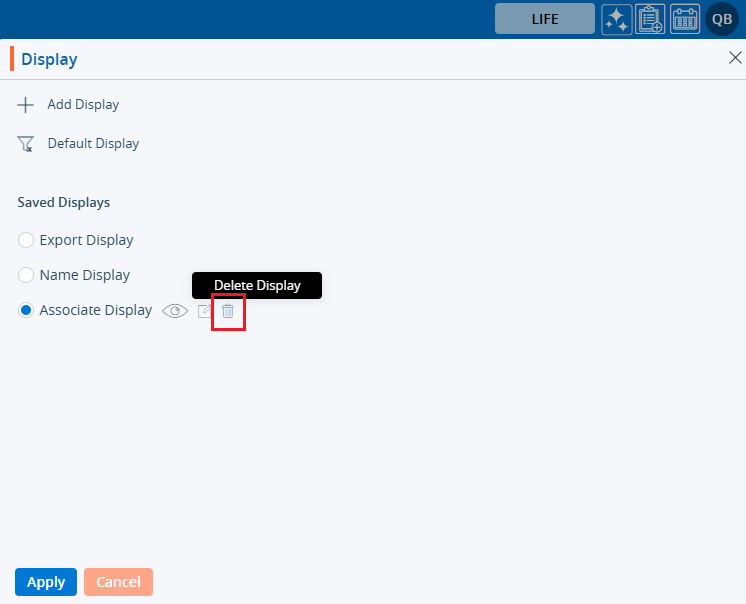
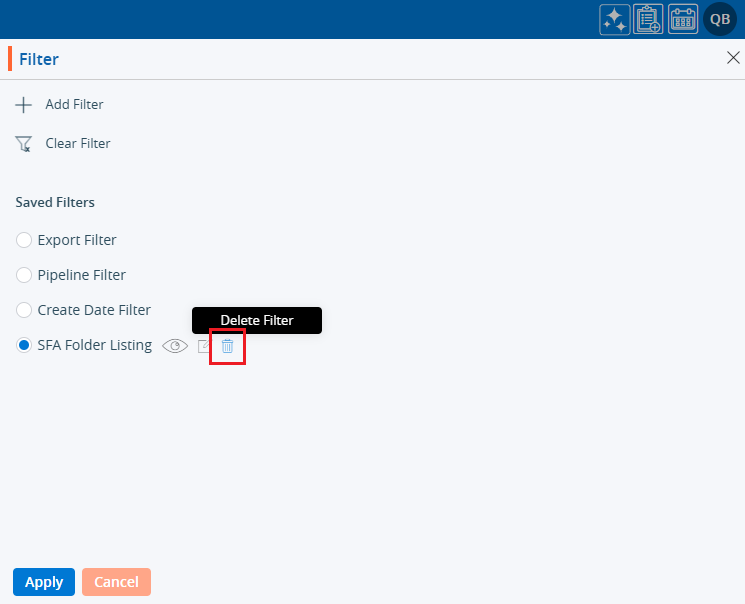
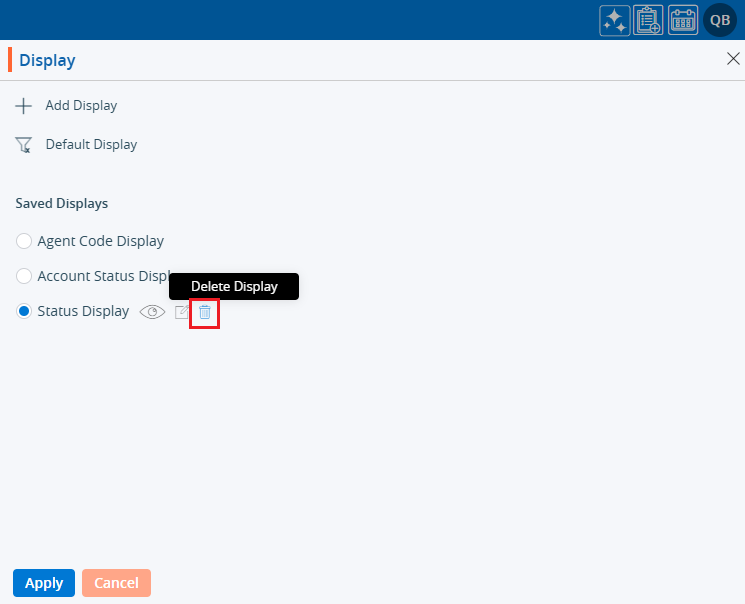
Delete Filter:
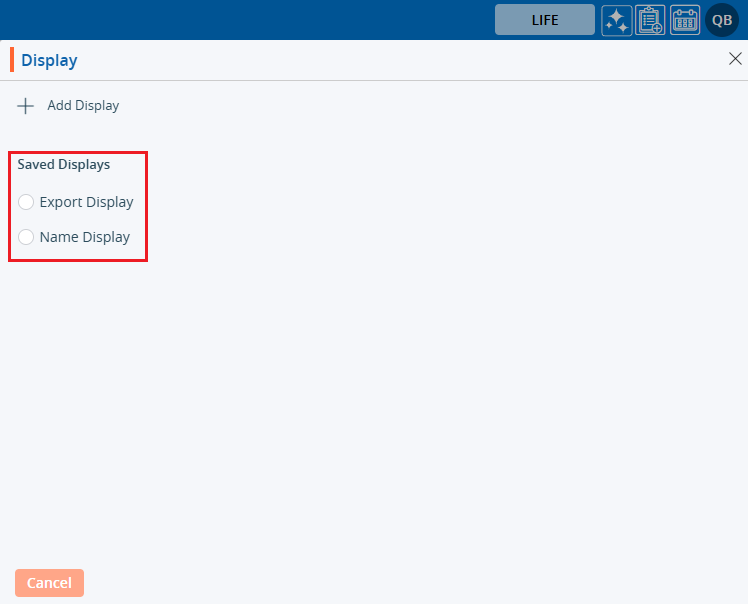
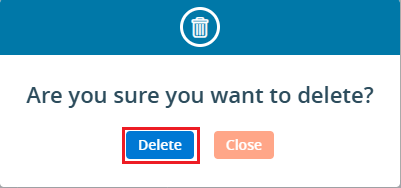
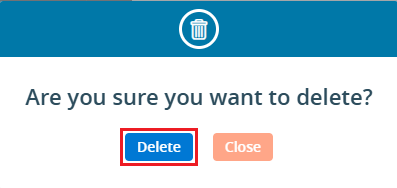
- To delete the existing filter, select the ‘Filter’ and click on the ‘Delete Filter’ () from available options.
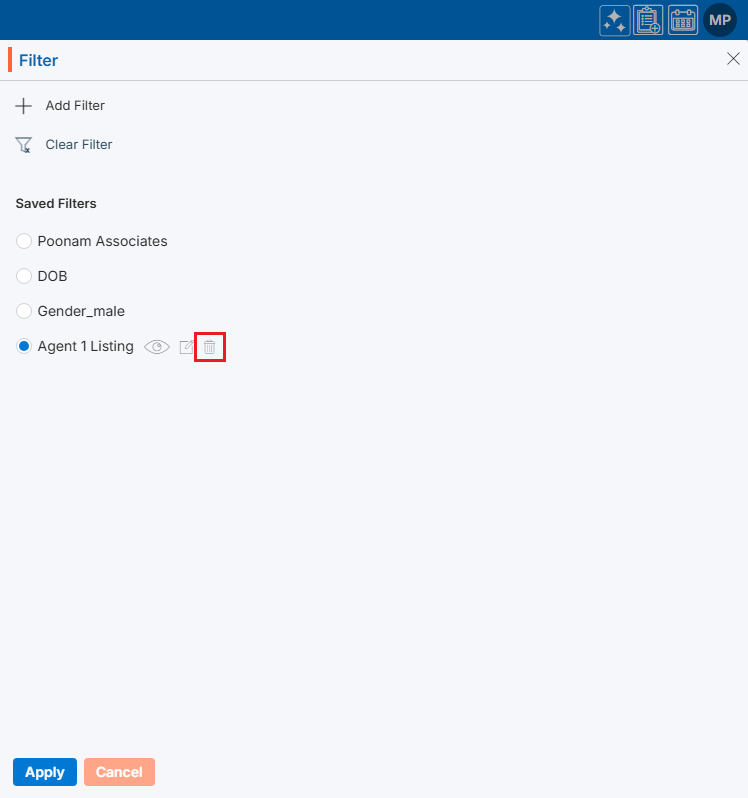
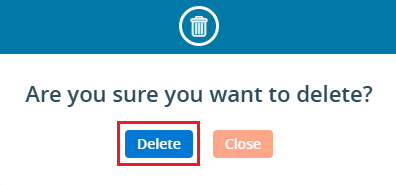
- The system will ask for confirmation. Click Delete to proceed.
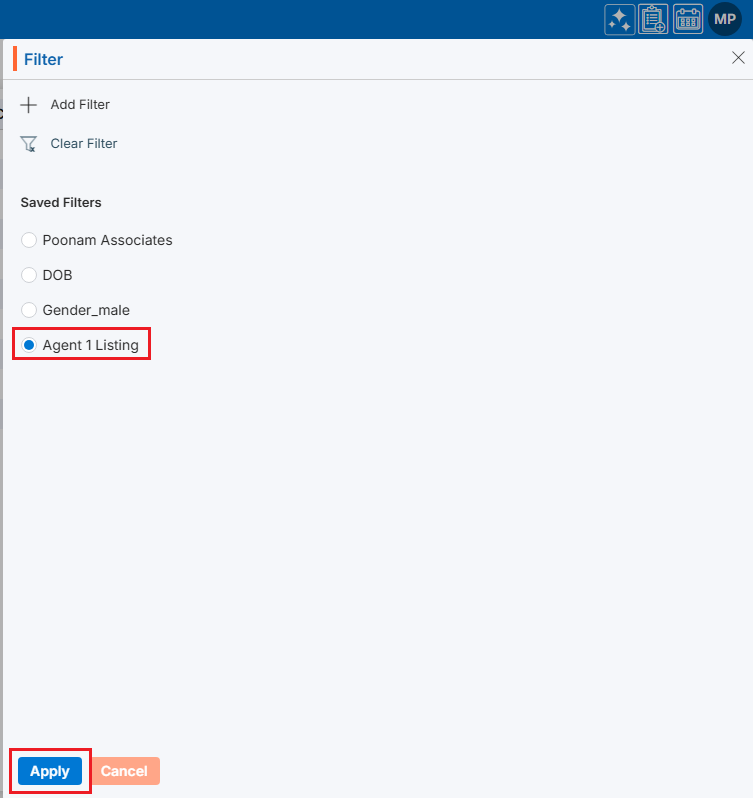
Apply Filter:
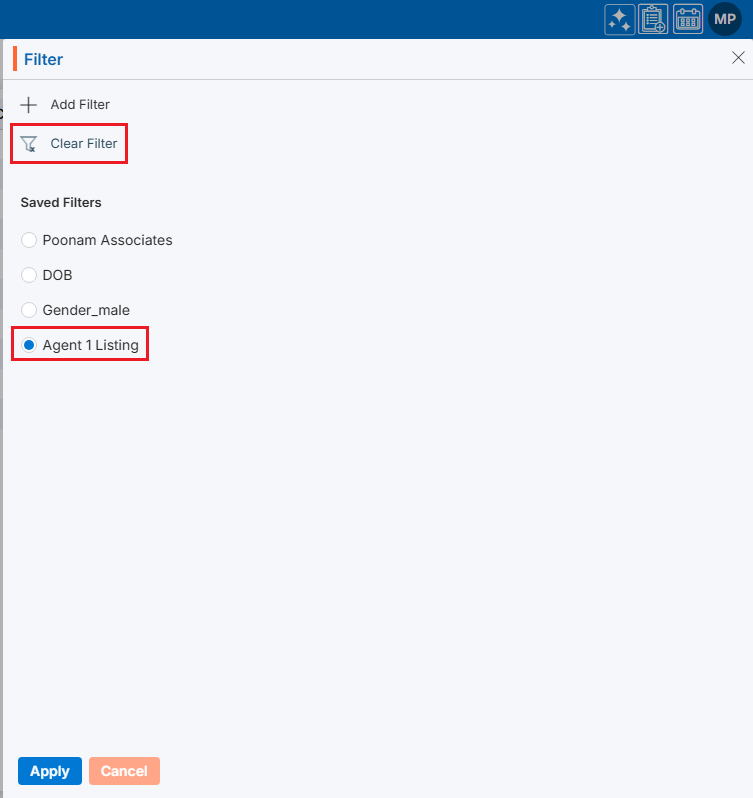
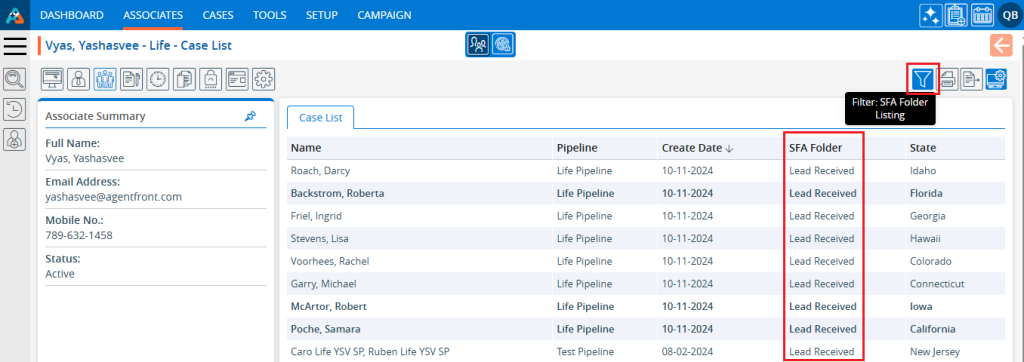
- To apply the filter from existing filters, select the filter and click ‘Apply’ button.
- Selected filter will be applied to the listing.
Clear Filter:
- If any filter is already applied to the listing and user wants to clear, click the ‘Clear Filter’ link.
- Applied filters will be removed from the listing and all data will be displayed as is.