Associates List – All Associates display all associates currently available in the system, excluding those in the Trash and Archive SFA Folder.
The following are the steps to access the Associates List:
1. Navigate to the ‘ASSOCIATES’ tab, where you’ll find the ‘All Associates List’.

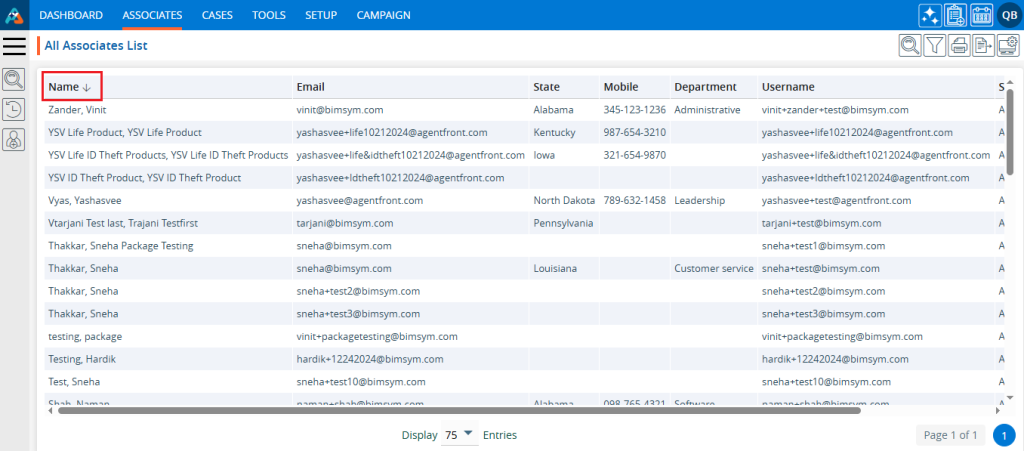
2. Click on the field title to view associates in ascending or descending order. Clicking the title displays a downward arrow beside it, arranging associates accordingly. For instance, clicking ‘Name’ sorts of names in descending order.
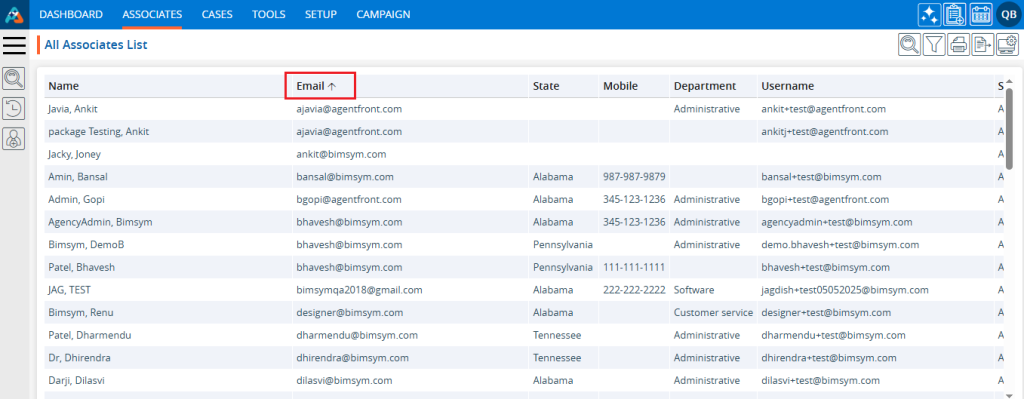
3. When the user clicks on the title again, an upward arrow will appear beside it, arranging associates in ascending order. For example, clicking the upward arrow next to the ‘Email’ title displays the email IDs in ascending order.
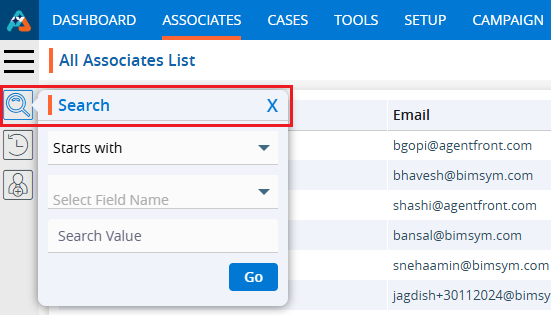
4. On the left-side panel, there is a search feature. Users can utilize the ‘Search’ option to find specific associates by selecting different criteria.
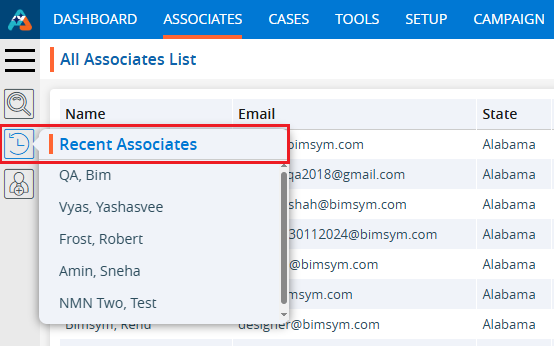
5. On the left-side panel, there is an option to view recently accessed associates. Clicking on ‘Recent Associates’ allows users to see the five most recently accessed associates.
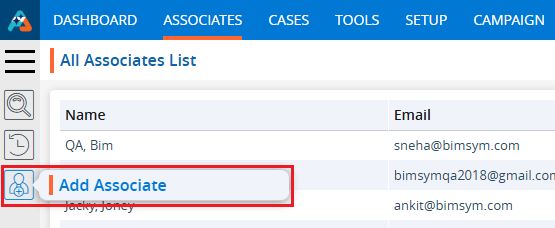
6. On the left-side panel, there is a feature to add an associate. Clicking on the ‘Add Associate’ option will display a form with various fields, allowing users to input information and add an associate.
7. On the right side at the top, there is a ‘Display’ feature. Users can customize the fields and arrange the display of the page using this option.

8. On the right side at the top, there is an ‘Export’ feature. Users can export specific data from all associates using this option. The exported data will be based on the selected date range.

9. On the right side at the top, there is a ‘Print’ feature. Clicking on ‘Print’ allows users to print the current page. The print feature will print the data according to the selected display settings.

10. On the right side at the top, there is a ‘Filter’ feature. Users can refine the displayed data by filtering specific information from all associates using this option.

11. On the right side at the top, there is a ‘Quick Search’ feature. Users can quickly search for data across all associates using this option.

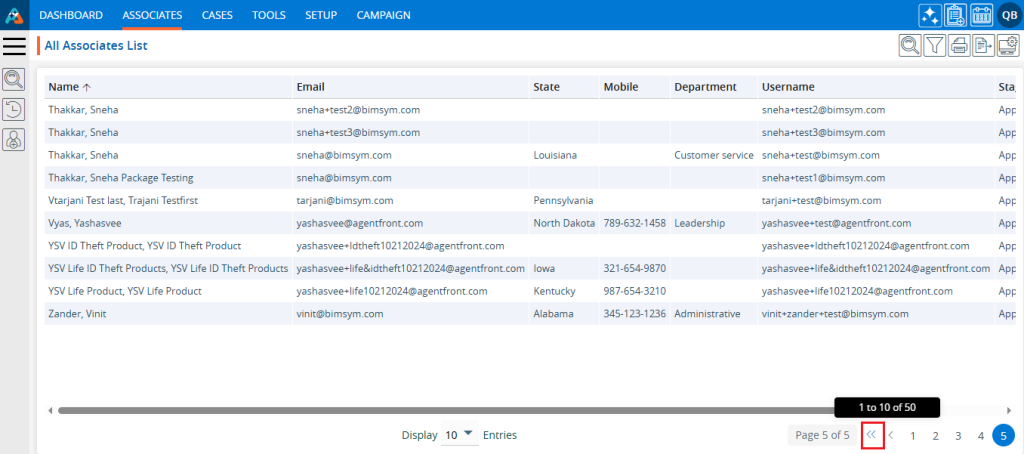
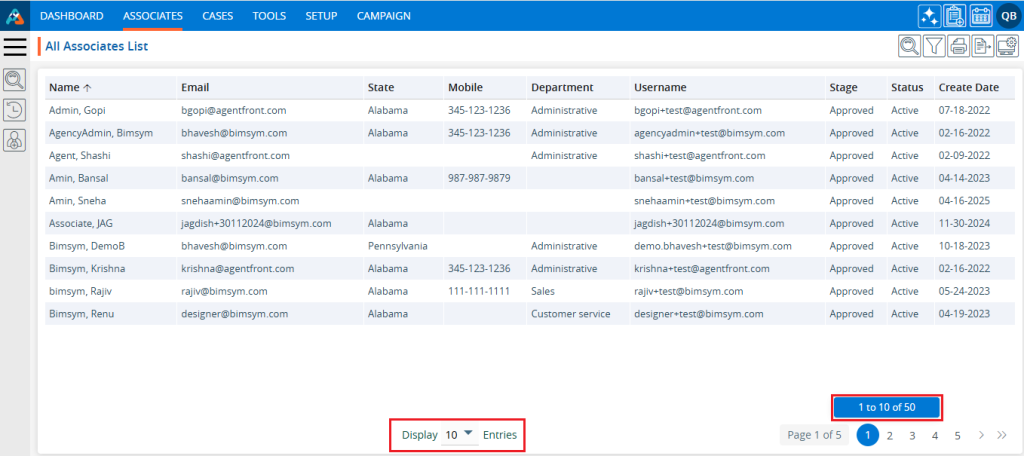
12. At the bottom of the page, there is a feature to adjust the number of associates displayed per page from the ‘Display’ dropdown menu.

13. The ‘Display’ dropdown menu offers six options to set the number of entries for the display list:
a. 10
b. 20
c. 25
d. 50
e. 75
f. 100
14. After selecting an option from the ‘Display’ dropdown, the system will arrange and display the entries on one page according to the user’s selection.
15. Additionally, the pagination of the associates list will be adjusted by the system according to the selected option.
For example:
- If the user selects 10 entries per page, the system will display 10 entries per page, and the data will be distributed accordingly.
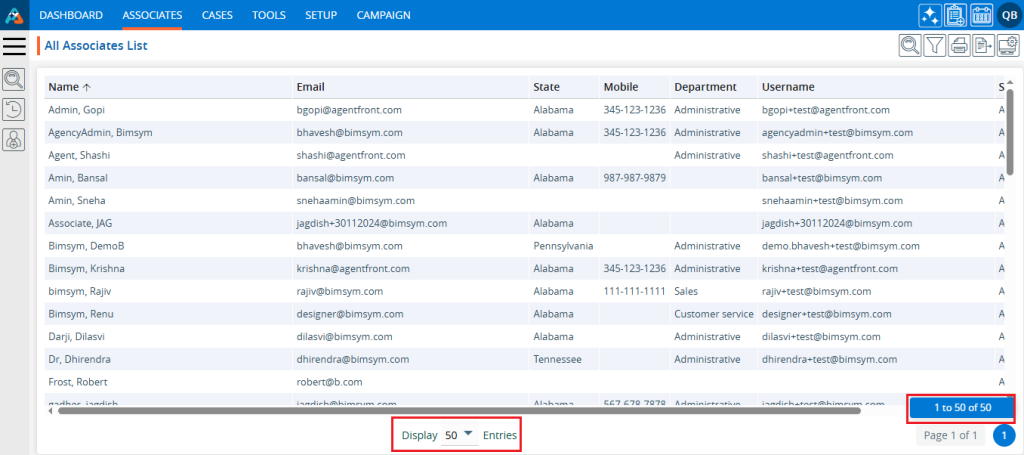
- If the user selects 50 entries per page, the system will display 50 entries on each page, and the data will be distributed accordingly.
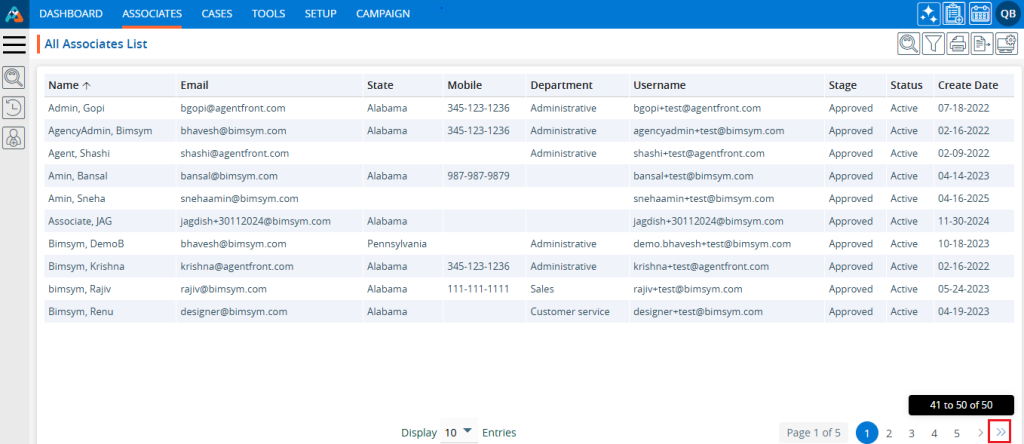
16. The pagination will function according to the number of entries set, providing options for users to select a specific page or navigate directly to the first, next, previous, or last page.
17. By clicking on the double arrow ‘»’ on the right side, users can directly navigate to the last page.
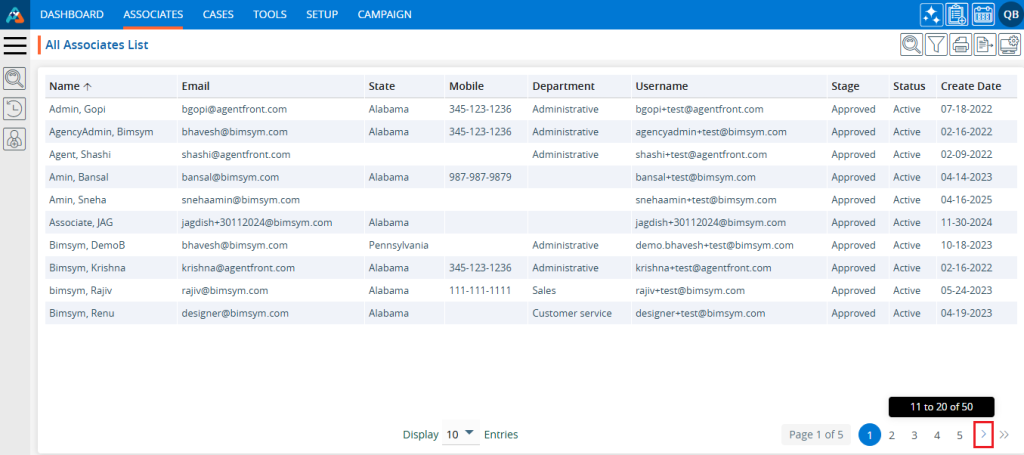
18. By clicking on the single right arrow ‘>’, users can navigate to the next page.
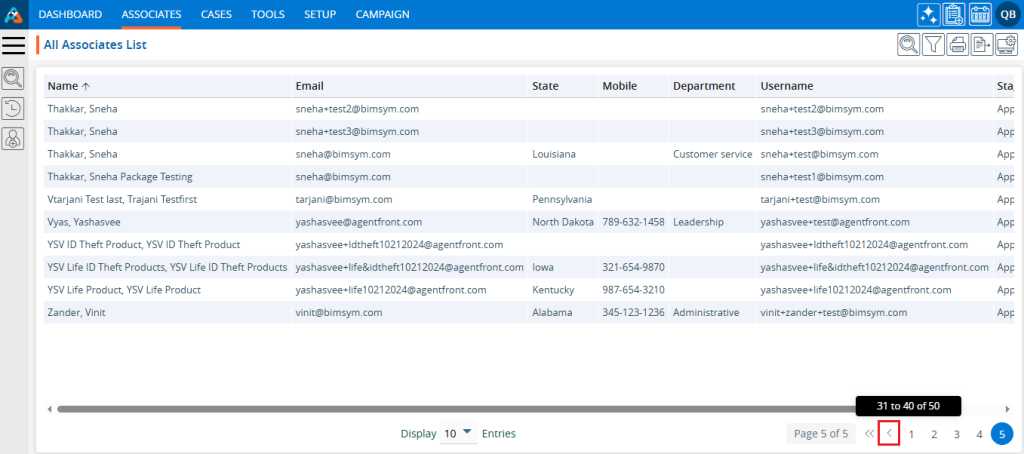
19. By clicking on the single left arrow ‘<‘, users can navigate to the previous page.
20. By clicking on the double arrow ‘«’ on the left side, users can directly navigate to the first page.