Information –The Information feature is used to add and update information related to associates in the system.
The following are the steps to add and update information for an associate using the Information feature:
1. Navigate to the ‘ASSOCIATES’ tab, where you’ll find the ‘All Associates List’.

2. Click on an associate to proceed.

3. After clicking on the associate, the Dashboard will open.
4. Click on the ‘Information’ icon.
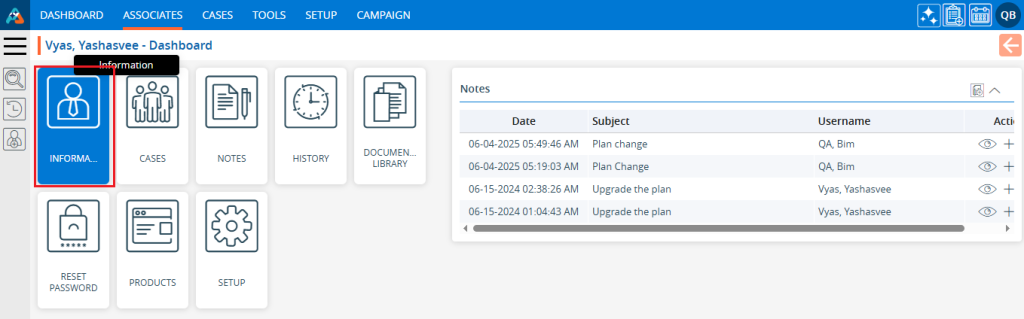
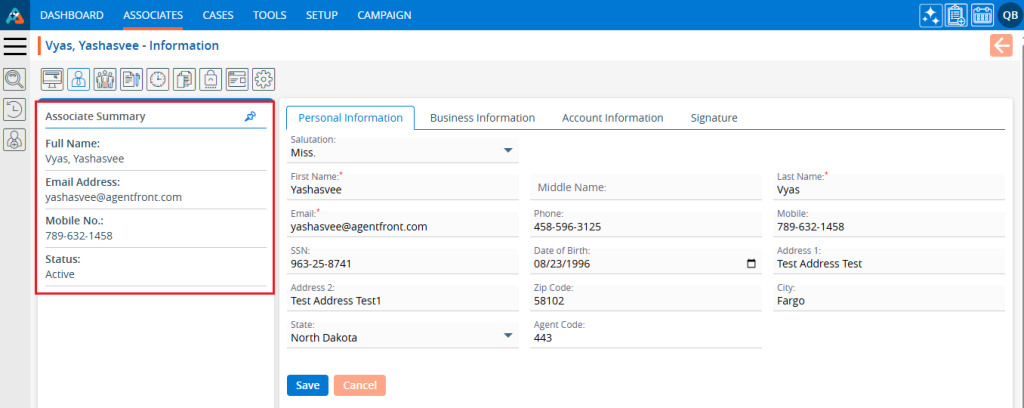
5. The ‘Information’ page will open, displaying the following:
- Associate Summary
- Personal Information tab
- Business Information tab
- Account Information tab
- Signature tab
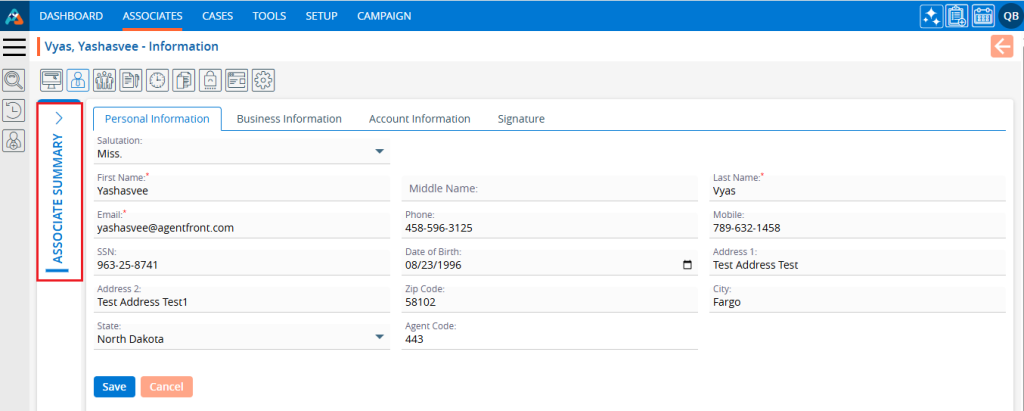
6. The Associate Summary will display on the left side of the Information page.
- The fields displayed under the Associate Summary can be configured from the Setup > Quick Profile > Associate > Associate Summary
7. The Associate Summary is pinned by default and cannot collapse while pinned. Click on the pin.
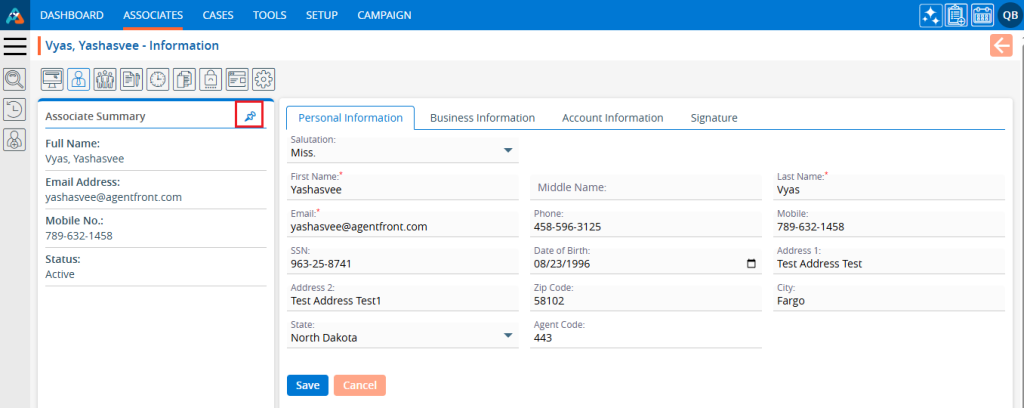
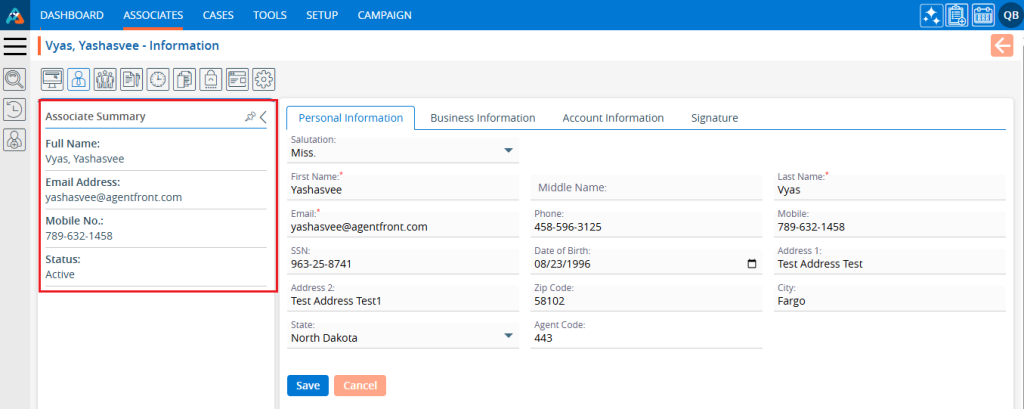
8. Clicking on the Pin icon will unpin the Associate Summary and an arrow will appear. Click on the arrow.
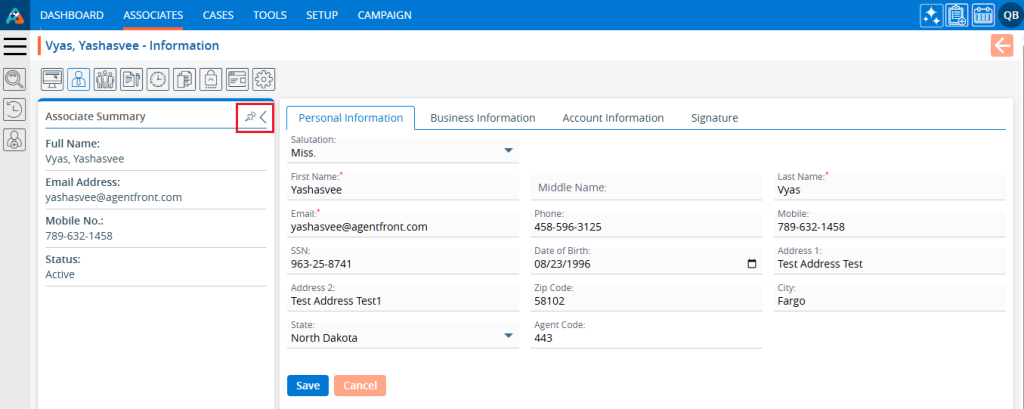
9. Clicking on the arrow button will collapse the Associate Summary. Click on the arrow.
10. Clicking on the arrow button again will expand and display the Associate Summary again.
11. The ‘Personal Information’ page displays personal details, allowing users to add and update their information as needed.
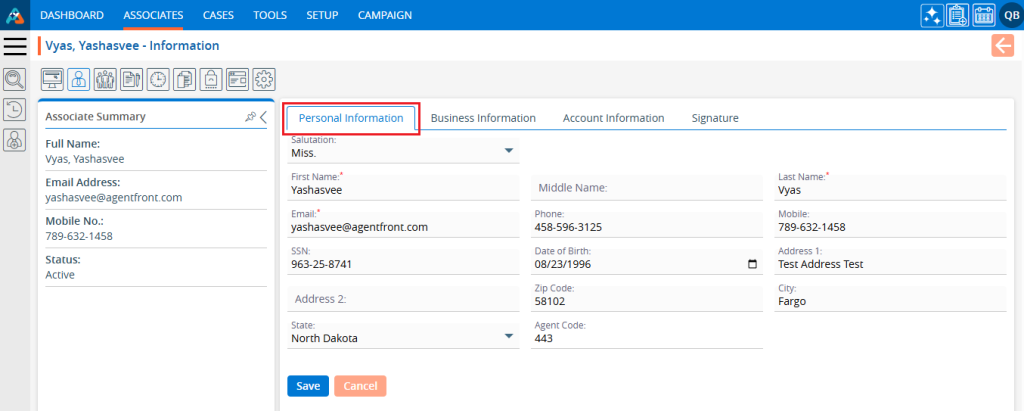
12. There are two options available on the ‘Personal Information’ page:
a. Save
b. Cancel
13. After adding or updating the personal information, click on the ‘Save’ button.
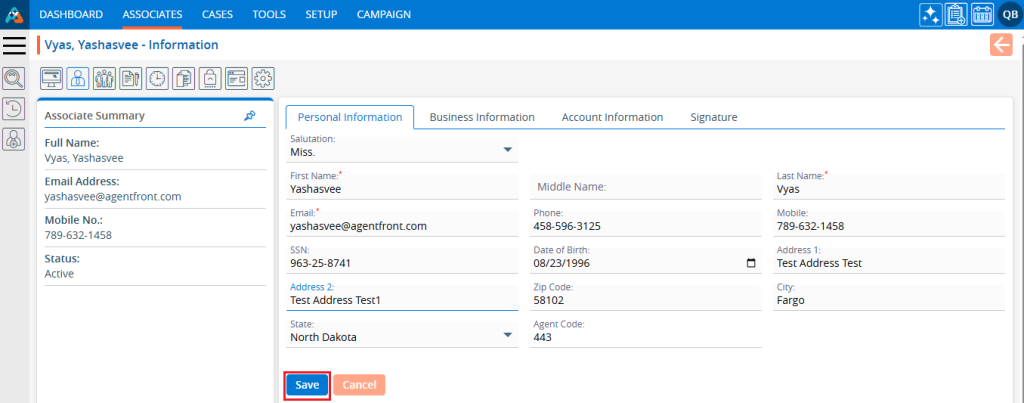
14. A confirmation message will appear indicating that the Associate Information has been updated successfully, and the updated information will be displayed.

15. Click on the ‘Business Information’ tab. The system will display business-related information on this page, where users can add and update their business details.
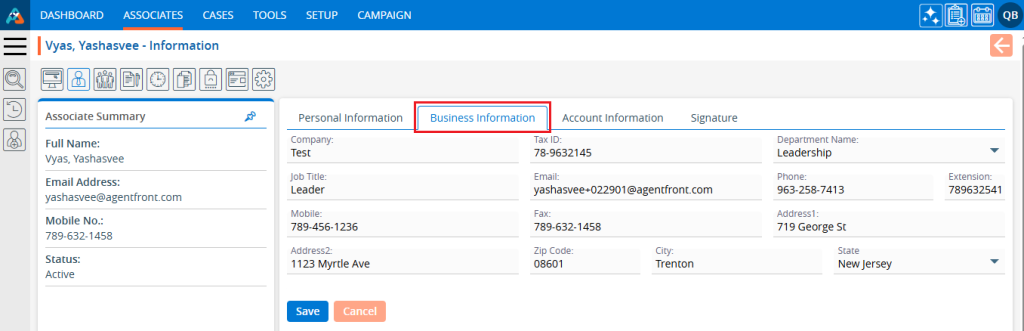
16. There are two options available on the ‘Business Information’ page:
a. Save
b. Cancel
17. After adding or updating the business-related information, click on the ‘Save’ button.
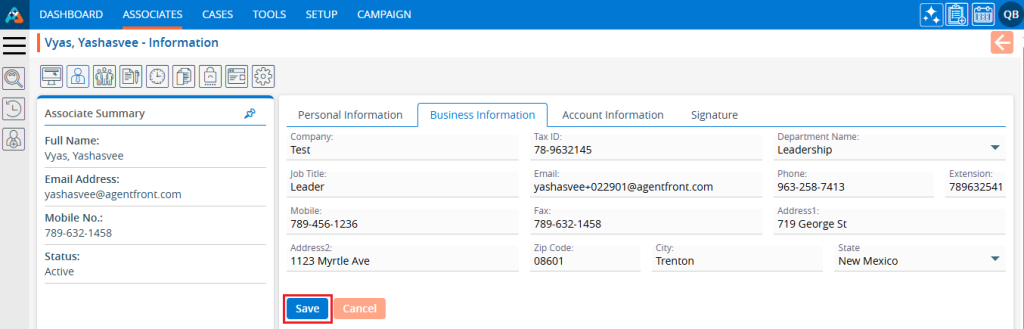
18. A confirmation message will appear indicating that the Associate’s business Information has been updated successfully, and the updated information will be displayed.

19. Click on the ‘Account Information’ tab. The system will display account-related information on this page. From here, users can add and update account-related information.
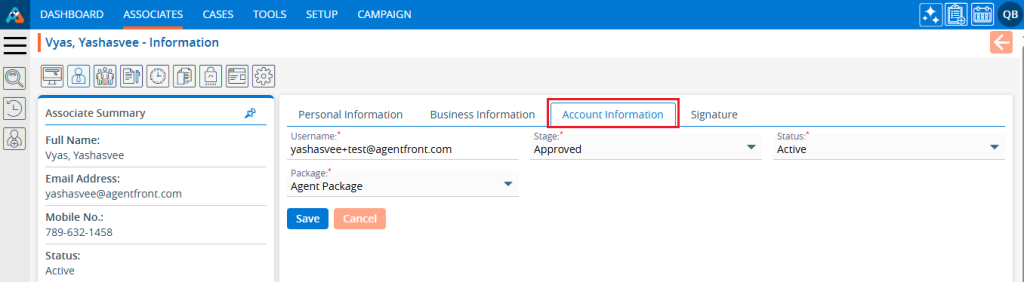
20. There will be two options available on the ‘Account Information’ page:
a. Save
b. Cancel
21. After adding or updating the account-related information, click on the ‘Save’ button.
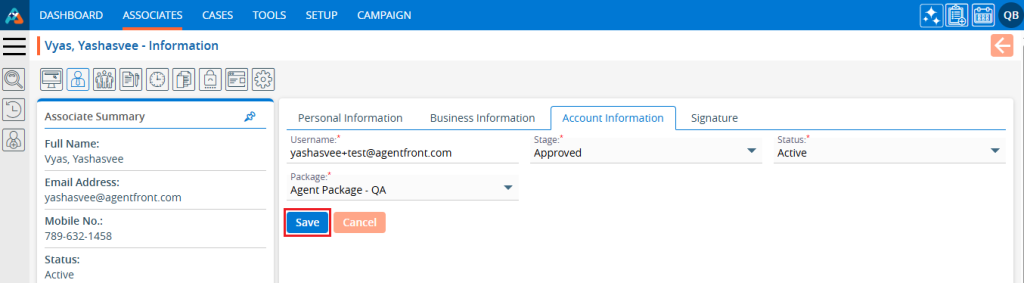
22. A message will appear confirming that the Associate’s Account Information has been updated successfully, and the updated information will be displayed.

23. Click on the ‘Signature’ tab. The system will display signature-related information on this page. From here, users can add and update signature-related information.
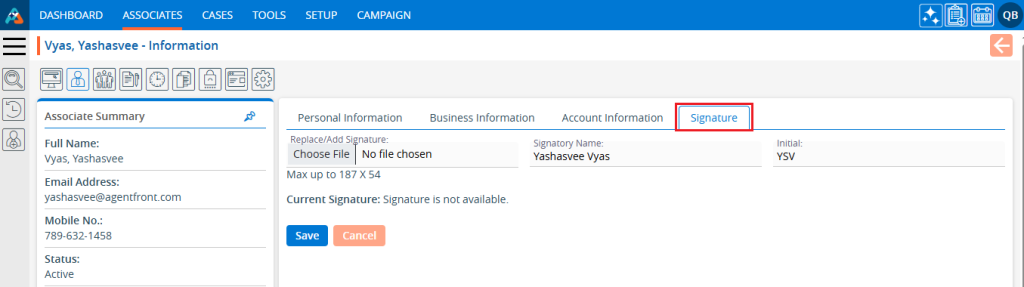
24. There will be two options available on the ‘Signature’ page:
a. Save
b. Cancel
25. After adding or updating the signature-related information, click on the ‘Save’ button.
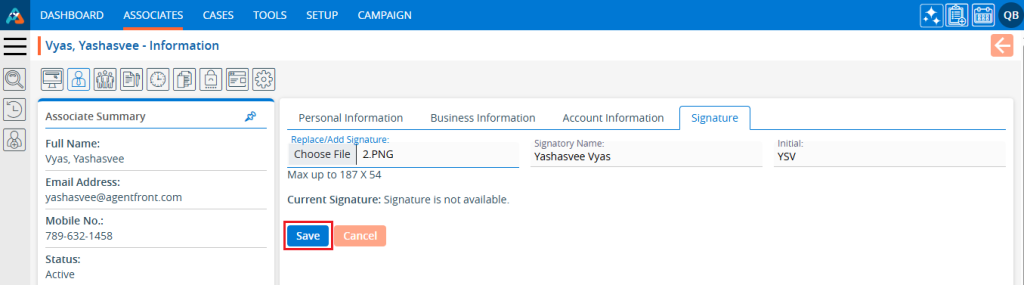
26. A message will appear confirming that the Associate’s Signature Information has been updated successfully, and the updated information will be displayed.
