Display – used to create specific views of listing.
Users can only set a maximum of 5 displays, choosing from the available fields and can apply them to the listing as needed.
Following are the steps to set the Display:
1. Go to the ‘ASSOCIATES’ tab and All Associates List will be displayed.

2. Click on the ‘Display’ icon.

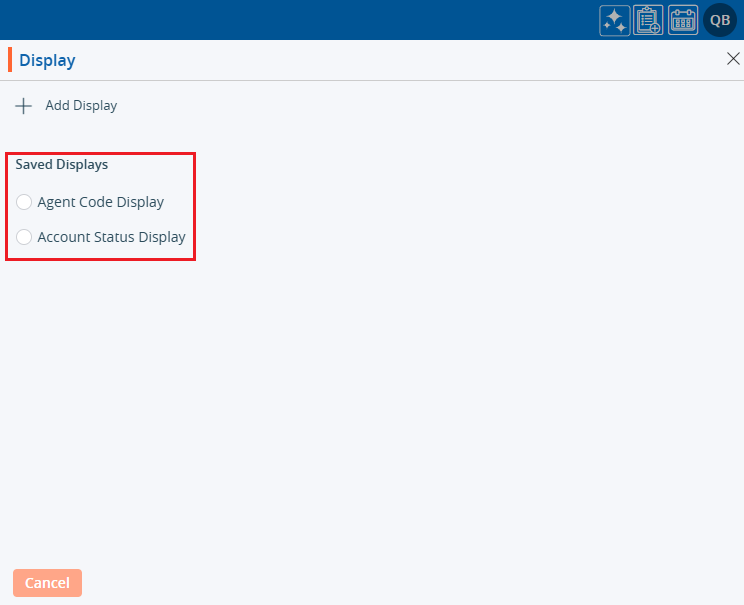
3. By clicking on ‘Display’ will open a popup page to set a new Display.
a). Existing ‘Displays’ will be listed under ‘Saved Displays’, if available.

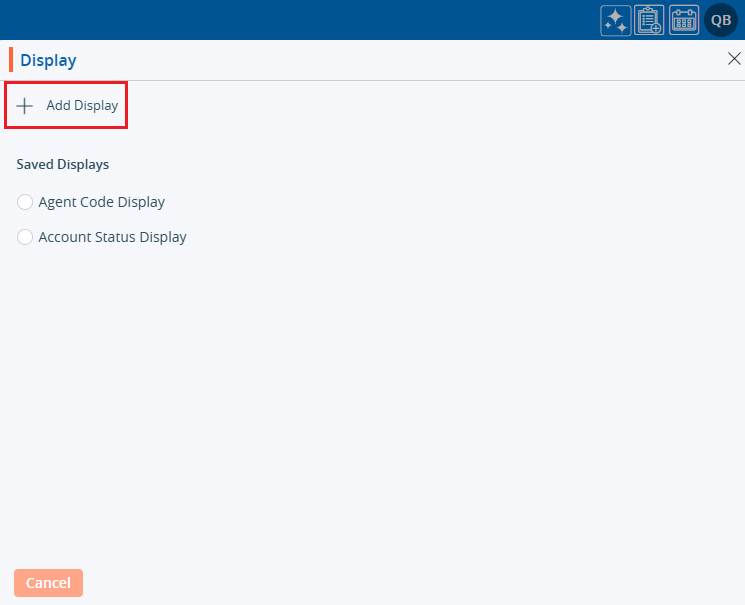
4. Click on ‘Add Display’ to create a new ‘Display’.
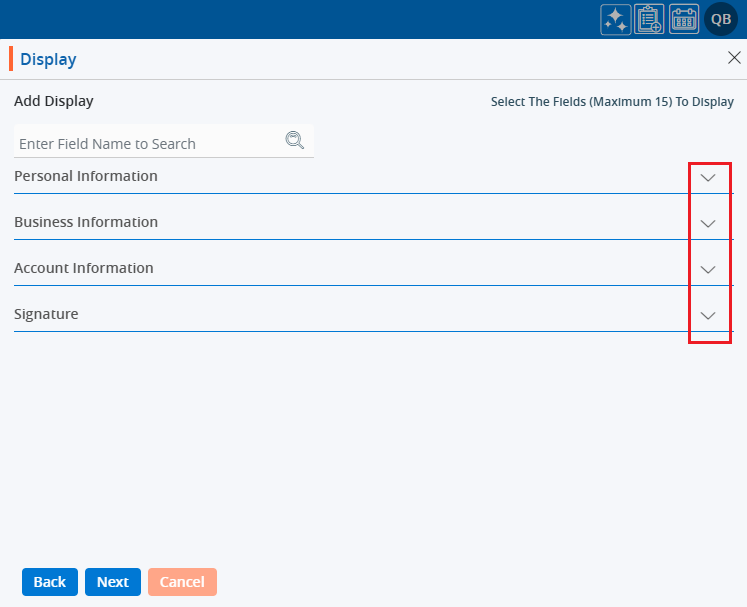
5. By clicking on ‘Add Display’ a new window will open.
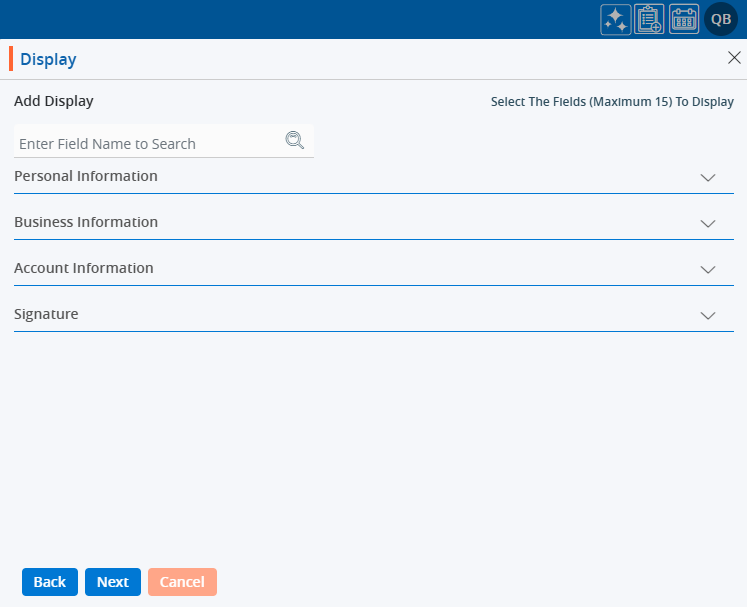
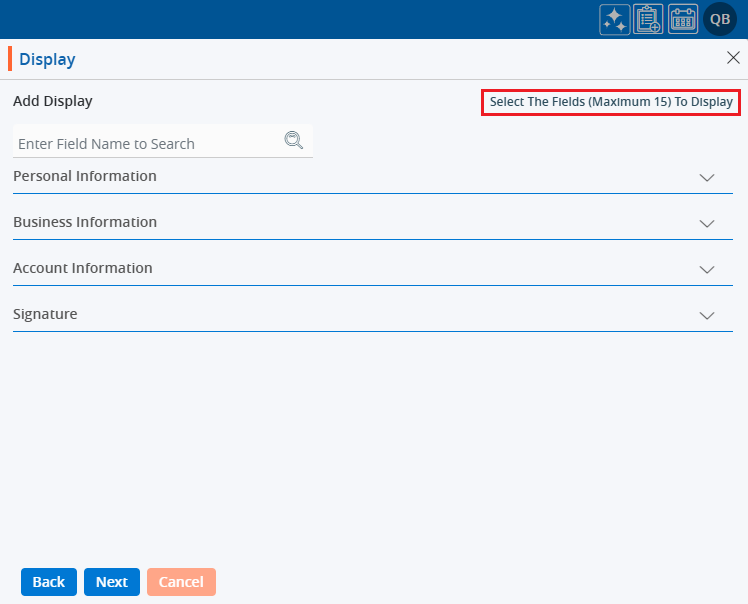
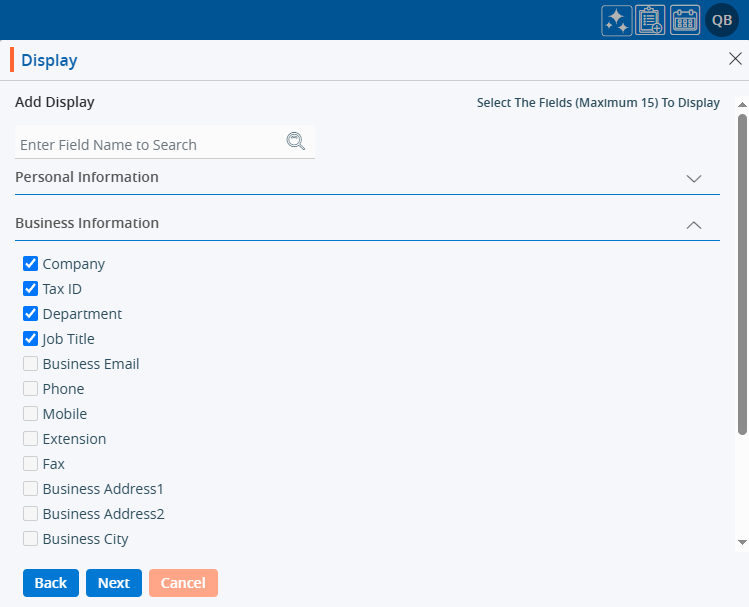
6. The system will allow selection of a maximum of 15 fields.
7. The user can view the list of fields by clicking on the down arrow for any field group.
8. Click on the down arrow to reveal the fields for selection.
9. After clicking the down arrow next to ‘Personal Information,’ the list of personal information fields will be opened.
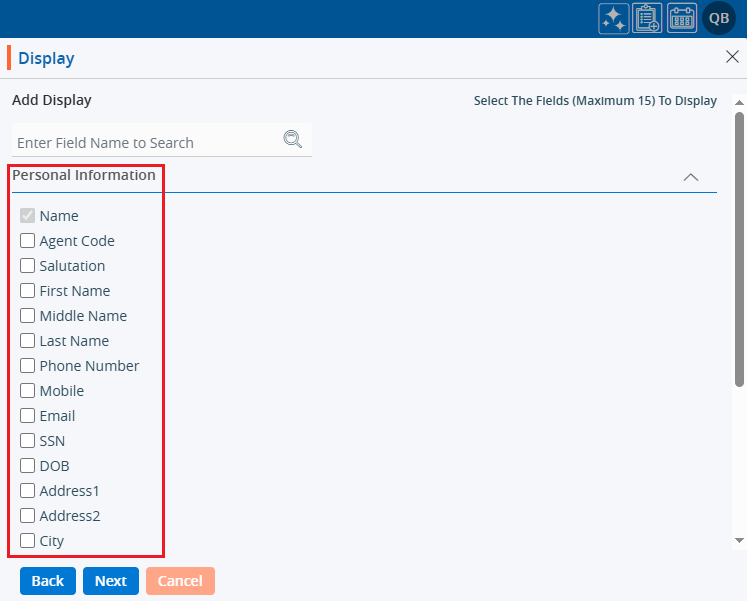
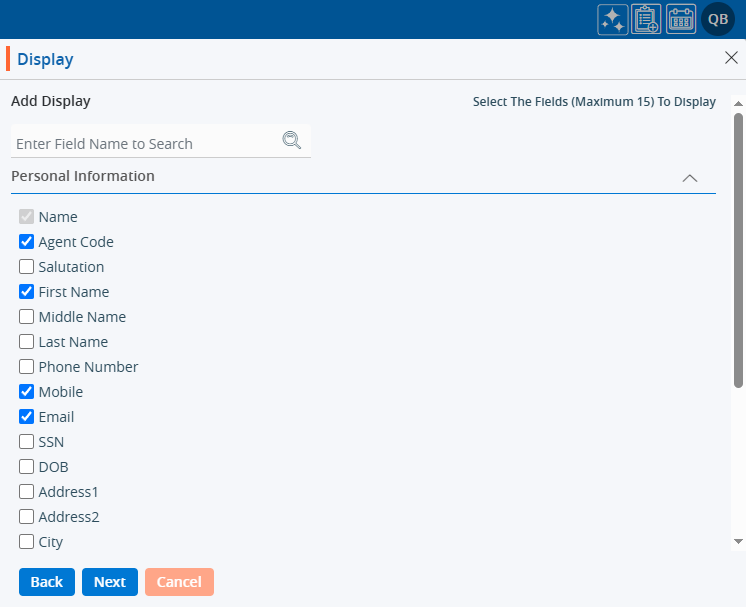
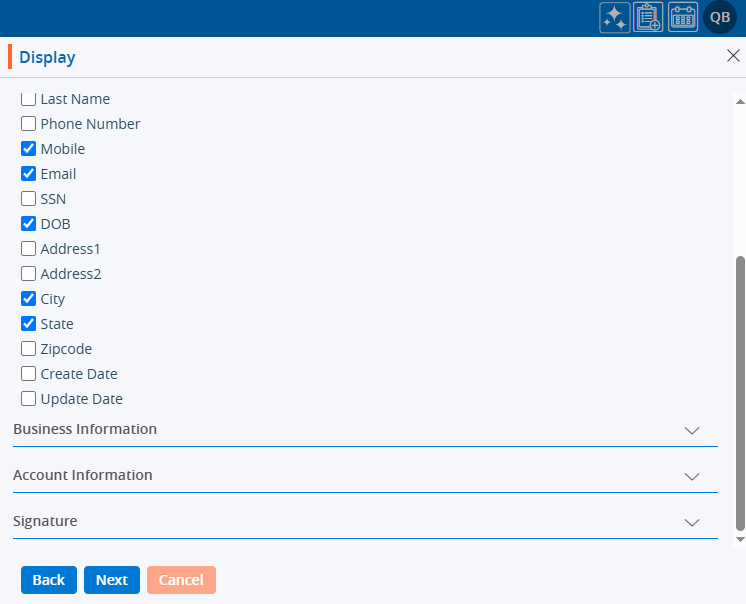
10. Select the necessary fields to configure the ‘Display’ view from the Personal Information fields.
11. Similarly, select the necessary fields to configure the ‘Display’ view from the Business Information fields.
12. Similarly, select the necessary fields to configure the ‘Display’ view from the Account Information fields.

13. On the same page there are three options: Back, Next, and Cancel.
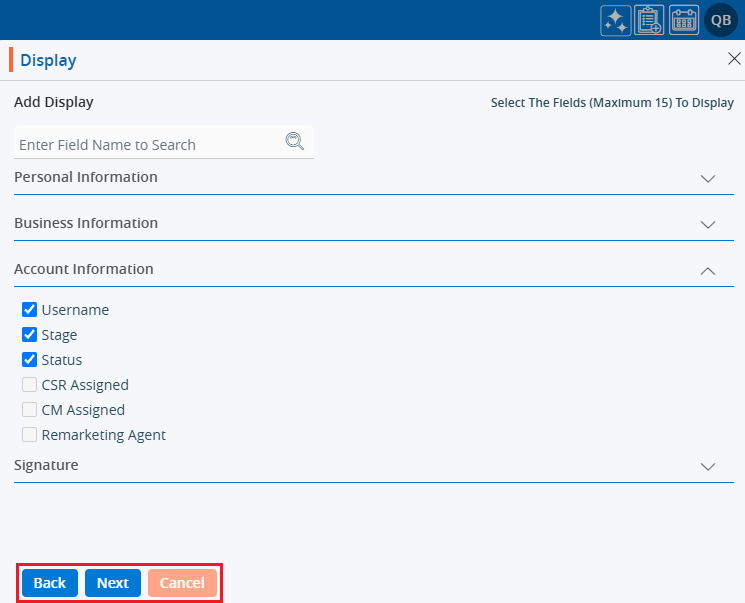
14. After fields selection completed select required option.
15. By clicking on ‘Back’ redirects to the first page of the ‘Display’.

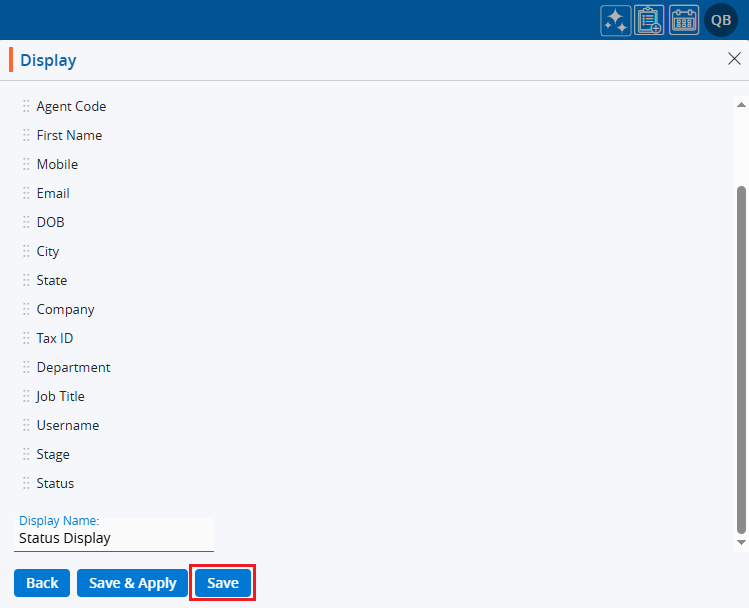
16. By clicking on ‘Save’ opens a new page with the selected fields.
17. Users can change the sequence of the displayed fields list using the option represented by six dots.
a). Apart from the ‘Name’ field, all other field sequences can be changed.

18. Add the ‘Display’ Name at the end.

19. On the same page there are three options: Back, Save & Apply, and Save.

20. By clicking on ‘Back’ it redirects to the ‘Add Display’ page.

21. By clicking ‘Save’ will only save the ‘Display’, and it will be listed in the Saved Displays (it will not be applied to the listing).
22. The system will generate a message only for the ‘Display’ that is created.

23. Clicking on ‘Save & Apply’ will save the ‘Display’ under the ‘Saved Display’ listing and apply it to the ‘ASSOCIATES’ list.
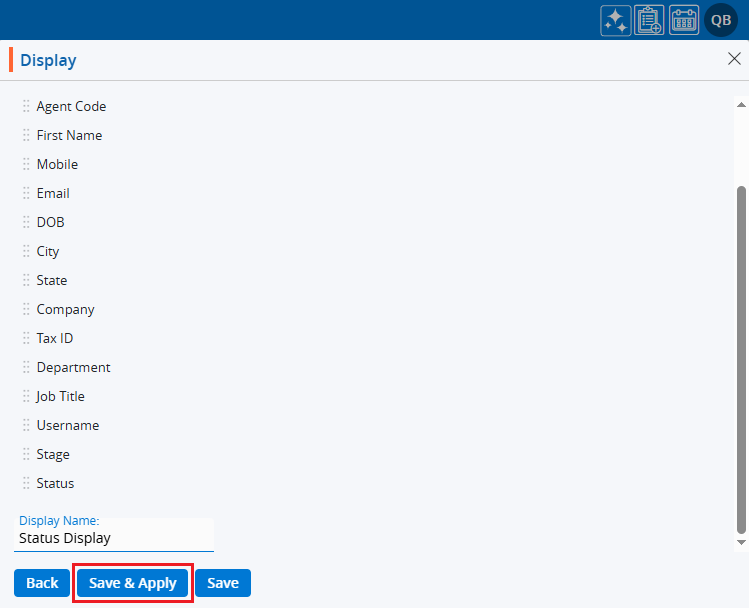
24. The system will generate a confirmation message, and the ‘Display’ will be applied to the ‘ASSOCIATES’ list.

25. Now, the ‘ASSOCIATES’ listing will display the list according to the criteria set in the ‘Display’.
26. Hovering the mouse over the ‘Display’ icon will show the applied display name.

27. The user can apply any available Display by clicking on the Display option, selecting the desired display, and then clicking on Apply.
28. By clicking on Apply, the selected Display will be applied to the listing.
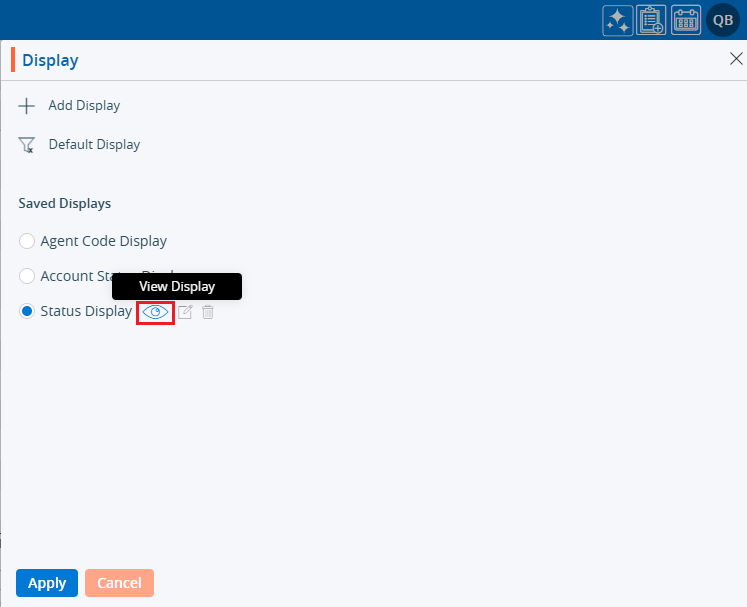
29. Users can view the criteria of the ‘Display’.
a). Click on ‘Display’ again and hover the mouse over the view icon.
b). Click on the ‘View Display’ icon.
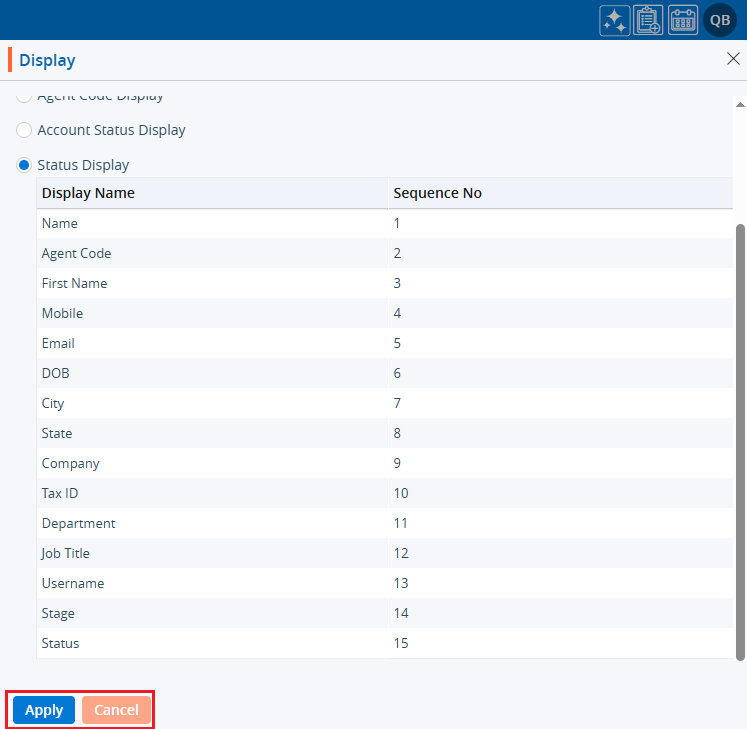
30. The created criteria will be displayed.
a). Apply and Cancel buttons will be displayed.
b). Users can apply the ‘Display’ by using the ‘Apply’ option.
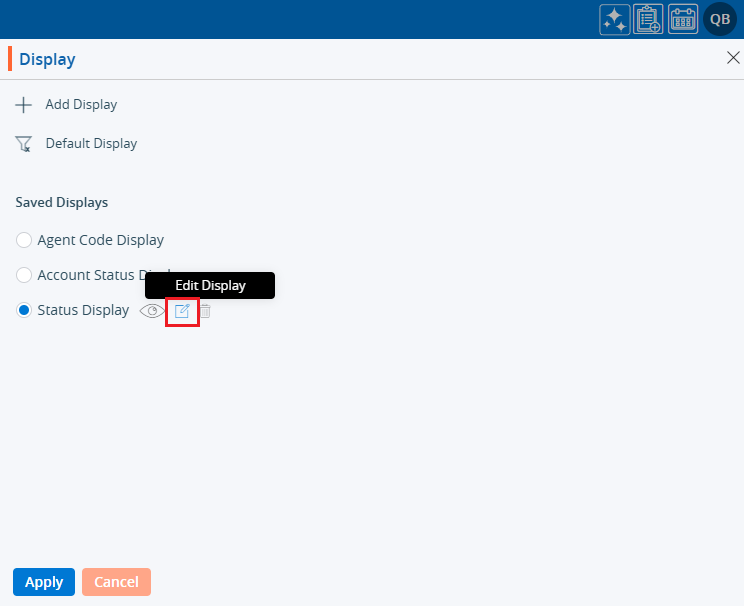
31. Users can edit the ‘Display’.
a). Click on ‘Display’ again and hover the mouse over the edit icon.
b). Click on the ‘Edit Display’ icon.
32. The ‘Display’ window will open with existing criteria, and users can modify the ‘Display’.

33. Users can change the criteria of the ‘Display’ and then click on ‘Save & Apply’.
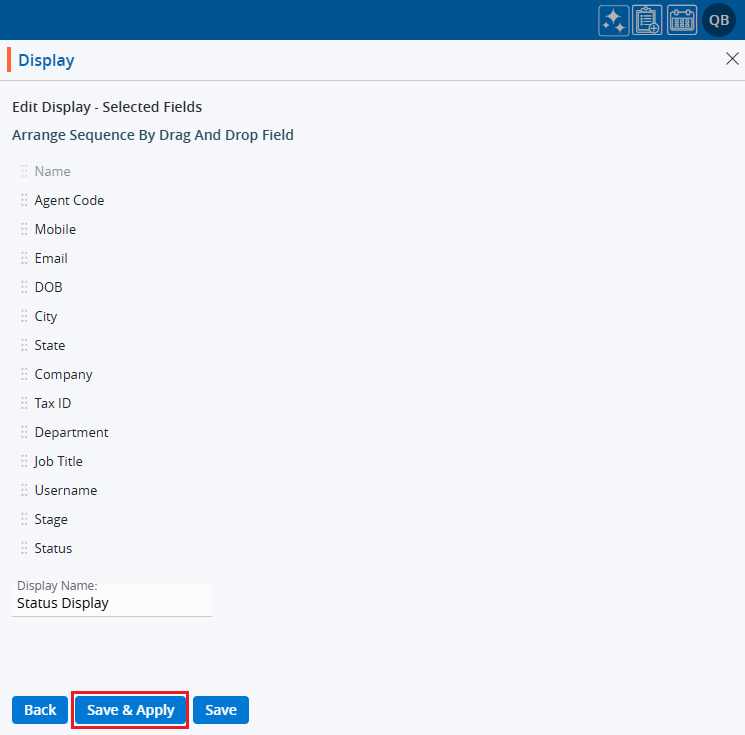
34. An updated ‘Display’ will be applied to the ‘ASSOCIATES’ listing.

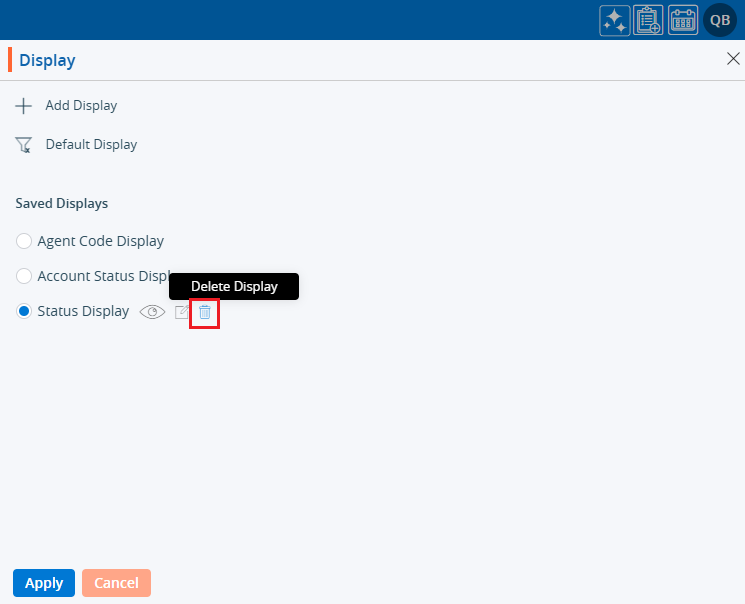
35. Users can delete the ‘Display’.
a). Click on ‘Display’ again and hover the mouse over the ‘Delete’ icon.
b). Click on ‘Delete Display’.
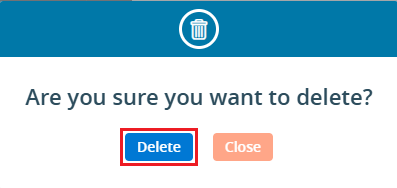
36. System will ask confirmation. Click on ‘Delete’.
37. The system will generate the message and ‘Display’ will be deleted.

38. Users can verify if the ‘Display’ is deleted or not.
a). Click on ‘Display’ again.
b). Verify that the deleted ‘Display’ is no longer available in the listing.