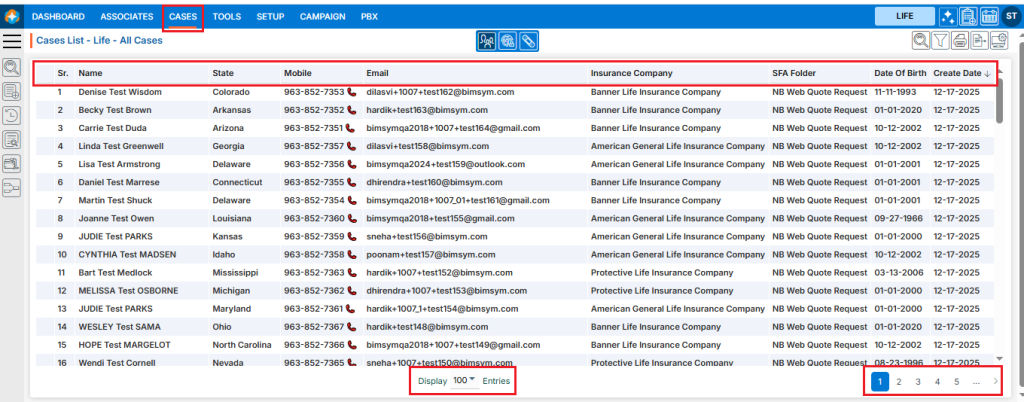
Cases List – All Cases – The cases list provides a comprehensive overview of all cases available in the system, excluding those found in the Trash and Archive SFA folders.
All Cases – Cases List
- Sign in to AgentFront CRM
- From the top menu, choose CASES
- Cases list will open by default
- The cases list will be displayed in descending order based on the Create Date
- Data can be sorted in ascending or descending order by clicking on the column header
- The ‘Display’ dropdown menu offers different options to set the number of entries for the Display List; the system will arrange and display the entries on one page according to the user’s selection
- Additionally, the pagination of the cases list will be adjusted by the system according to the selected option
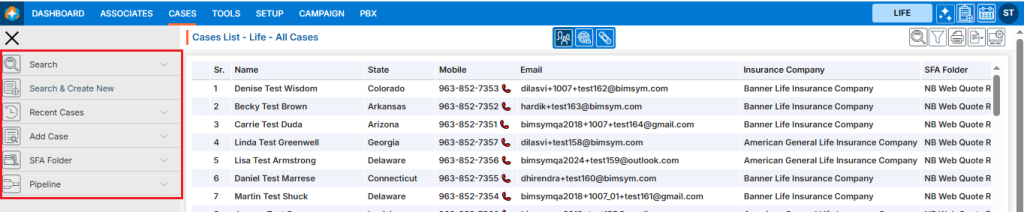
Left Side View
- The left-side panel contains links for quick and easy access to different sections
- Search – The ‘Search’ option allows users to search for cases based on various criteria
- Search & Create New – The ‘Search & Create New’ option allows users to search and create new case directly
- Recent Cases – Using ‘Recent Cases’ link, users can view the five most recently opened cases
- Add Case – The ‘Add Case’ option offers multiple forms with various field types, allowing users to submit a case by filling out the appropriate form
- SFA Folders – There is an option to view the list of available SFA Folders in the system. By clicking on the ‘SFA Folder’ option, the system will display all SFA Folder lists along with the total number of case available in each SFA Folder. Additionally, users can search for specific SFA Folders using the search feature
- Pipelines – There is also an option to view the list of available Pipelines in the system. By clicking on the ‘Pipeline’ option, the system will display all pipeline lists along with the total number of cases available in each pipeline. Additionally, users can search for specific pipelines using the search feature
Right-Side View
- On the right side at the top, there are additional icons for cases list
- Quick Search – Using ‘Quick Search‘ feature users can search for data across all cases
- Filter – Using ‘Filter‘ feature users can refine the displayed data by filtering specific information from all cases
- Print – ‘Print’ option allows users to print the current page according to the selected display settings
- Export – Users can export specific data by using the ‘Export‘ option based on the date range selection
- Display – Users can customize the fields and arrange the specific display of the page using the ‘Display‘ option
