The Documents Library feature allows users to scan documents and save them to member profiles.
The following are the steps to Scanning Documents:
1. Navigate to the ‘CASES’ tab, where you’ll find the ‘Cases List – All Cases’.

2. Click on a member.

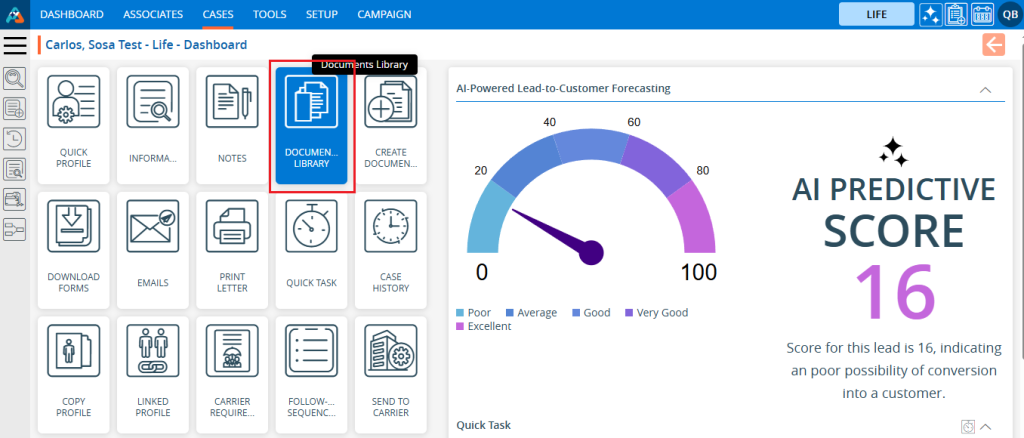
3. After clicking on a member, the ‘Dashboard’ will open. Click on ‘DOCUMENTS LIBRARY’.
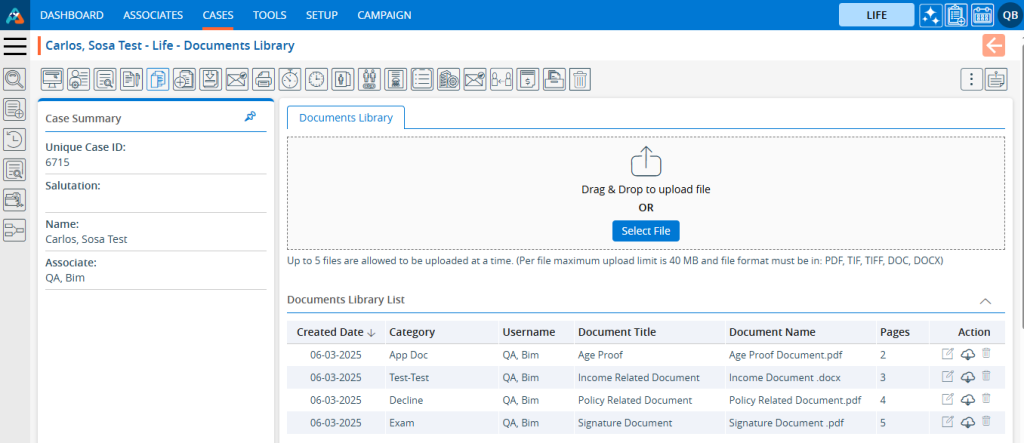
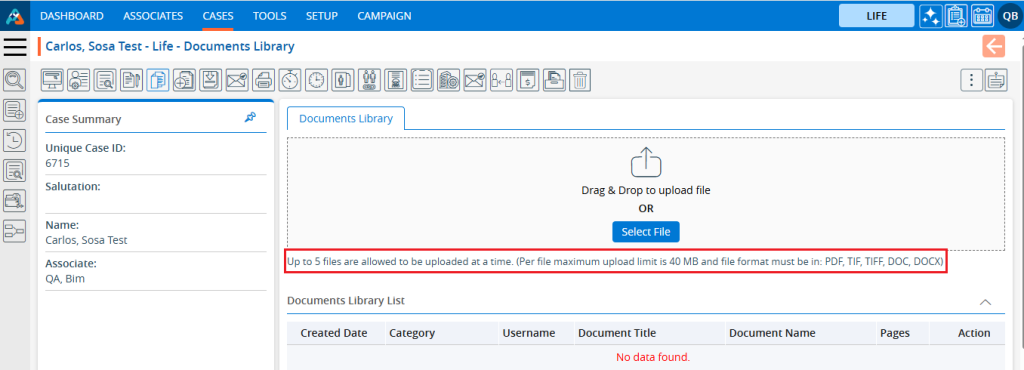
4. The Documents Library page will open. Below are the rules for uploading documents:
- Up to 5 documents can be uploaded at once.
- The maximum file/document size is 40 MB.
- The accepted formats for uploaded documents include PDF, TIF, TIFF, DOC, and DOCX.
5. Click on the ‘Select File’ button to upload the file.
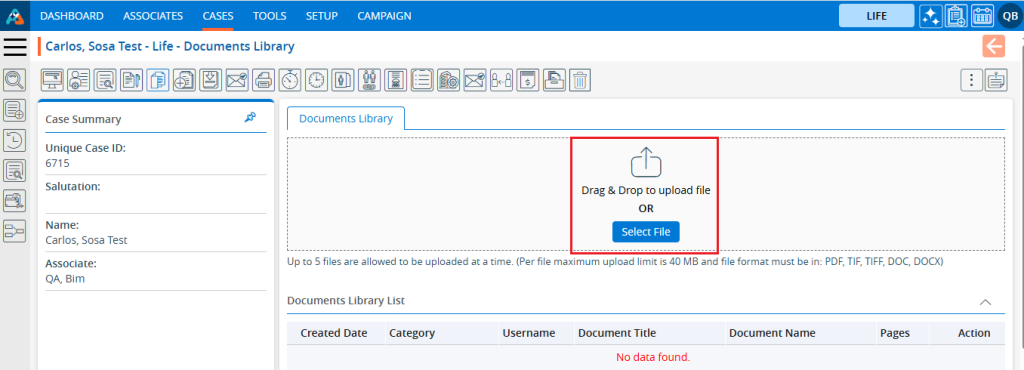
6. A file pop-up will appear. You can select documents and then click the ‘Open’ button.
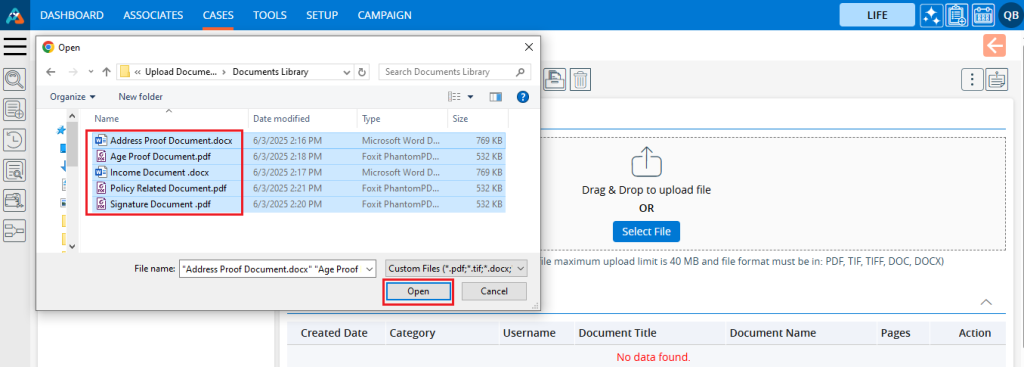
7. The selected documents will be ready for upload.
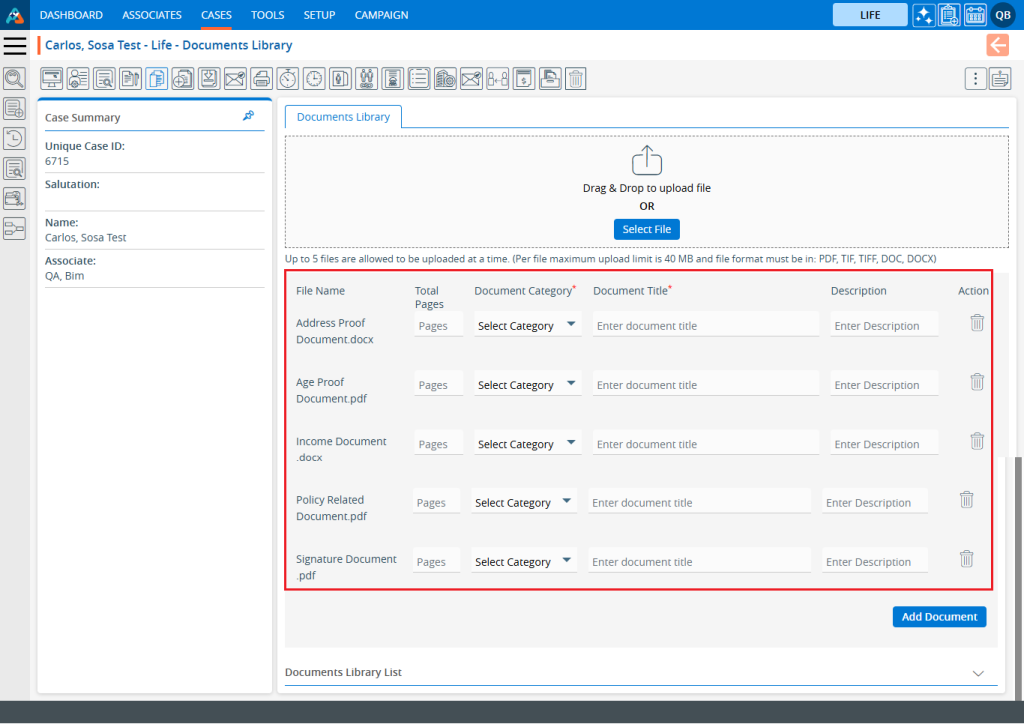
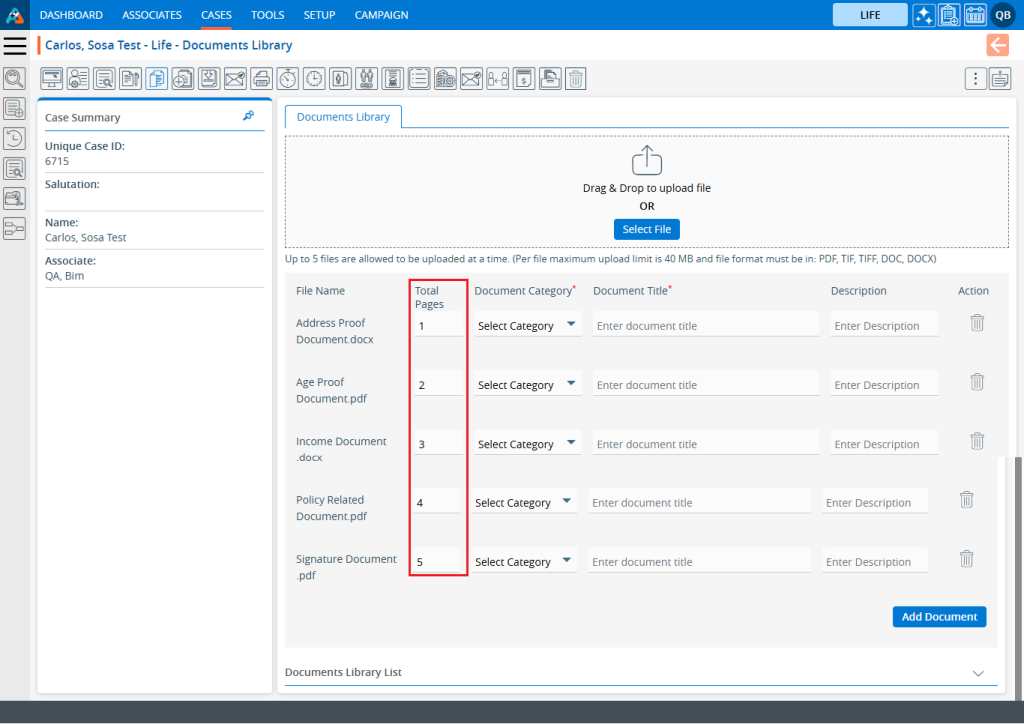
8. Add the ‘Total Pages’ field, which displays the total number of pages in the document for the selected documents. This field is optional.
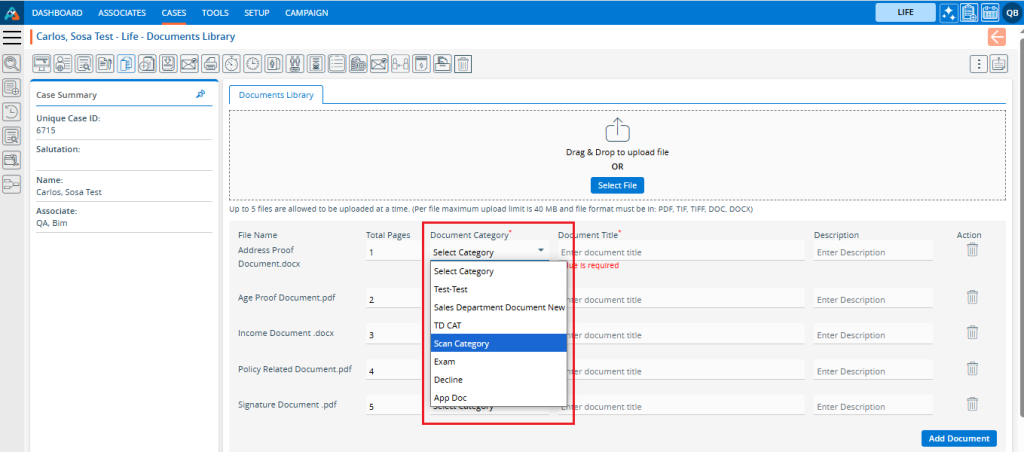
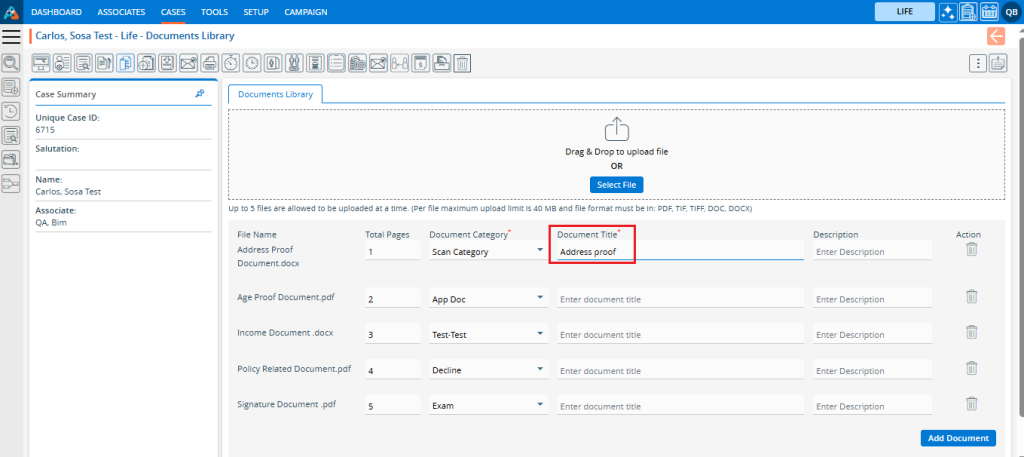
9. Select the ‘Document Category’ from the dropdown menu for the selected documents.
10. Enter the ‘Document Title’ for the selected documents.
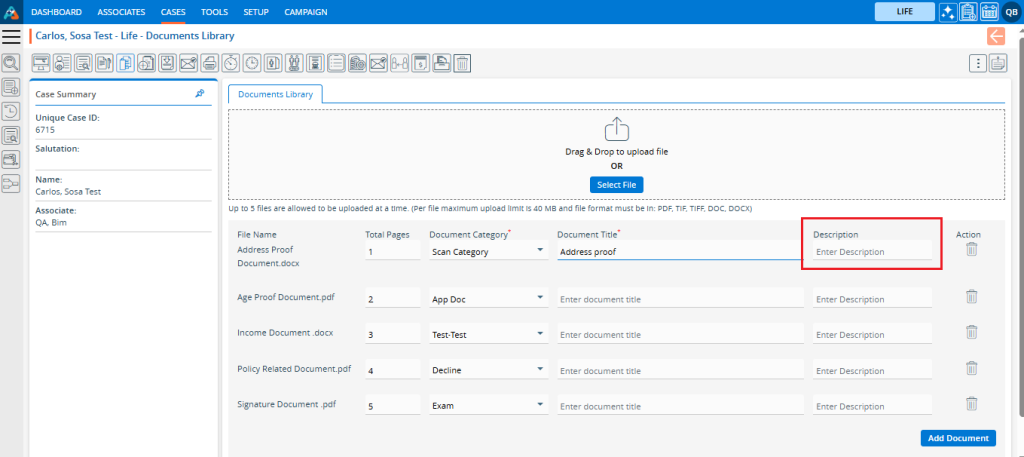
11. Provide a ‘Description’ for the selected documents. This field is also optional.
12. Enter all the information for the documents and then click on ‘Add Document’.
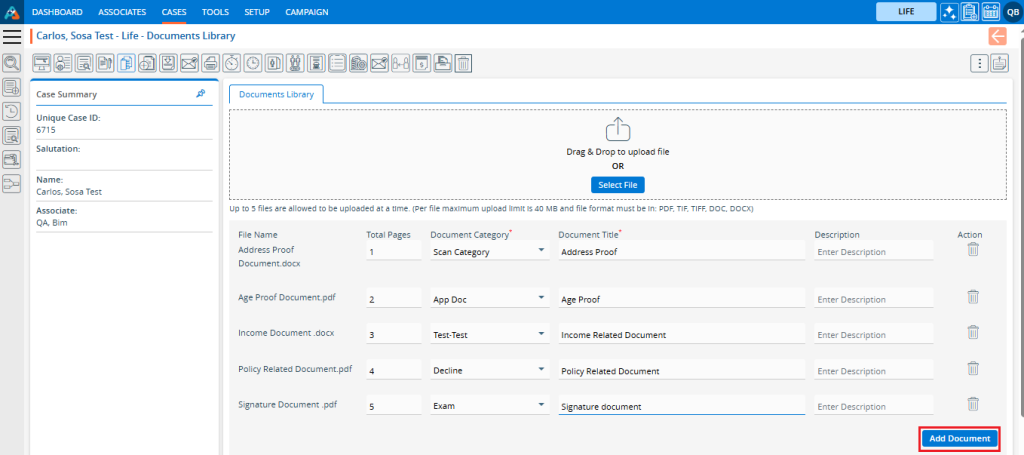
13. The selected documents will be uploaded, and a confirmation message will be displayed.

14. The documents have been added successfully and will be displayed in the listing.
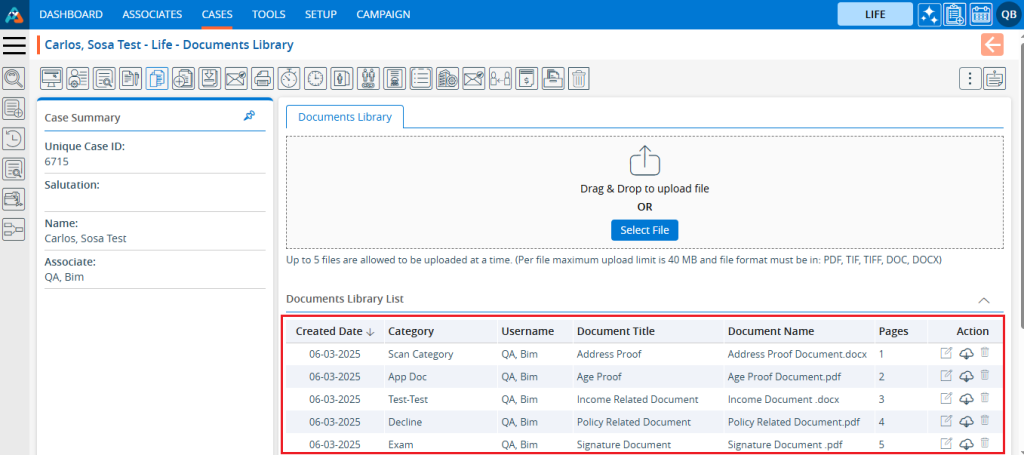
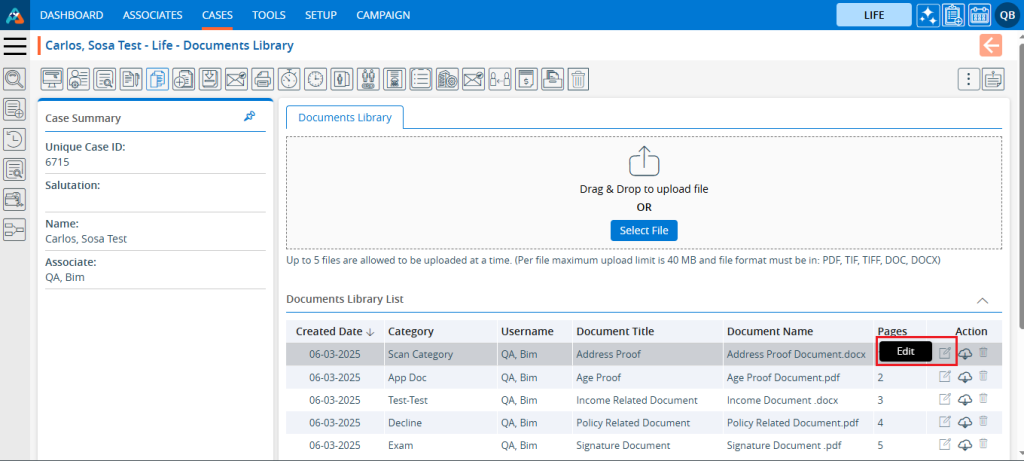
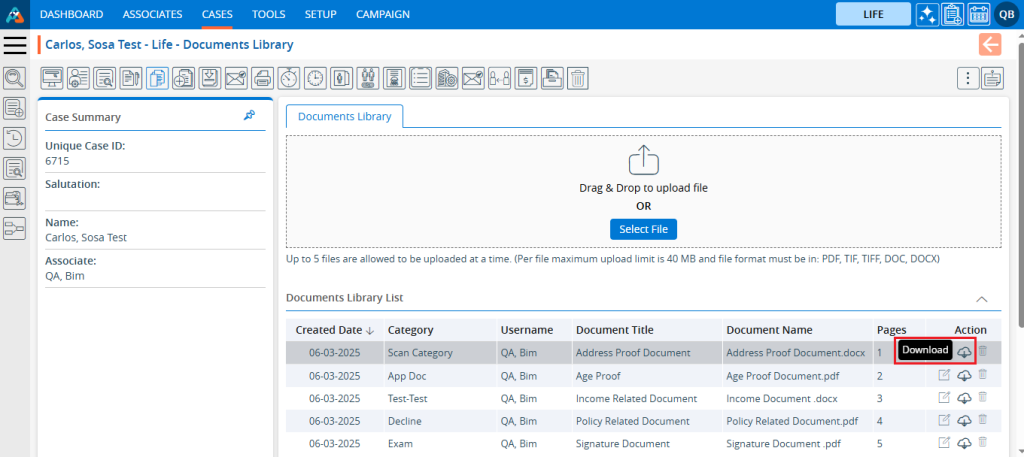
15. There are three options for the Documents Library:
- Edit
- Download
- Remove
16. Click on the ‘Edit’ icon for the document that needs updating.
17. A new pop-up page will open with the existing information for the selected document in edit mode.
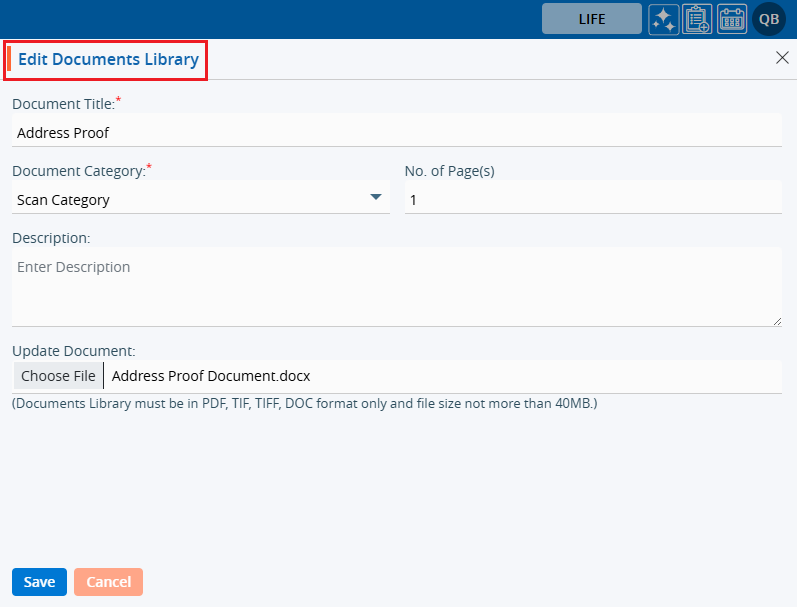
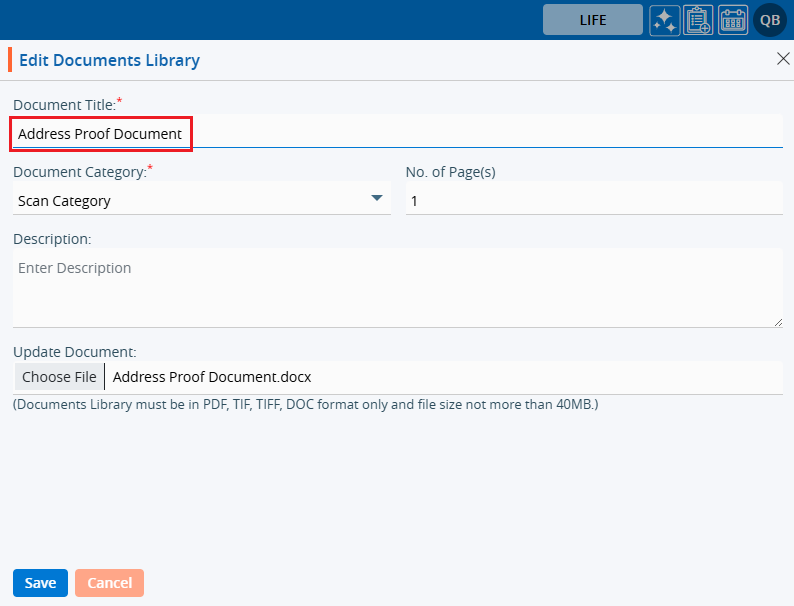
18. Update the details you want to change and click on the ‘Save’ button. For this case, we have updated the document title.
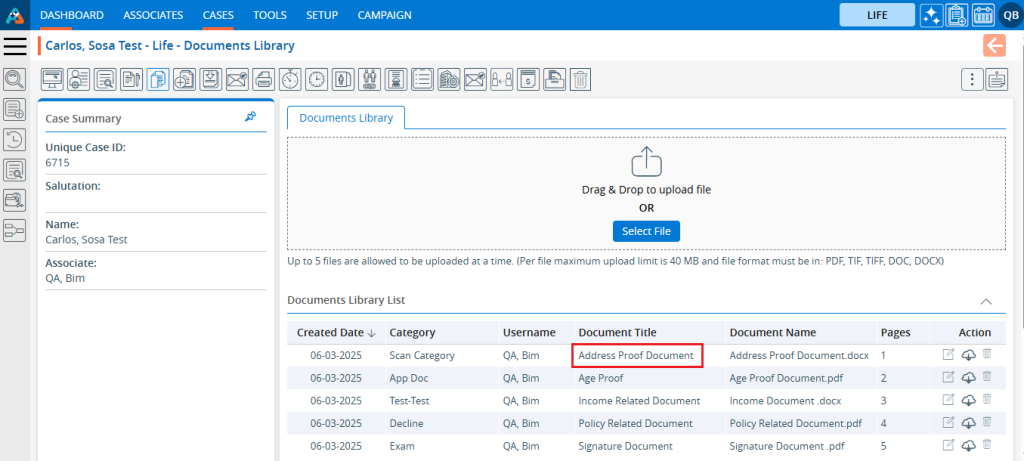
19. The document title has been updated successfully, and the updated title is reflected in the listing.

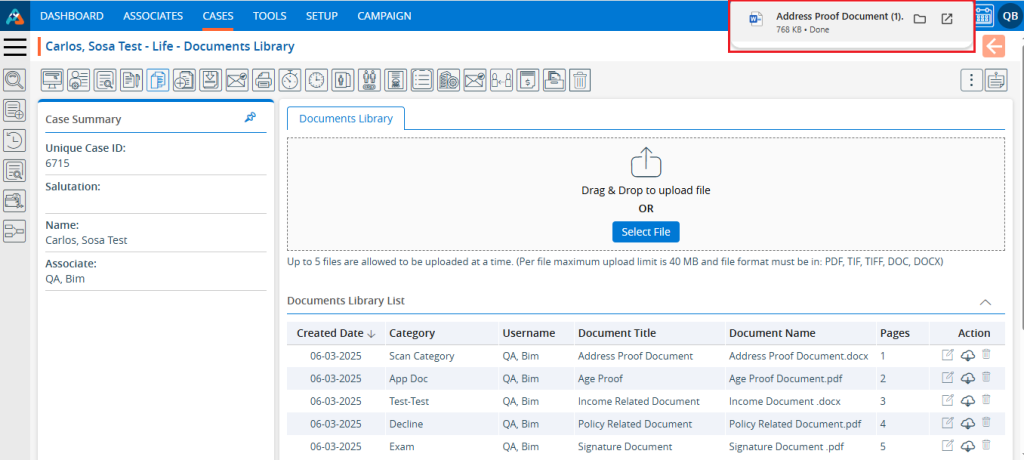
20. If users want to download the document, they can use the Download option.
21. The document will be downloaded to a temporary location.
22. If a user needs to delete the document, it can be done by clicking the ‘Remove’ button.
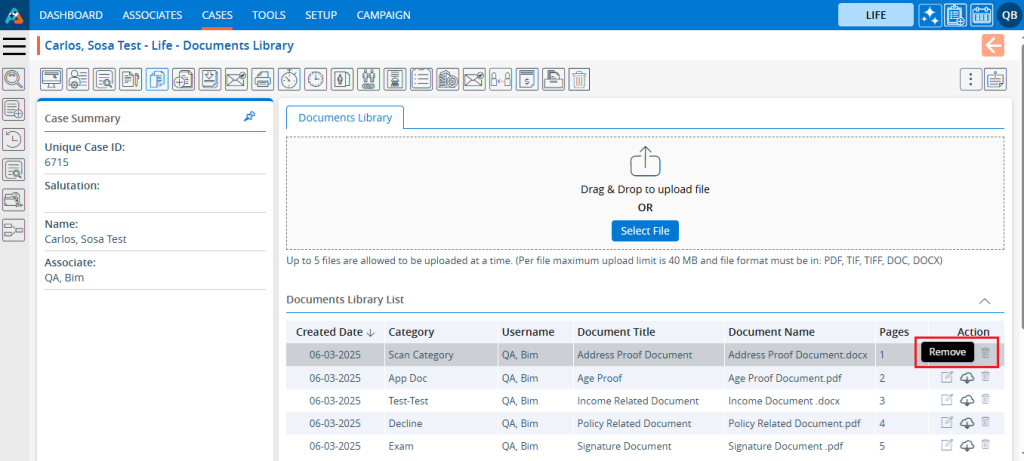
23. The system will ask to confirm before removing the document. Click on the ‘Delete’ button.
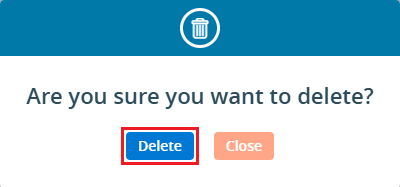
24. The system will generate a confirmation message for the deletion of the document.

25. Now the document has been deleted and will not be available in the list.