The Assignment Rules functionality automatically assigns cases to specific associates. This occurs after a particular action is performed.
The following are the steps to manage the Assignment Rules:
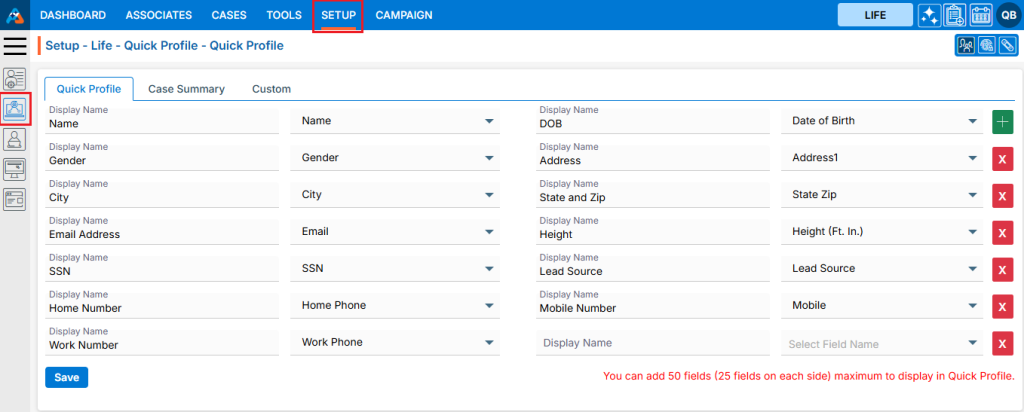
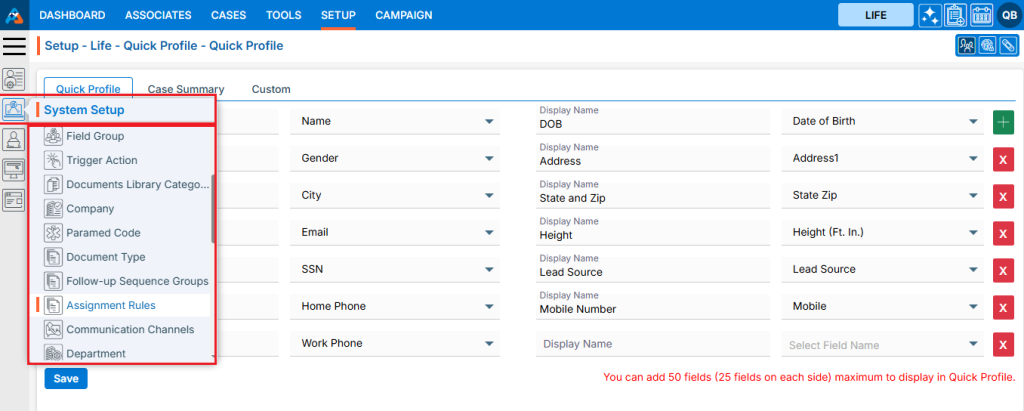
1. Navigate to the ‘SETUP’ tab and click on ‘System Setup’ from the left-side panel.
2. A pop-up bar will appear. Select the ‘Assignment Rules’ option.
3. The user can search for the ‘Assignment Rules’ by typing keywords in the search area.

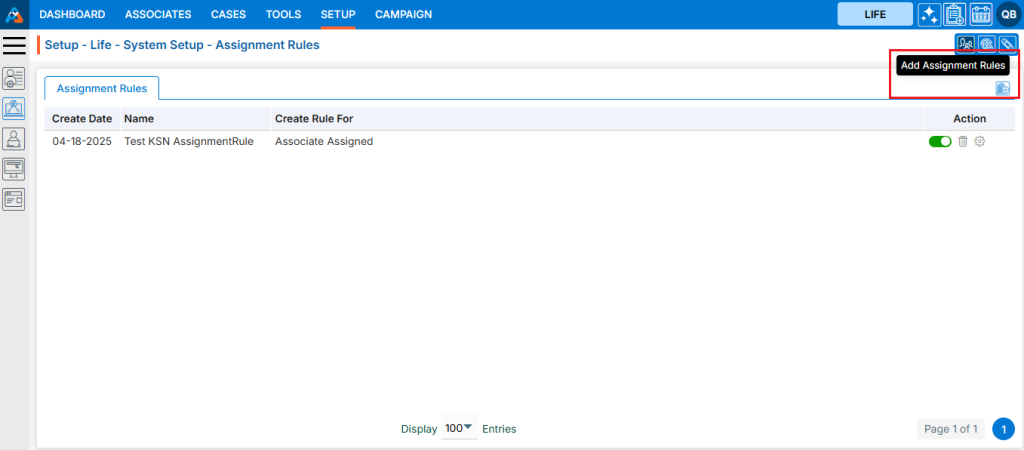
4. A new page titled ‘Setup – Life – Assignment Rules’ will open, displaying the existing Assignment Rules along with fields such as Create Date, Name, Create Rule For and Action.
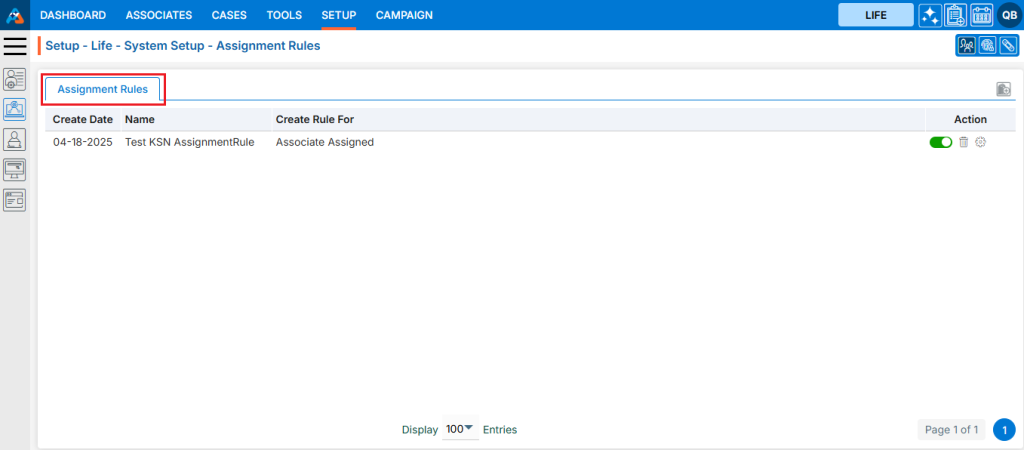
5. Click on the ‘Add Assignment Rules’ icon on the right side of the window to add a new assignment rule.
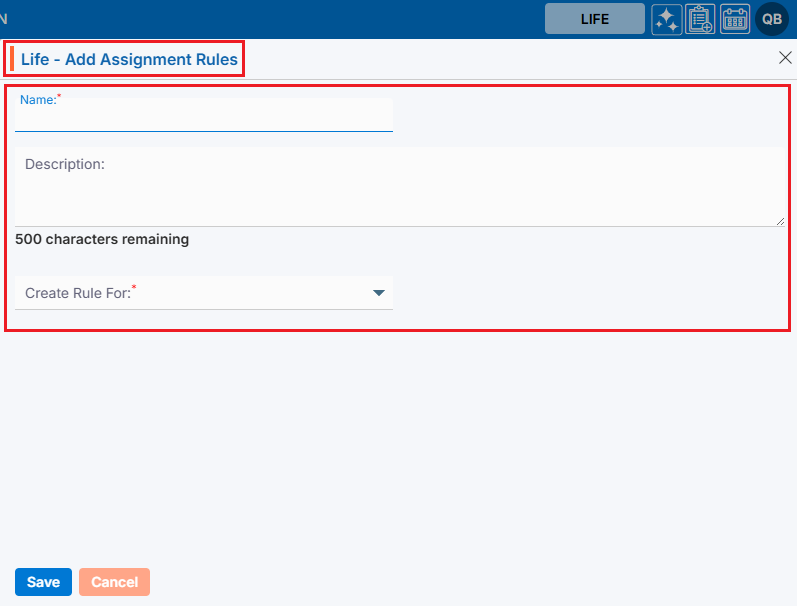
6. A new pop-up window titled ‘Life – Add Assignment Rule’ will open, containing fields such as Name, Description and Create Rule For with Save and Close at the bottom.
• Fields with an ‘*’ sign are mandatory. In this case, Name and Create Rule For are mandatory fields.
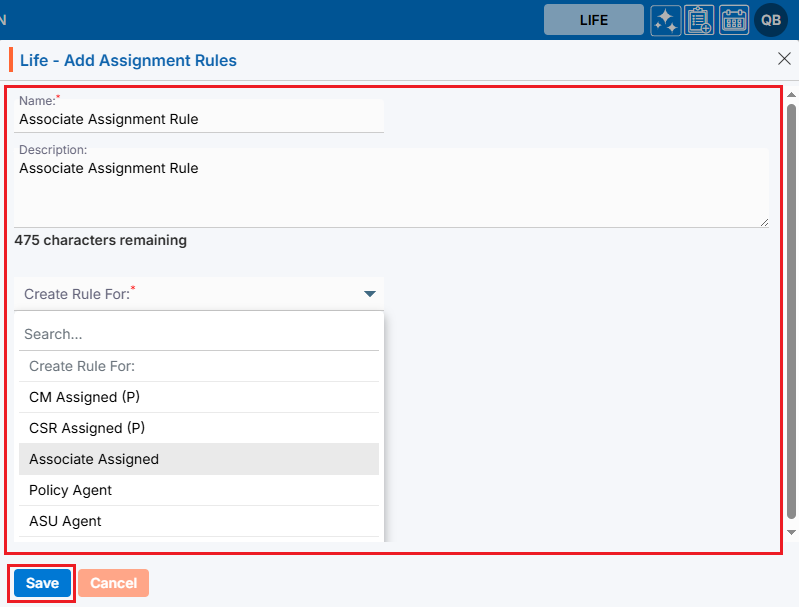
7. Fill all the fields and click on ‘Save’ button:
• Name: Enter the desired Assignment Rule Name. Assignment Rule Name field allows alphabet and space, and limit is a maximum of 30 characters.
• Description: A description for the Assignment Rule needs to be added in accordance with the Assignment Rule Action name. The limit is a maximum of 500 characters.
• Create Rule For: Select the Associate Assigned from the drop down. There are 5 options in this drop down- SM Assigned(P), CSR Assigned(P), Associate Assigned, Policy Agent and ASU Agent.
8. The system will generate a confirmation message indicating that the Assignment Rule created successfully, and the newly created Assignment Rule will now be available on the list.
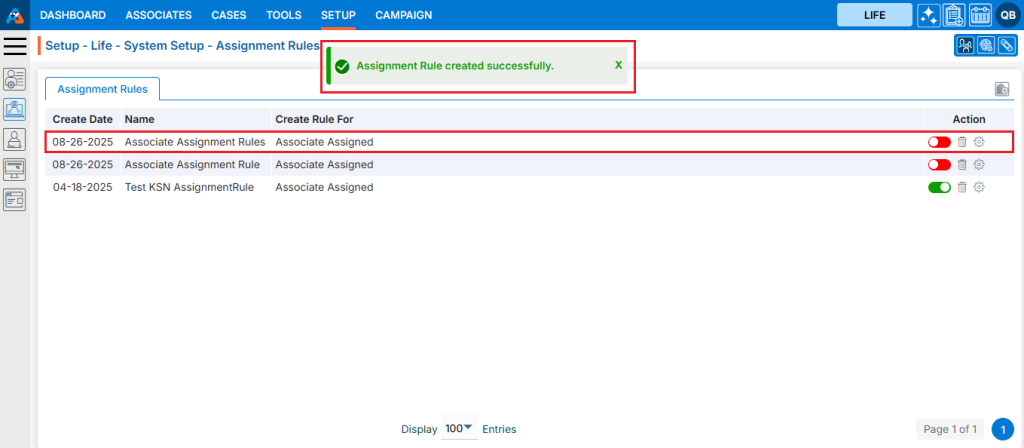
9. There are three options available for each Assignment Rule under the Action heading: Button for Disable and Enable, Delete and Manage.
• Button for Disable and Enable: The newly added Assignment Rule will have a disabled status by default. Click the button to enable the Assignment Rule, and the color will change to green once it is enabled. Until the status is enabled, the Assignment Rule will not be executed.
• Delete: By clicking on Delete, the user can remove the selected Assignment Rule.
• Manage: By clicking on Manage, the user can manage the selected Assignment Rule.
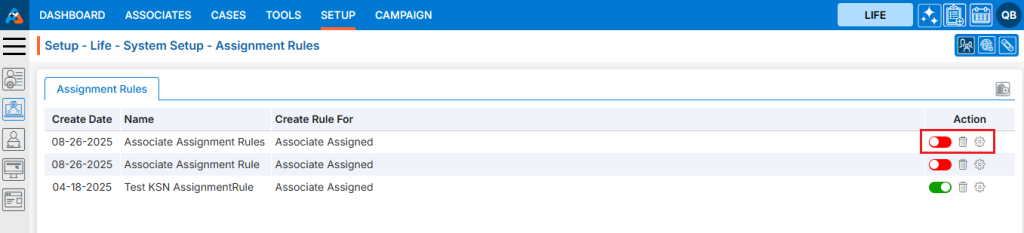
10. Click the enable/disable button to enable the Assignemnt Rule.

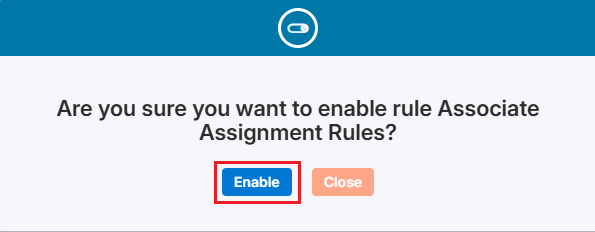
11. The system will generate a confirmation message to enable this Assignment Rule. Click on Enable.
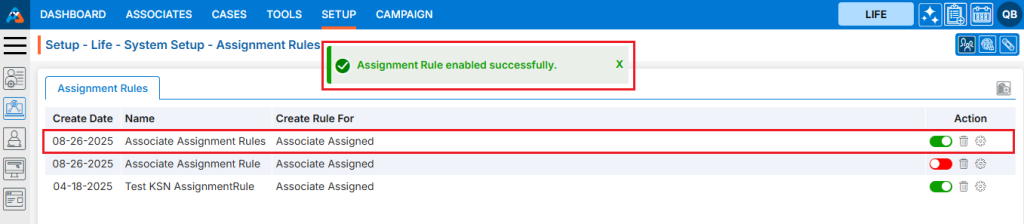
12. The system will generate a confirmation message indicating that the Assignment Rule is enabled successfully, and the color is changed to green for that Assignment Rule.
13. To remove the existing Assignment Rule, click the ‘Delete’ icon on the right-hand side of the window.
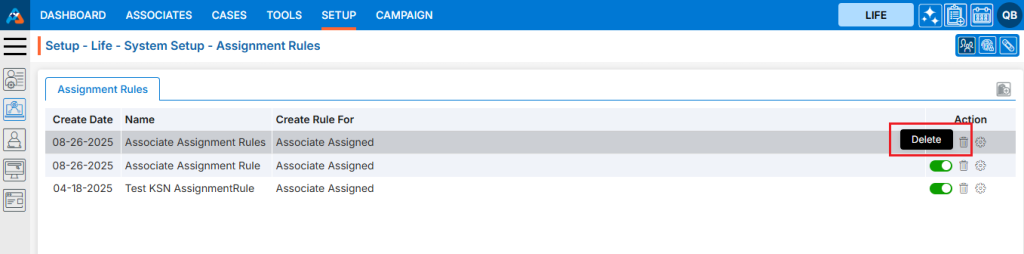
14. After clicking on Delete, the system will prompt for confirmation before deleting. Click Delete to remove the selected Assignment Rule.

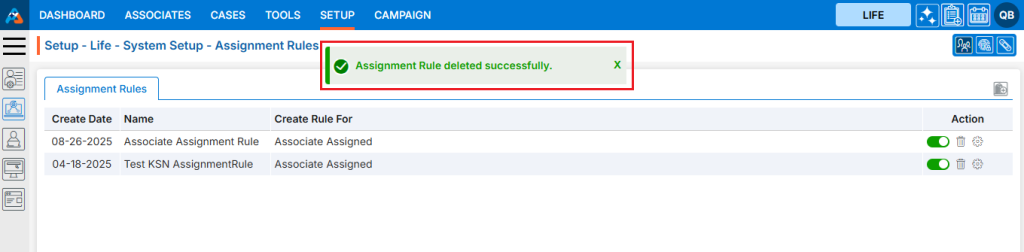
15. The system will generate a confirmation message saying, ‘Assignment Rule deleted successfully,’ and the Assignment Rule will be removed from the list.
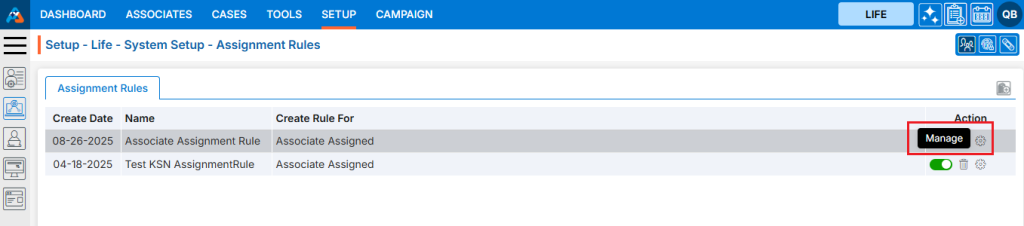
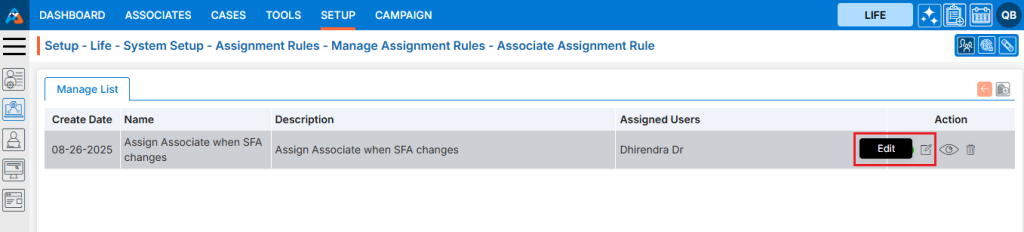
16. To manage the existing Assignment Rule, click the Manage icon on the right-hand side of the window.
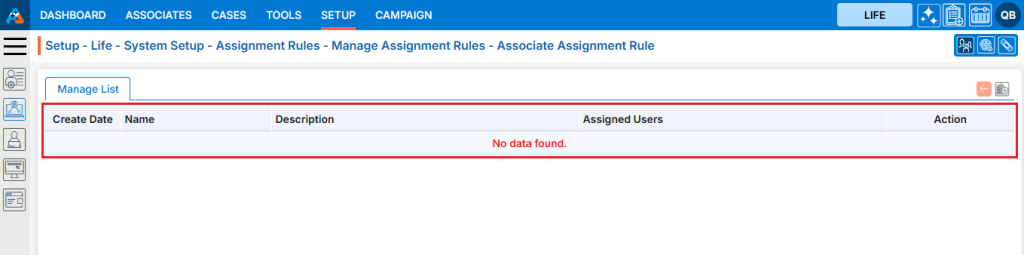
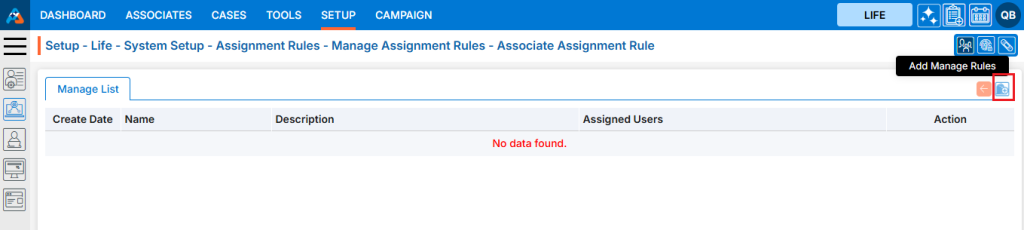
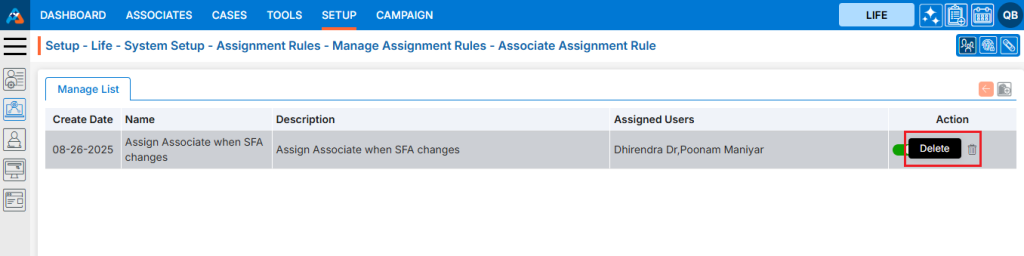
17. A new page ‘Setup – Life – System Setup – Assignment Rule – Associate Assignment Rule’ will open with fields Craete Date, Name Description, Assigned Users and Action.
18. There are four options on the right-hand side top.
• Back: The back icon is used to go back to the last page
• Add Manage Rules: Add Manage Rules is used to create new manage rule.
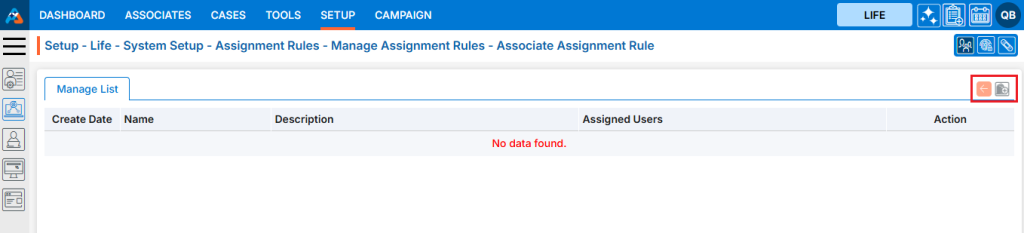
19. Click on ‘Add Manage Rules’ to create new manage rules.
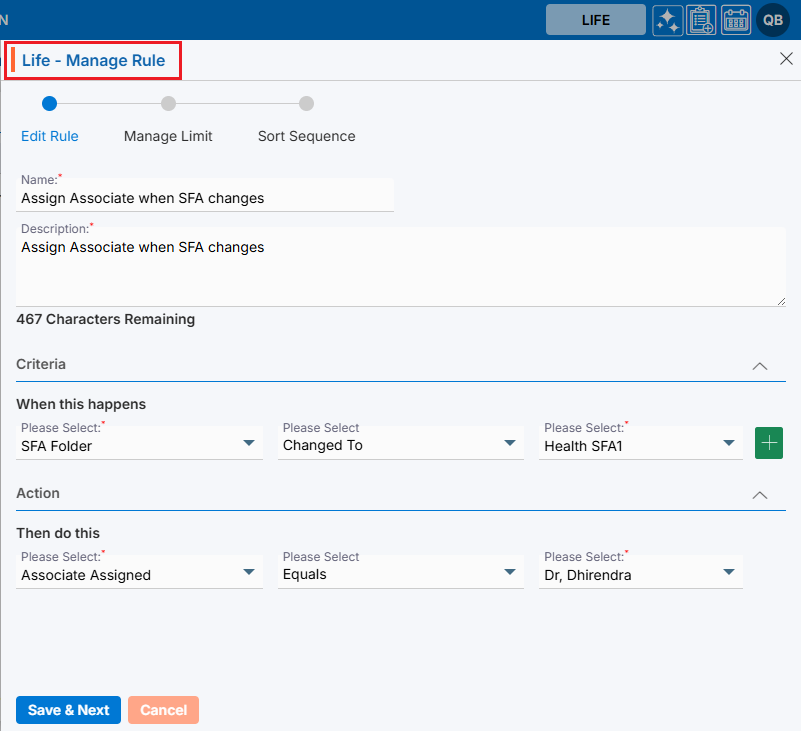
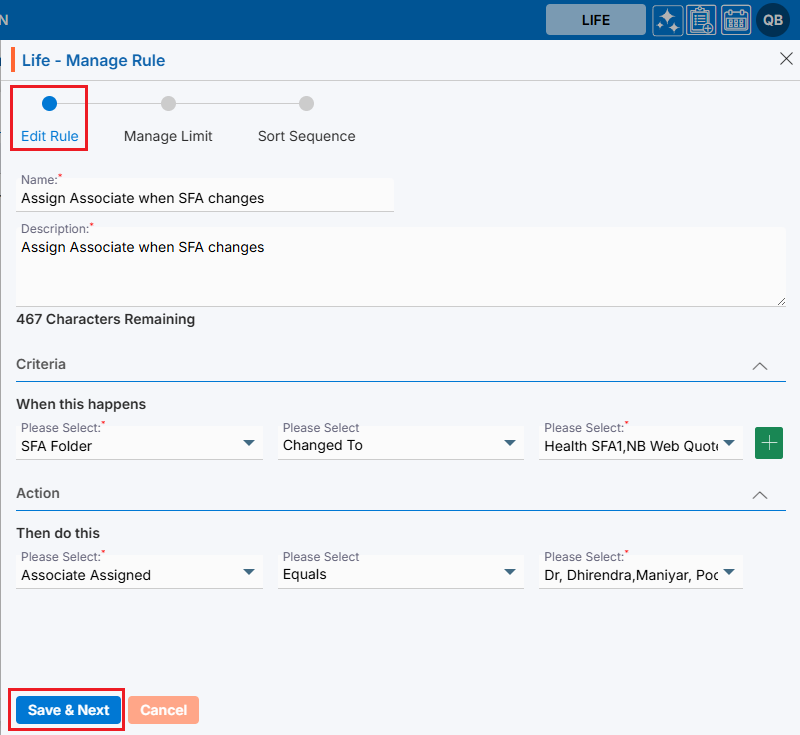
20. A new pop-up window titled ‘Life – Manage Rule’ will open, containing fields for ‘Name’ and ‘Description’, along with sections for ‘Criteria’ and ‘Action’. The Save and Cancel buttons are also available on the same page.
• Fields with an ‘*’ sign are mandatory. In this case, Manage Rule Name, Description, all fields of Criteria section and all fields of Action section are mandatory fields.
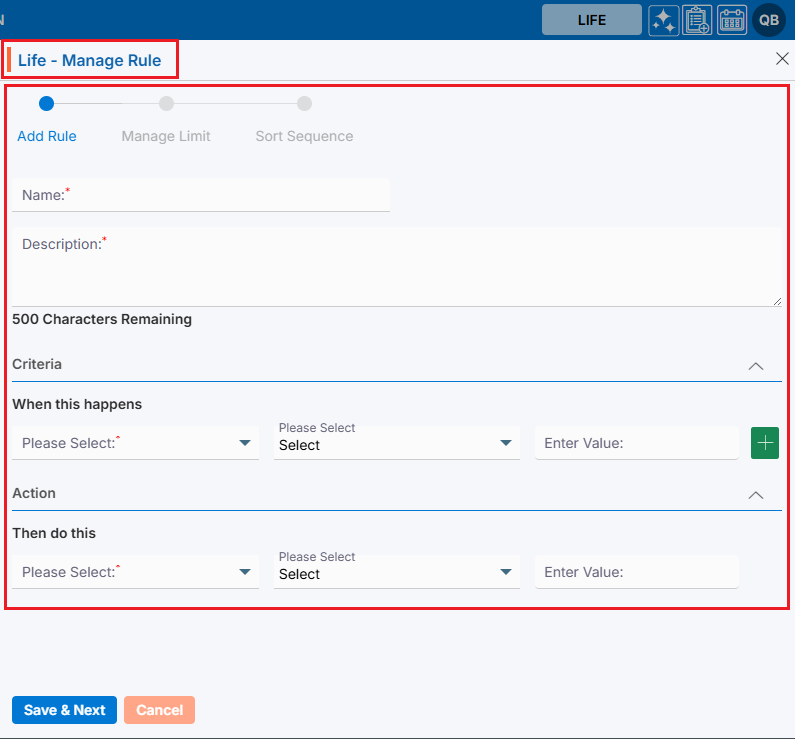
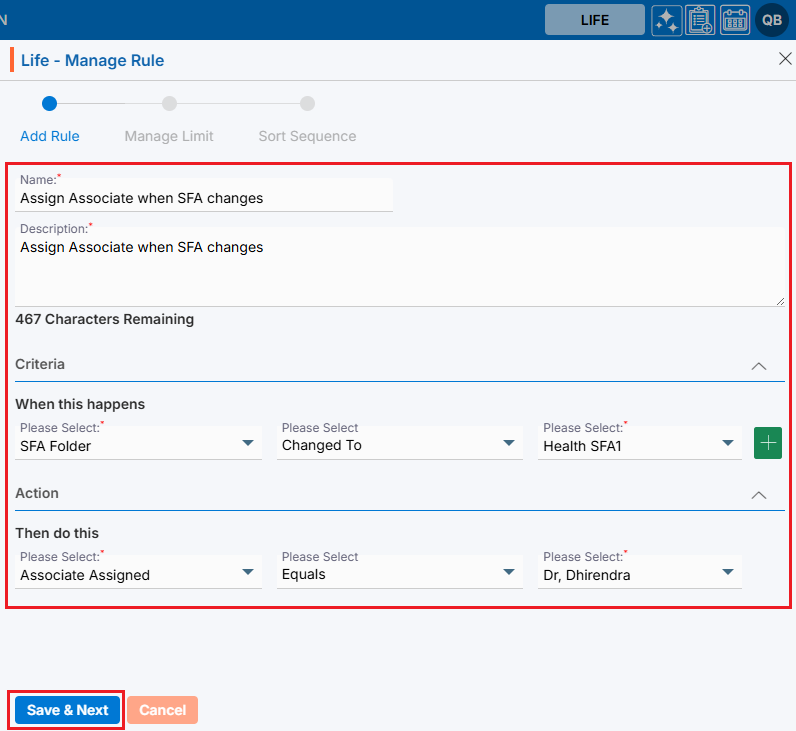
21. All fields on this page are mandatory. Please fill in the details on this pop-up page and click on ‘Save $ Next’.
• Name: Enter the desired Assignment Rule Action name. [Assignment Rule Name field allows alphabet, number, space and following symbol: -_’& only] and (Limit is a maximum of 50 characters)
• Description: A description for the Assignment Rule Action needs to be added in accordance with the Assignment Rule Action name. (Limit is a maximum of 500 characters)
• Criteria: Add the criteria as per the requirement.
• Action: Add the criteria as per the requirement.
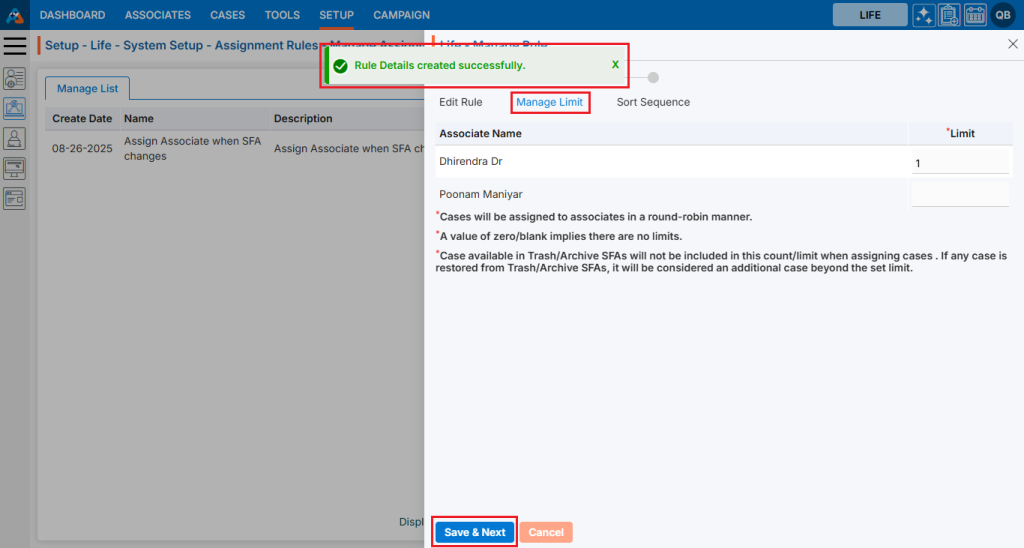
22. There will be a confirmation message that ‘Rule is created successfully.’ And the newly created rule will be seen in the list. The user will be moved to next page ‘Manage Limit’.
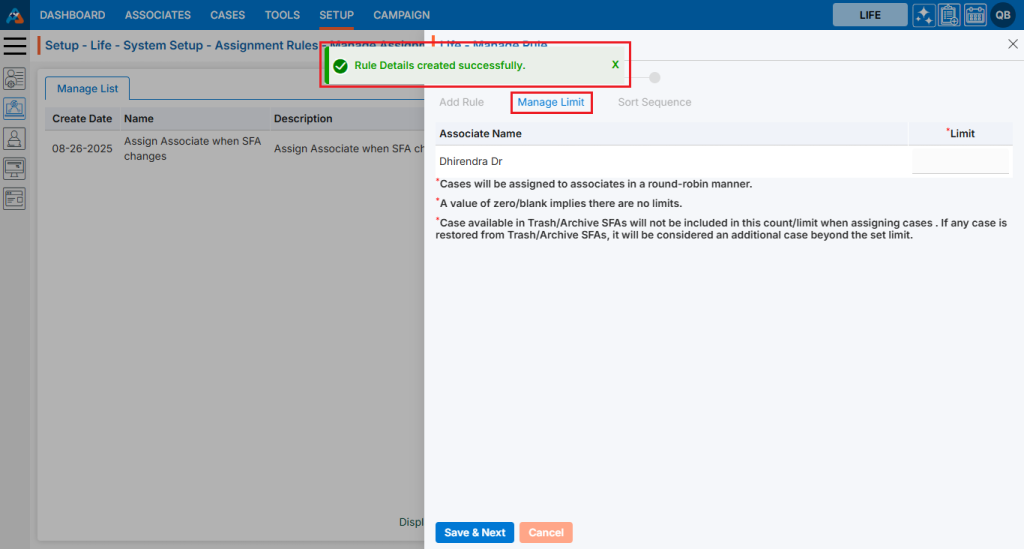
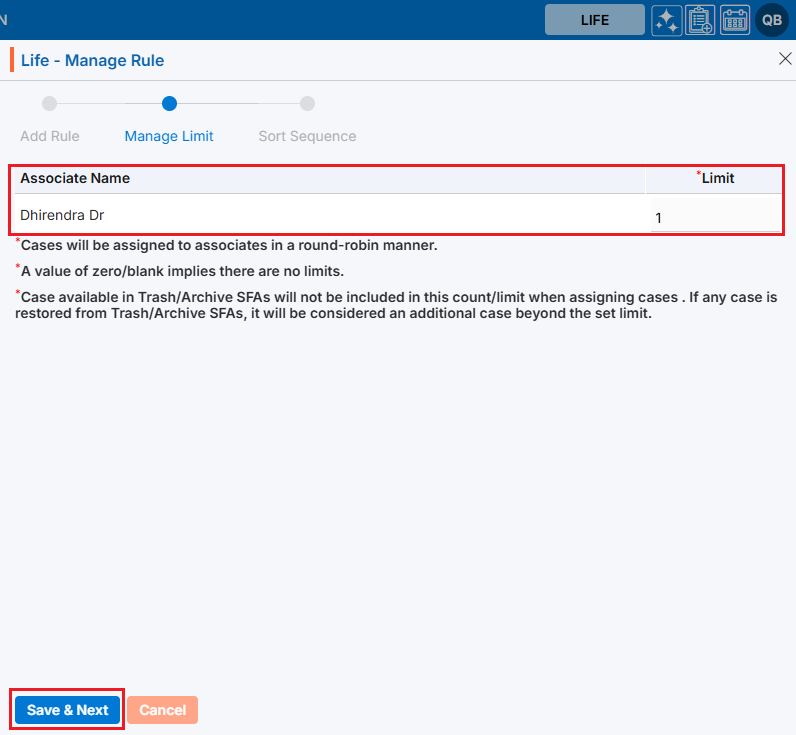
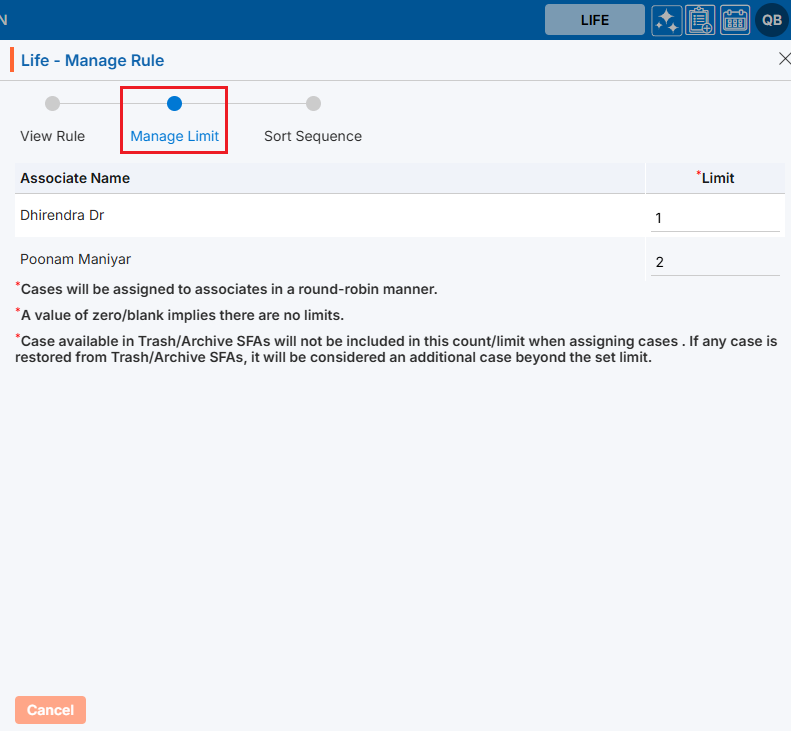
23. Add the limit of contacts for all the associates and click on ‘Save & Next’.
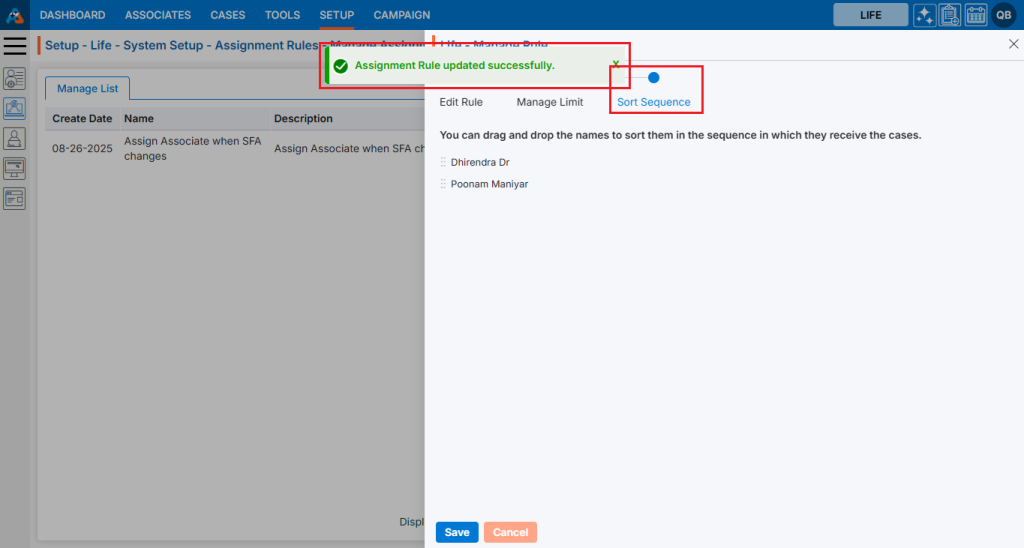
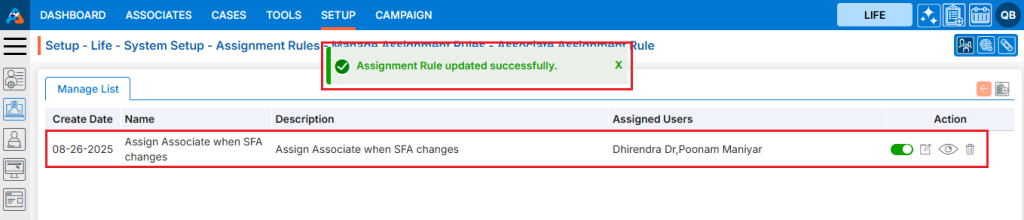
24. There will be confirmation message ‘Assignment Rule updated successfully.’ The user will be moved to next page ‘Sort Sequence’.
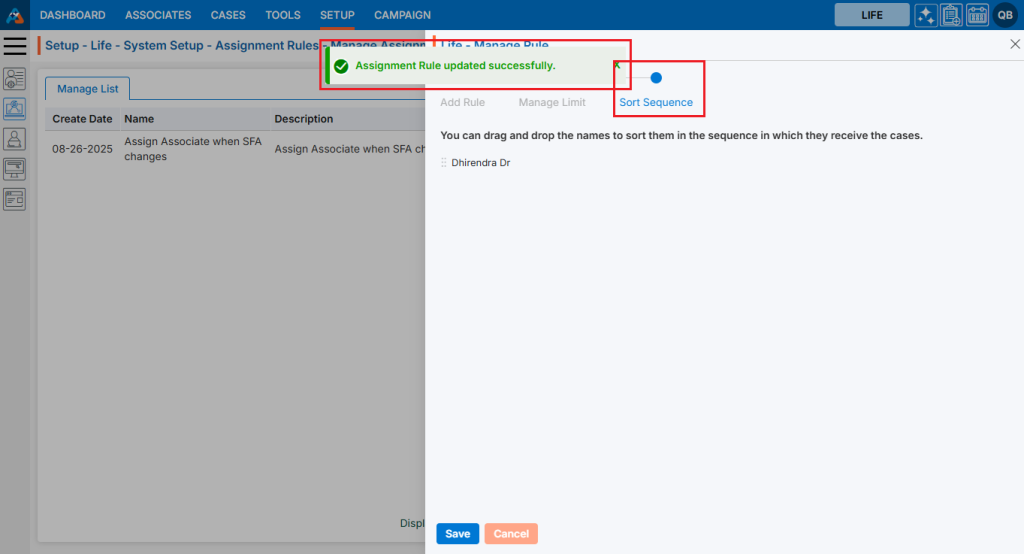
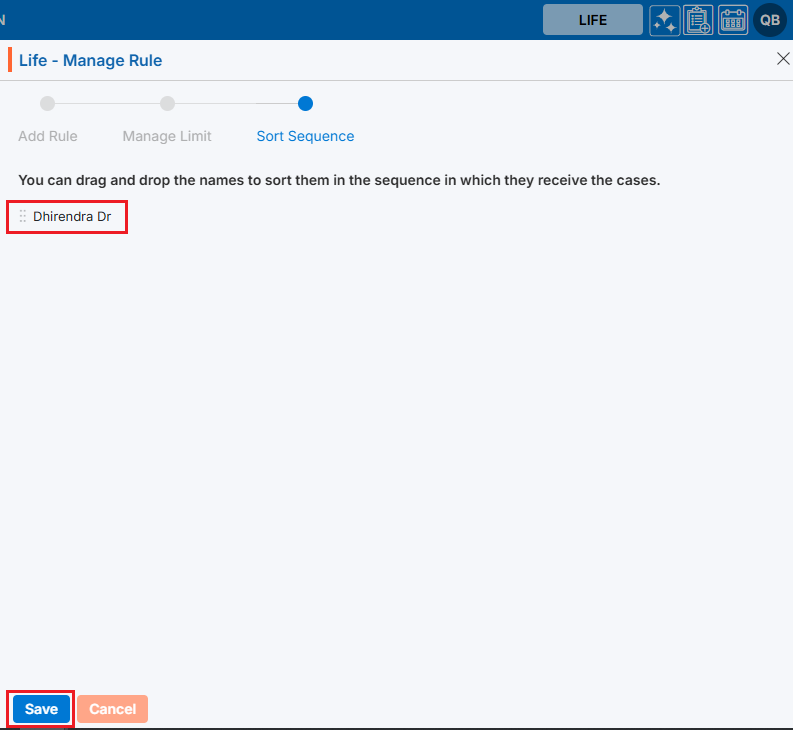
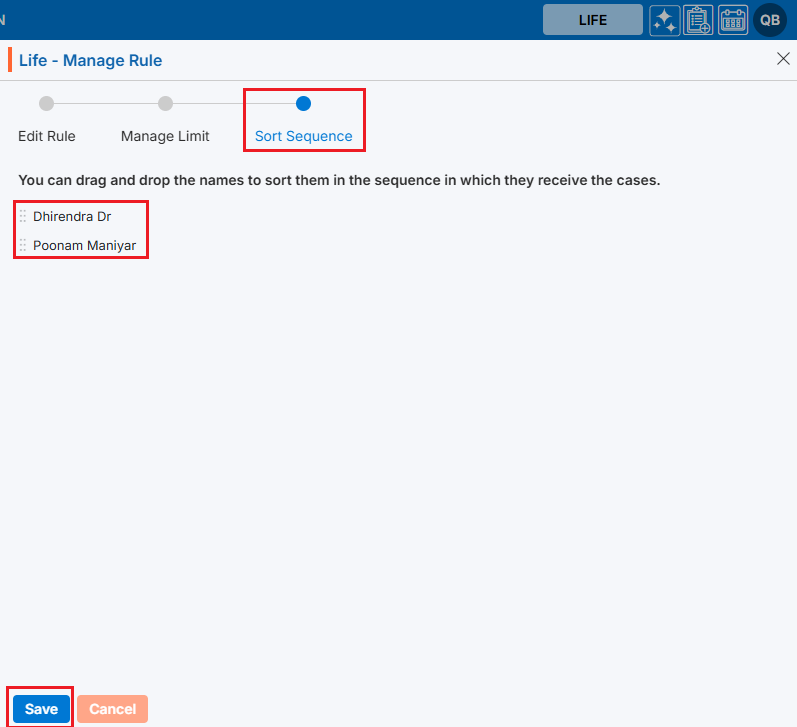
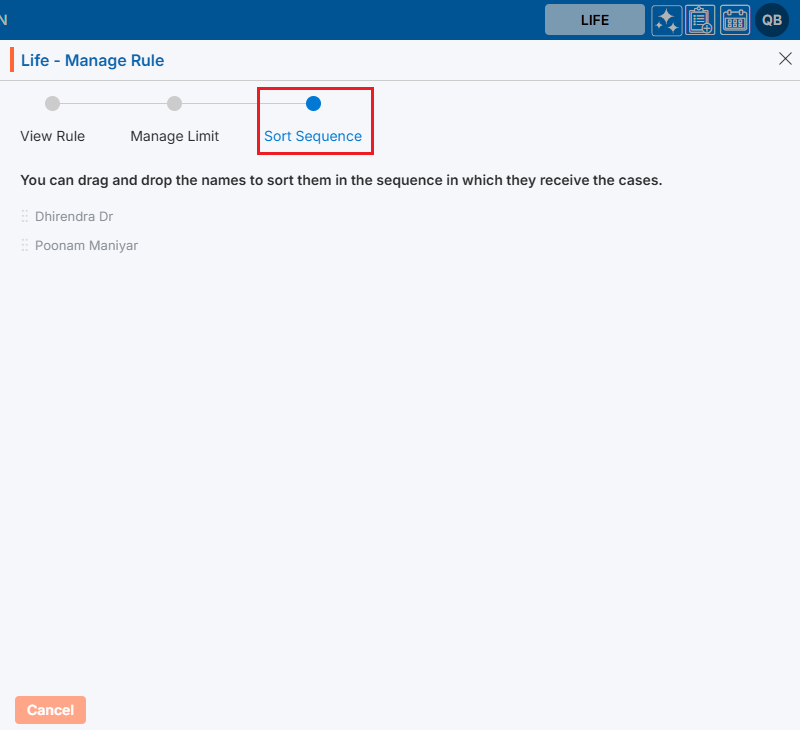
25. The user can change the sequence as per the requirement.
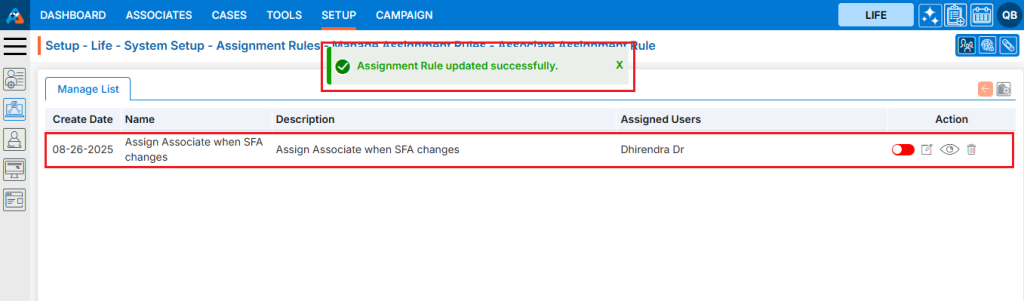
26. The Assignment rule is updated successfully and shown in the list.
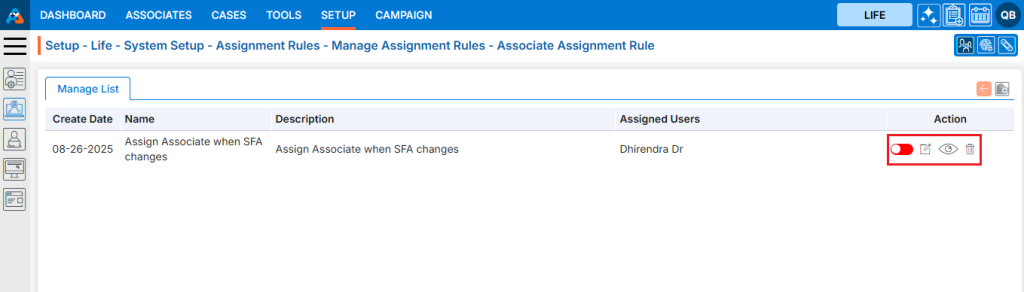
27. There are four options available for each Manage Rule under the Action heading: Button for Disable and Enable, Edit, View, and Delete.
• Button for Disable and Enable: The newly added Manage Rule will have a disabled status by default. Click the button to enable the Manage Rule, and the color will change to green once it is enabled. Until the status is enabled, the Manage Rule will not be executed.
• Edit: By clicking on the Edit button, the user can update the existing Manage Rule.
• View: By clicking on the View button, the user can view the Manage Rule.
• Delete: By clicking on Delete, the user can remove the selected Manage Rule.
28. Click the enable/disable button to enable the Manage Rule.
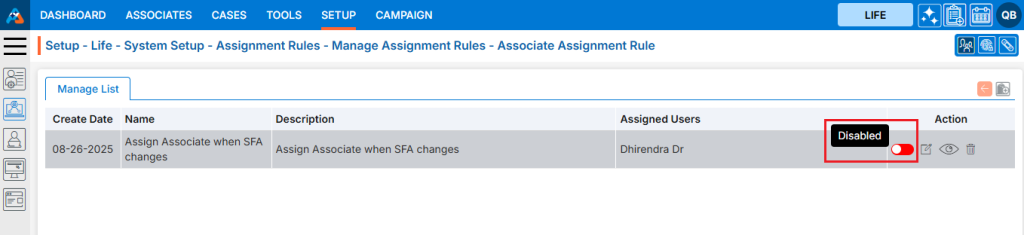
29. The system will generate a confirmation message to enable this Assignment Rule. Click on Enable.

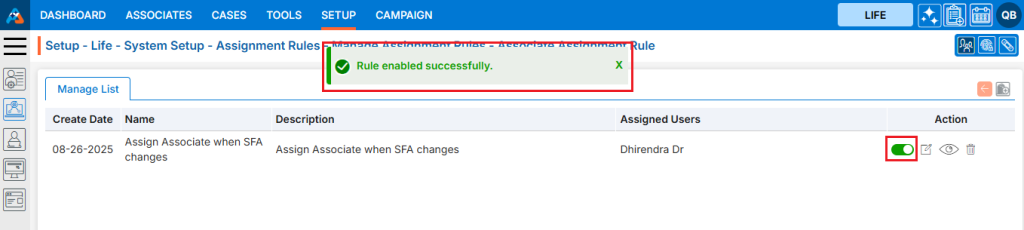
30. The system will generate a confirmation message indicating that the Assignment Rule is enabled successfully, and the color is changed to green for that Assignment Rule.
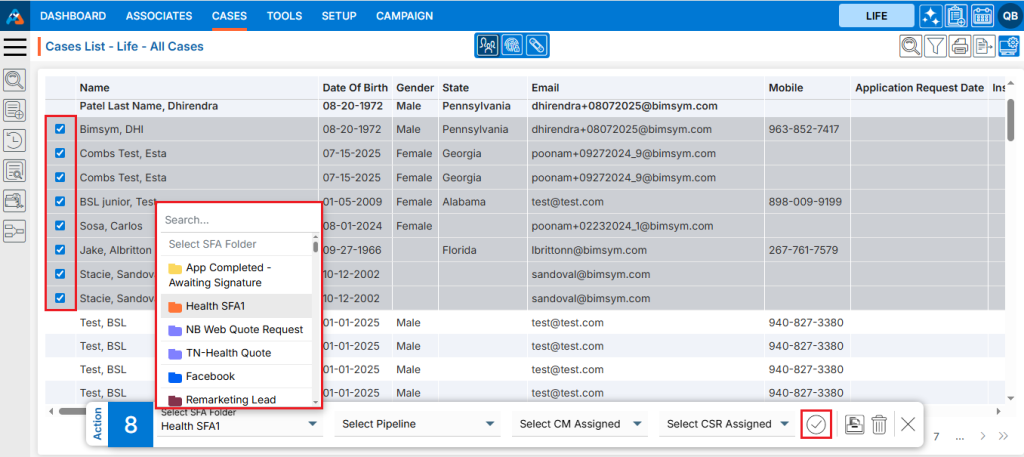
31. Go to the ‘CASES’.
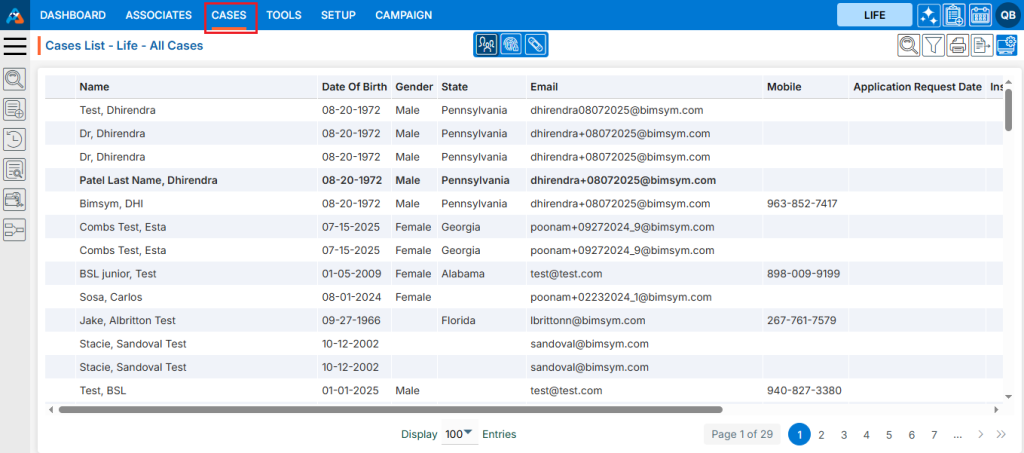
32. Select the cases for which the user needs to assign the associates. The action bar will open select the SFA and click on the OK button.
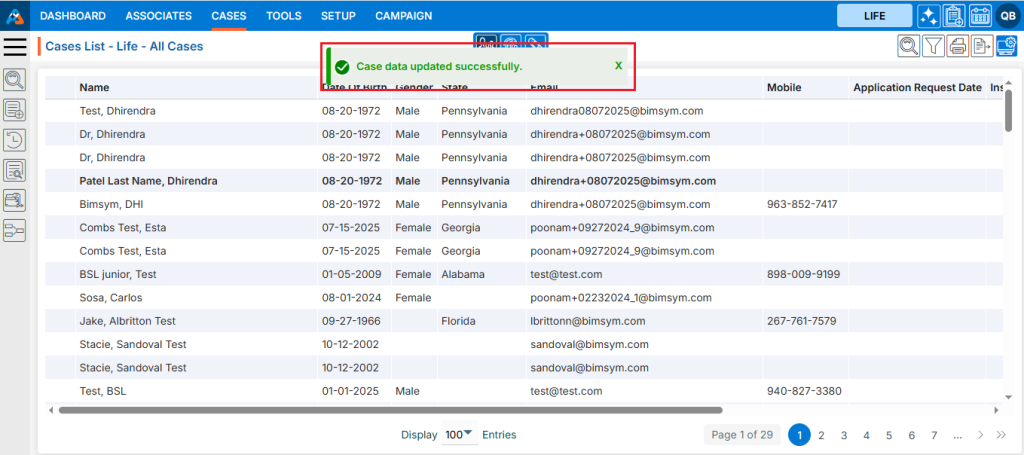
33. There will be a confirmation message ‘Cases data updated successfully.’ The cases are assigned as per the assignment rule setup.
34. Click on the ‘Edit’ icon to update the existing Manage Rule.
35. The pop-up window ‘Life – Manage Rule’ will open.
36. The user can update the required field on the Add Rule page and click on Save & Next.
37. There will a confirmation message ‘Rule Details updated successfully.’ The user can update the required field on the Manage Limit page and click on Save & Next.
38. There will a confirmation message ‘Rule Details updated successfully.’ The user can update the required field on the Manage Limit page and click on Save & Next.
39. The user can update the required field on the Sor Sequence page and click on Save.
40. There will be a confirmation message ‘Assignment Rule updated successfully.’
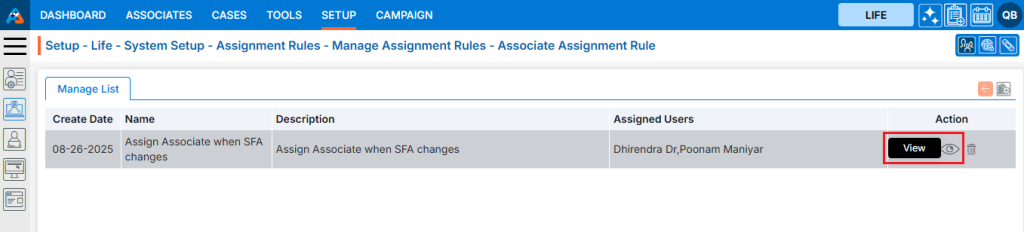
41. To view the Manage Rule, the user need to click on the ‘View’ icon.
42. The user can view the Manage Rule and to view the other pages click on the Manage Limit.

43. The Manage Limit page will be opened. Click on Sor Sequence to view the sequence.
44. The Sort Sequence page will be opened. Click on the ‘Cancel’ button to close the window.
45. To remove the existing Manage Rule, click the Delete icon on the right-hand side of the window.
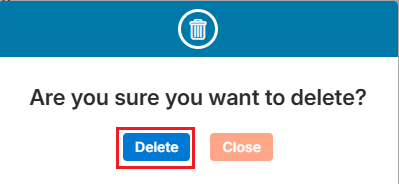
46. After clicking on Delete, the system will prompt for confirmation before deleting. Click Delete to remove the selected Manage Rule.
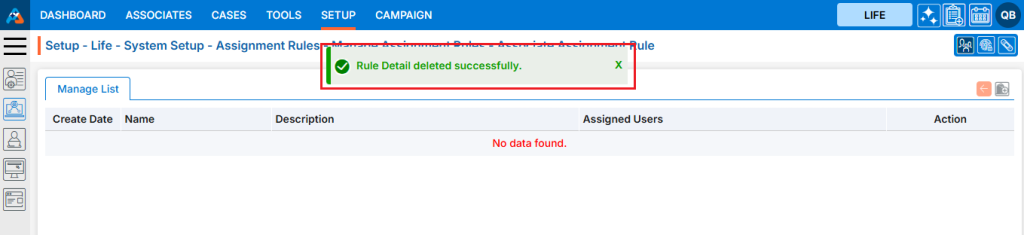
47. The system will generate a confirmation message saying, ‘Assignment Rule deleted successfully,’ and the Manage Rule will be removed from the list.