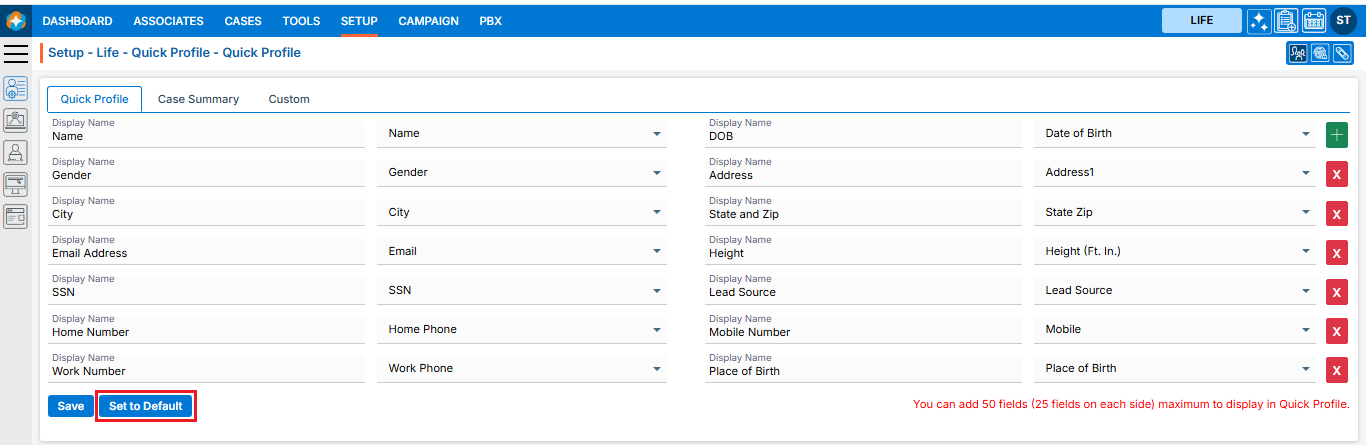
Quick Profile setup typically includes selecting and arranging predefined fields to create a basic yet functional profile layout. The goal of the Quick Profile Setup is to simplify the process of setting up profiles by providing default fields and allowing easy customization based on user needs, ensuring efficiency and consistency across cases or records.
Quick Profile Setup
- Sign in to AgentFront CRM
- From the top menu, choose SETUP
- Setup > Quick Profile > Cases Quick Profile setup page will open by default
- This page will display the default Cases Quick Profile setup, including the field display name and the selected field from the dropdown
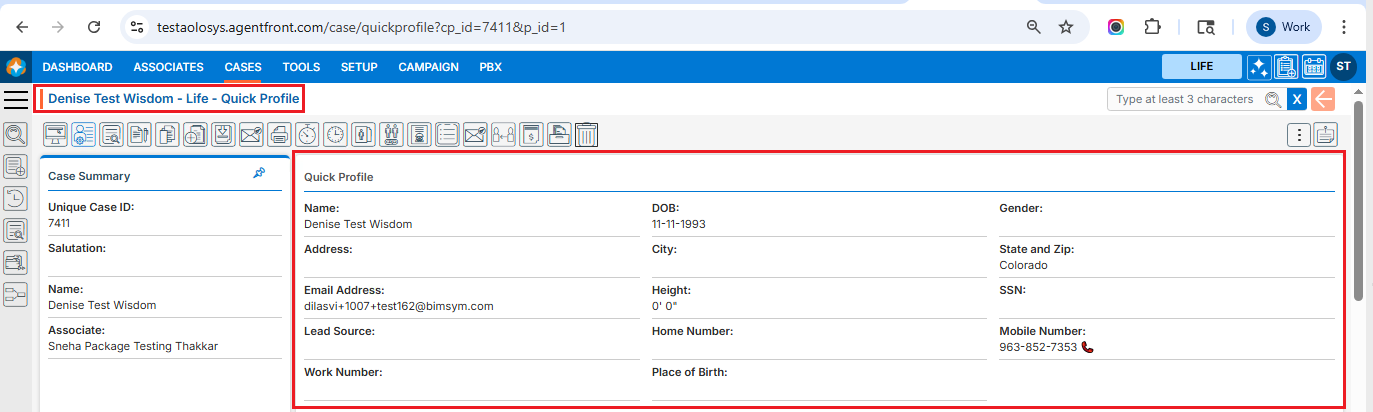
- This quick profile setup will be reflected in CASES > Individual Case > Quick Profile
- Users can add a new field by using the (+) sign, which is displayed in green
- Users can remove the existing field by using the (x) sign, which is displayed in red color
- Users can also edit the existing field(s) that have already been set up
- Once the add/edit action has been taken, click on ‘Save‘
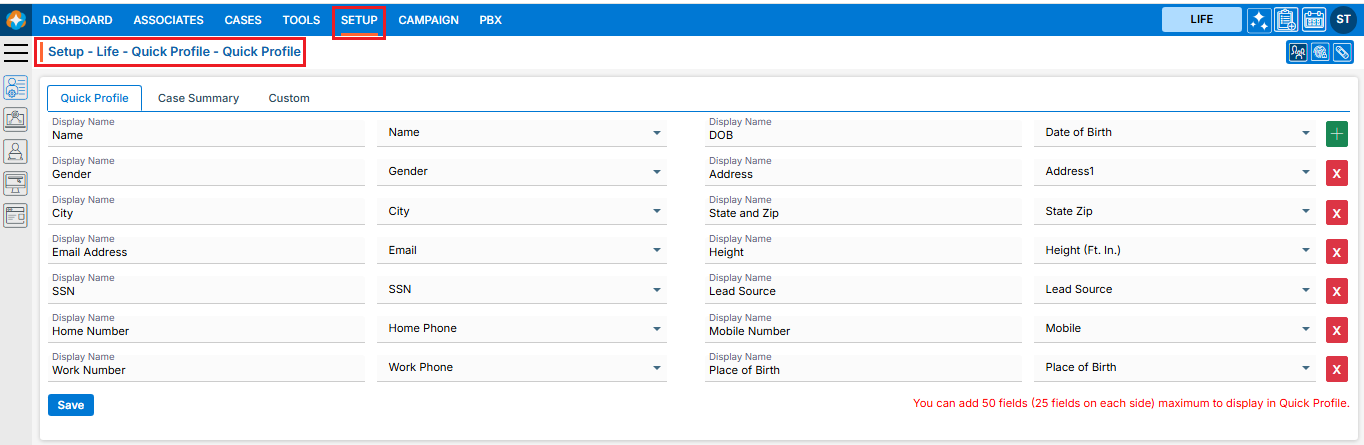
- This updated quick profile setup will be reflected in CASES > Individual Case > Quick Profile
Restore Quick Profile Setup
- The ‘Set to Default‘ option will restore the default quick profile setup and will be reflected in CASES > Individual Case > Quick Profile