Quick Task manages tasks that need to be done on a routine basis.
The following are the steps to perform a Quick Task:
1. Navigate to the ‘CASES’ tab where you’ll find the ‘Cases List – All Cases’.
2. Click on a case to proceed.

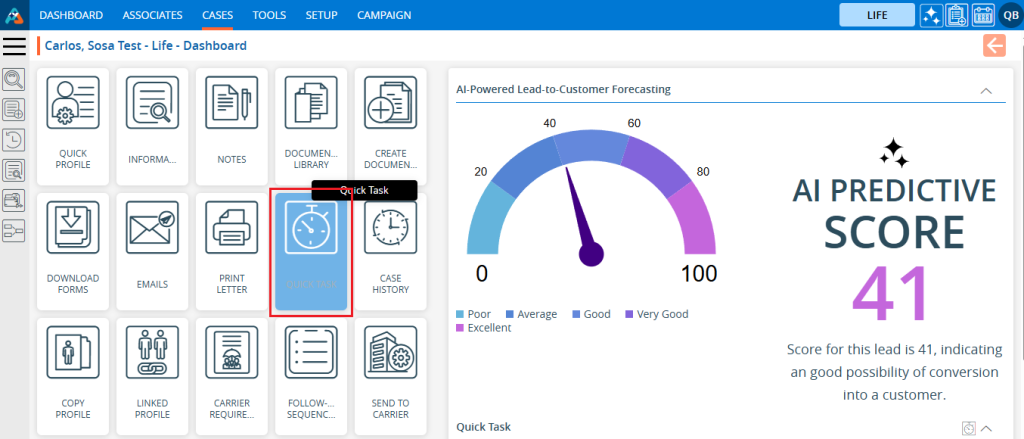
3. After clicking on a case, the ‘Dashboard’ will open. Click on the ‘QUICK TASK’ option.
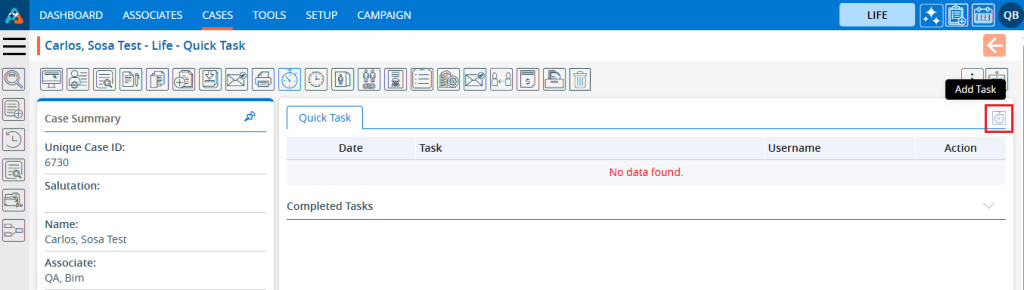
4. The Quick Task page will open. Click on the ‘Add Task’ icon.
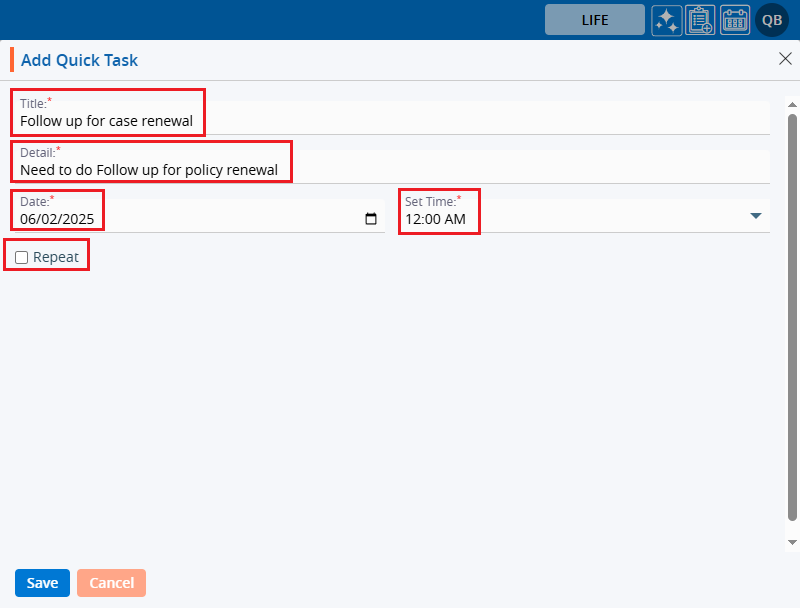
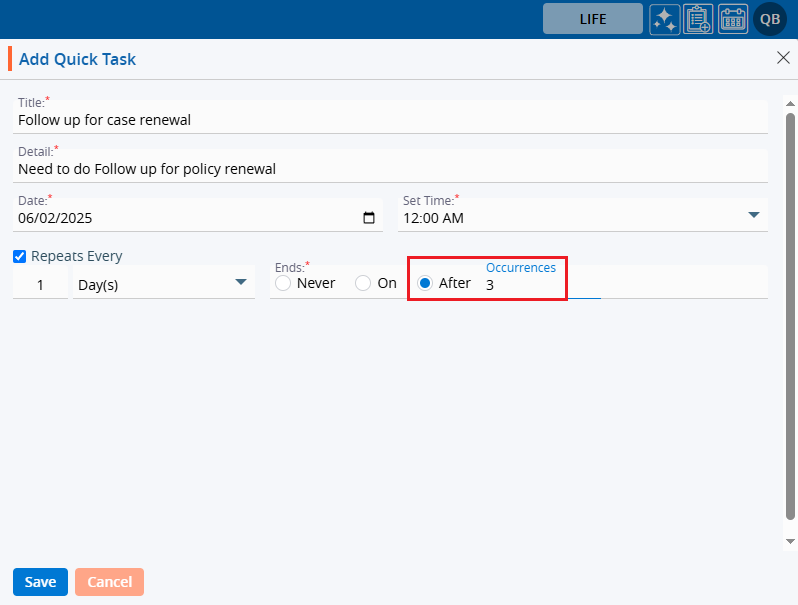
5. A new pop-up window ‘Add Quick Task’ will open.
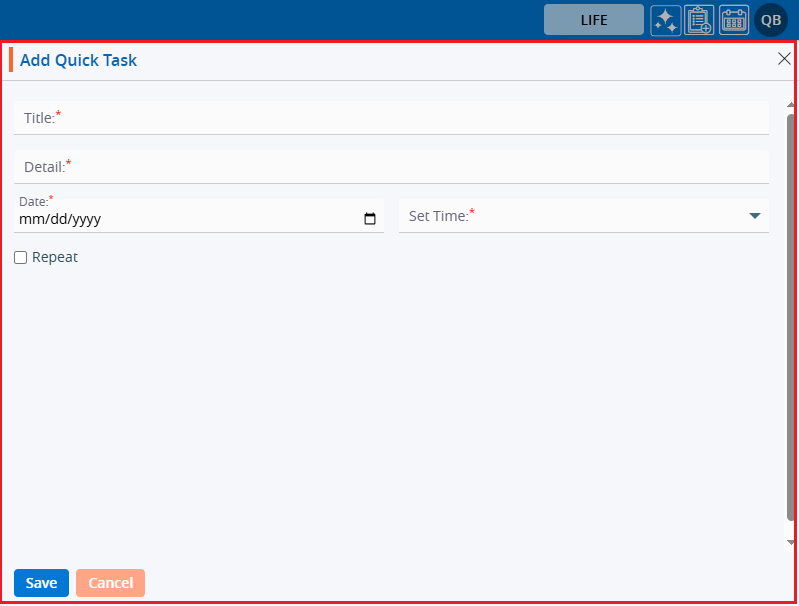
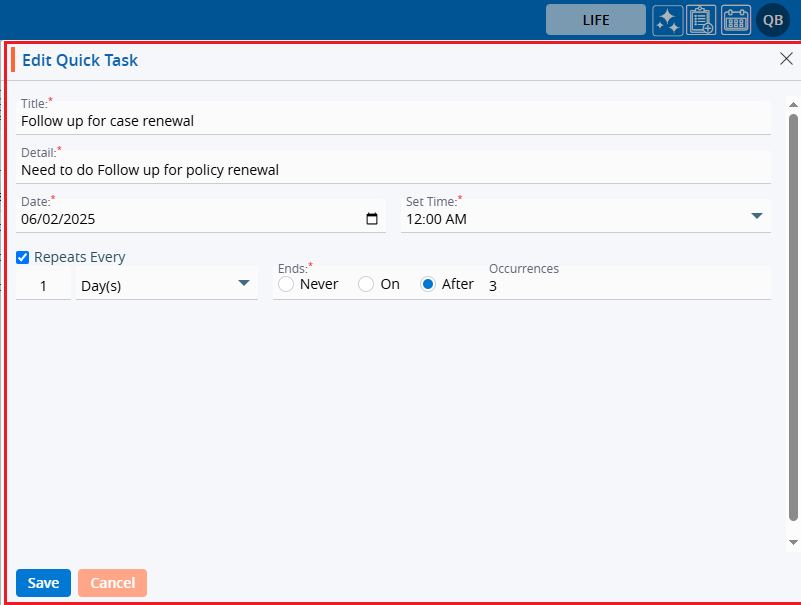
6. Fill in the values for Title and Details. Select the date from the date picker. Set the time from the dropdown. There is a Repeat option where users can set the same task to occur multiple times.
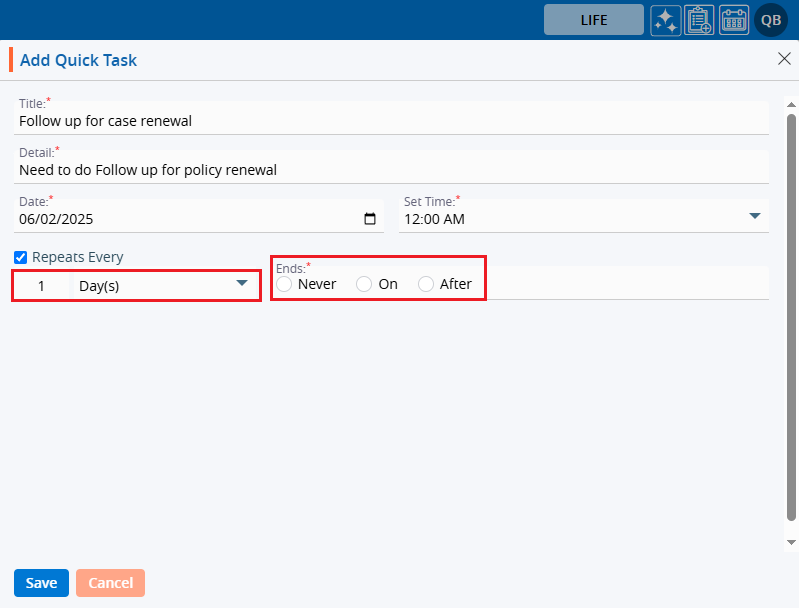
7. Select the checkbox for Repeat, and two additional fields appear:
a. Repeats Every
b. Ends
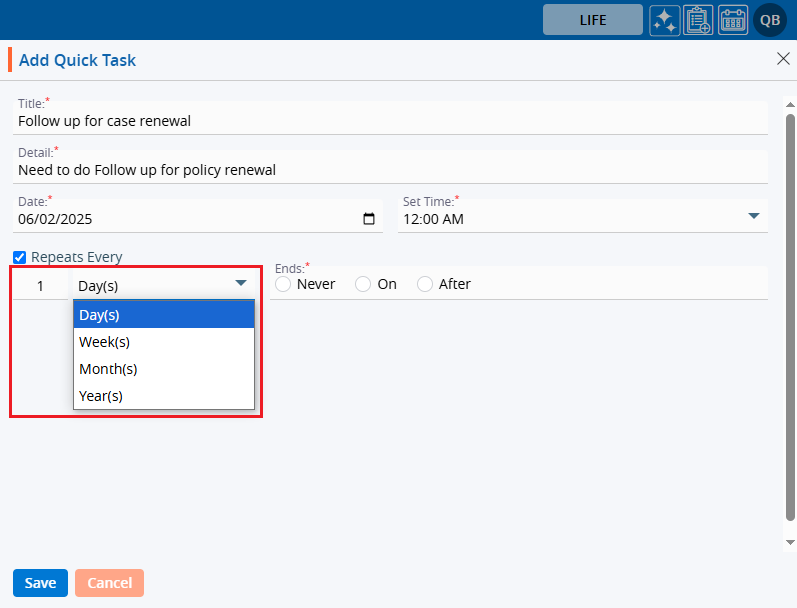
8. For the Repeat Every feature, there are four options available:
a. Day(s): How often should the task be repeated, in days.
b. Week(s): How often should the task be repeated, in weeks.
c. Month(s): How often should the task be repeated, in months.
d. Years(s): How often should the task be repeated, in years.
9. Ends ends work is to end the task when one of the following options is selected:
a. Never: This means the task added by the user will never end.
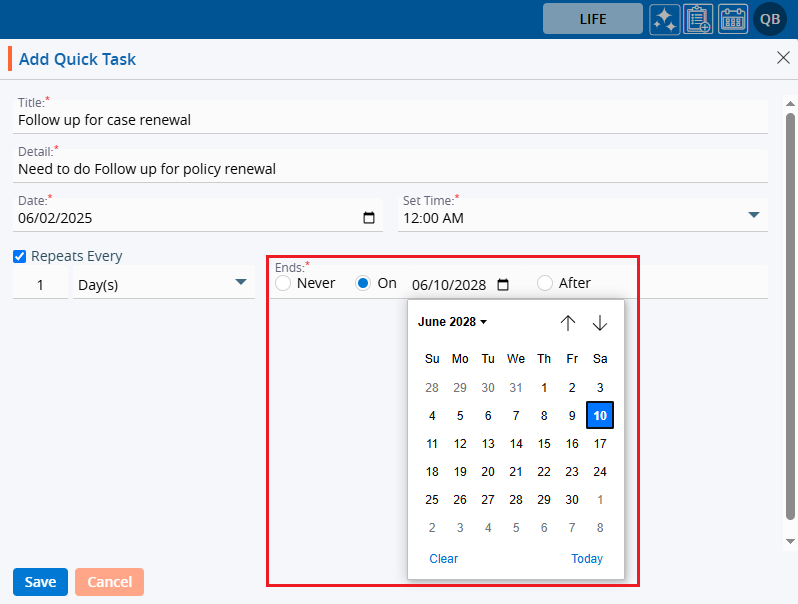
b. On: This means the task will be completed on the selected date.
c. Occurrences: This means the task will be completed after the selected number of occurrences.
10. After filling in all the fields, click on the ‘Save’ button.
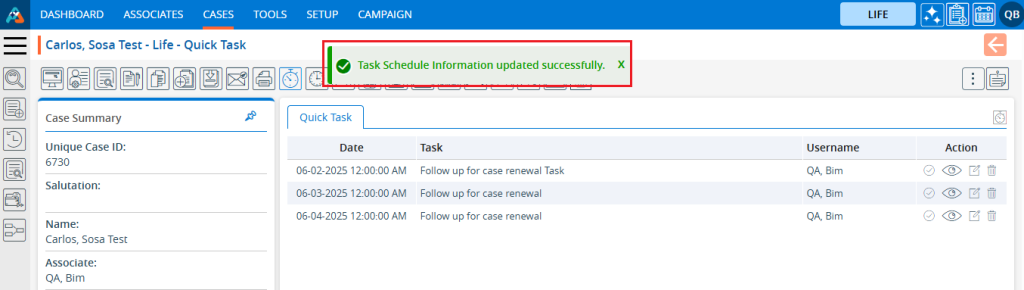
11. Here, the user has selected 3 occurrences, so the task is created 3 times. Quick tasks will be created, and the system will generate a message. The quick task will be shown in the listing.

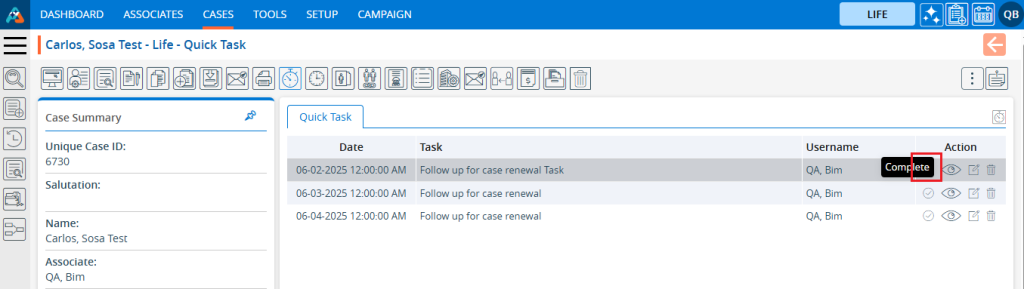
12. There are the following options for tasks:
a. Completed
b. View
c. Edit
d. Delete
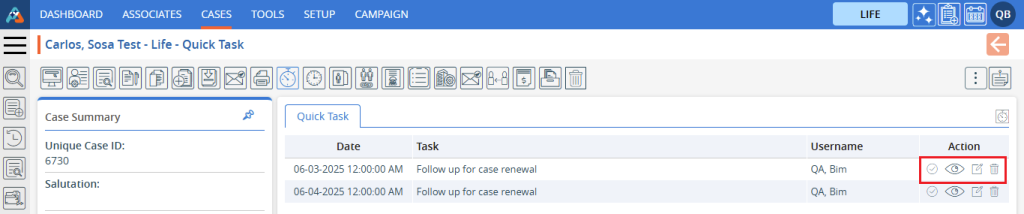
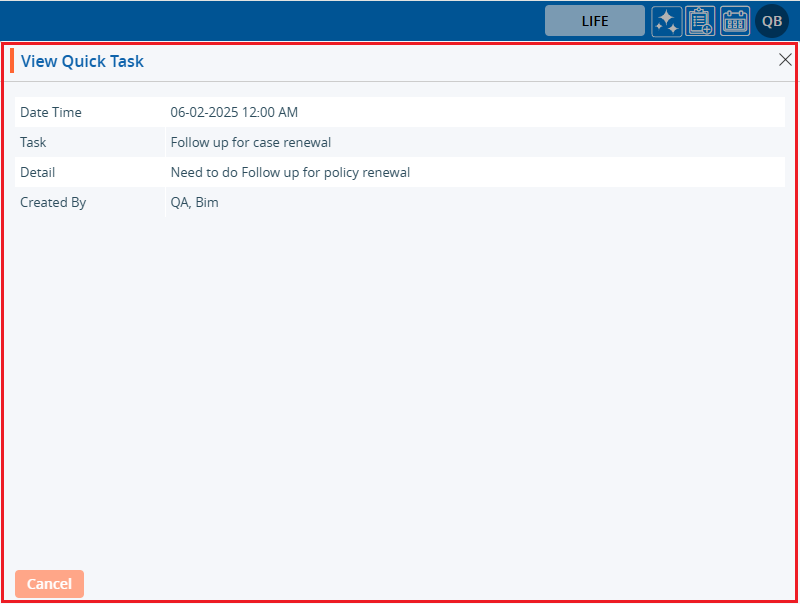
13. To view the quick task, click on the ‘View’ icon.

14. The Quick Task will be open read-only. Check the Quick Task and click on the ‘Cancel’ button.
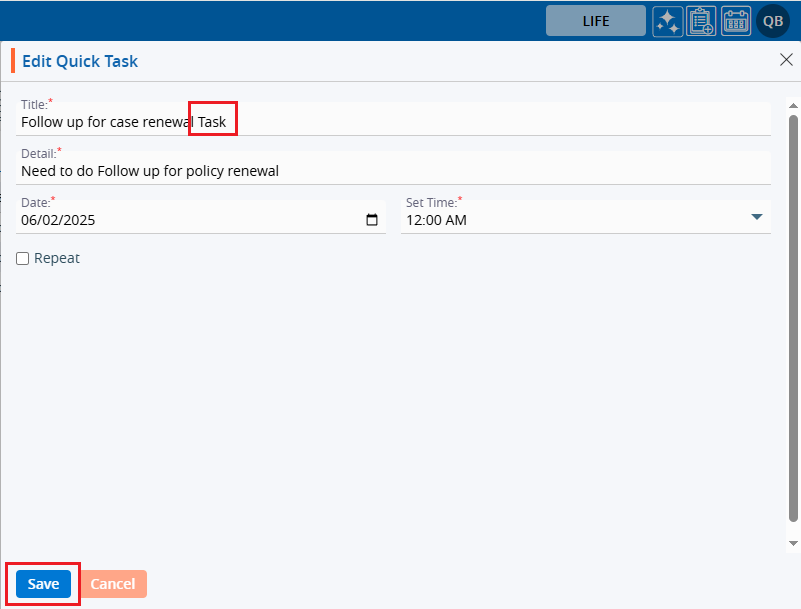
15. To edit the existing task, the user can use the Edit functionality. Click on the ‘Edit’ icon.
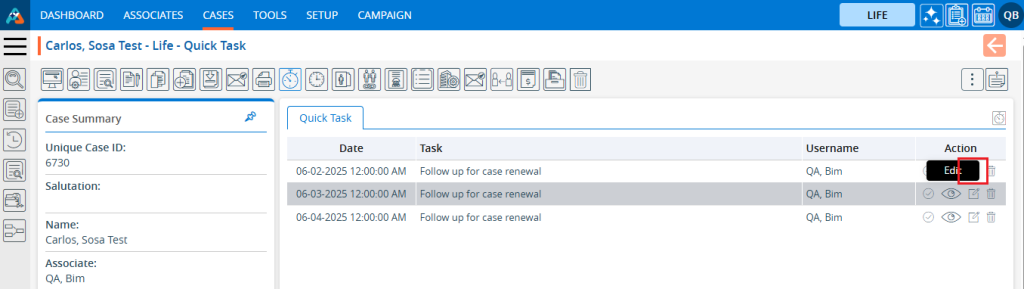
16. A pop-up window will open for editing the selected quick task.
17. Update the quick task and click on the ‘Save’ button.
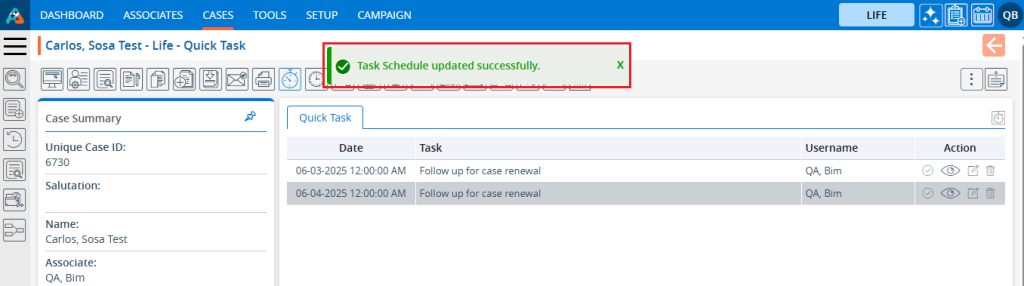
18. The quick task is updated successfully, and the system will generate a confirmation message.
19. To complete the task, click on the ‘Completed’ icon.
20. The task schedule is updated, and the system will generate a confirmation message.
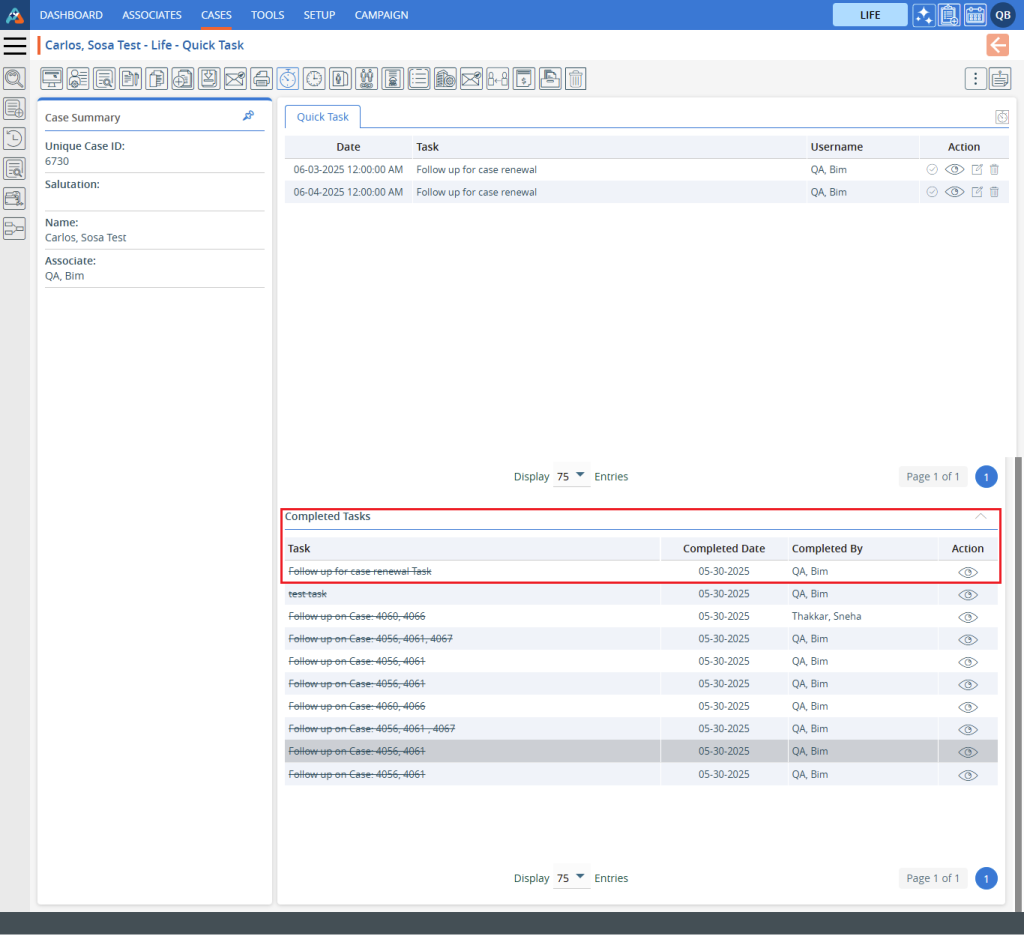
21. The completed task will be moved to the ‘Completed Tasks’ list.
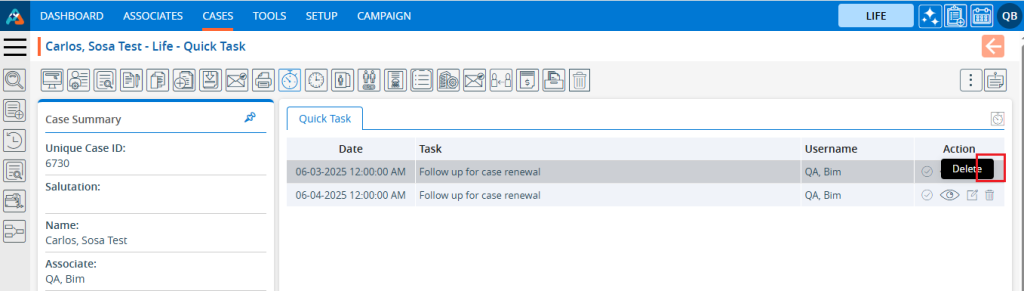
22. Tasks can be removed using the ‘Remove’ feature. Click on the ‘Remove’ icon.
23. The system will ask for confirmation to remove the task. Click on the ‘Delete’ button.
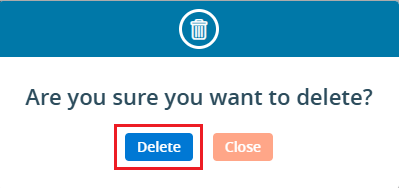
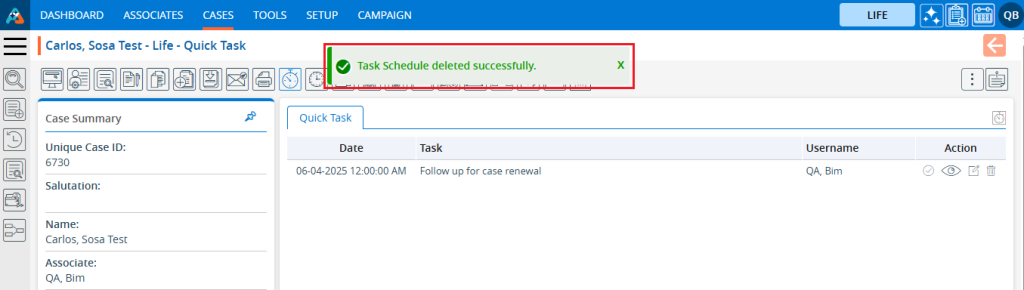
24. The system will generate a confirmation message for the deletion of the task.