The Quick Profile link displays a concise overview of the user’s profile.
Here are the steps to access a Quick Profile:
1. Naviagate to the ‘CASES’ tab where you’ll find the Cases List – All Cases.
2. Click on a case to proceed.

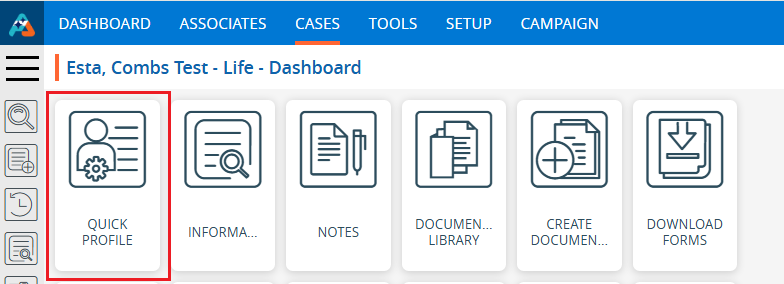
3. After clicking on a case, the ‘Dashboard’ will open. Click on the ‘QUICK PROFILE’ option.
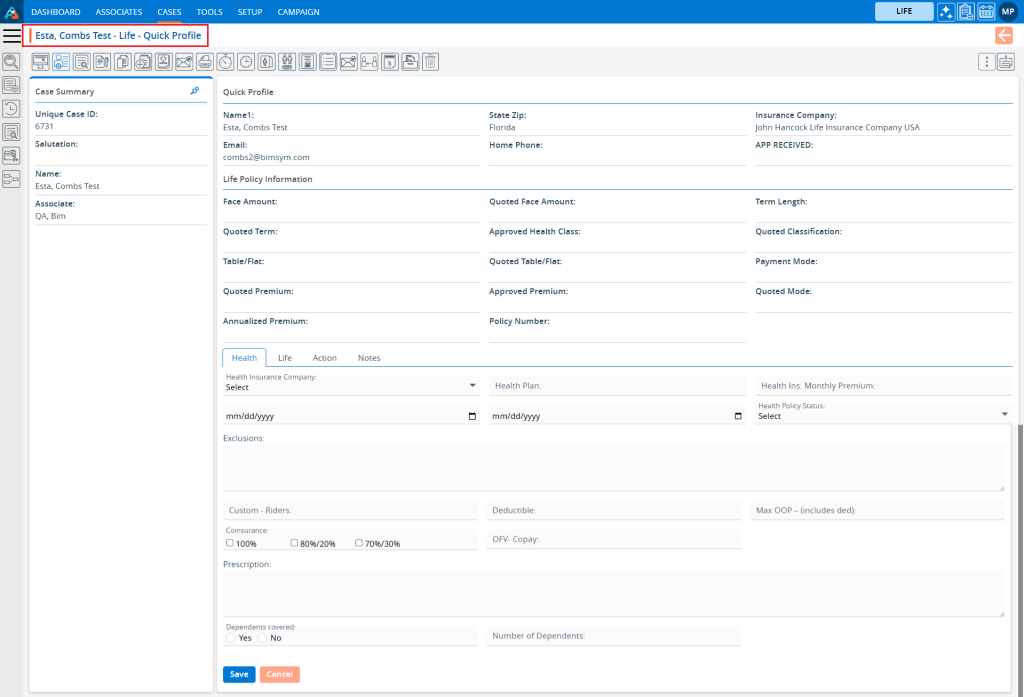
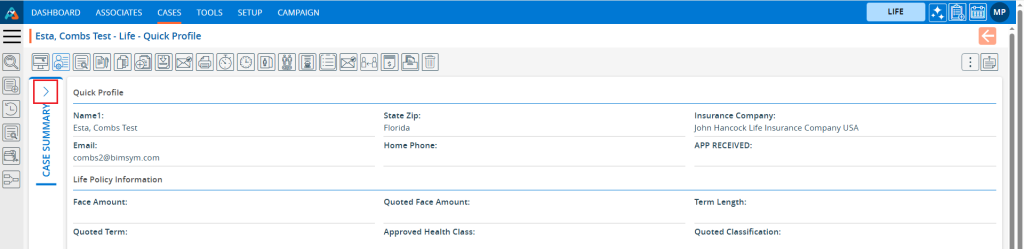
4. The Quick Profile page will open, displaying the user’s information.
5. The view of the Quick Profile page can be set from SETUP > Quick Profile > Case.
There are three categories on this page:
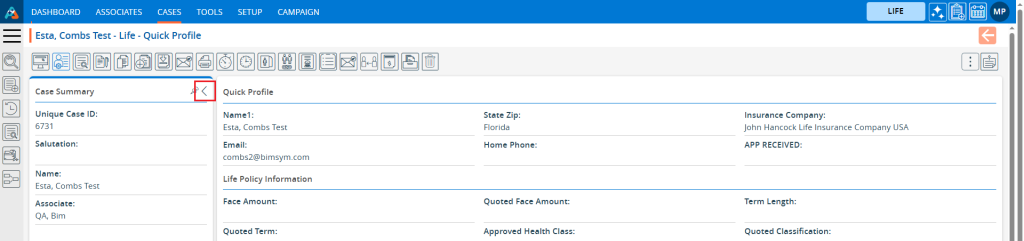
- Case Summary (Left side of the page)
- Quick Profile (Right side of the page)
- Custom (Right side of the page below the Quick Profile section)
6. The Quick Summary section is pinned by default. If Quick Summary is pinned, it cannot be collapsed.

7. When the user clicks on the Pin, it will be unpinned.
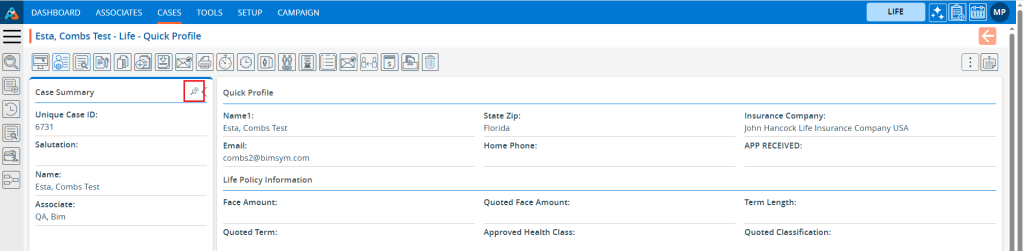
8. If the user clicks on the arrow button to the right of the pin, Quick Summary will collapse.
9. If the user clicks on the Arrow button again, the Quick Summary will be shown again.
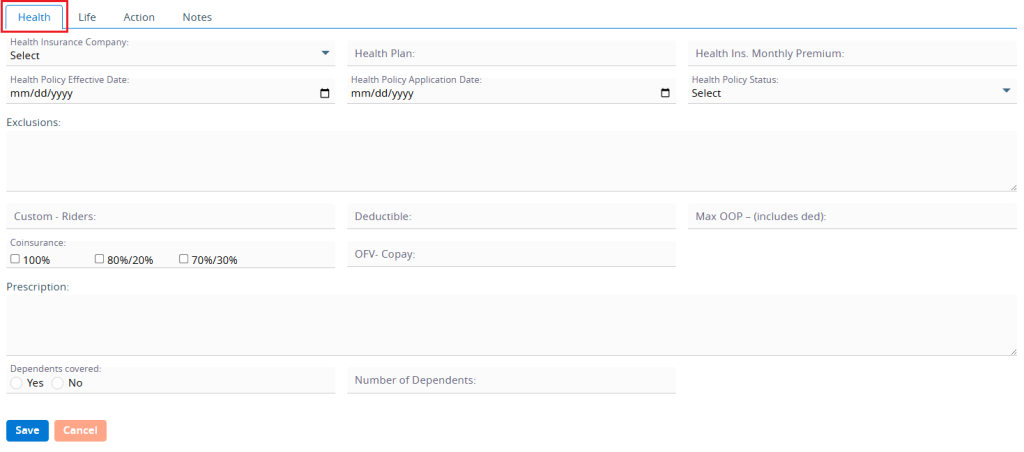
10. There are four default tabs below the Quick Profile page:
a. Health
b. Life
c. Action
d. Notes
11. The first option is Health, and it is opened by default. Users can add/edit the health information from here.
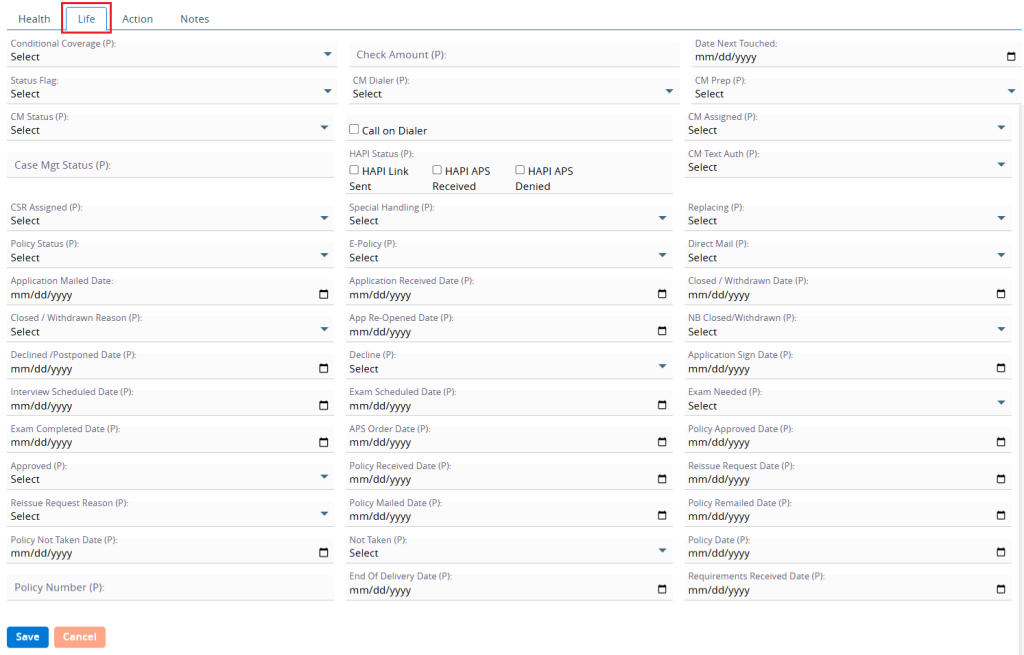
12. The on the second option ‘Life’, and it will open. Users can add/edit Life Information from here as well.
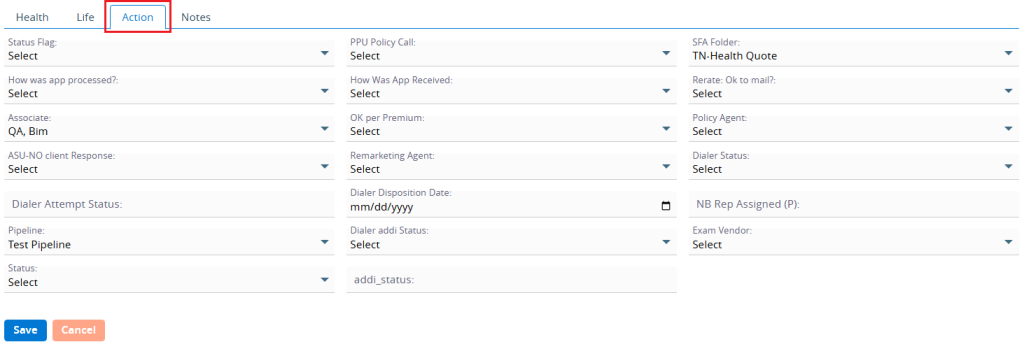
13. Click on the third option ‘Action’, and it will open. Users can act for this profile, such as moving to another SFA, updating the pipeline, etc. and can add/edit other information on this Action tab.
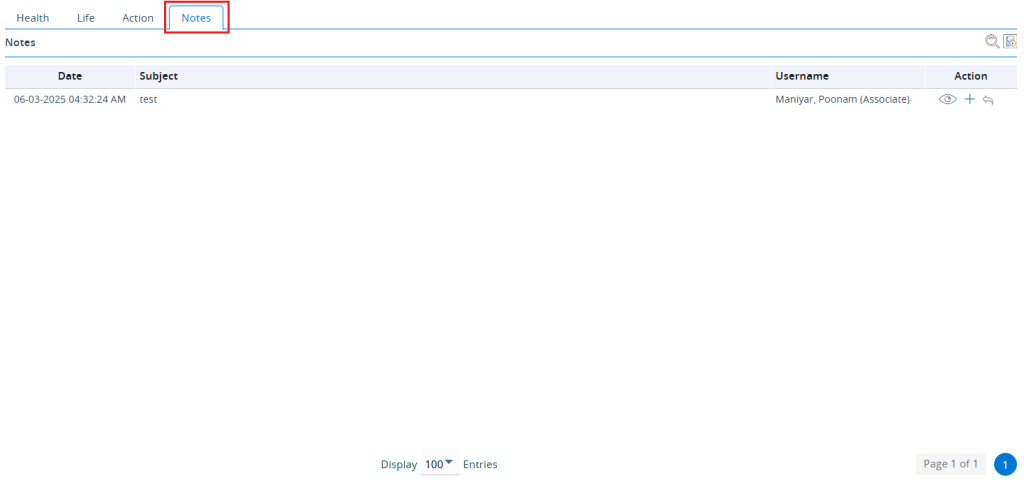
14. Click on the fourth option ‘Notes’ and it will open. Notes will work the same as they do inside the profile.