Create templates to streamline and expedite email sending. These email templates can be used when sending any email from the system.
The following are the steps for creating email templates:
1. Navigate to the ‘TOOLS’ tab. The Tools tab will open with the Template Creator tab displayed by default.

2. Users will see the ‘Tools – Template Creator’ with four different tabs: Email, Letter, SMS, and WhatsApp.
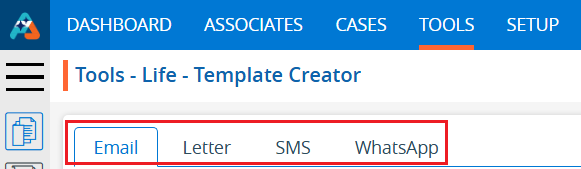
3. The ‘Email’ tab opens by default in the Template Creator, displaying a list of existing email templates with details including Template Name, Category, Usage, Created By, Create Date and Action.

4. Click on the ‘Create Email Template’ icon to begin creating a new email template.

5. Click on the ‘Create Email Template’ icon to begin creating a new email template.
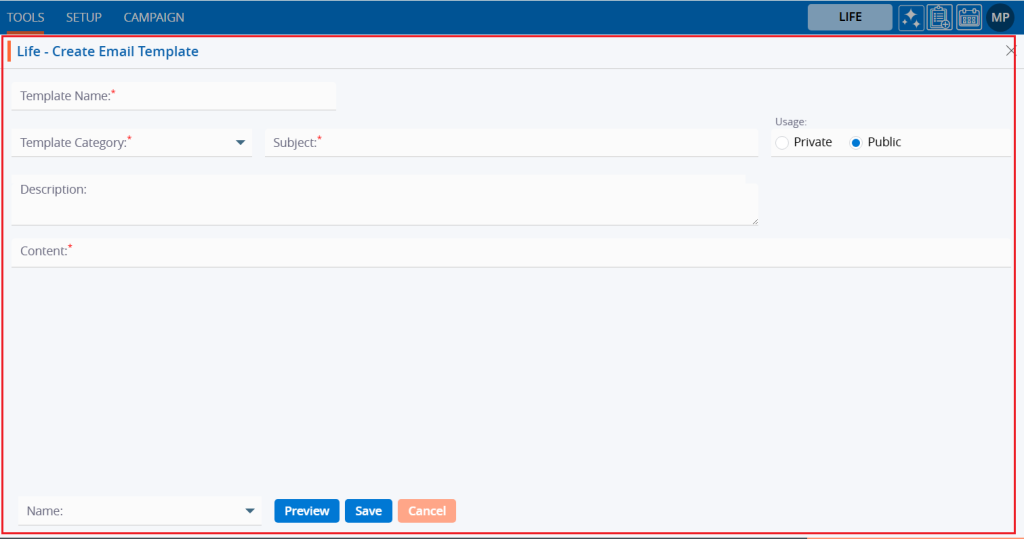
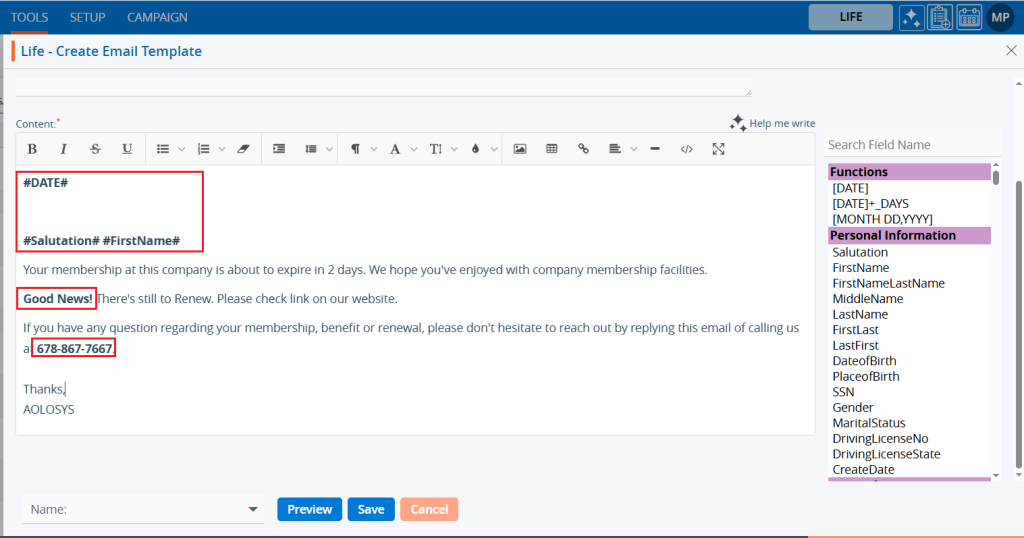
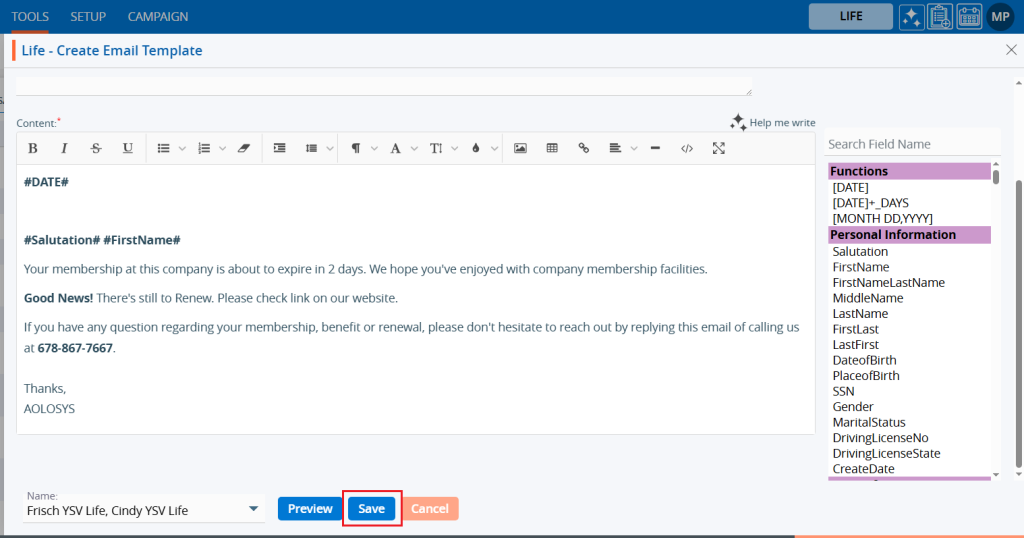
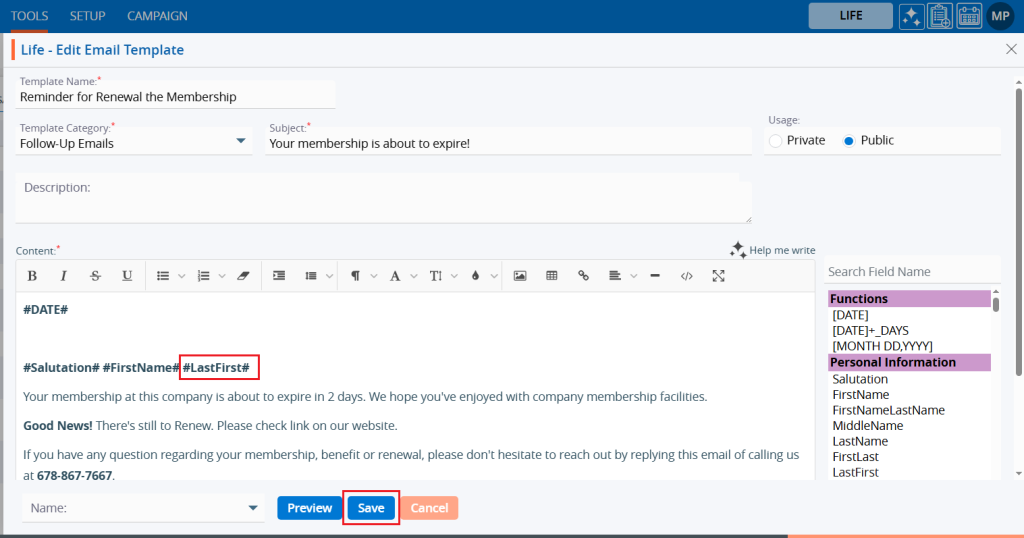
6. Fill in the fields. Fields with an asterisk are mandatory.
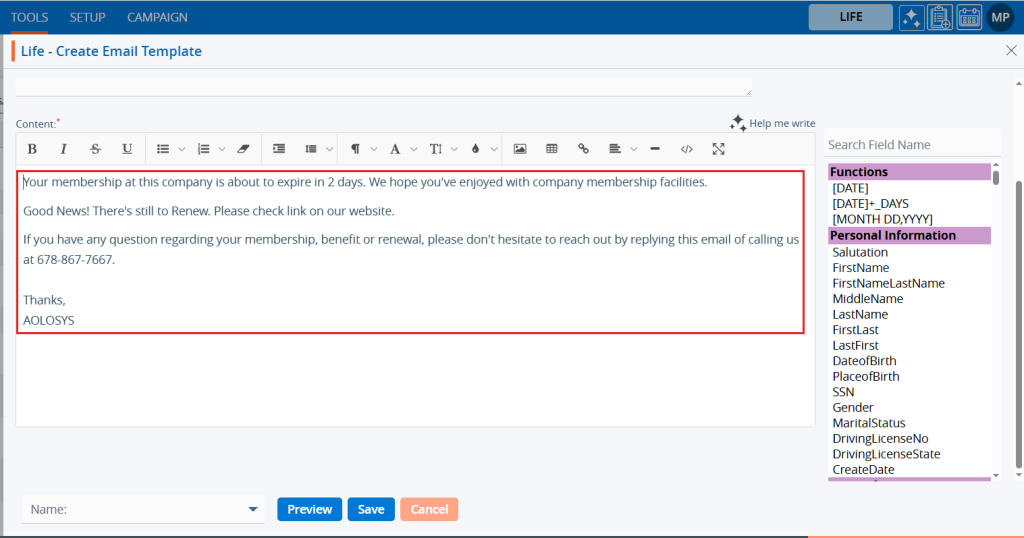
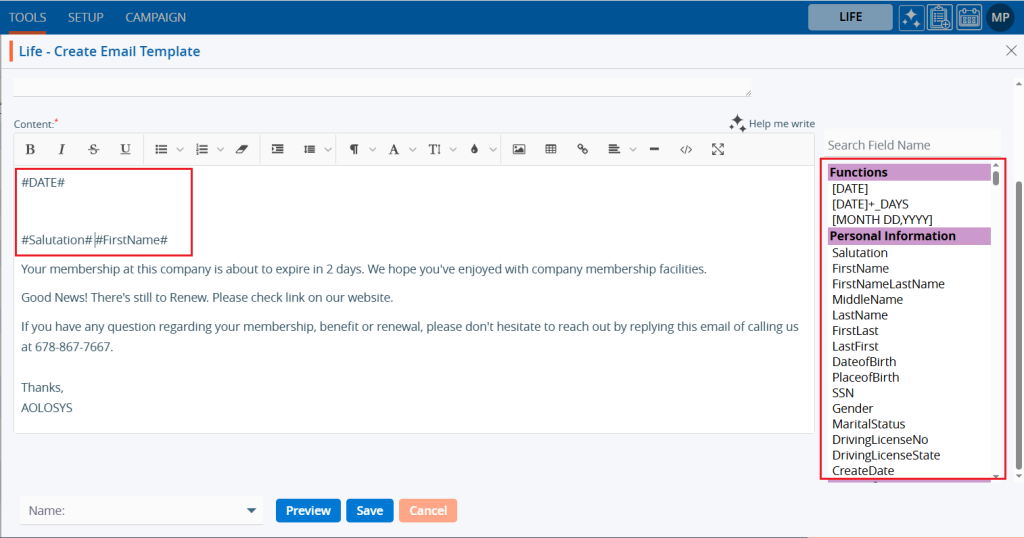
7. On the right-hand side, there is a list of fields that will fetch details for the selected user. Search for field names from the list to use in the templates. Double-clicking on the field will add them to the content. For example, users can include fields such as Date, Salutation, and FirstLast for mapping.
8. Users can apply formatting effects to specific text in the content editor, such as font styles, size, and headings. For example, use Bold for the Date, salutation, name fields, and the text ‘Good News!’ and phone number.
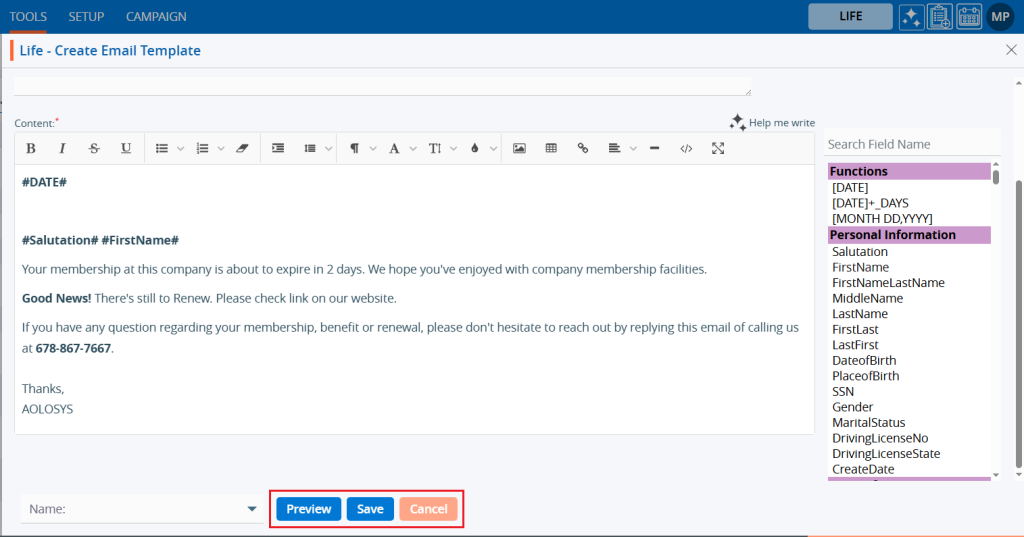
9. At the bottom, there is a dropdown menu with the names of the associates and three available buttons: Preview, Save, and Cancel.
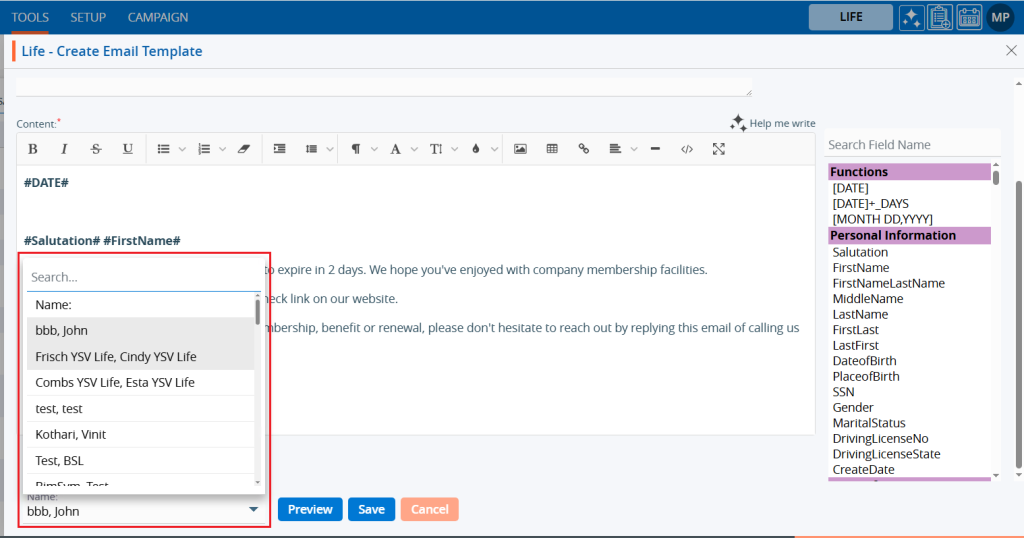
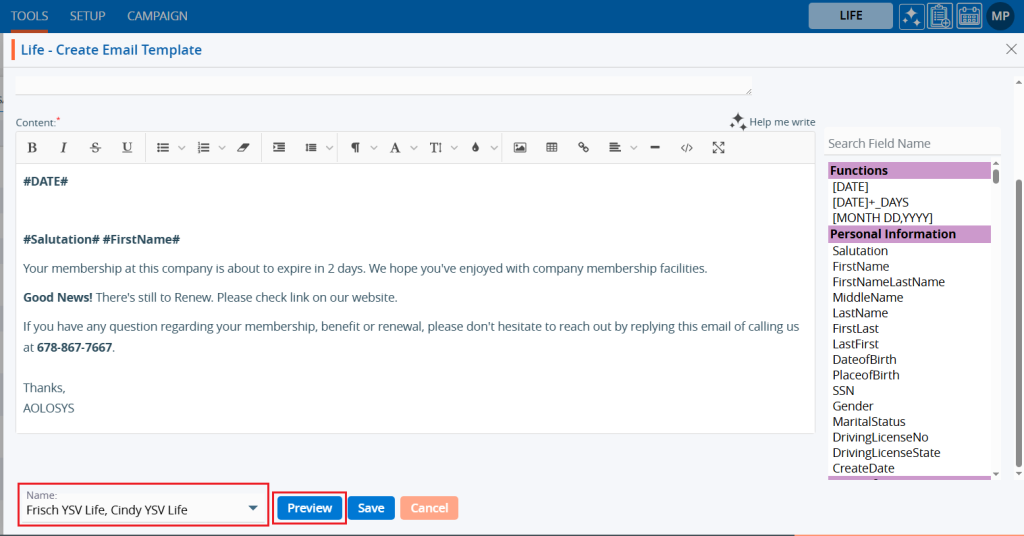
10. Select an associate’s name from the ‘Name’ dropdown menu.
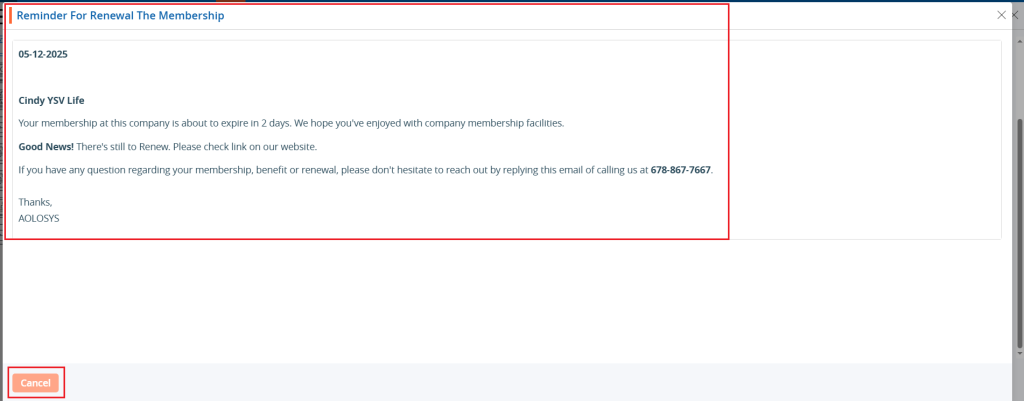
11. Click the ‘Preview’ button.
12. A pop-up window will open, showing the template details in preview mode. Click the ‘Cancel’ button to close it.
13. Click the ‘Save’ button.
14. A confirmation message will appear that the template is saved, and the user will find the newly created template and its details in the list.

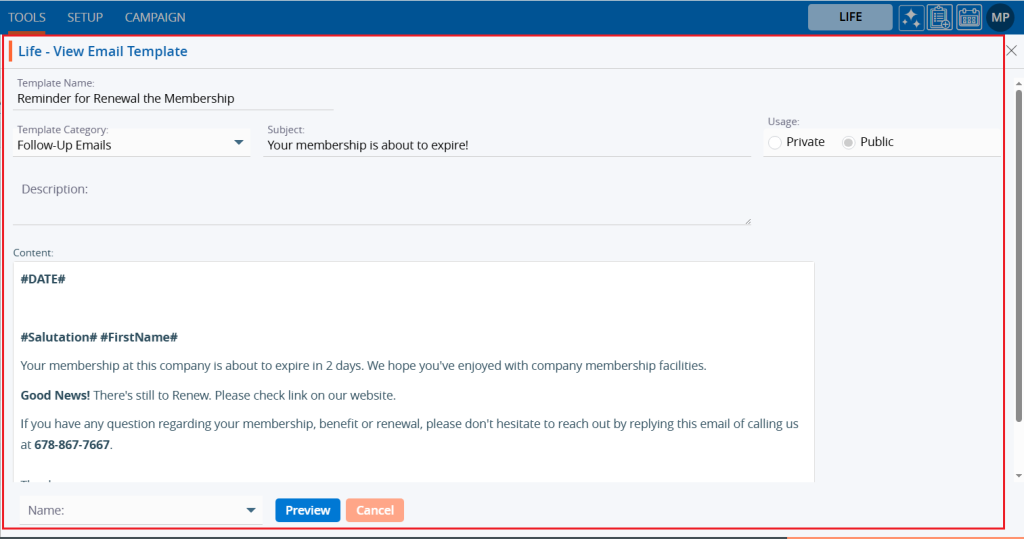
15. Click on the ‘View’ icon to view the existing Template.

16. A pop-up window will open, where the user can view the details of the template in read-only.
17. Click the ‘Edit’ option to modify the created template.

18. A pop-up window will open, allowing the user to update details of the template.
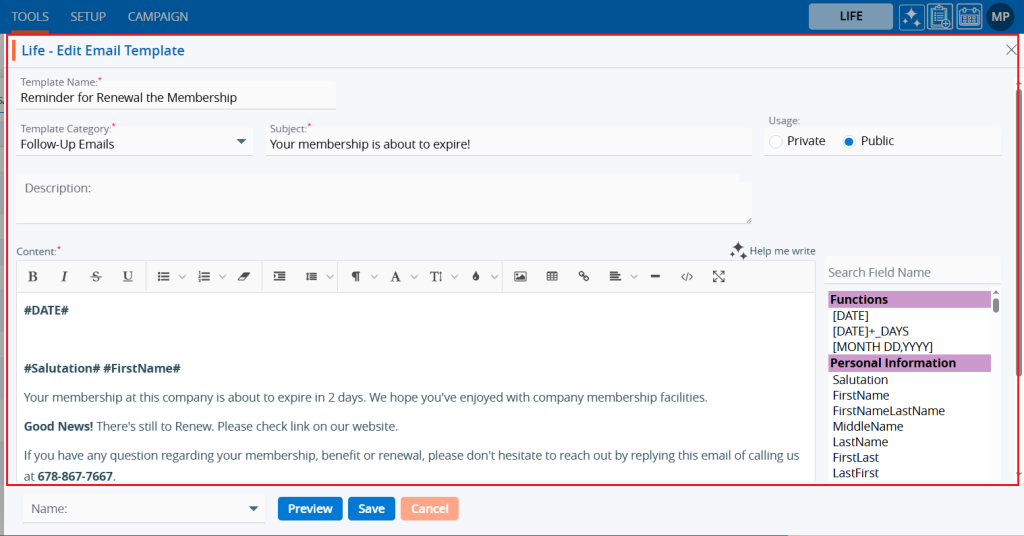
19. For example, we have added ‘Last Name’. Click on the ‘Save’ button.
20. A confirmation message will appear showing Email Template updated successfully.

21. Select the ‘Delete’ option to remove the template from the list if it is no longer needed.

22. Select the ‘Delete’ option in the confirmation message to proceed with removing the template from the list.
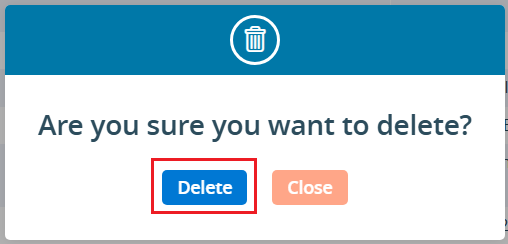
23. After clicking on the Delete button, a confirmation message will appear, and the template is no longer available in the list.
