Address Book –The Address Book feature consolidates general, business, and personal details of customers in one place.
The following are the steps to save data in the Address Book:
1. Navigate to the ‘Tools’ tab.

2. Click on ‘Address Book’ from the left-side menu.
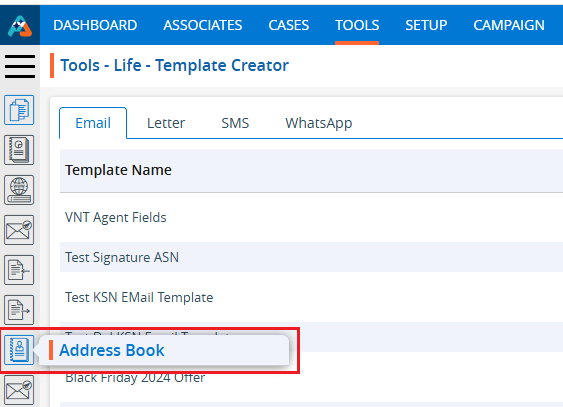
3. A new page titled ‘Tools – Address Book’ will open, displaying the existing contacts under the ‘Address Book’ tab.

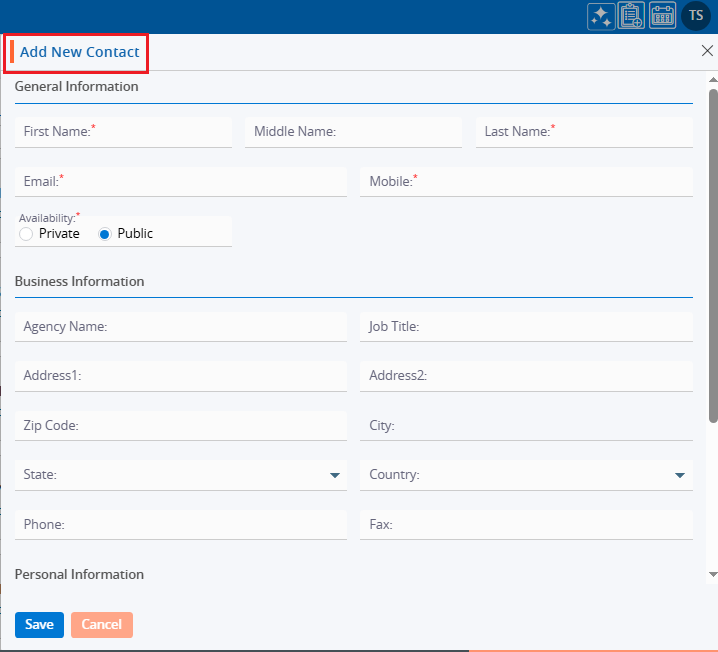
4. Click the ‘Add New Contact’ icon to add a new contact.

5. A pop-up window titled ‘Add New Contact’ will open, displaying fields including General Information, Business Information, and Personal Information.
6. Fields marked with an asterisk (*) are mandatory.
7. Fill in the details and click the ‘Save’ button to proceed.
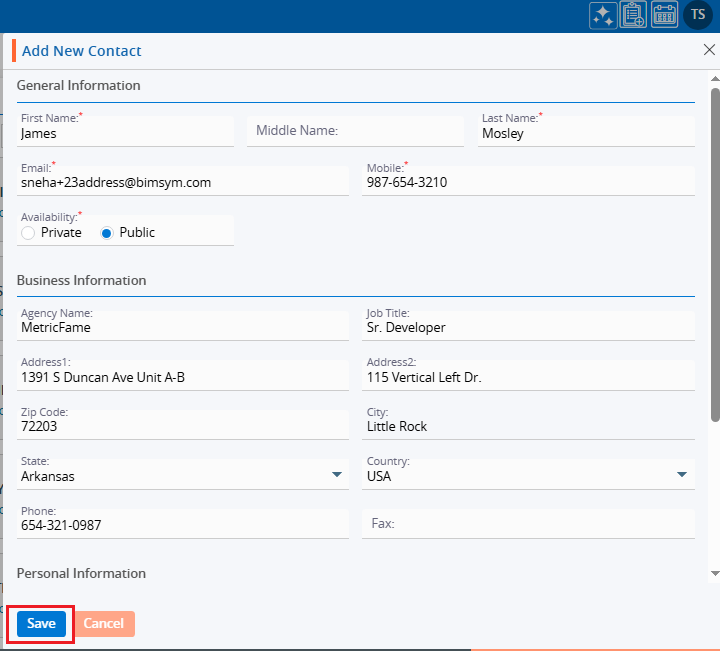
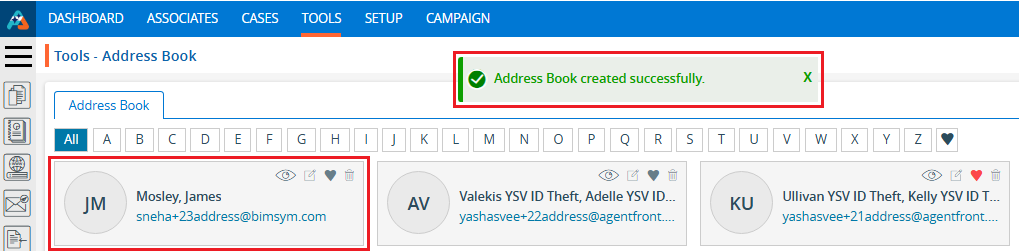
8. A confirmation message will appear, and the newly added contact will be included in the list.
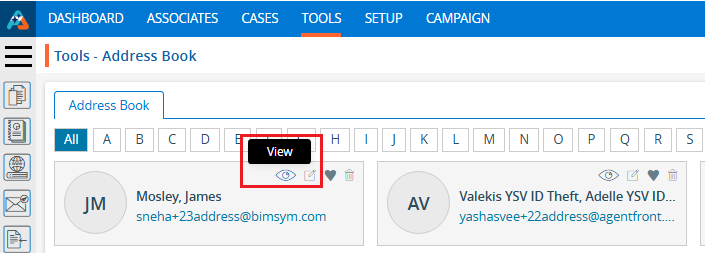
9. Click the ‘View’ icon to open the contact details.
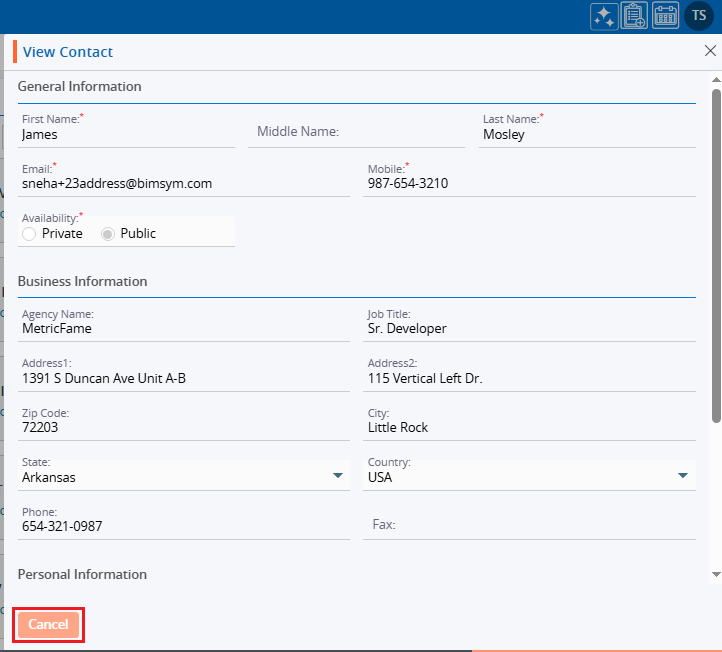
10. A pop-up window will open the contact in view mode, displaying the contact’s General Information, Business Information, and Personal Information. Click the ‘Cancel’ button to close the window.
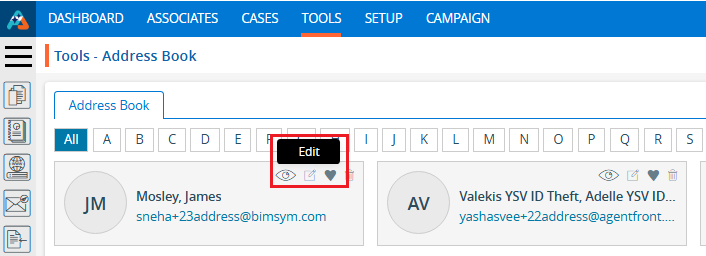
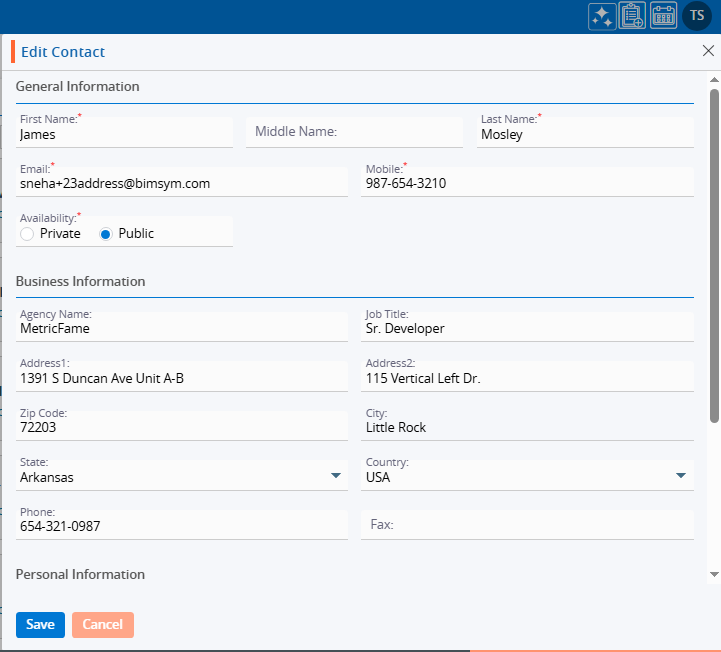
11. Click the ‘Edit’ icon to update the contact details.
12. A pop-up window will open, allowing you to update the information.
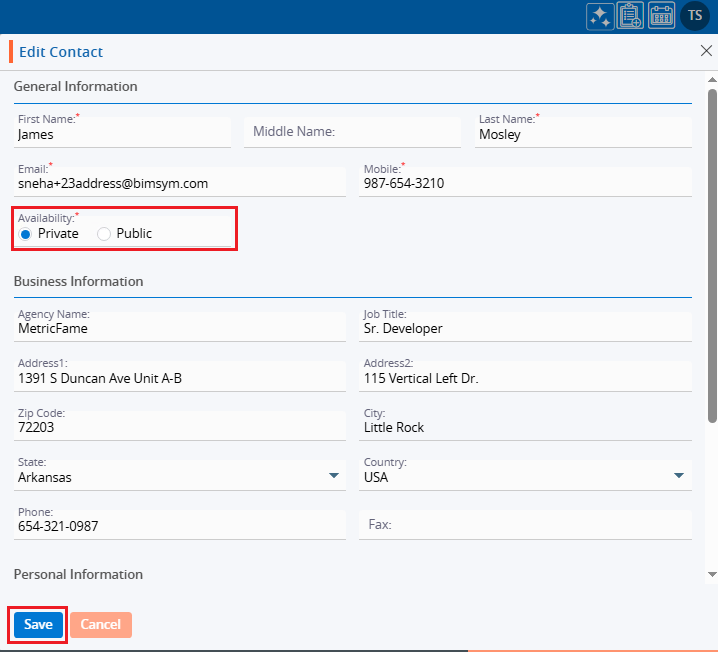
13. Make the necessary updates. For example, change the Availability field from Public to Private. Click the ‘Save’ button to proceed.
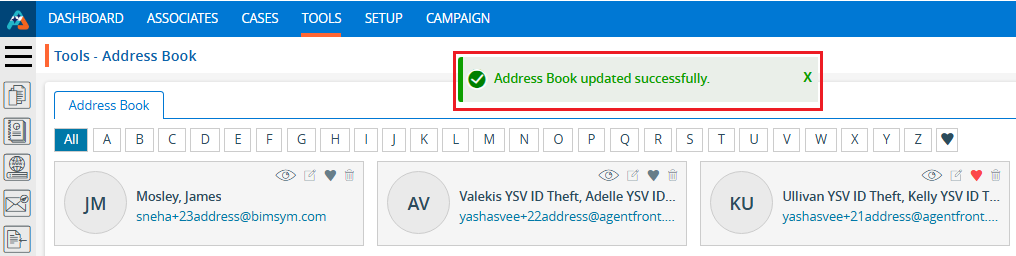
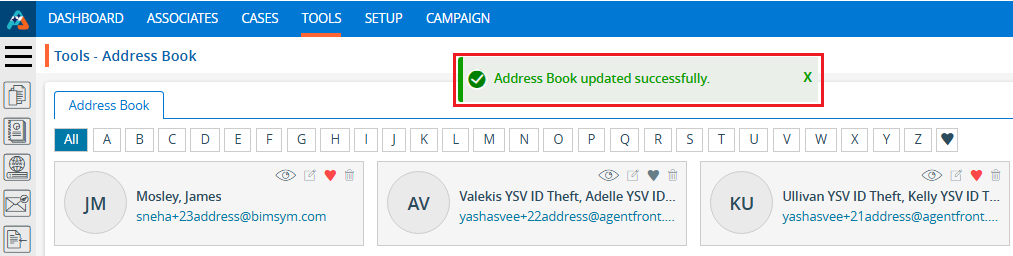
14. A confirmation message will appear, indicating that the Address Book has been updated for the selected contact.
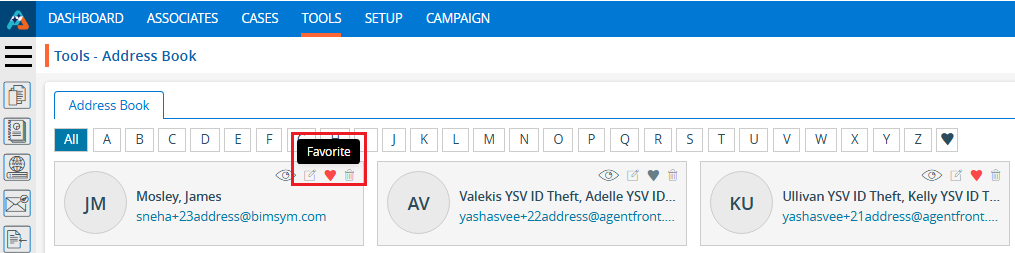
15. Click the ‘Favorite’ icon to add the contact to your Favorites list.
16. A confirmation message will appear indicating that the Address Book has been updated for the selected contact.
17. The contact that was added to favorites will also appear in the favorites list.

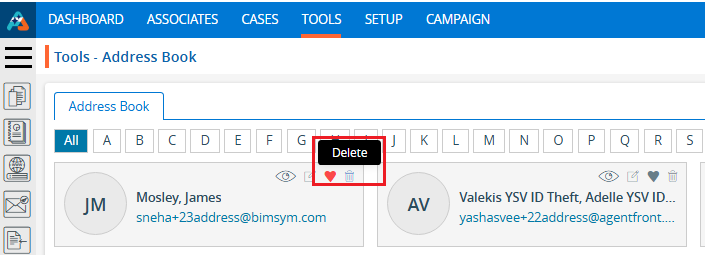
18. Click the ‘Delete’ icon to remove the contact details.
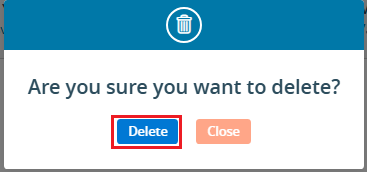
19. A confirmation pop-up will appear, asking if you want to delete the contact. Click the ‘Delete’ button to confirm.
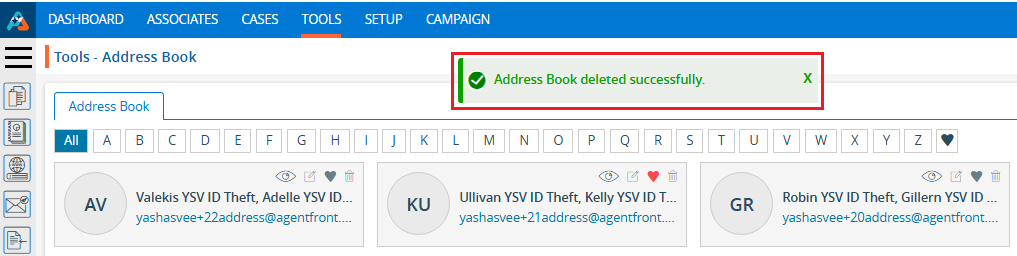
20. A confirmation message will appear indicating that the contact has been deleted.
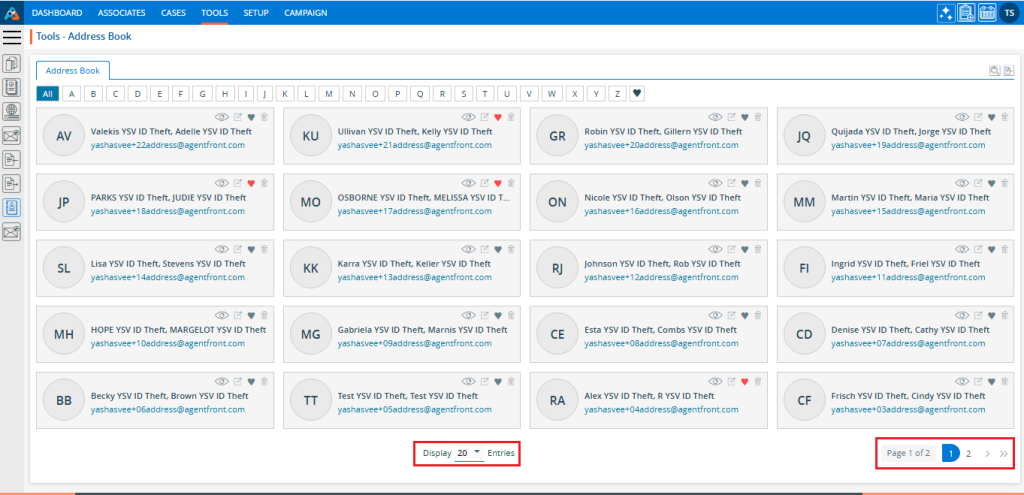
21. Select an option from the Display Settings to change the number of contacts shown per page, based on the total number of contacts available. After selecting a Display option, the system will show contacts and pagination according to the chosen setting. For example, if you select 20 contacts per page, the system will display 20 contacts per page and paginate the data accordingly.
22. Click the ‘Quick Search’ icon to find a contact in the list.

23. Type the name or email of the contact you need to search for.
For example, search for contacts with ‘Robin’ in their name or email address.

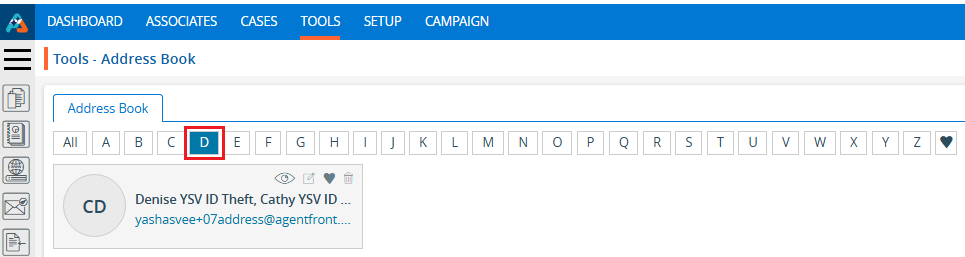
24. Click on a letter to find contacts whose names start with that letter.

25. Click on ‘D’ and contacts with names that start with ‘D’ will be displayed.
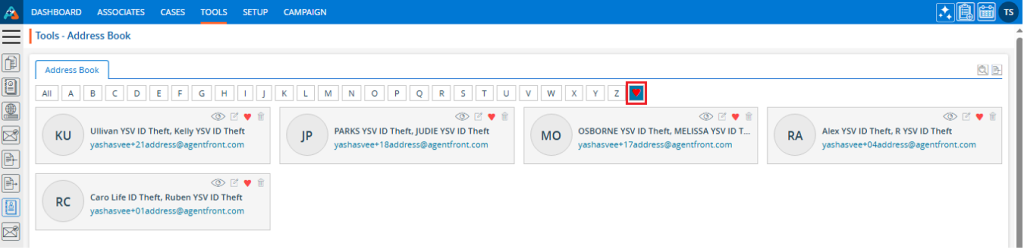
26. Click the favorite icon to view the contacts in your Favorites list.