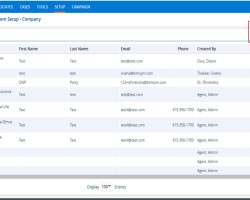
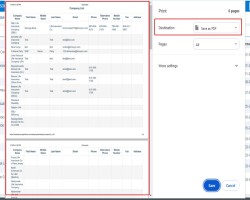
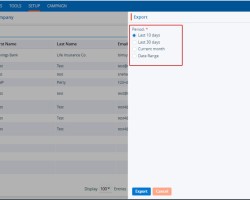
The user can efficiently manage and update all relevant company details within the system, including contact information, address, and any other essential data, ensuring that the information remains accurate and up-to-date for effective communication.
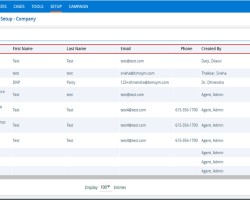
The following are the steps to manage Company in the system:
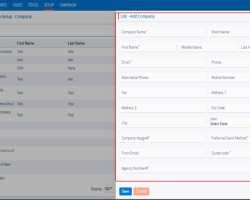
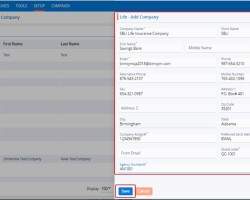
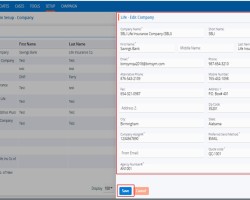
- Company Name: Enter the desired Company Name. (Limit is a maximum of 100 characters) (This field allows to enter alphabet only)
- Short Name: Enter the desired Short Name of the Company. (Limit is a maximum of 100 characters) (This field allows to enter alphabet only)
- First Name: Enter the value for First Name. (Limit is a maximum of 30 characters) (This field allows to enter alphabet only)
- Middle Name: Enter the value for Middle Name. (Limit is a maximum of 30 characters) (This field allows to enter alphabet only)
- Last Name: Enter the value for Last Name. (Limit is a maximum of 30 characters) (This field allows to enter alphabet only)
- Email: Enter the email address with email format only. (Limit is a maximum of 50 characters)
- Phone: Enter the value of phone number in xxx-xxx-xxxx format only. (This field allows to enter numeric value only)
- Alternative Phone: Enter the value of alternative phone number in xxx-xxx-xxxx format only. (This field allows to enter numeric value only)
- Mobile Number: Enter the value of mobile number in xxx-xxx-xxxx format only. (This field allows to enter numeric value only)
- Fax: Enter the value of fax number in xxx-xxx-xxxx format only. (This field allows to enter numeric value only)
- Address 1: Enter the value of the Address field. (Limit is a maximum of 100 characters) (This field allows to enter alphabet, number and following characters only #&-_’,./ only)
- Address 2: Enter the value of the Address field. (Limit is a maximum of 100 characters) (This field allows to enter alphabet, number and following characters only #&-_’,./ only)
- Zip Code: Enter the value of zip code. (Limit is a maximum of 5 characters) (This field allows to enter numeric value only)
- City: After entering the zip code, the system will fetch the corresponding City and State values.
- State: After entering the zip code, the system will fetch the corresponding City and State values
- Company Assign#: Enter the value of Company Assign number. (Limit is a maximum of 10 characters) (This field allows to enter numeric value only)
- Preferred Send Method: Select the value form drop down.
- From Email: Enter the email address with email format only. (Limit is a maximum of 50 characters)
- Quote code: Enter the value of Quote code. (Limit is a maximum of 10 characters) (This field allows user to enter all alphabet, number and characters.)
- Agency Number#: Enter the value of Agency Number. (Limit is a maximum of 20 characters) (This field allows to enter all alphabet and number)
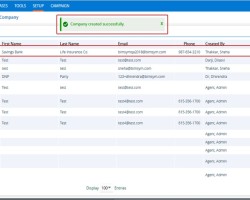
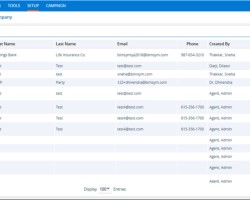
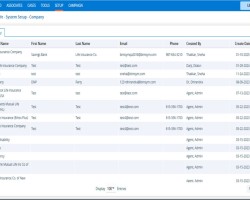
8. A confirmation message will appear on the page – ‘Company created successfully.’, and the newly added Company will now be available on the list.
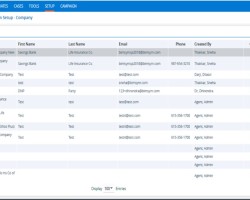
9. There are two options available for each Company under the Action heading: Edit and Delete or Lock. For newly created companies, the Edit and Delete options will be available by default.
– Edit: By clicking on the Edit icon, the user can edit the details of the selected Company.
– Delete or Lock: By clicking on Delete, the user can remove the selected Company. However, once the Company is assigned to any profile, the option will change from Delete to Lock. The Delete option will remain available until the company is assigned to any profile.




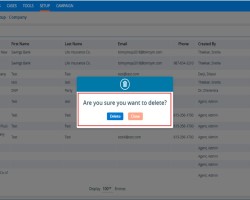
19. After Clicking on Delete, the system will prompt confirmation before deleting.
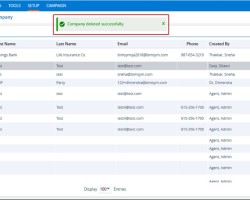
20. Click on delete to remove the Company.
 - Knowledge Base