The Associate Quick Search Setup feature allows users to designate which fields to search for data using specific characters simultaneously.
The following are the steps for setting the Associate Quick Search parameters:
1. Navigate to the ‘SETUP’ page and click ‘Quick Search’ under the ‘System Setup’ option from the left-side panel.
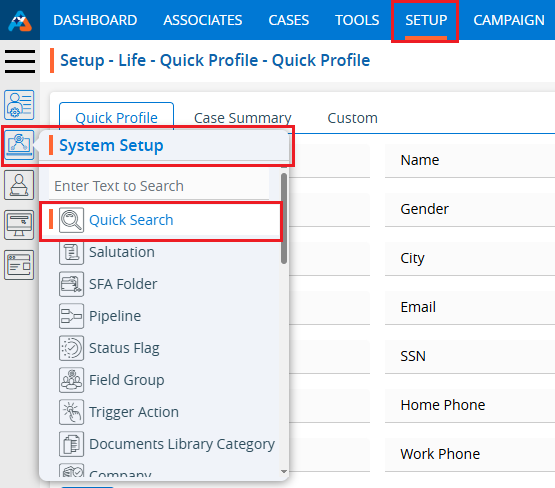
2. Click on ‘Associate Quick Search’.

3. Users can customize the field preferences using the ‘Change Quick Search’ option.

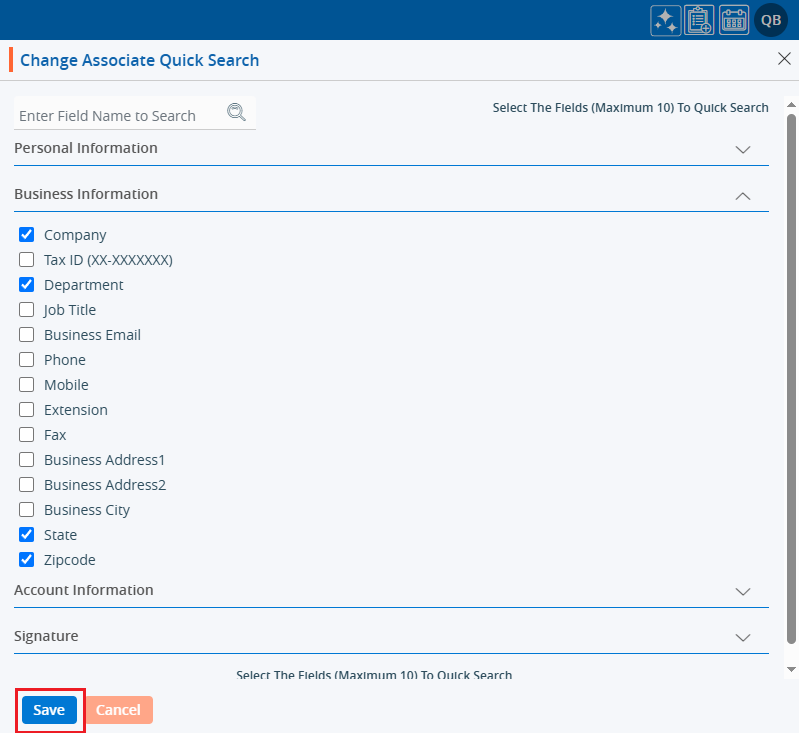
4. When clicking on ‘Change Quick Search,’ a window will open.

5. The system will allow selection of a maximum of 10 fields.
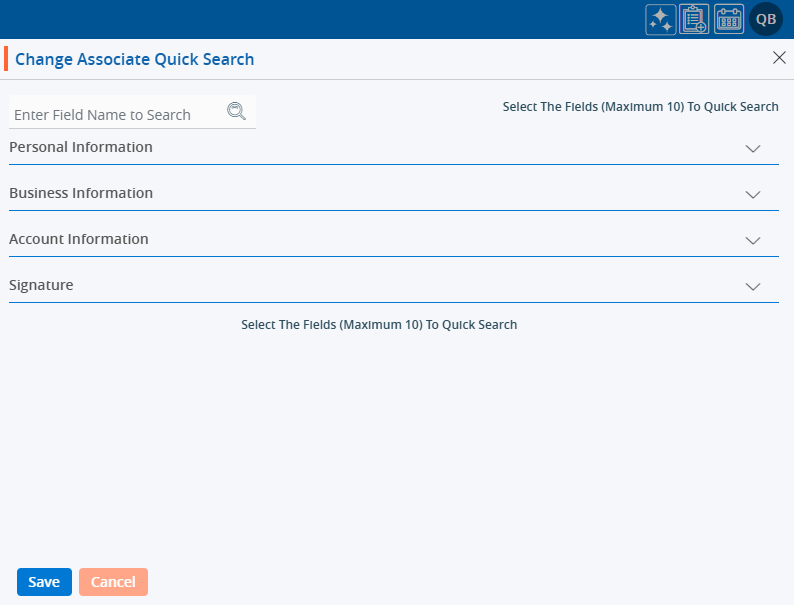
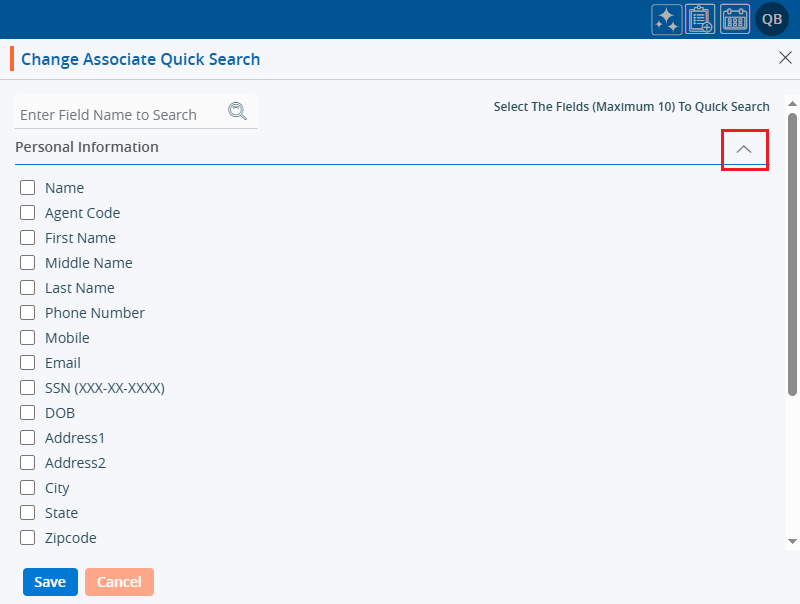
6. Click on the down arrow to reveal fields for selection.
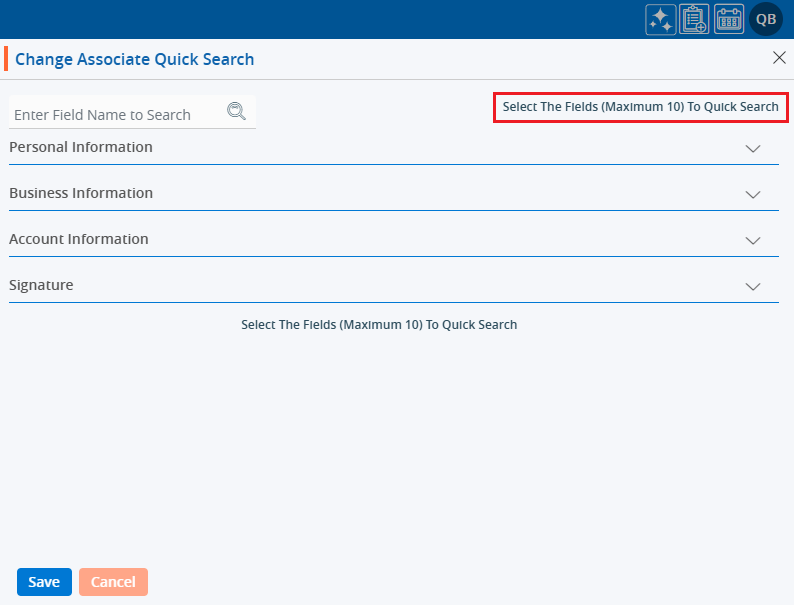
7. After clicking the down arrow next to ‘Personal Information,’ the list of personal information fields will be opened.
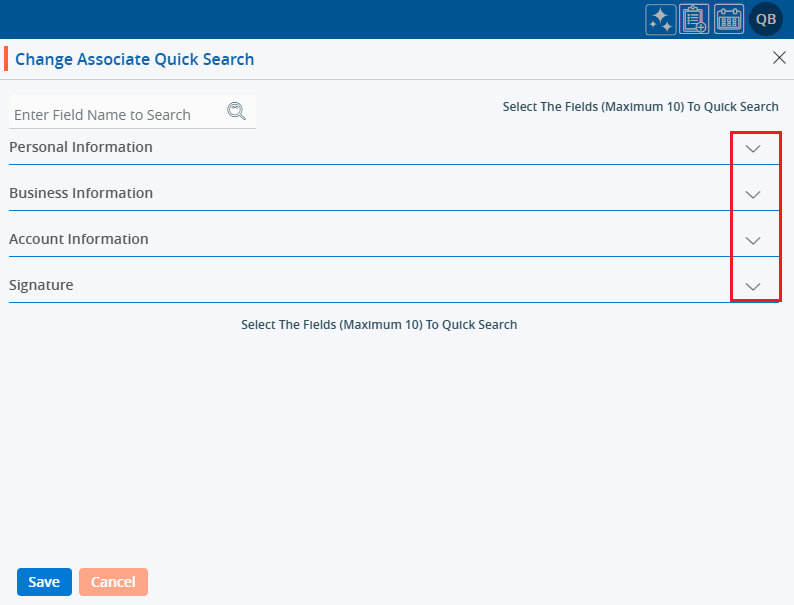
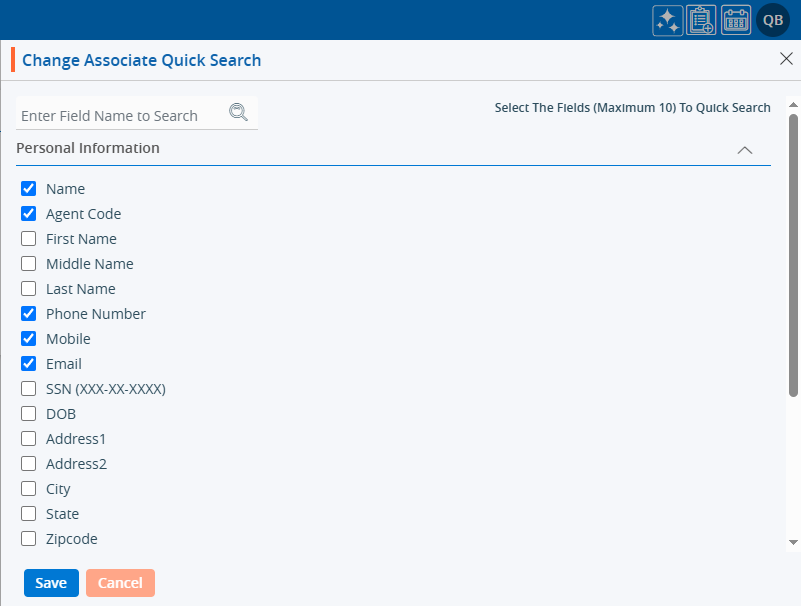
8. Select the fields to configure the ‘Quick Search’ for searching data from the Personal Information fields.
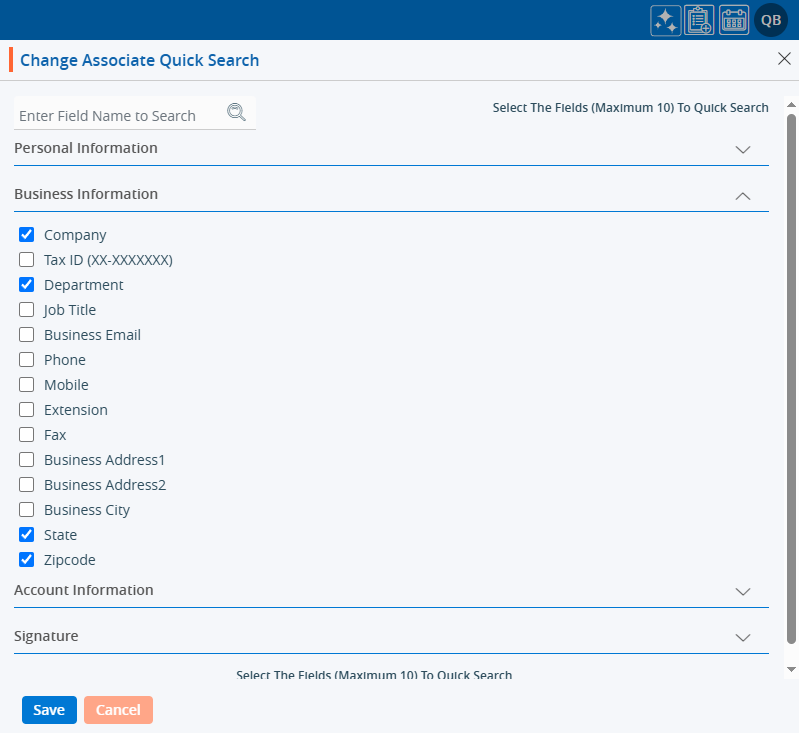
9. Similarly, you may select fields to configure the ‘Quick Search’ view from the Contact Information fields.
10. Similarly, you may select fields to configure the ‘Quick Search’ view from the Policy Information fields.
11. On the same page, there are two options: Save and Cancel.
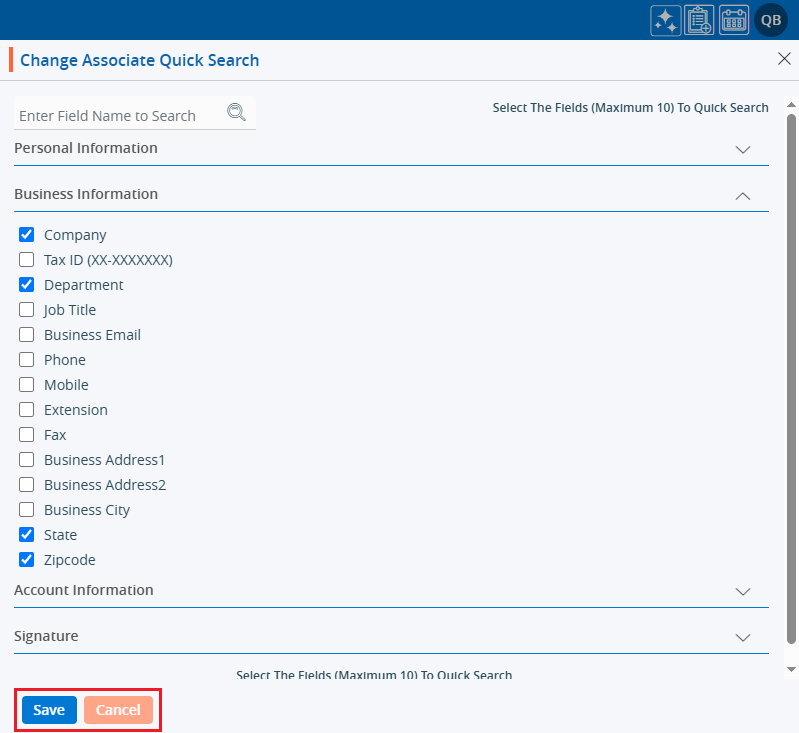
12. After clicking the ‘Save’ button, the Quick Search feature will search data based on the selected criteria.
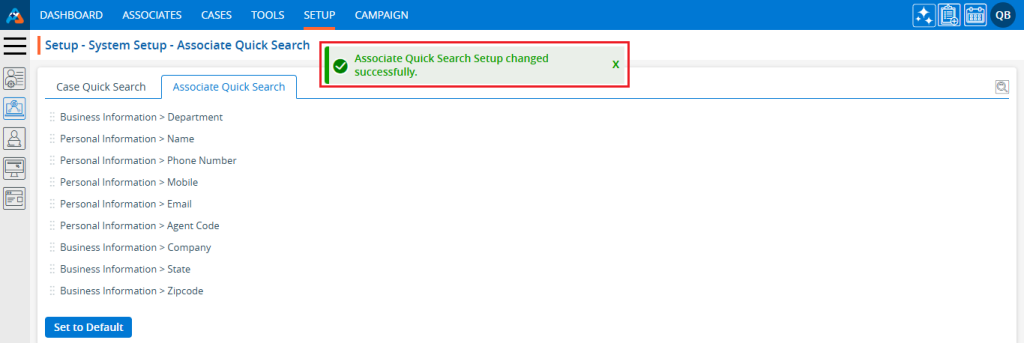
13. The system will generate a confirmation message, and ‘Case Quick Search’ will operate based on the selected field preferences.
14. Go to the ‘CASES’ tab and click on the ‘Quick Search’ option.

15. The ‘Quick Search’ will expand into a text box. Enter at least 3 characters in the search box, then click the search icon.

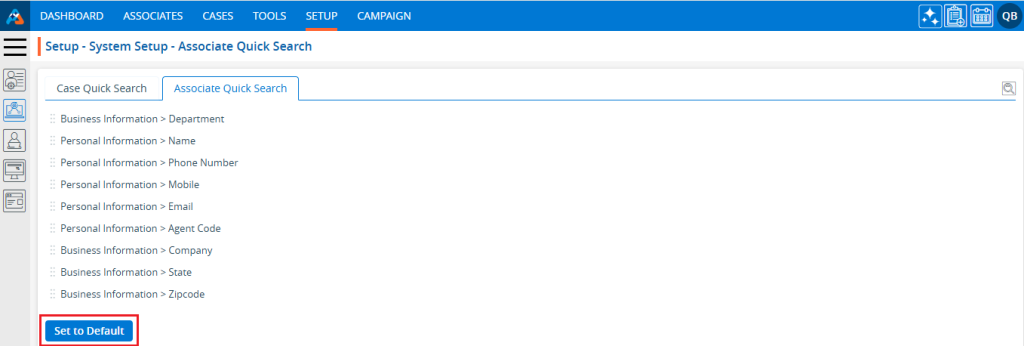
16. Afterward, navigate to the ‘Case Quick Search’ tab under the ‘System Setup’ option in the left-side panel of the ‘SETUP’ tab. Click on the ‘Set to Default’ option.
17. The system will ask for confirmation to reset to default settings. Click on ‘OK’.

18. The system will generate a confirmation message that the Case Quick Search setup was updated. The ‘Case Quick Search’ option will now operate based on the default field preferences set in the ‘System Setup’.

 - Knowledge Base