The SFA Folders are used to track cases. SFA Folders can be created according to the requirement from the Setup > System Setup > SFA Folder.
The following are the steps to utilize the SFA Folders:
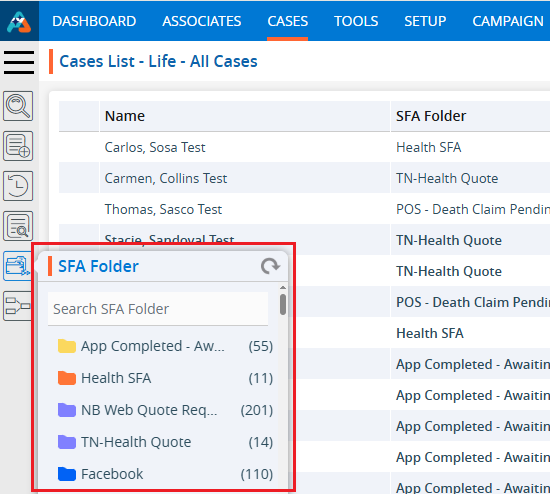
1. Navigate to the ‘CASES’ tab where you’ll find the ‘Cases List – All Cases’ list.

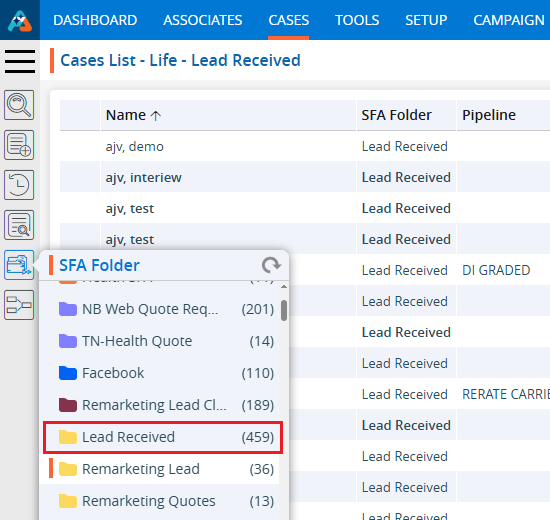
2. Click on the ‘SFA Folder’ option in the left-side panel to display all available SFA Folders.
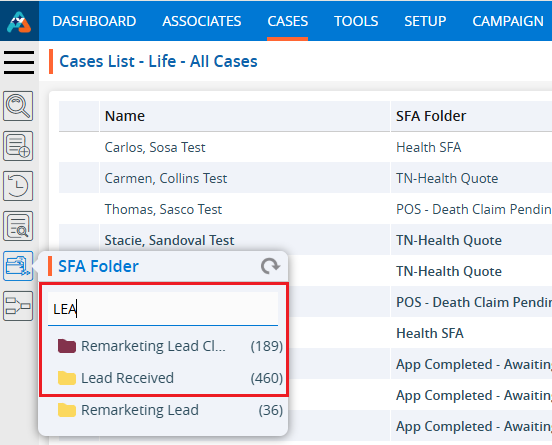
3. Search for the SFA Folder by entering the name in the search box. For example, if the user types ‘LEA’, they will get a list that includes the ‘Lead Received’ folder.
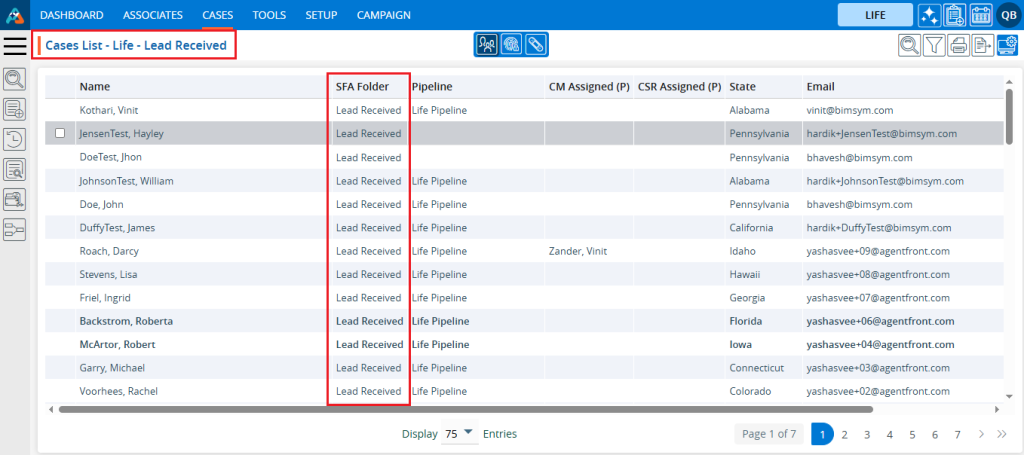
4. The selected SFA Folders cases are now displayed. The page will be named ‘Case List -Life – Lead Received’. In the ‘SFA Folder’ column, only cases labeled ‘Lead Received’ will be shown.
5. Select the option from the display settings to specify the number of cases to show per page, based on the total number of cases available in ‘Lead Received’.
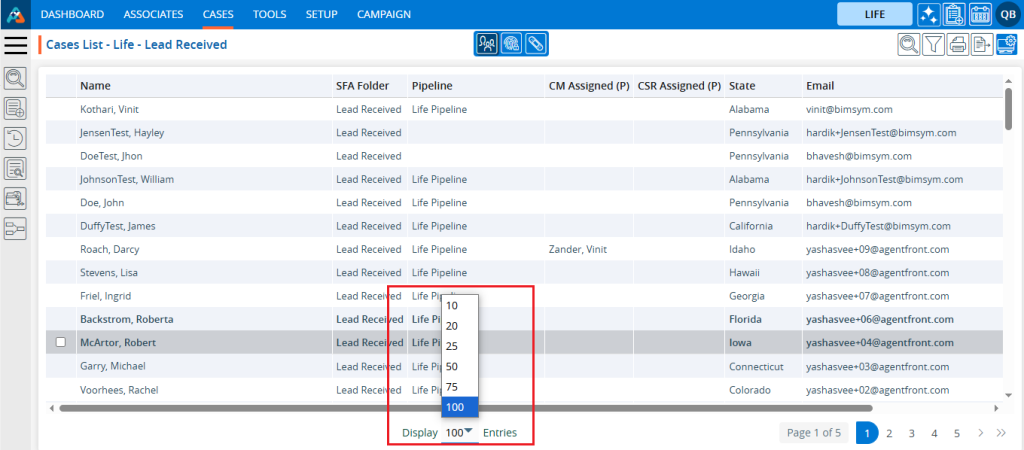
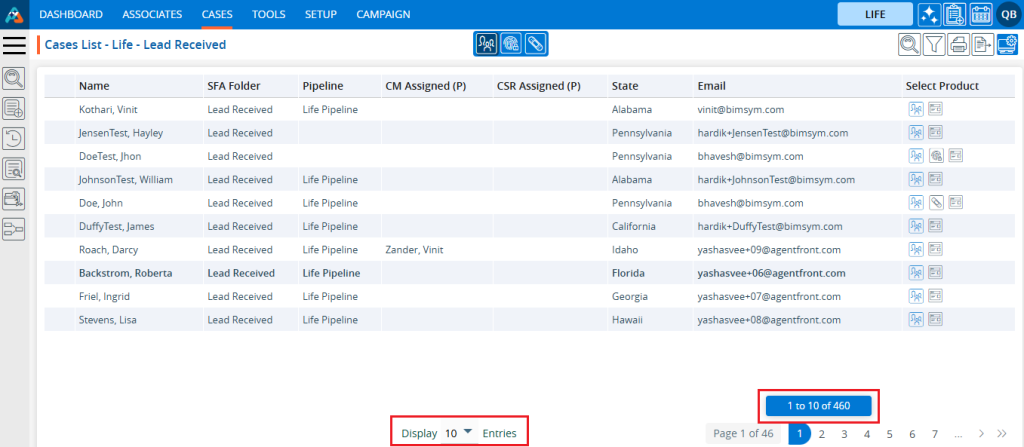
6. After selecting the display option, the system will display cases and pagination based on the selected setting. For instance, if the user chooses 10 cases per page, the system will organize and display 10 cases per page.
7. Click on the ‘Print’ option to print the current page. The print feature will print the data according to the current display settings.

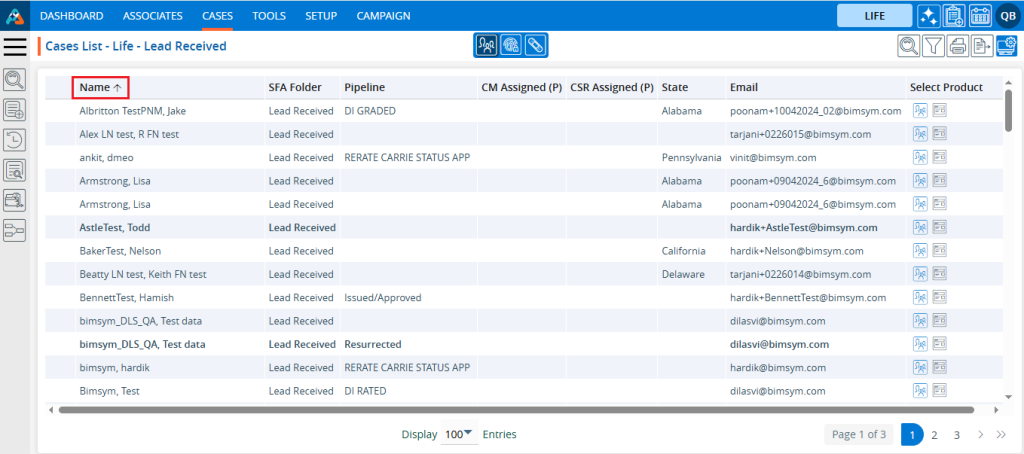
8. Click on the field title to view the cases in ascending or descending order. When the user clicks on the title, a downward arrow will appear beside it, indicating that the cases are arranged in descending order. For example, in the ‘Lead Received’ list, names will be displayed in descending order after clicking the title.

9. When the user clicks on the title again, an upward arrow will appear beside it, indicating that the cases are now arranged in ascending order. For example, in the ‘Lead Received’ list, names will be displayed in ascending order after clicking the title again.
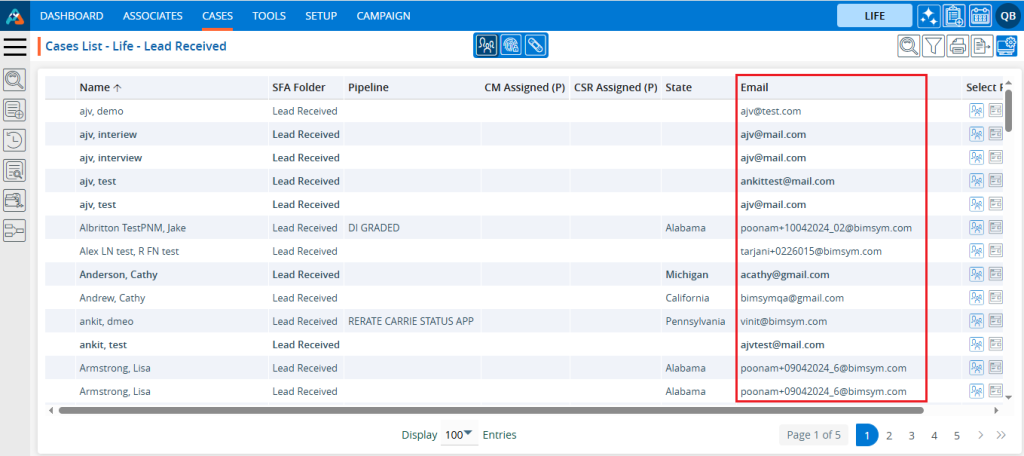
10. Click on the ‘Left Search’ and enter the data the user wants to search for in the Lead Received SFA Folder list. For example, if the user enters ‘Like’ ‘Email’ ‘bimsym.com’, it will display cases that have an email like ‘bimsym.com’.

11. The result is a list of cases in the ‘Lead Received’ SFA folder where the email like ‘bimsym.com’.
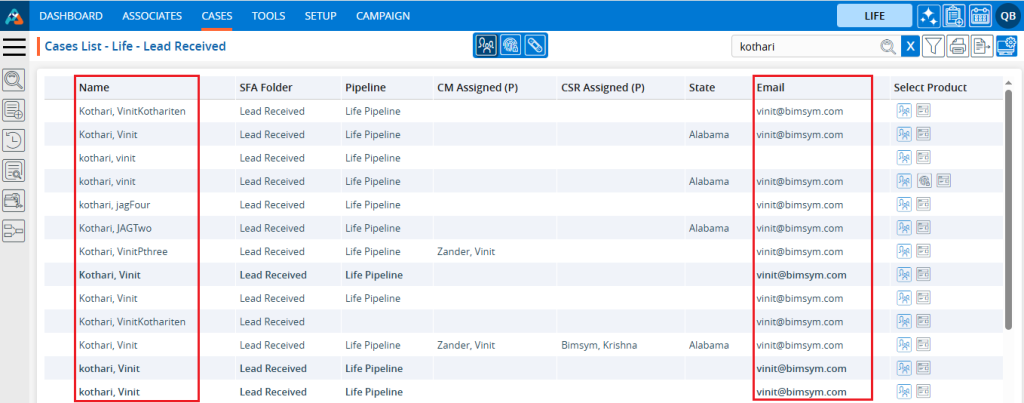
12. Click on the Quick Search and enter the data the user wants to search for in the ‘Lead Received’ SFA Folder list. For example, if you enter ‘Kothari’, it will display cases that have cases with this name in Lead Received SFA.

13. The resulting display is a list of cases in the ‘Lead Received’ SFA Folder where member name and email address contain word ‘kothari’.
14. Users can move the case to another SFA Folder by selecting the case and choosing an option from the Action Pop-up menu. For example, if the user selects a case from the ‘Lead Received’ folder and moves it to ‘Remarketing Lead’.
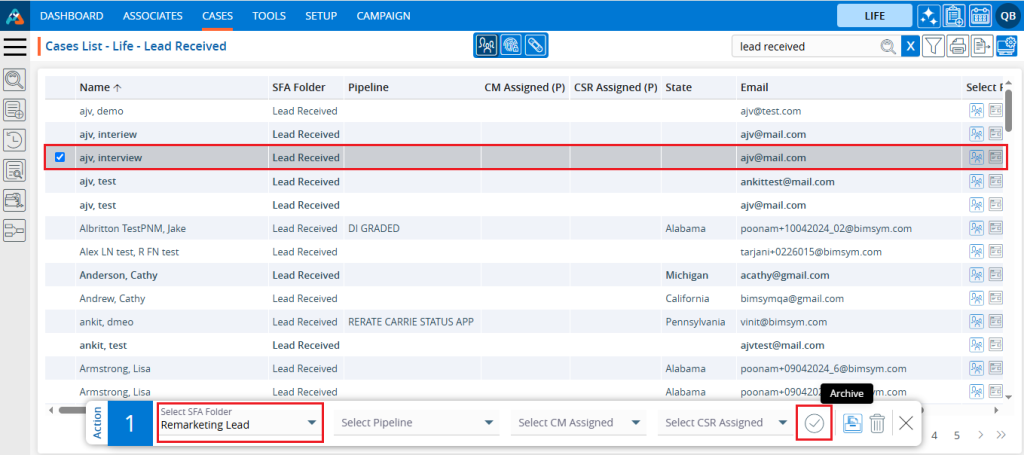
15. Once the selected case is moved from ‘Lead Received’, the system will display a confirmation message, and the case will then be available in the ‘Remarketing Lead’ SFA Folder.
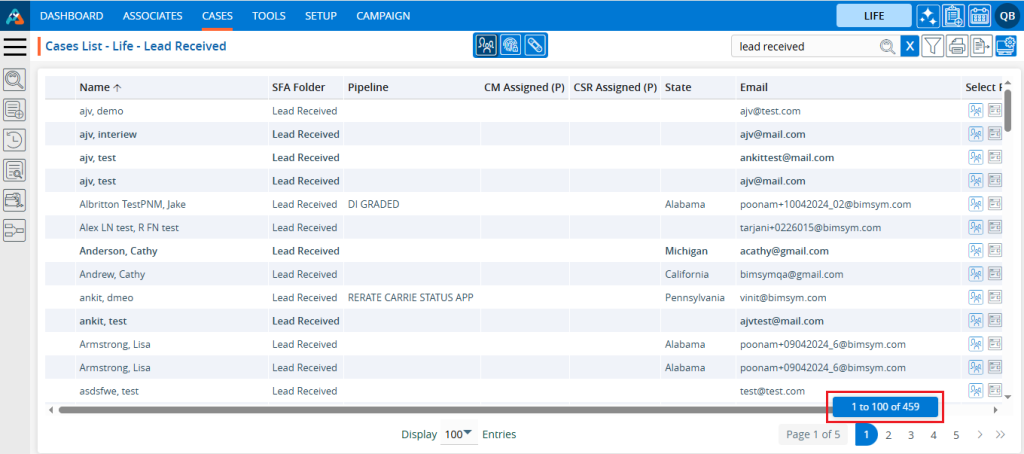
16. The total number of cases available in the ‘Lead Received’ list has decreased by 1.