The Case Print feature is used to print specific data for the current page after applying any filters or search criteria. For example, if you are on the second page, it will only print the data displayed on that page, not all the data in the listing.
The following are the steps to view and update the Associate Cases List:
1. Navigate to the ‘ASSOCIATES’ tab where you’ll find the ‘All Associates List’.

2. Click on an Associate to proceed.

3. After clicking on the Associate, the ‘Dashboard’ of their profile will open. Then, click on the ‘CASES’ option.
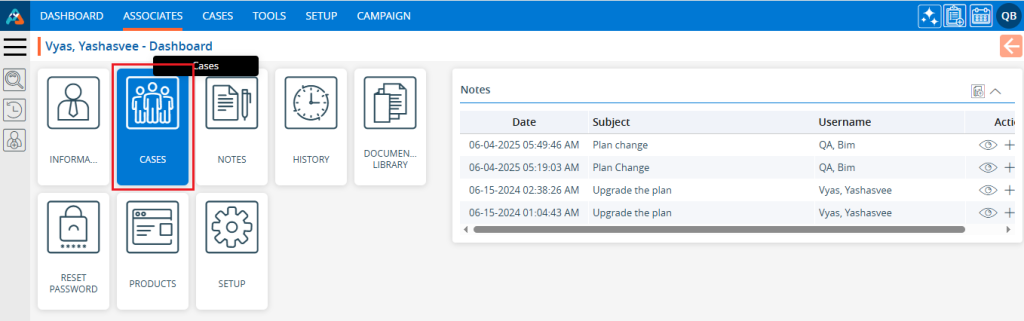
4. The ‘Cases’ page will open, showcasing a list of cases registered under this specific Associate.
5. Click on the ‘Print’ option.

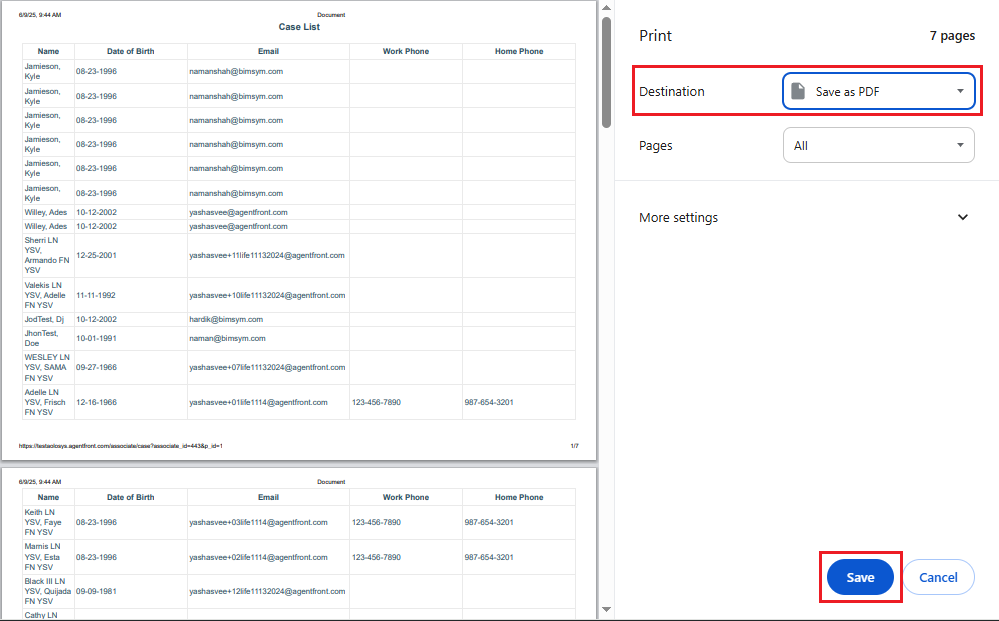
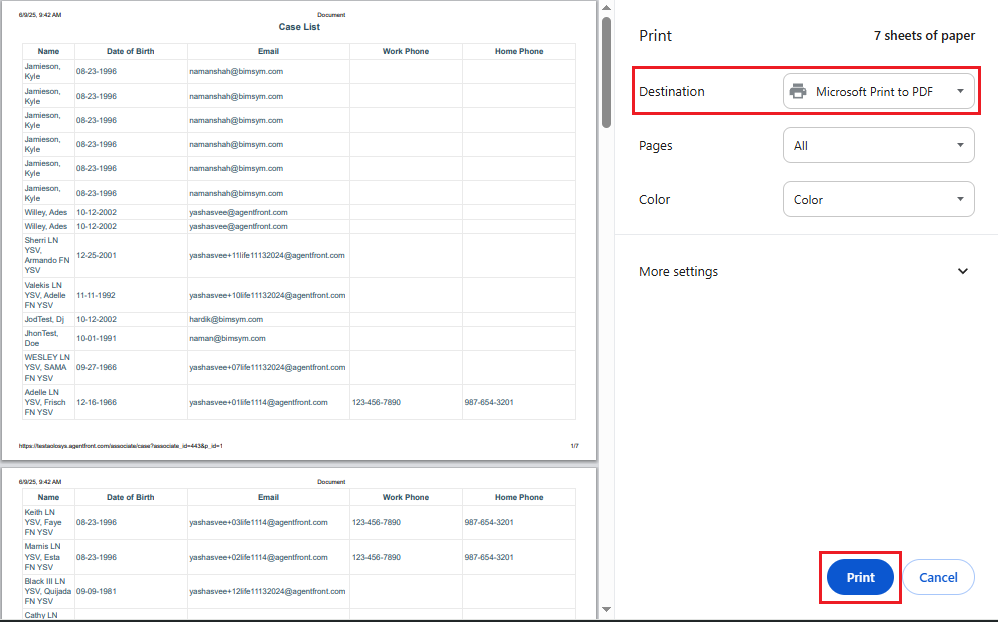
6. After clicking on ‘Print’, a popup page will open displaying the current page data and various print options.
- Select the print option from the ‘Destination’ field and click on the ‘Print’ button.
- Select the ‘Save as PDF’ option from the ‘Destination’ field and click on the ‘Save’ button to save the file.