The Documents feature allows users to add documents related to associates and save them in their profile.
The following are the steps for adding and accessing Documents:
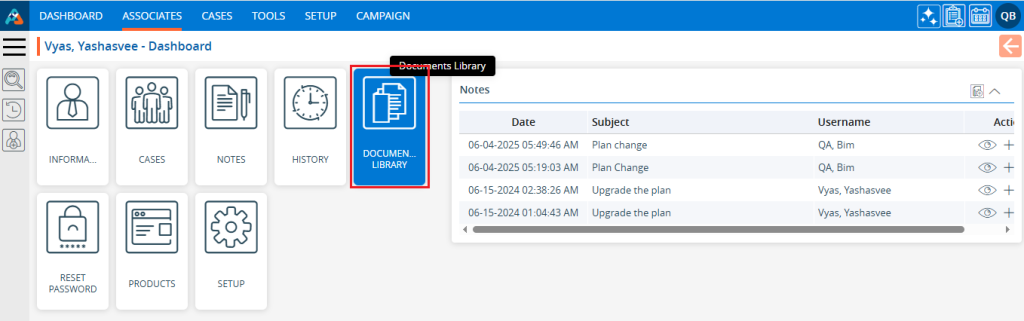
1. Navigate to the ‘ASSOCIATES’ tab where you will find the list of All Associates.

2. Click on an Associate to proceed.

3. The ‘Dashboard’ will open. Click on the ‘DOCUMENTS’ option.
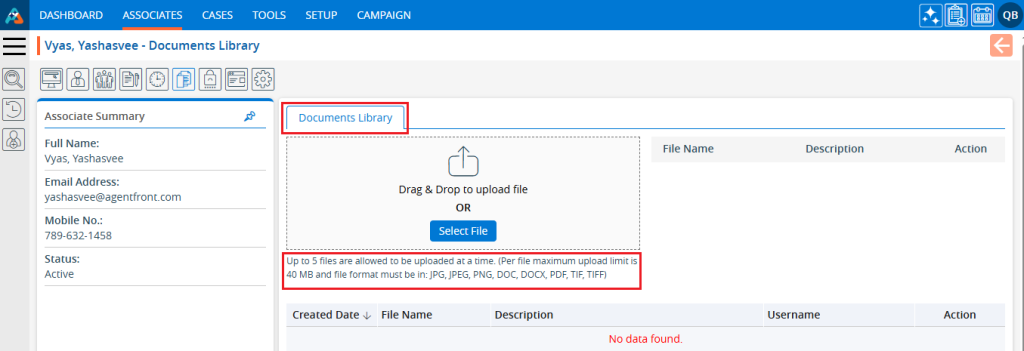
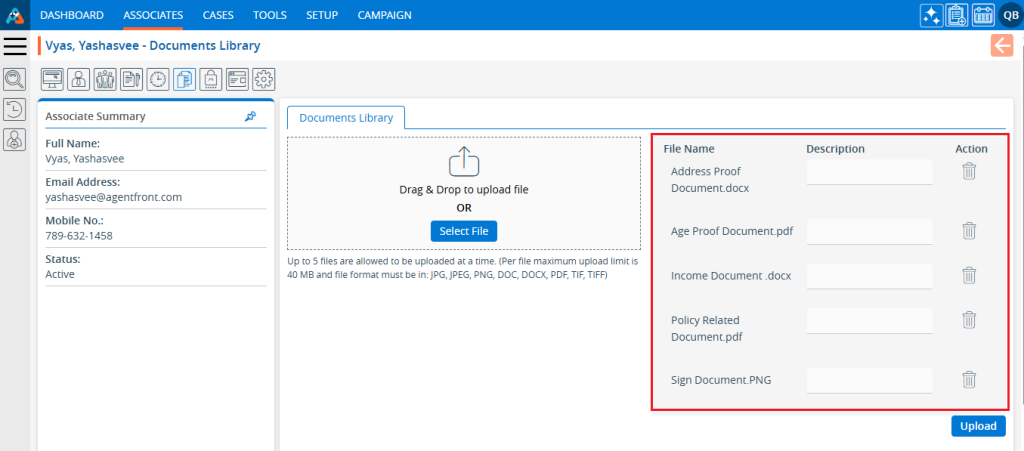
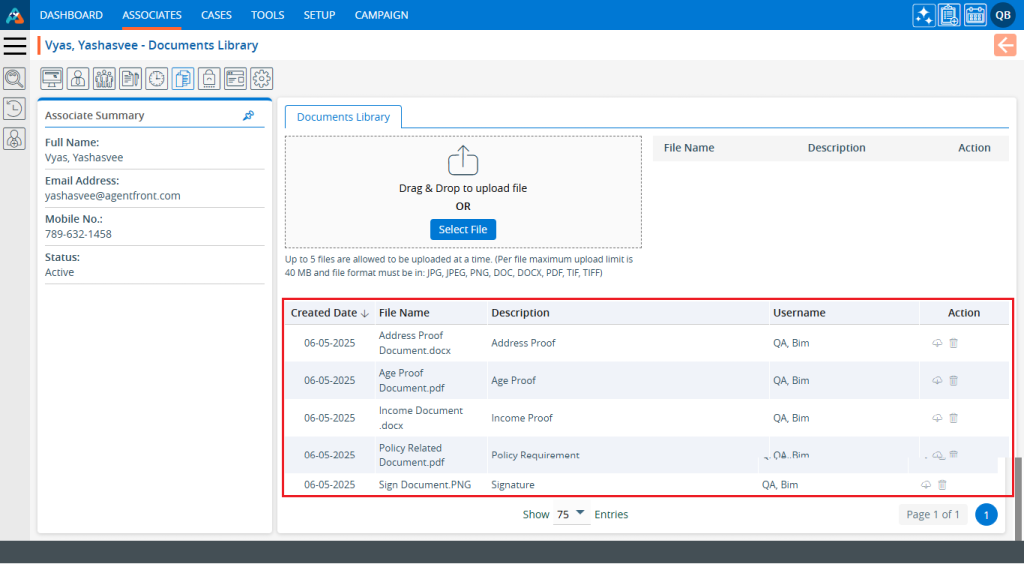
4. The Associate Documents page will open:
a. Users can upload up to 5 documents at once.
b. The maximum file/document size for upload is 40 MB.
c. Accepted formats for uploaded documents include JPG, JPEG, PNG, DOC, DOCX, PDF, TIF, and TIFF.
5. Click on the ‘Select File’ button to upload files.
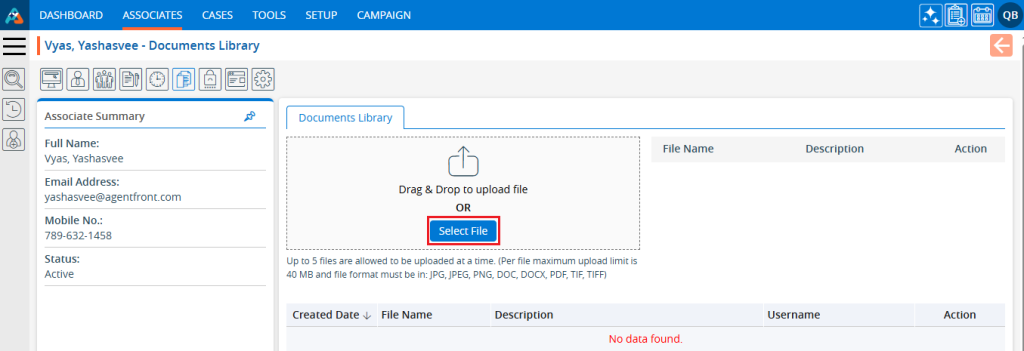
6. A pop-up window will open. Select the documents and click the ‘Open’ button.
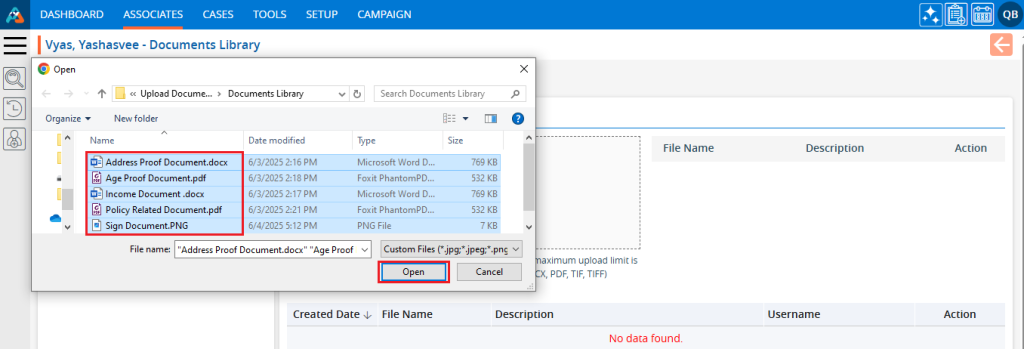
7. The selected documents will be ready for upload.
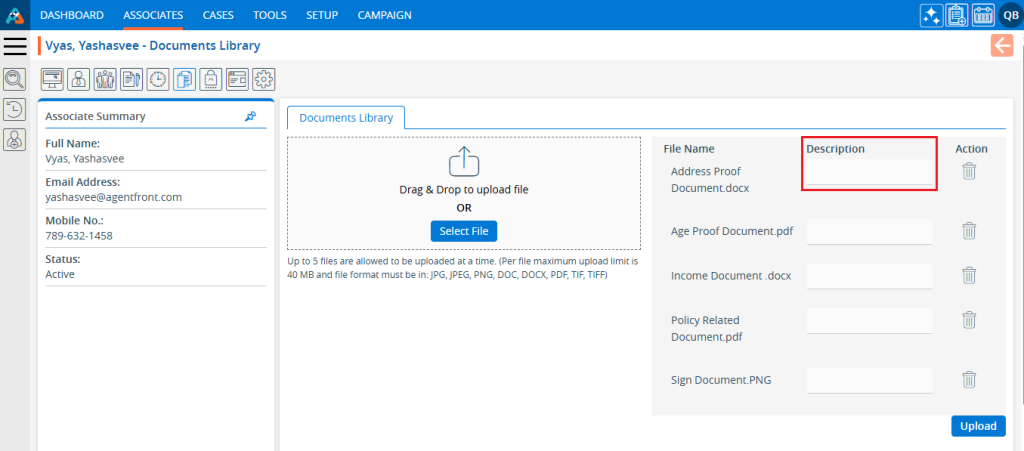
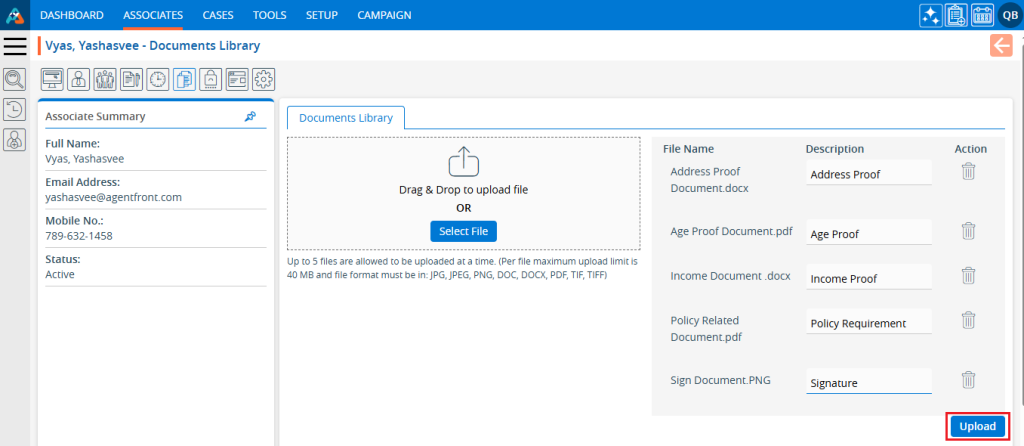
8. Add a ‘Description’ to each document file.
9. Click on ‘Upload’.
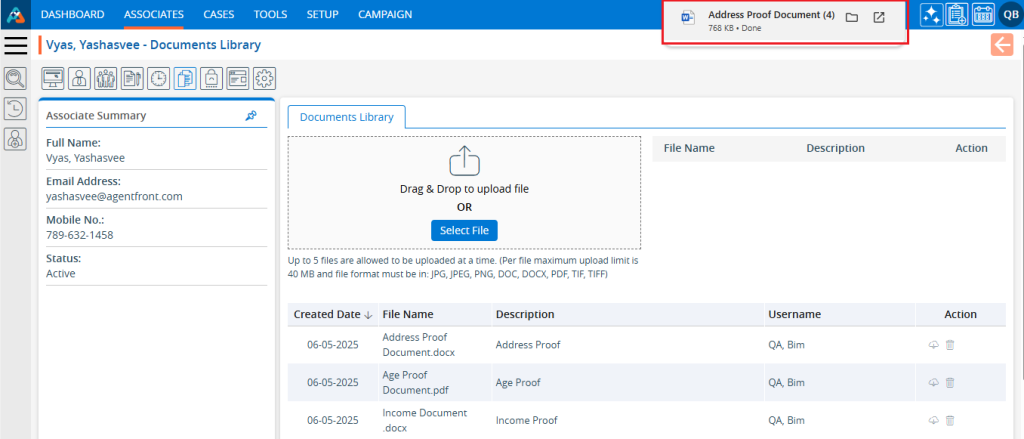
10. The selected documents will be uploaded, and a confirmation message will display.

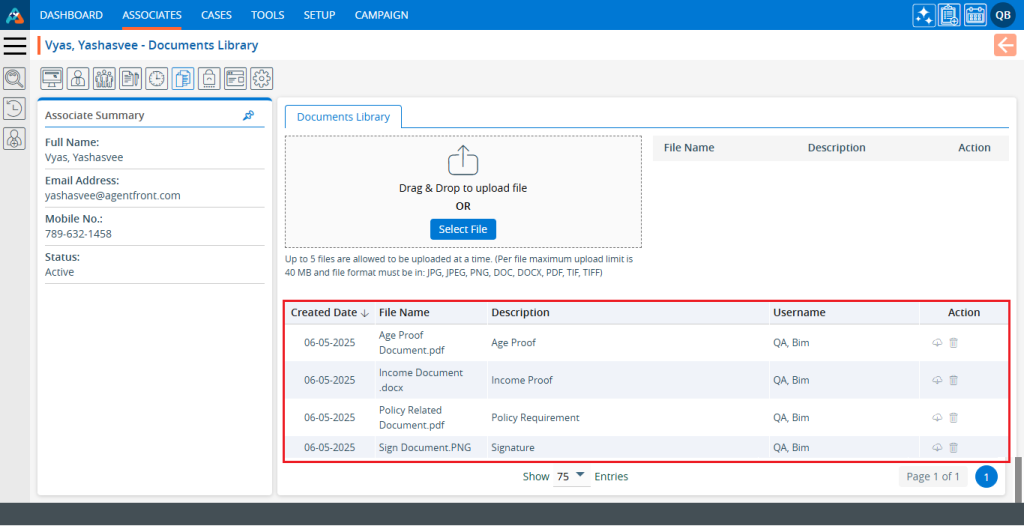
11. The documents have been added successfully and will now be displayed in the listing.
12. There are two options for managing the documents.
a. Download
b. Delete
13. If users want to download a document, they can use the ‘Download’ option. Click on the ‘Download’ icon next to the document that needs to be downloaded.
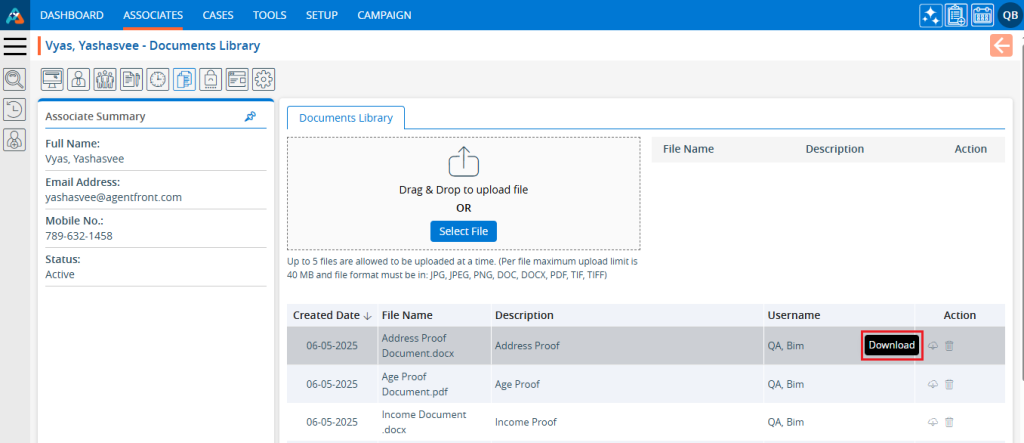
14. The document will be downloaded to your device.
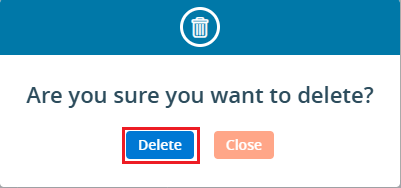
15. To delete a document, click on the ‘Delete’ icon of the document that needs to be removed.
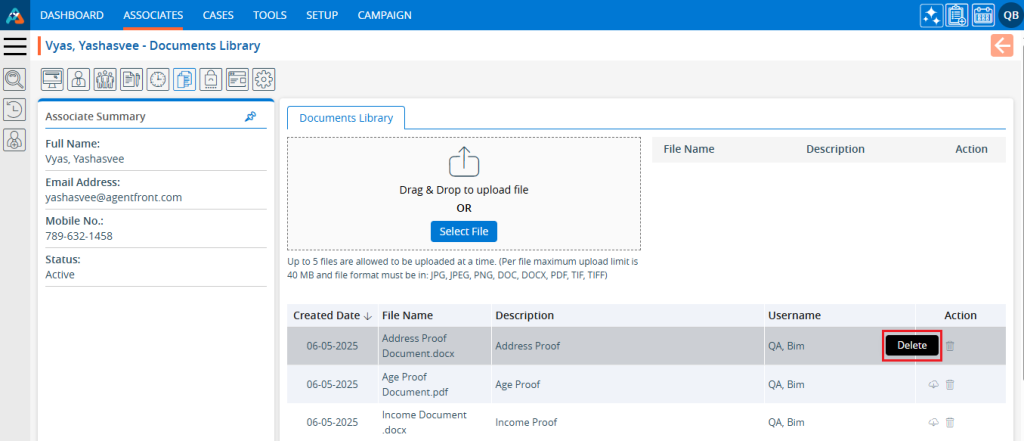
16. The system will ask for confirmation to delete the document. Click on the ‘Delete’ button to proceed.
17. The system will generate a confirmation message for the deletion of the document.

18. The document has been removed and will no longer be available in the list.