This feature is used to create a new Associate in the system.
The following are the steps to use the Add Associate feature:
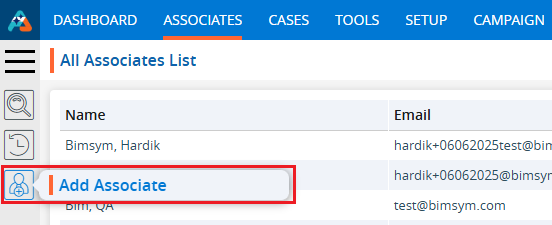
1. Navigate to the ‘ASSOCIATES’ tab.

2. Click on ‘Add Associate’ in the left-side panel.
3. A new pop-up form will open, offering the following three options: ‘Personal Information’, ‘Business nformation’, and ‘Account Information’.
4. The default ‘Personal Information’ form will open.
5. Users need to add their required information in these forms one by one.
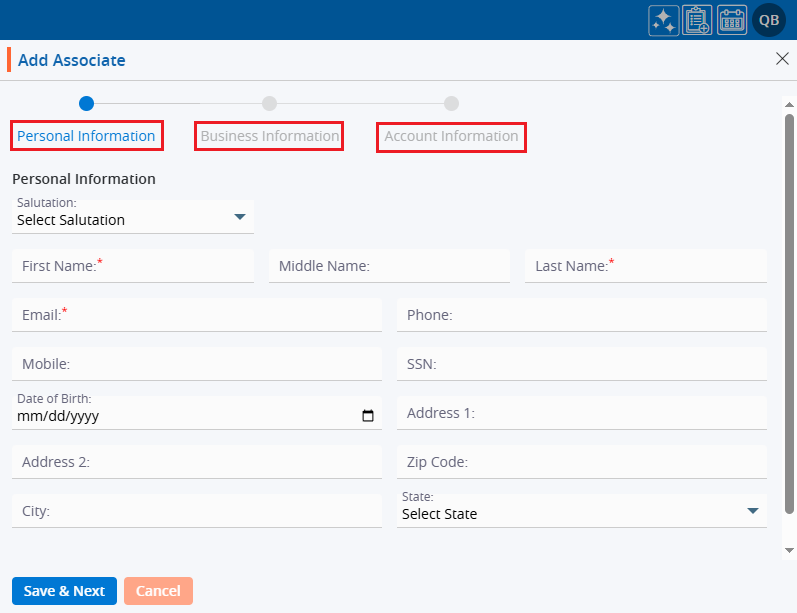
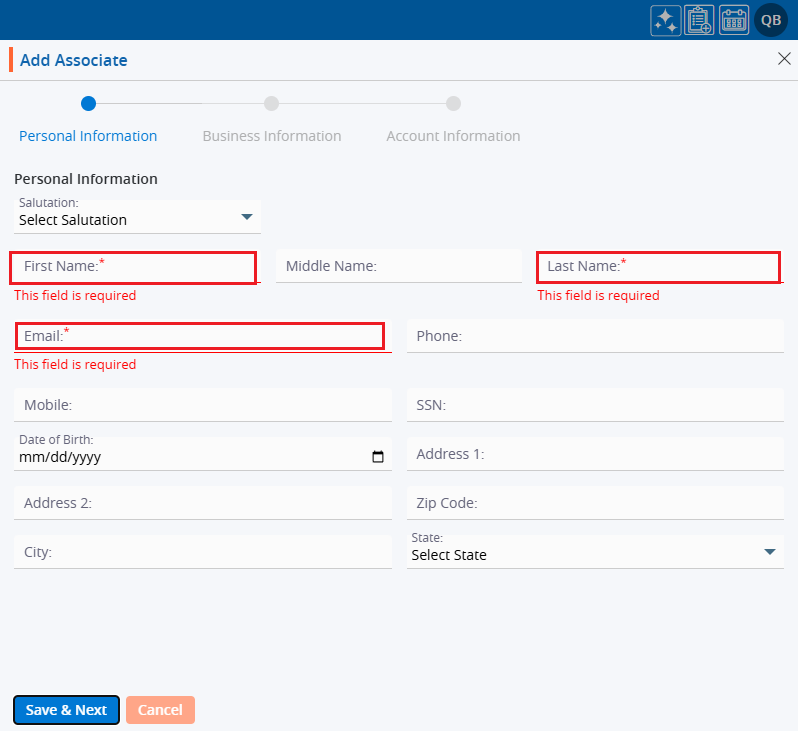
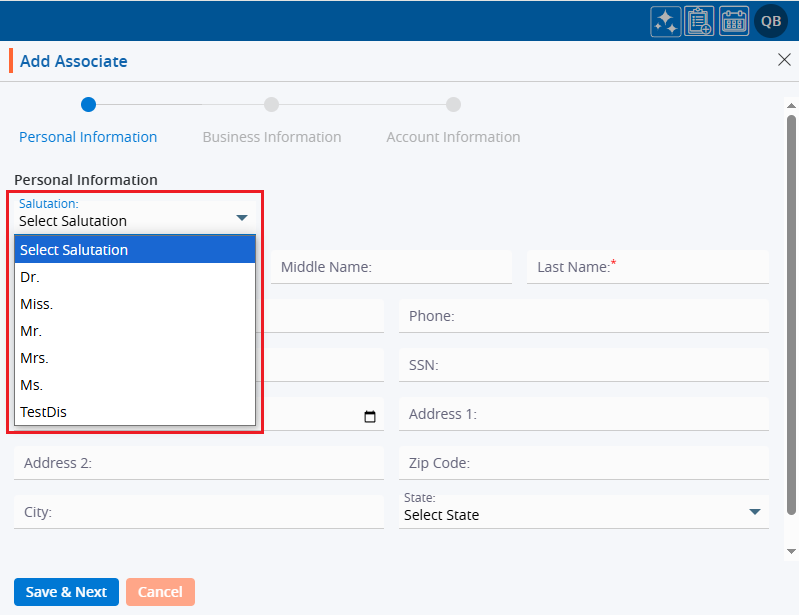
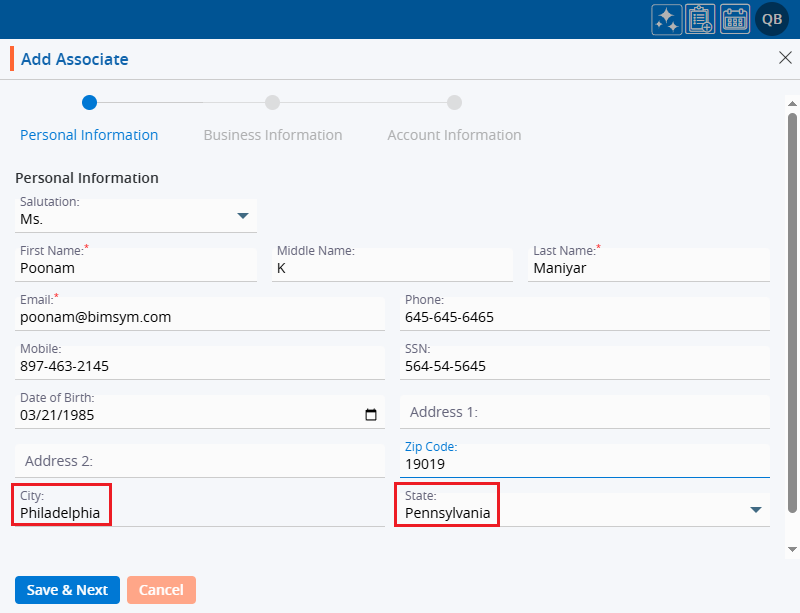
6. In the Personal Information section, fields marked with an asterisk (*) are mandatory.
7. The ‘Salutation’ field has a dropdown menu to select an option from.
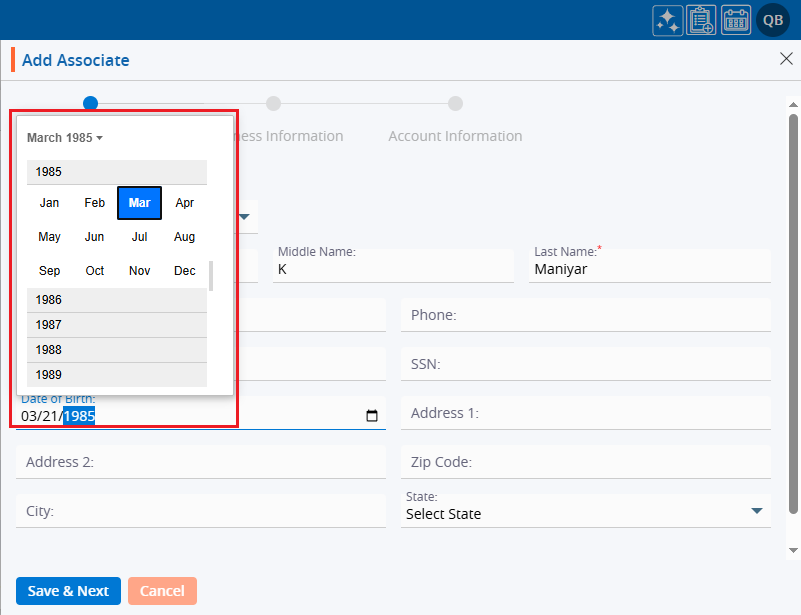
8. Choose the ‘Date of Birth’ from the calendar option provided.
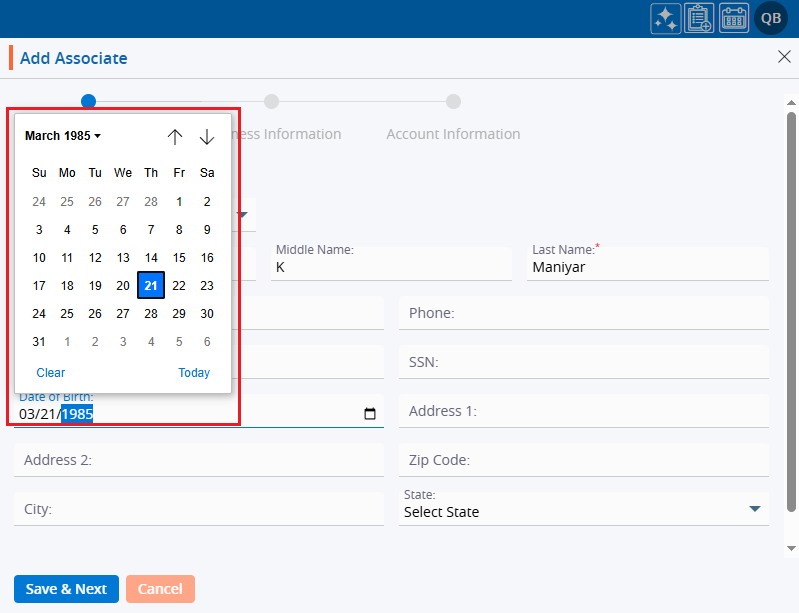
9. Clicking on the up and down arrows will display years and months for selecting the ‘Date of Birth’.
10. Enter the ‘Zip code’. The system allows entering 5 digits only in this field.
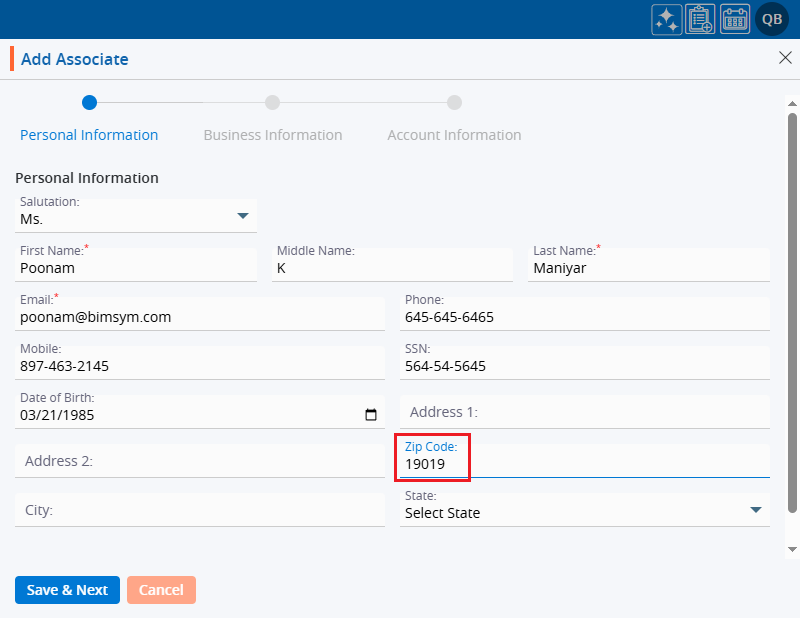
11. After entering the Zip Code, the system will automatically retrieve the corresponding values for ‘City’ and ‘State’.
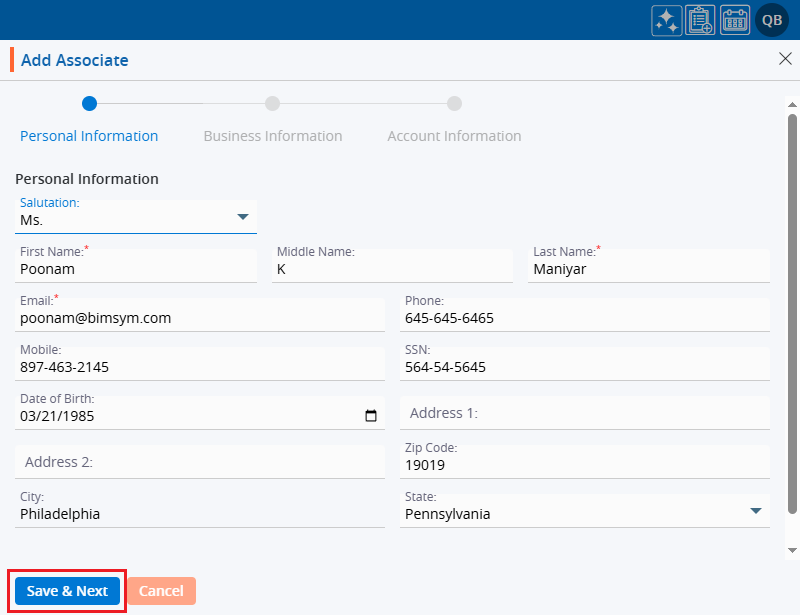
12. Once all the details are filled in, click on the ‘Save & Next’ button.
13. The system will generate a confirmation message indicating the Associate was created successfully, and the newly created Associate will appear at the top of the ‘All Associate List’.
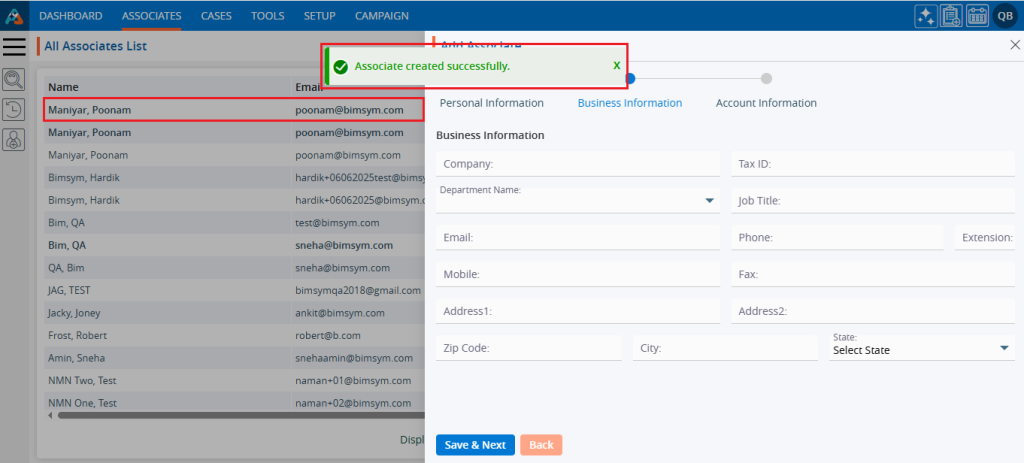
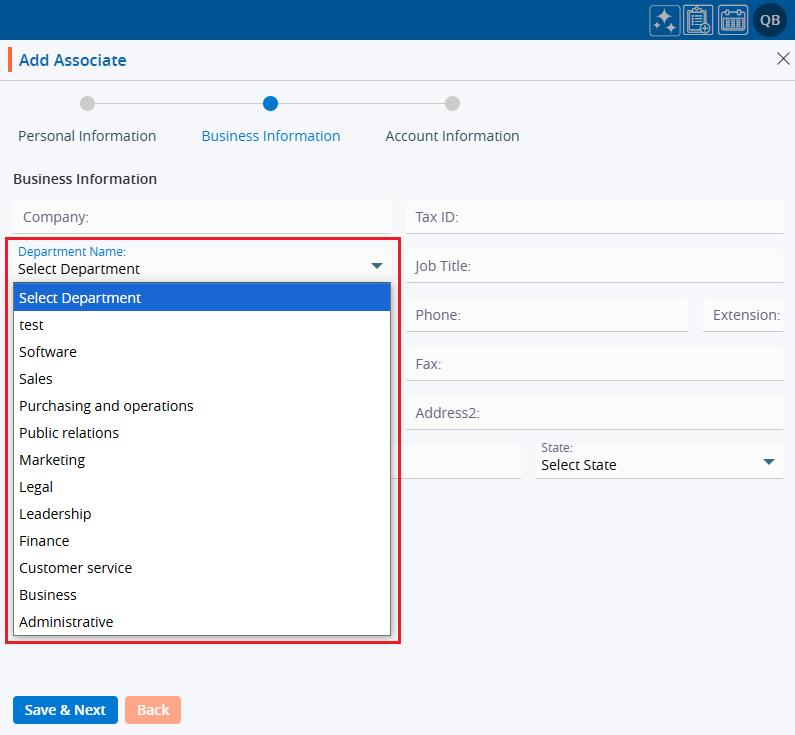
14. After completing the Personal Information form, the ‘Business Information’ form will open.
15. Users must fill in the mandatory fields marked with an asterisk (*).
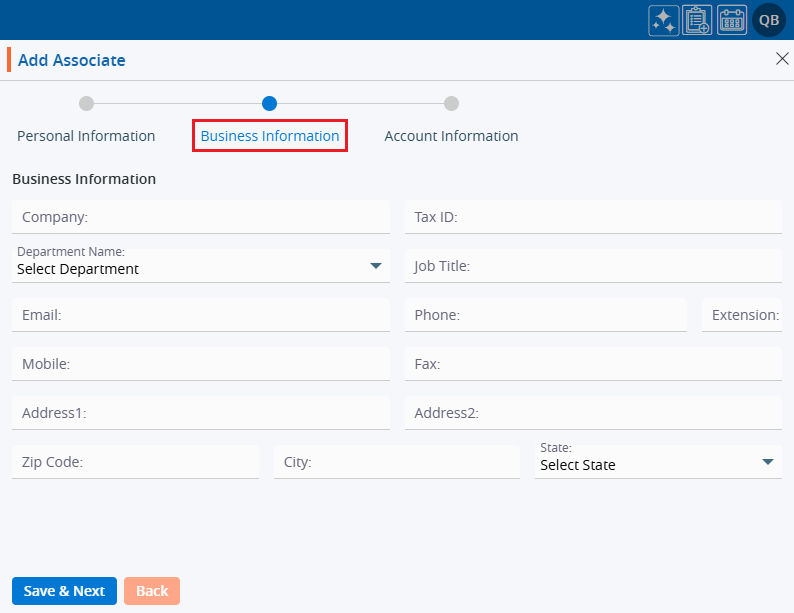
16. The ‘Department’ field provides a dropdown menu for selecting a value.
17. Enter the ‘Zip code’, and the system will automatically fetch the corresponding values for ‘City’ and ‘State’.
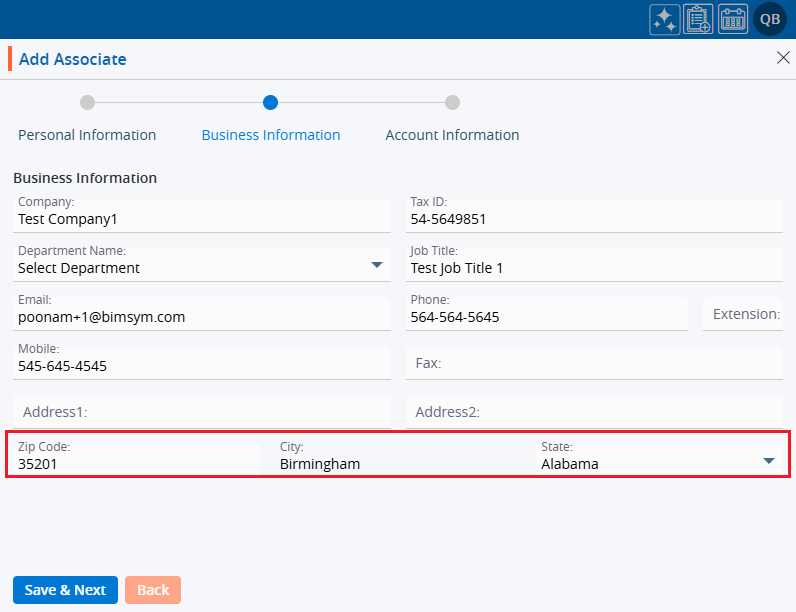
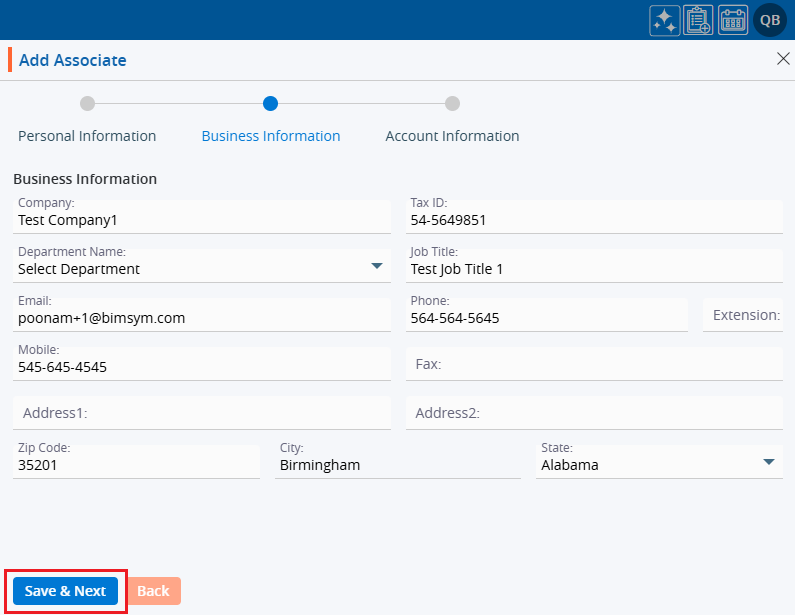
18. Once all the details are filled in, click on the ‘Save & Next’ button.
19. The system will generate a confirmation message for “Associate Information updated successfully,” and the information will be shown in the Associate Information section. Following this, the ‘Account Information’ form will open next.
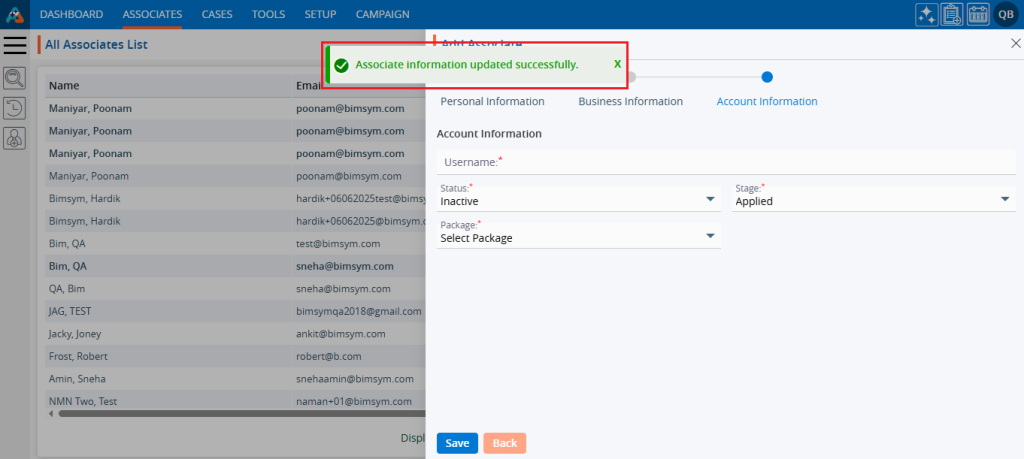
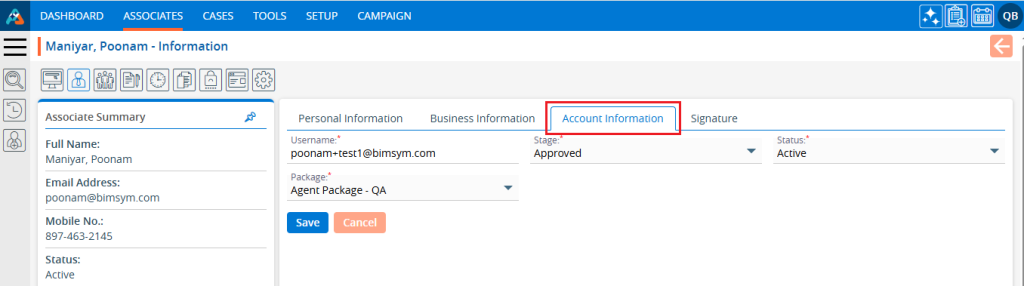
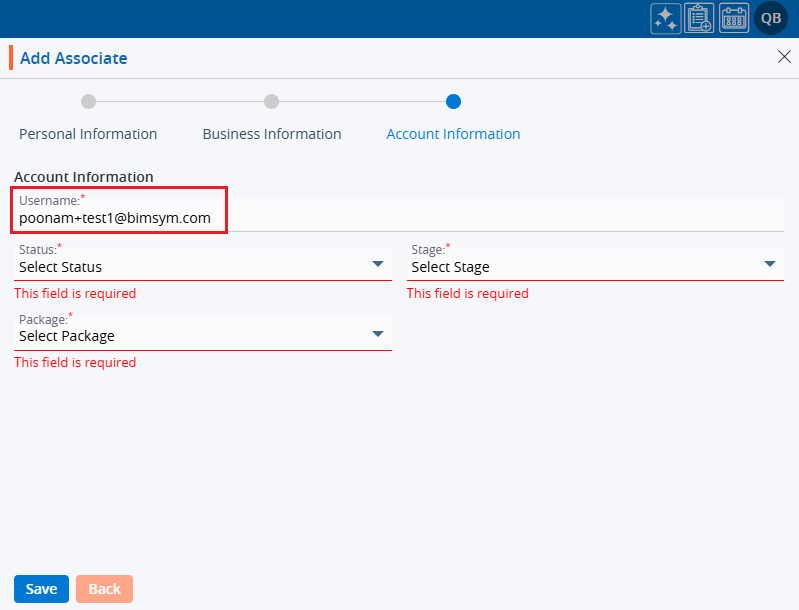
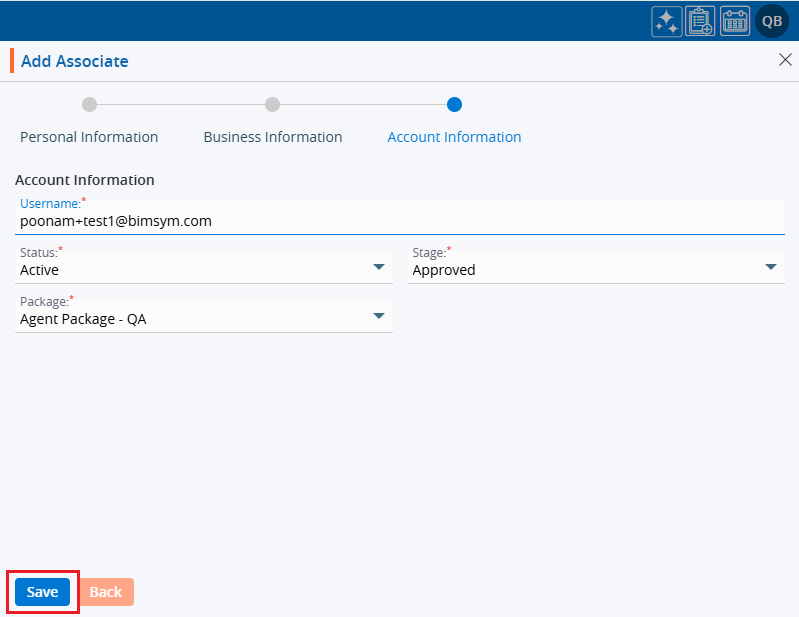
20. Users must enter the mandatory fields marked with an asterisk (*).
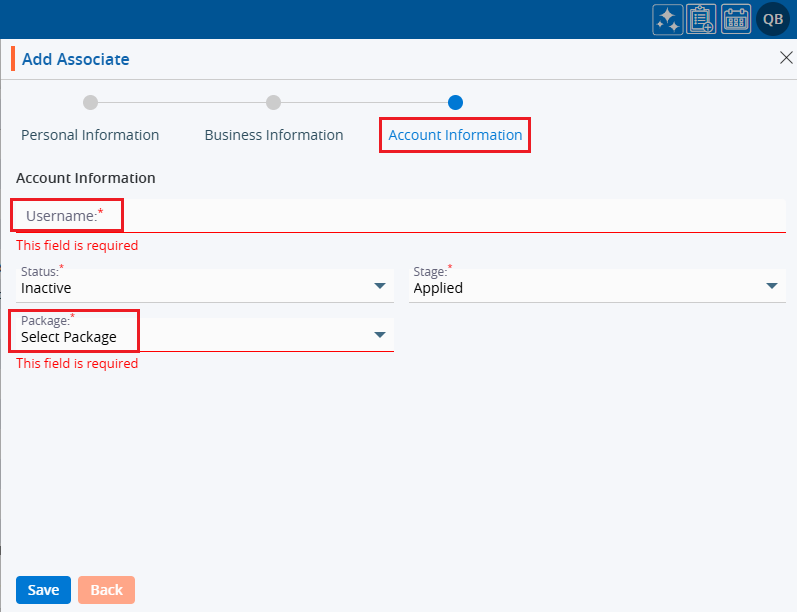
21. The Username must be in the format of an email address.
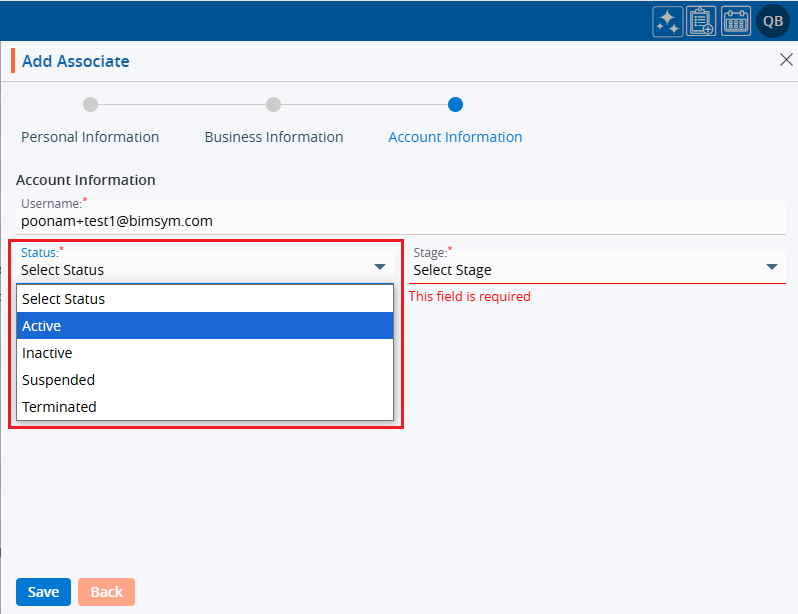
22. The ‘Status’ field provides a dropdown menu for selecting the status of the Associate.
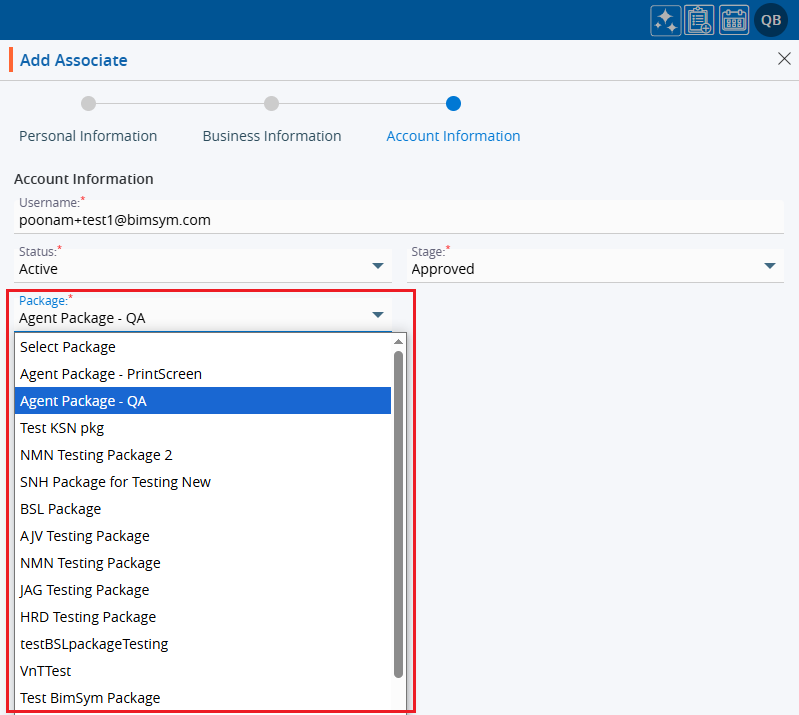
23. The ‘Stage’ field offers a dropdown menu to select the stage of the Associate.

24. Select the ‘Package’ of the Associate from the dropdown options.
25. Once all the details are filled in, click on the ‘Save’ button.
26. The system will generate a confirmation message for Associate Information updated successfully, and the Associate will be shown at the top of the ‘All Associate list’.
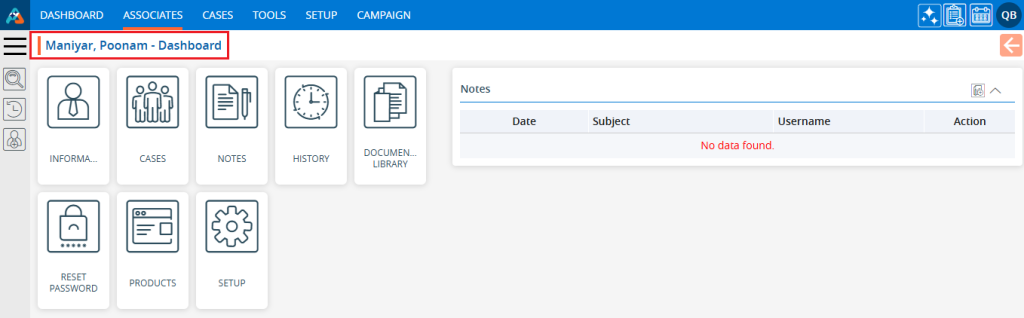
27. Click on the newly created Associate.

28. The associate ‘Dashboard’ will open as below.
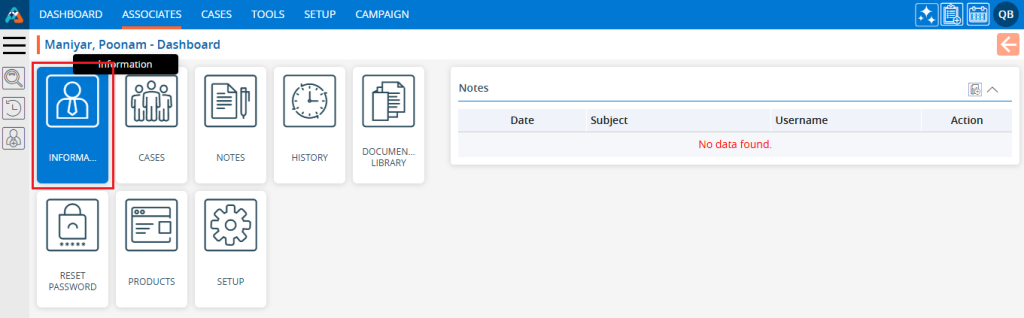
29. Click on the ‘INFORMATION’ tab.
30. The system will display the Personal Information in the ‘Personal’ tab which the user added at the time of creating the associate.
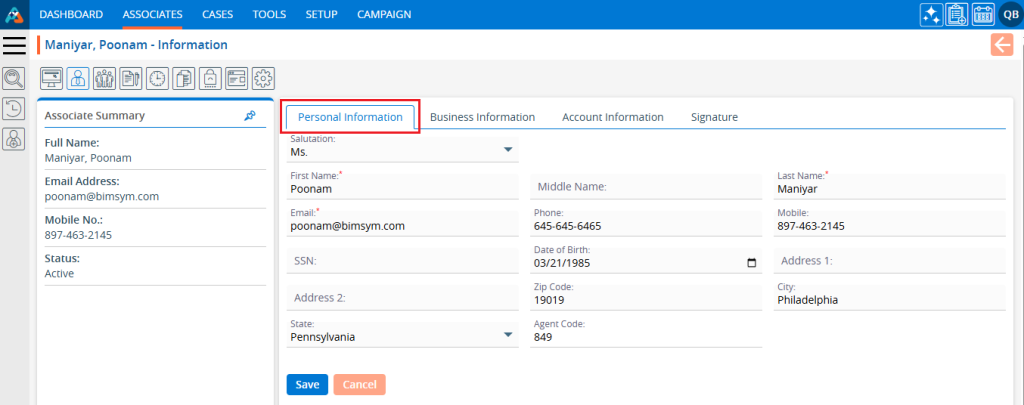
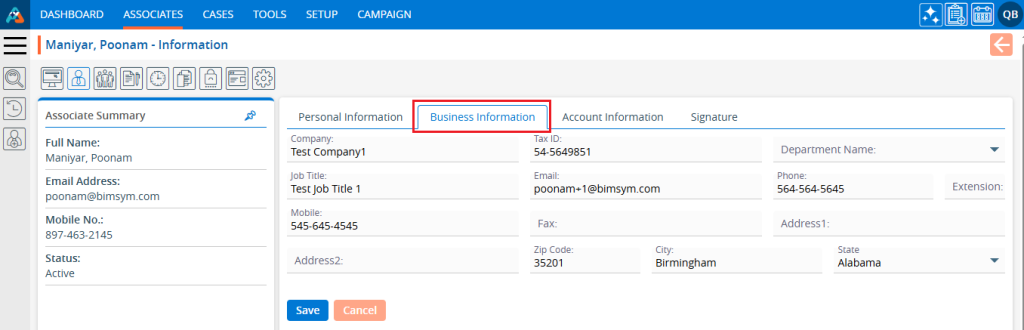
31. Click on the ‘Business Information’ tab, and the system will display the Business Information details in the Business Information tab.
32. Click on the ‘Account Information’ tab, and the system will display Account Information details in the Account Information tab.