An enhanced report in CRM for its own data refers to a report generated using the data stored within the CRM system, which is enriched with advanced features like custom filters, segmentation, and data visualizations. This type of report provides deeper insights into customer interactions, sales trends, and other CRM-specific metrics, helping businesses make informed decisions and optimize customer relationship strategies.
Create Enhance Report:
- Sign in to AgentFront CRM.
- From the top menu, choose Tools.
- Tools > Template Creator > Email setup page will open by default.
- In the left-side panel, select Reports > Enhance Report.
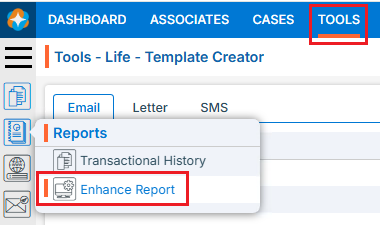
- The Enhance Report page opens with a list of existing Reports.
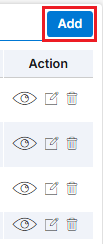
- There is an Add button above the Action Column on the top right side of the page to add new report.
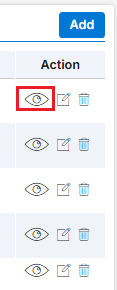
- There are options to View (
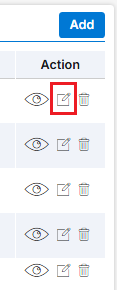
 ), Edit (
 ) and Delete (
 ) the existing Report under the Action column.
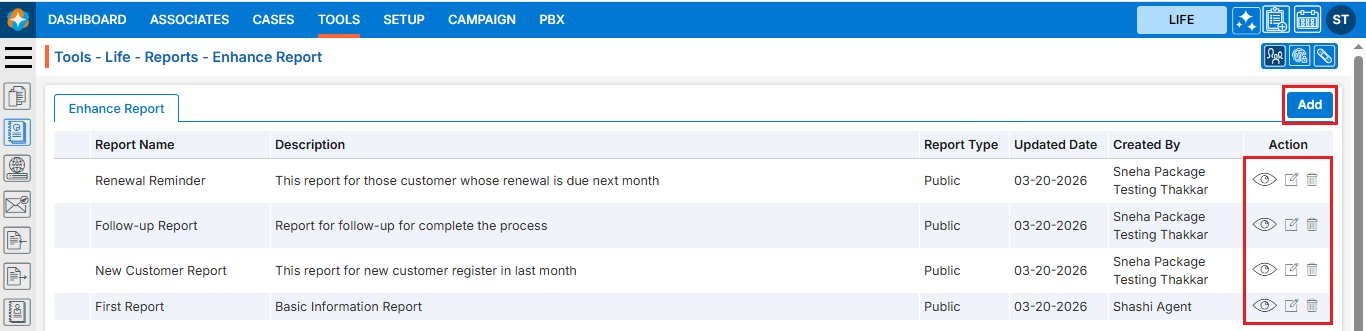
Add New Report
- Click on Add button to create new Report.
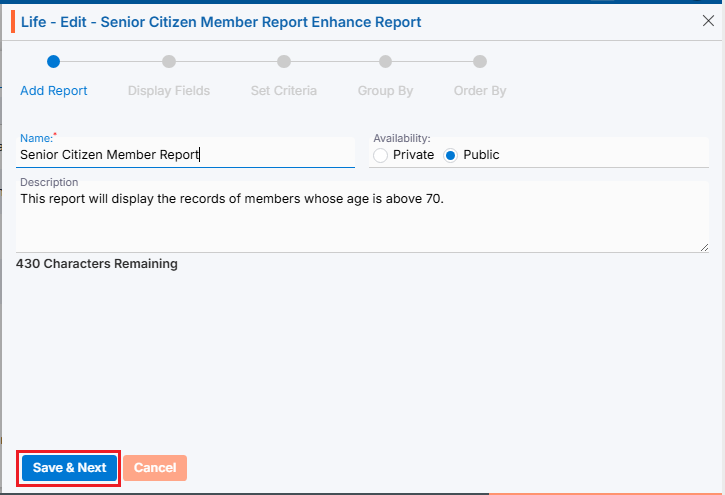
- A new page titled ‘Life – Add Enhance Report‘ will open, featuring the ‘Enhance Report’ tab with five steps to complete the process for creating report.
- Add Report
- Display Fields
- Set Criteria
- Group By
- Order By
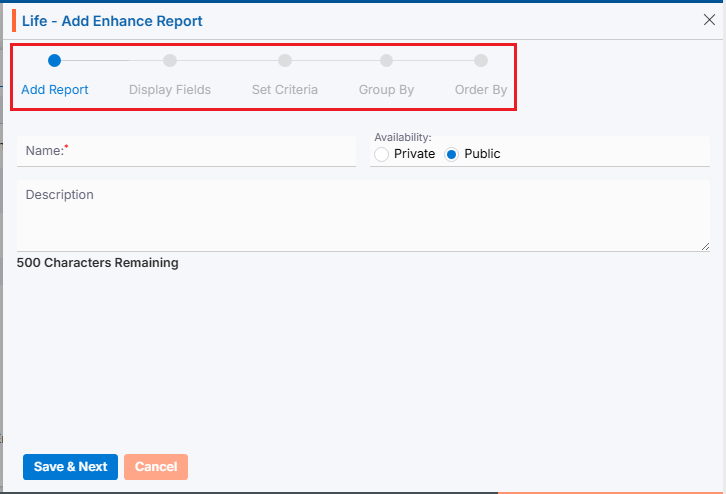
- Add Report
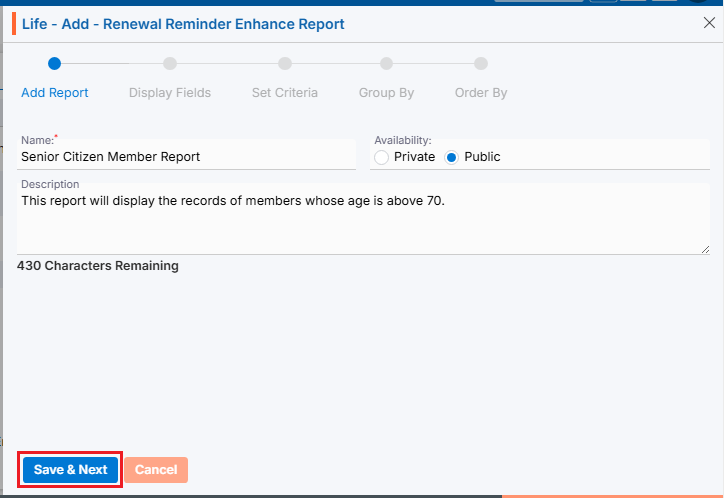
- To add Report, enter the following details:
- Name: Enter the clear, descriptive name. This is what users can identify the purpose of the report.
- Availability: Choose option Private/Public. When choosing ‘Private’, only the logged-in user can access this report, while selecting ‘Public’ allows all users of the application to access it.
- Description: Optional explanation of the report’s purpose.
- Once all the details have been filled in and the selection is complete, click ‘Save & Next’ to proceed to the next step: Display Fields.
- To add Report, enter the following details:
- Display Fields
- On the same page next step is for Display Fields.
- There will be 2 sections on this page:
- Available Columns: The fields will be listed in this section as available in the application, with counts considered as columns.
- Selected Columns: The selected fields will be listed in this section with counts, and these fields will be displayed as column header in the report. Maximum of 25 fields can be selected.
- Click on the down arrow to reveal the fields for selection.
- Additionally, the user can search for field names based on their requirements, and the system will display the corresponding results.
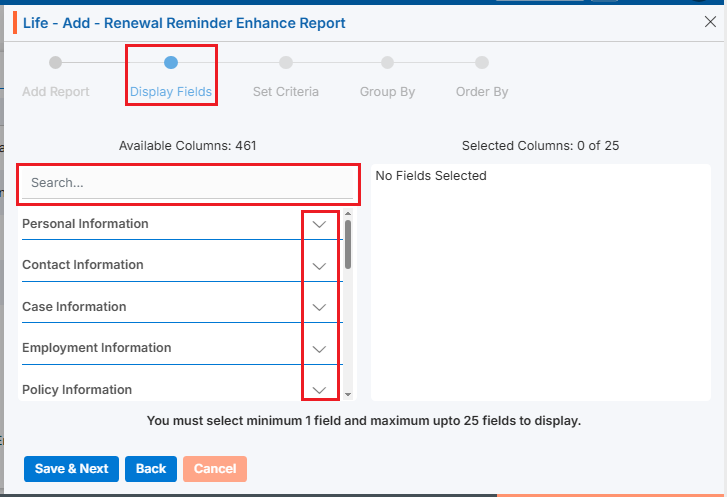
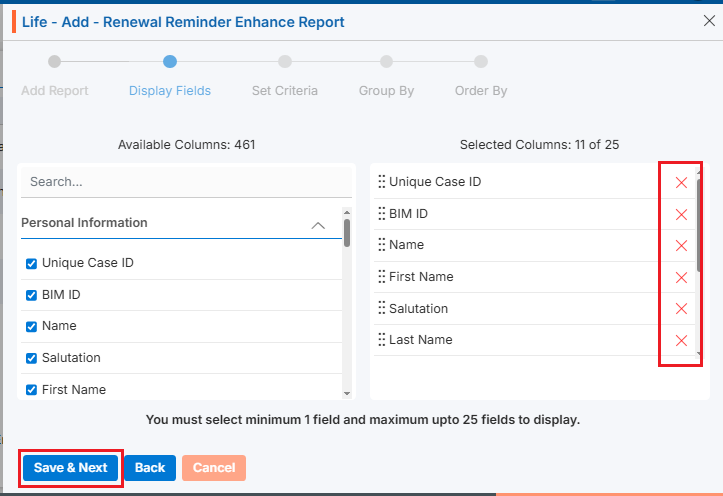
- Select the fields from the ‘Available Columns’ section, and the selected fields will be displayed under the ‘Selected Columns’ section.
- The sequence of the field list can be re-arranged using the six-dot (
 ) icon.
 - Hover over the Re-arrange () icon at the beginning of a field name.
- Click and drag the Re-arrange () icon to move up or down the fields to the desired position, then drop it to save the new order.
- Fields can be removed by clicking on the cross (X) icon, if not required.
- Once the selection and arrangement of fields are complete, click on ‘Save & Next’ to proceed to the next step: Set Criteria.
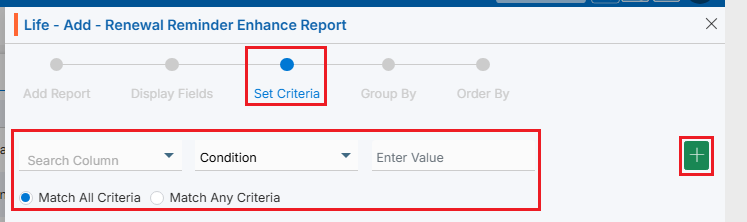
- Set Criteria:
- On the same page next step is for Set Criteria.
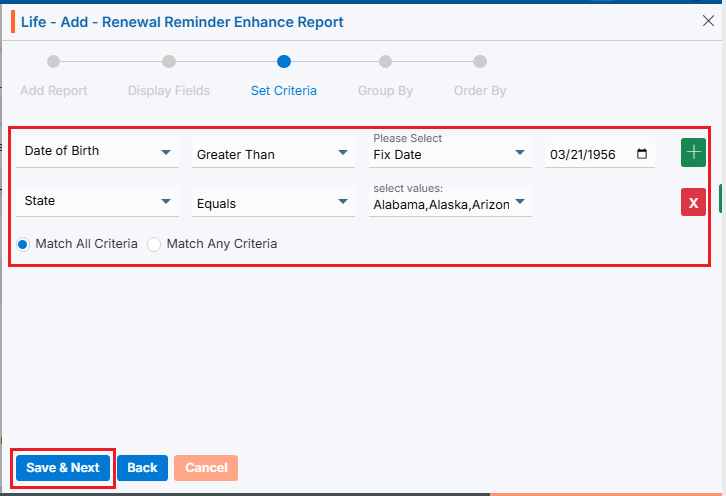
- Set Criteria for Report: Set the condition by defining the specific criteria the data must meet using the following fields:
- Search Column: Select the field for which the criteria need to be applied.
- Condition: Set the appropriate condition for the selected column field.
- Enter Value: Enter or select the value according to the selected column.
- Using plus sign (
 ) users can set multiple criteria simultaneously for a single report.
- Set Criteria for Report: Set the condition by defining the specific criteria the data must meet using the following fields:
- Match All Filter Rules or Match Any Filter Rule: Select any one of the given options.
- Criteria can be removed by clicking on the cross (
 ) icon, if not required.
 - Once all criteria are set, click ‘Save & Next’ to proceed to the next step: Group By.
- On the same page next step is for Set Criteria.
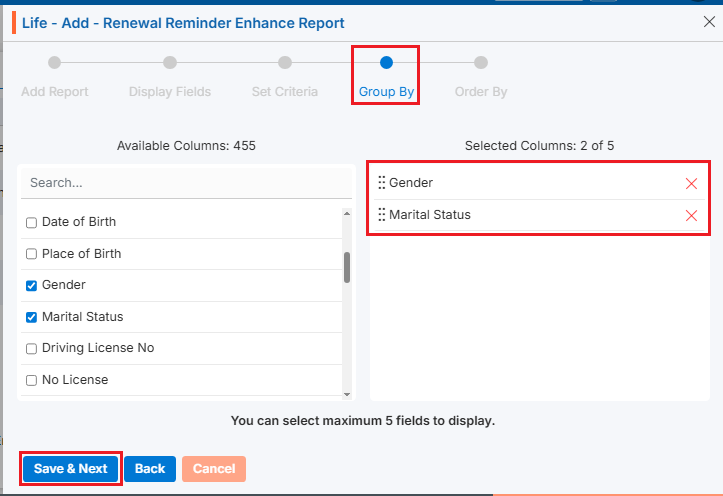
- Group By:
- On the same page next step is for ‘Group By’.
- Again, there will be 2 sections on this page:
- Available Columns: The fields will be listed in this section as available in the application, with counts considered as columns.
- Selected Columns: The selected fields will be listed in this section with counts, and the report will segregate the records based on the selected fields. A maximum of 5 fields can be selected to divide into groups.
- Click on the down arrow to reveal the fields for selection.
- Additionally, the user can search for field names based on their requirements, and the system will display the corresponding results.
- Select the fields from the ‘Available Columns’ section, and the selected fields will be displayed under the ‘Selected Columns’ section.
- The sequence of the field list can be re-arranged using the six-dot () icon.
- Hover over the Re-arrange () icon at the beginning of a field name.
- Click and drag the Re-arrange () icon to move up or down the fields to the desired position, then drop it to save the new order.
- Fields can be removed by clicking on the cross (X) icon, if not required.
- Once the selection and arrangement of fields are complete, click on ‘Save & Next’ to proceed to the next step: Order By.
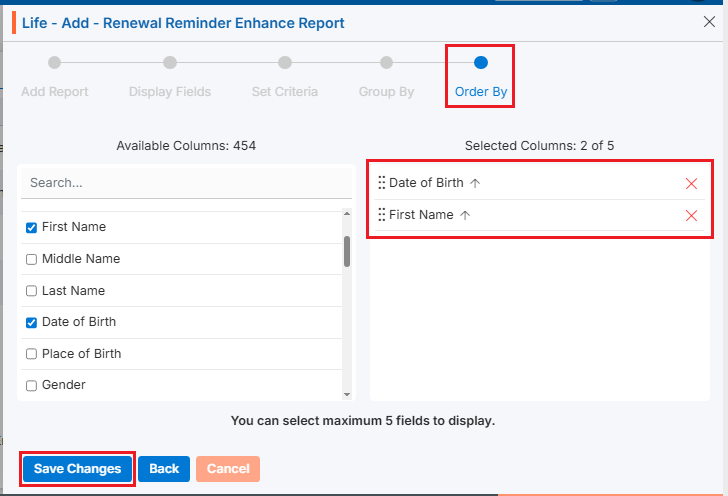
- Order By
- On the same page next step is for ‘Order By’.
- Again, there will be 2 sections on this page:
- Available Columns: The fields will be listed in this section as available in the application, with counts considered as columns.
- Selected Columns: The selected fields will be listed in this section with counts, and the records in the report will be sorted in ascending order based on the selected fields. A maximum of 5 fields can be selected for sorting.
- Click on the down arrow to reveal the fields for selection.
- Additionally, the user can search for field names based on their requirements, and the system will display the corresponding results.
- Select the fields from the ‘Available Columns’ section, and the selected fields will be displayed under the ‘Selected Columns’ section.
- The sequence of the field list can be re-arranged using the six-dot () icon.
- Hover over the Re-arrange () icon at the beginning of a field name.
- Click and drag the Re-arrange () icon to move up or down the fields to the desired position, then drop it to save the new order.
- Fields can be removed by clicking on the cross (X) icon, if not required.
- Sorting will be applied according to the sequence set in the ‘Selected Columns‘ section.
- Once the selection and arrangement of fields for the sorting process are complete, click on ‘Save Changes’.
- Created report will now be listed and can be viewed according to the set criteria.

View Report
- Click on View () icon from the Action Column for the report you want to view.
- Clicking on View () icon, new page will open and will display the records according to the set criteria.
- Notes:
- When you view the report, you will see only the first 500 records. However, when you export the report, you will see all the records in the CSV file.
- Once you export, the field(s) selected in the ‘Group by’ will be displayed as a new column at the end of the file.
- Notes:
- Additionally, there will be a print (
 ) and export (
 ) feature available to print or download the report’s data.
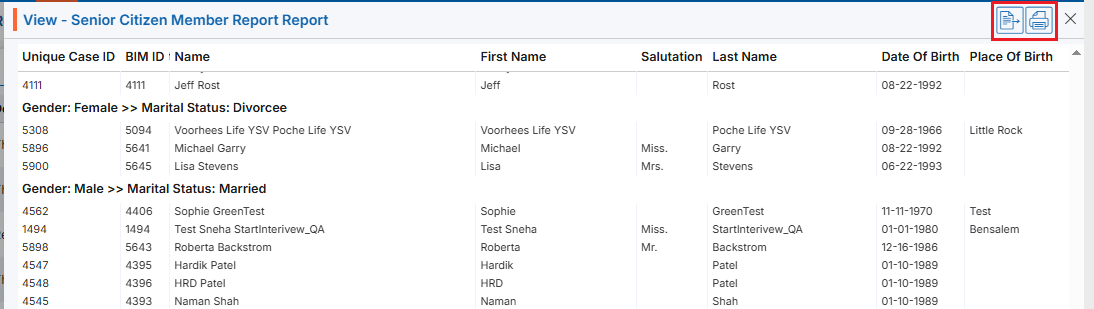
Update Report Criteria
- To update the existing report criteria from the available list, click on Edit () icon from the Action Column for the report you want to edit/change.
- The report window will open with the existing criteria, allowing the user to modify the report criteria and options.
- The user can make changes at any step as needed.
Delete Report
- To delete the existing report from the available list, click on Delete () icon from the Action Column for the report you want to delete.

- It will ask for confirmation popup, click on Deleted button to delete report otherwise click on Close button.
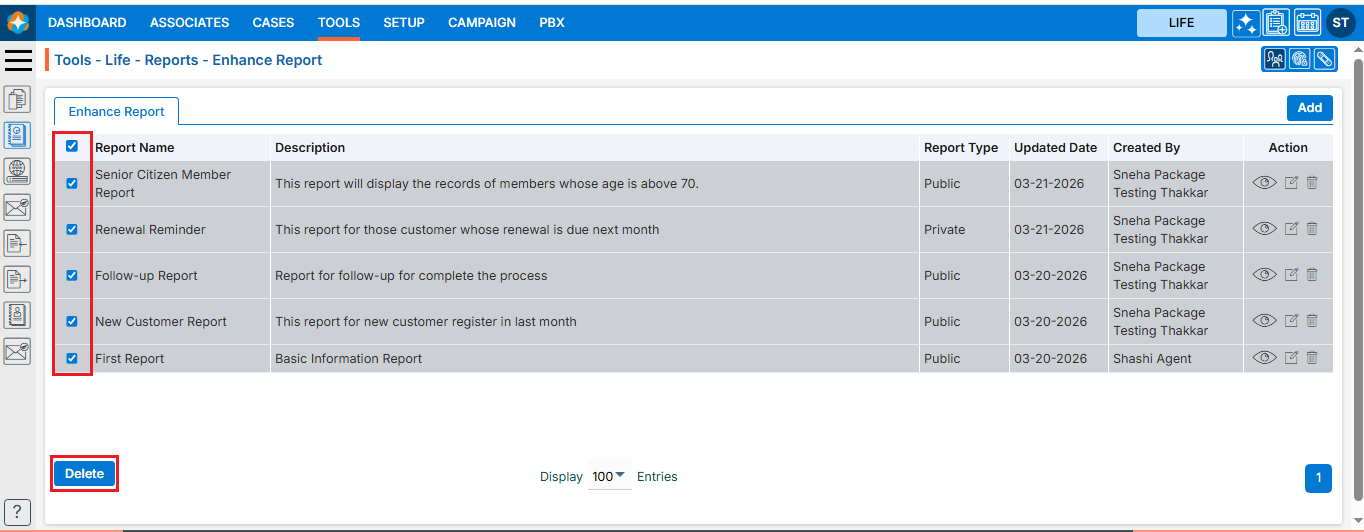
- Multiple reports can be deleted simultaneously.
- Select the reports by checking the checkboxes before the report names, and then click the ‘Delete’ button at the bottom of the page.
Note: The delete button will be enabled only after selecting at least one report using the checkbox.