The Start Interview link is used to create a new case.
The following are the steps to create a case using Start Interview:
1. Go to the ‘CASES’ tab and click on ‘Add Case’ from the left side panel.
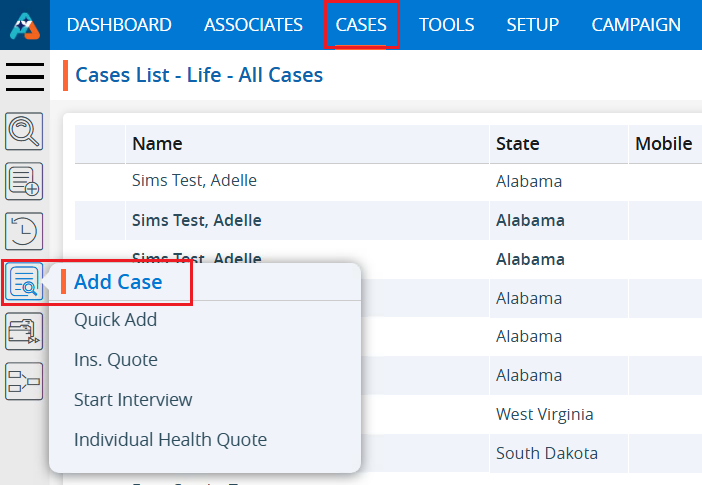
2. Click on ‘Start Interview’.
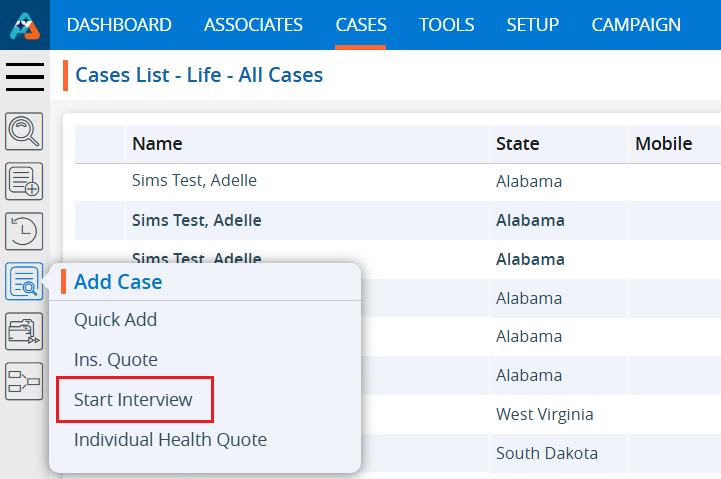
3. A Pop-up window to ‘Start Interview’ will open.
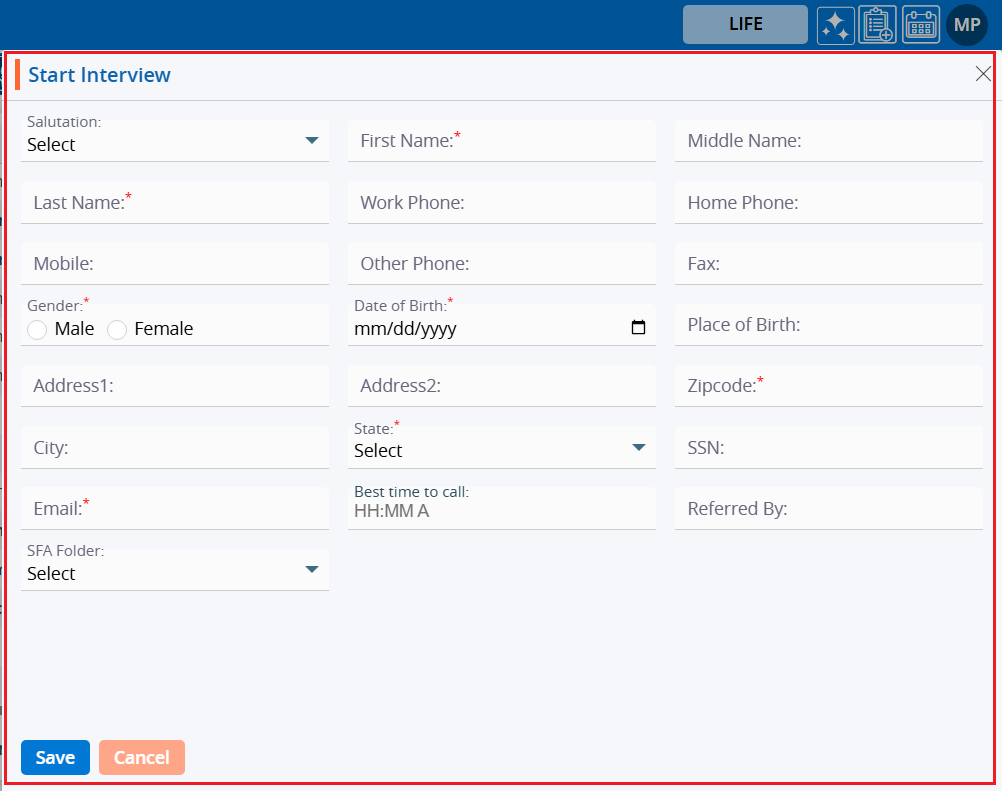
4. Fields marked with an asterisk (*) are mandatory.
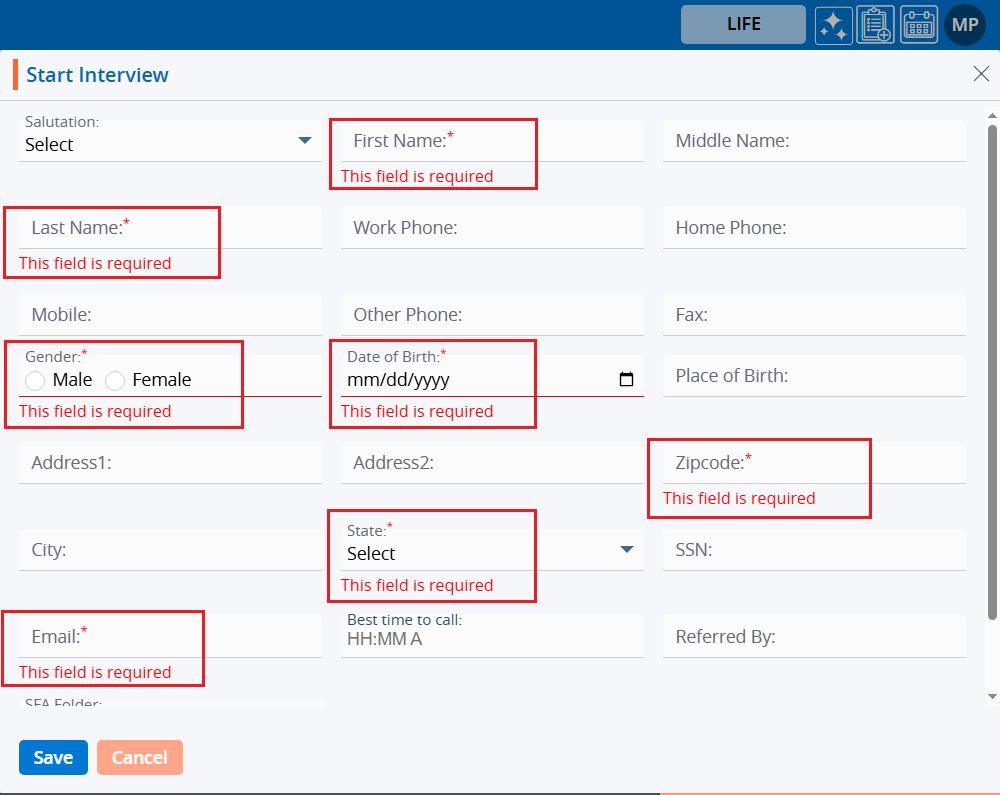
5. Fill in all the information.
6. The Salutation’ field has a drop-down menu for selecting the value.

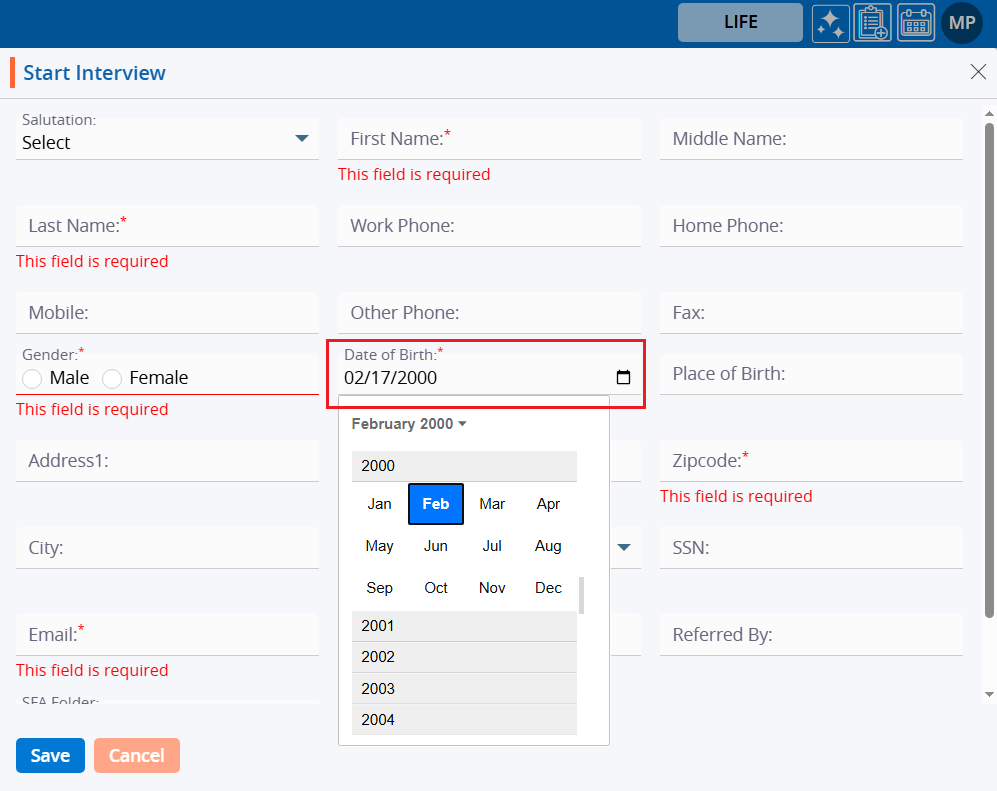
7. Select the ‘Date of Birth’ from the calendar option.
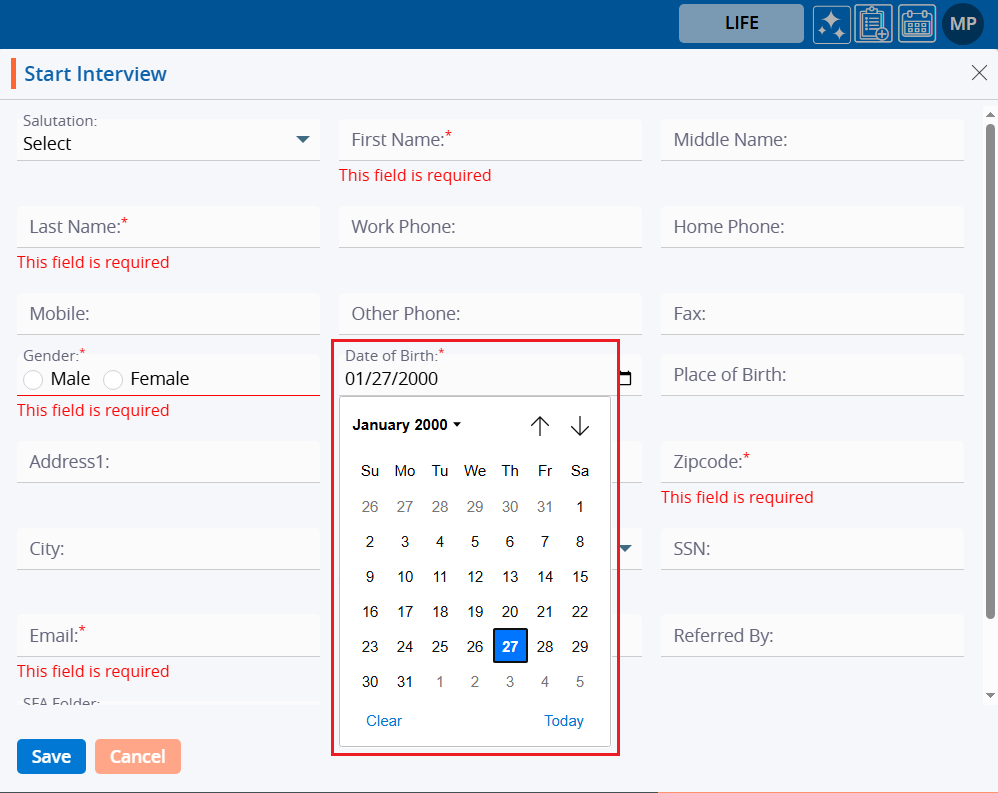
8. The system will display years and months for selecting the ‘Date of Birth’.
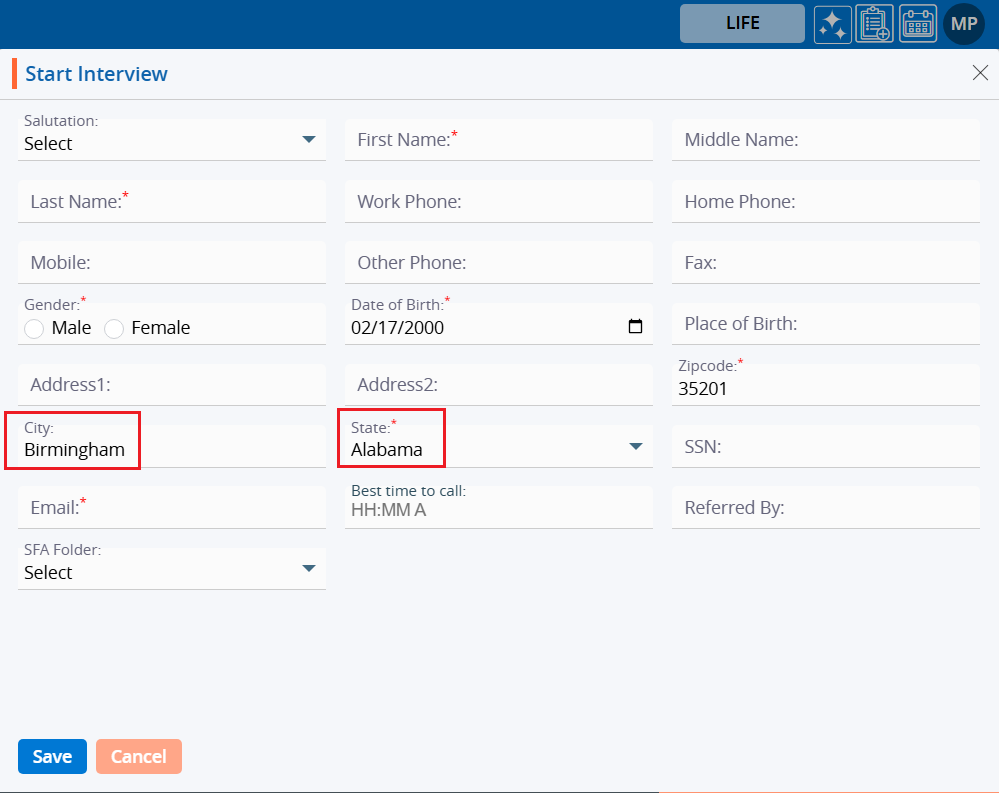
9. Enter the ‘Zip code’.
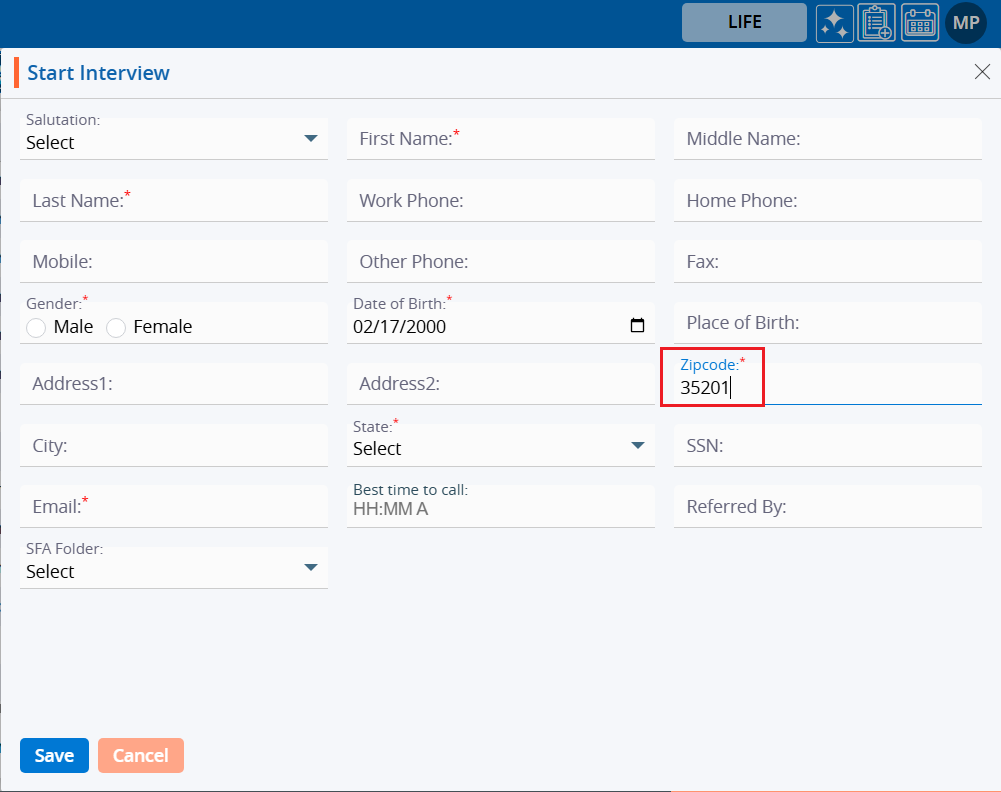
10. After entering the ‘Zip code’, the system will automatically add the ‘City’ and ‘State’.
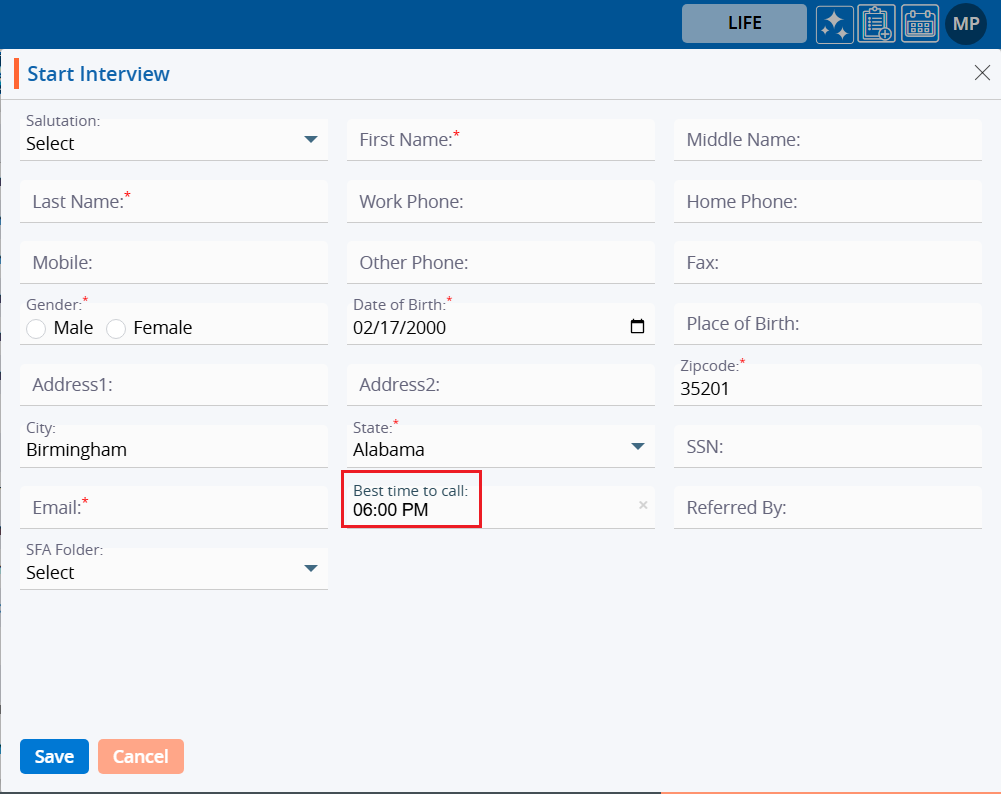
11. When you click ‘Best time to call’, the system will show timing options in the format of HH:MM with AM/PM.
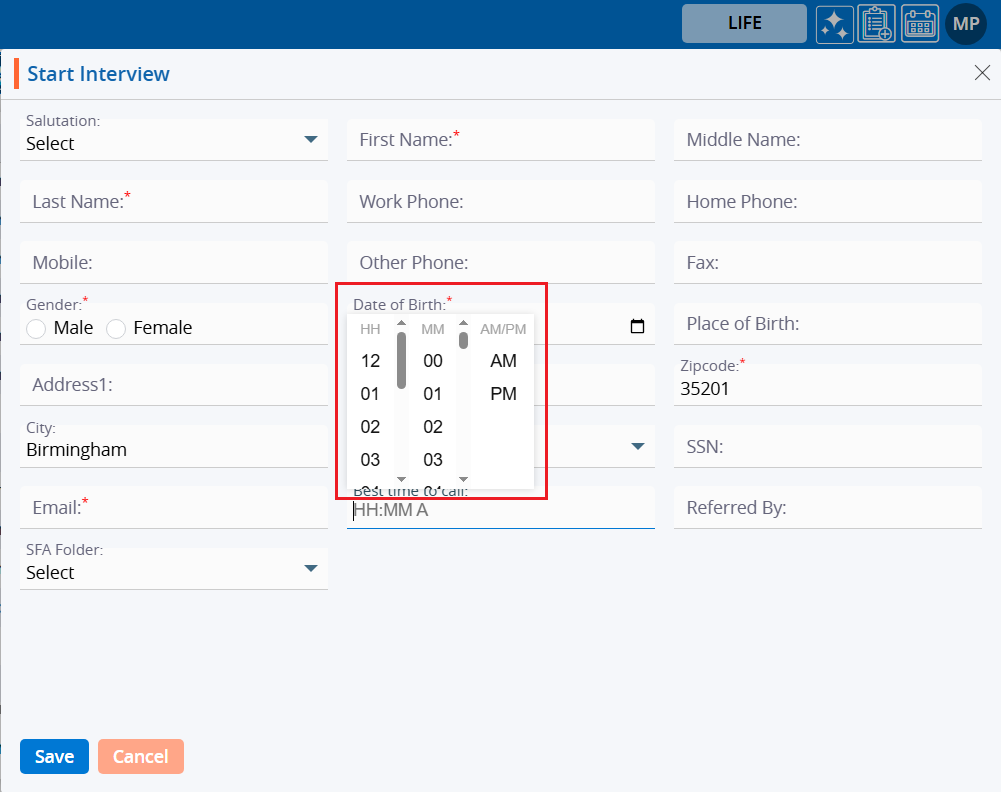
12. Select the time.
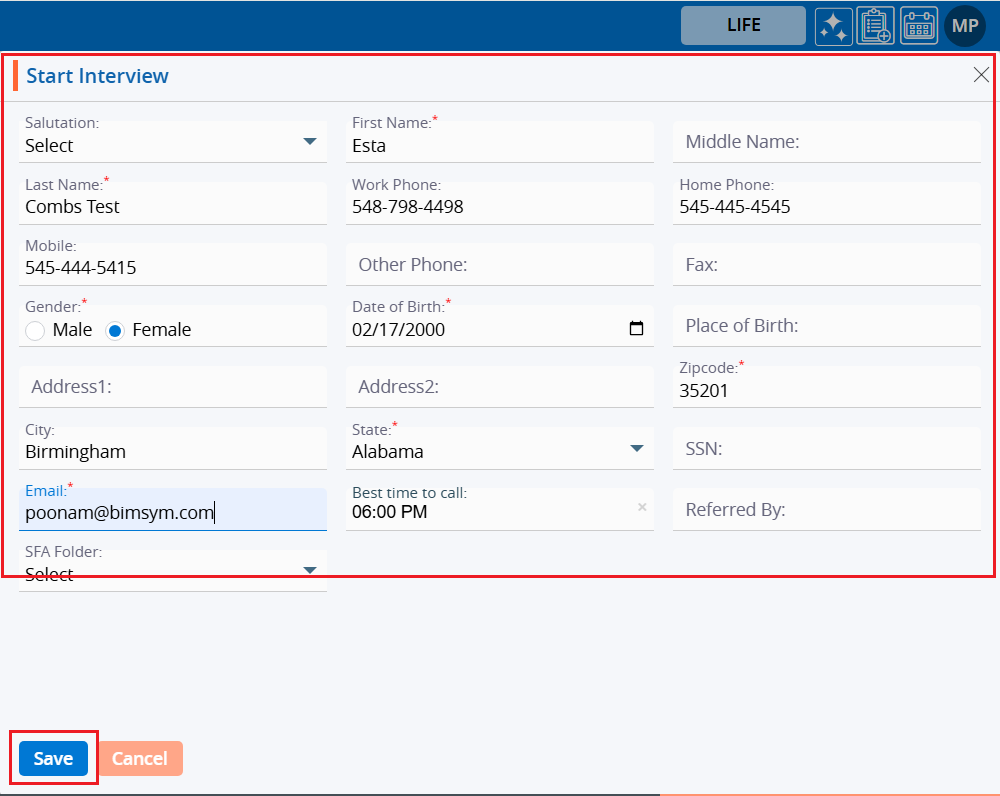
13. The user needs to fill in the rest of the fields manually. After filling in all the details, click on the ‘Save’ button.
14. The system will generate a confirmation message that ‘Record has been created successfully’, and the record will appear at the top of the ‘Cases List – All Cases’.
15. Click on the newly created case.

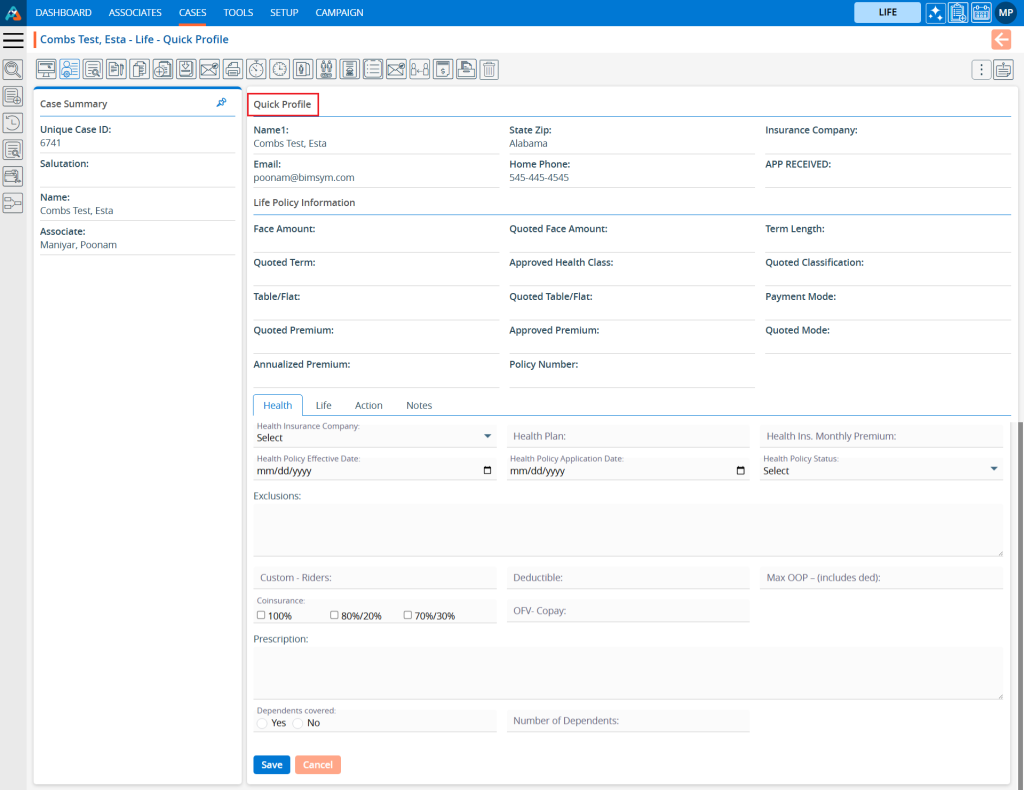
16. The member’s ‘Dashboard’ will open. Click on ‘QUICK PROFILE’.
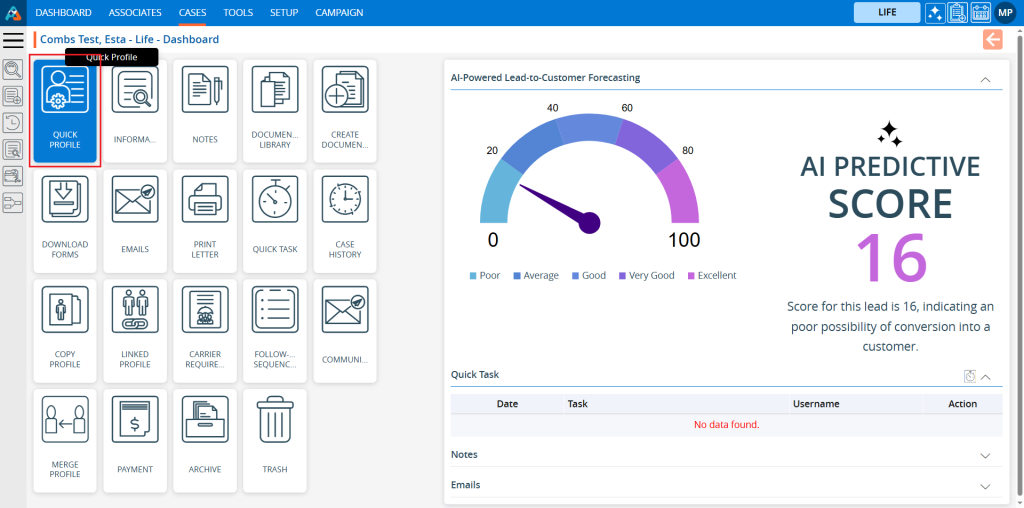
17. The system will display the ‘Quick Profile’ information that we filled in during the creation of the case.
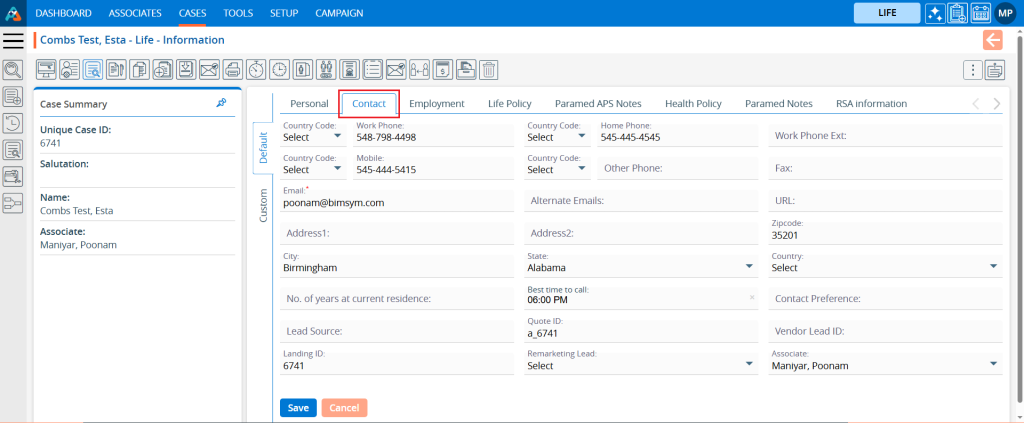
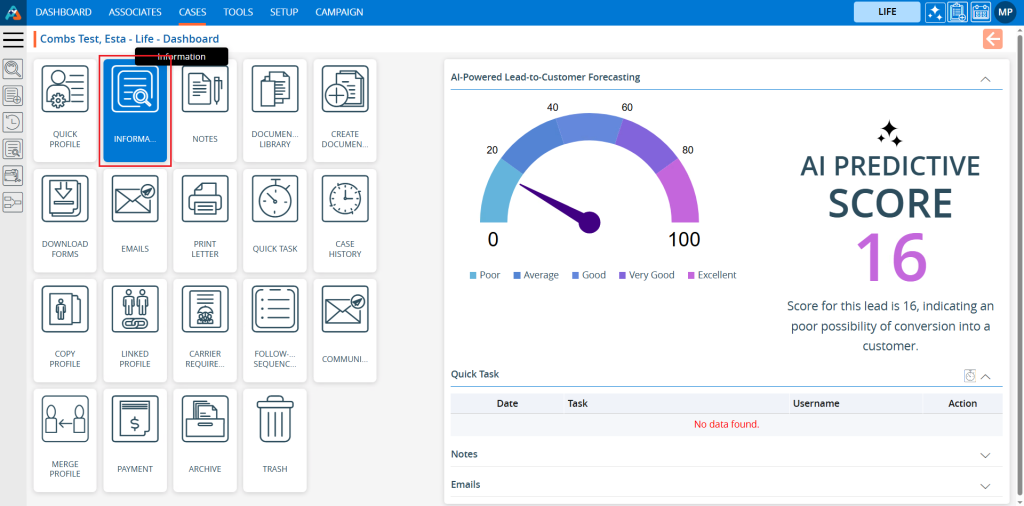
18. Return to the Dashboard and click on the ‘Information’ tab.
19. The system will display personal information in the ‘Personal’ tab.
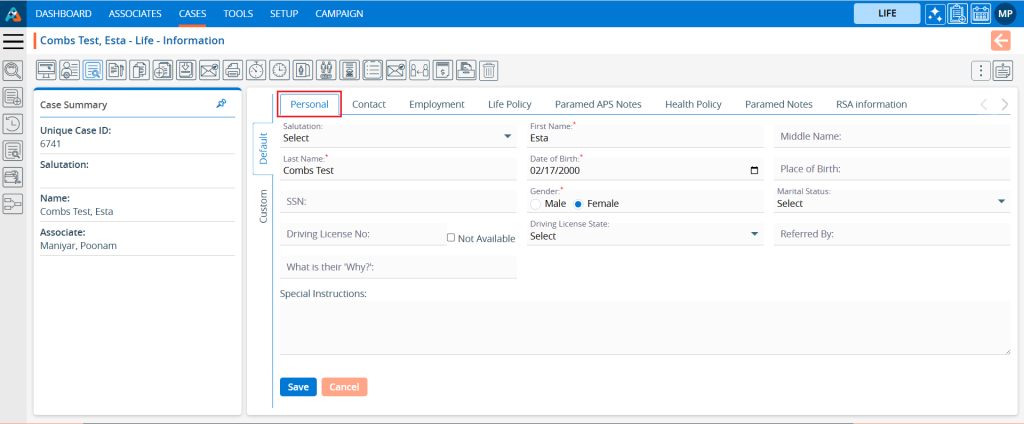
20. Click on the ‘Case’ tab, and the system will display case details in that tab.